Lacto-fermented vegetables sound intimidating, but they’re actually very easy to make! Just follow these step-by-step directions and you’ll be enjoying your very own probiotic rich veggies in no time.
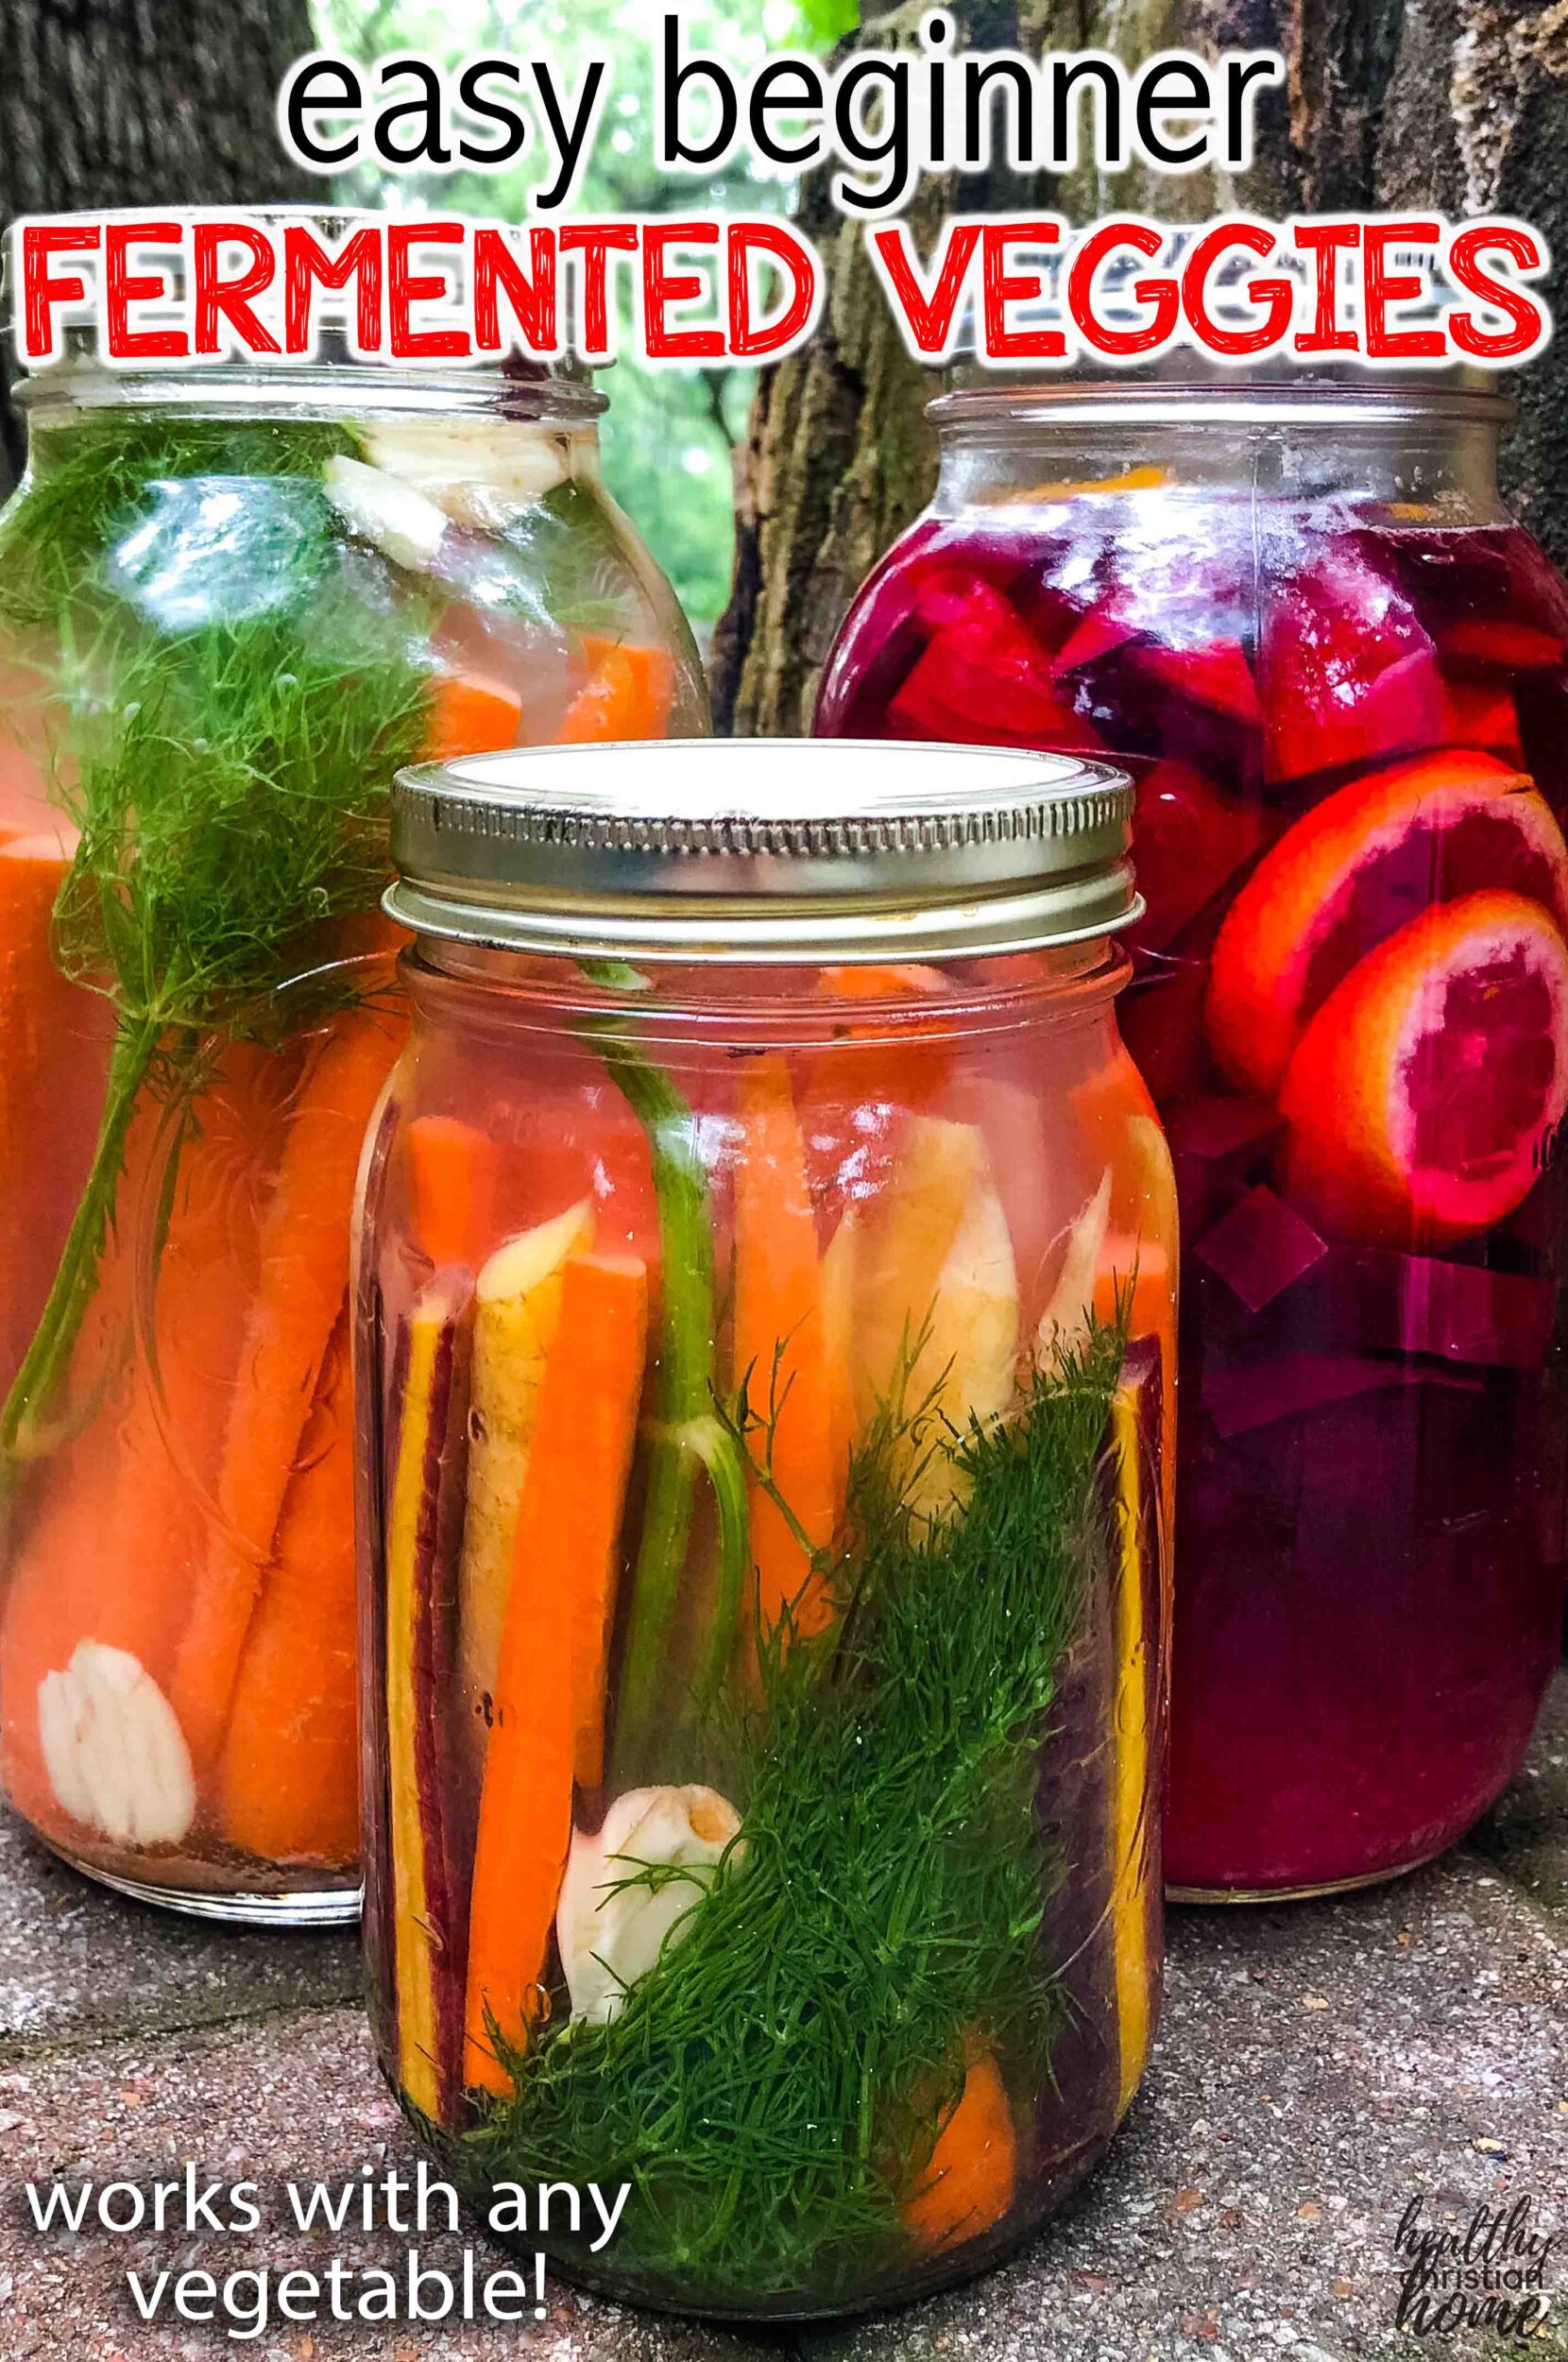
What if you could harness the power of billions of microscopic living beings to transform vegetables — developing their flavors, enhancing their nutrition, and even preserving them? That may seem magical, and even out of reach, but… Would you believe me if I told you that you can do it today, in your own kitchen?
What is Lacto Fermentation?
This process is called lacto fermentation, and people have actually been doing it for thousands of years. Lacto fermentation is a method of food preparation that has been used for many generations.
Does the word “lacto” mean there is milk in these veggies? Nope! “Lacto” is short for lactic acid, which is what creates the fermenting action.
These microbes, which are native to the surfaces of plants (leaves, fruit/vegetable skins, roots, etc), enjoy the lack of competitors and freely populate whatever container they’re in. In the process, they eat the naturally occurring sugars in the food and release a lactic acid byproduct, which actually serves to pickle and preserve the vegetables!
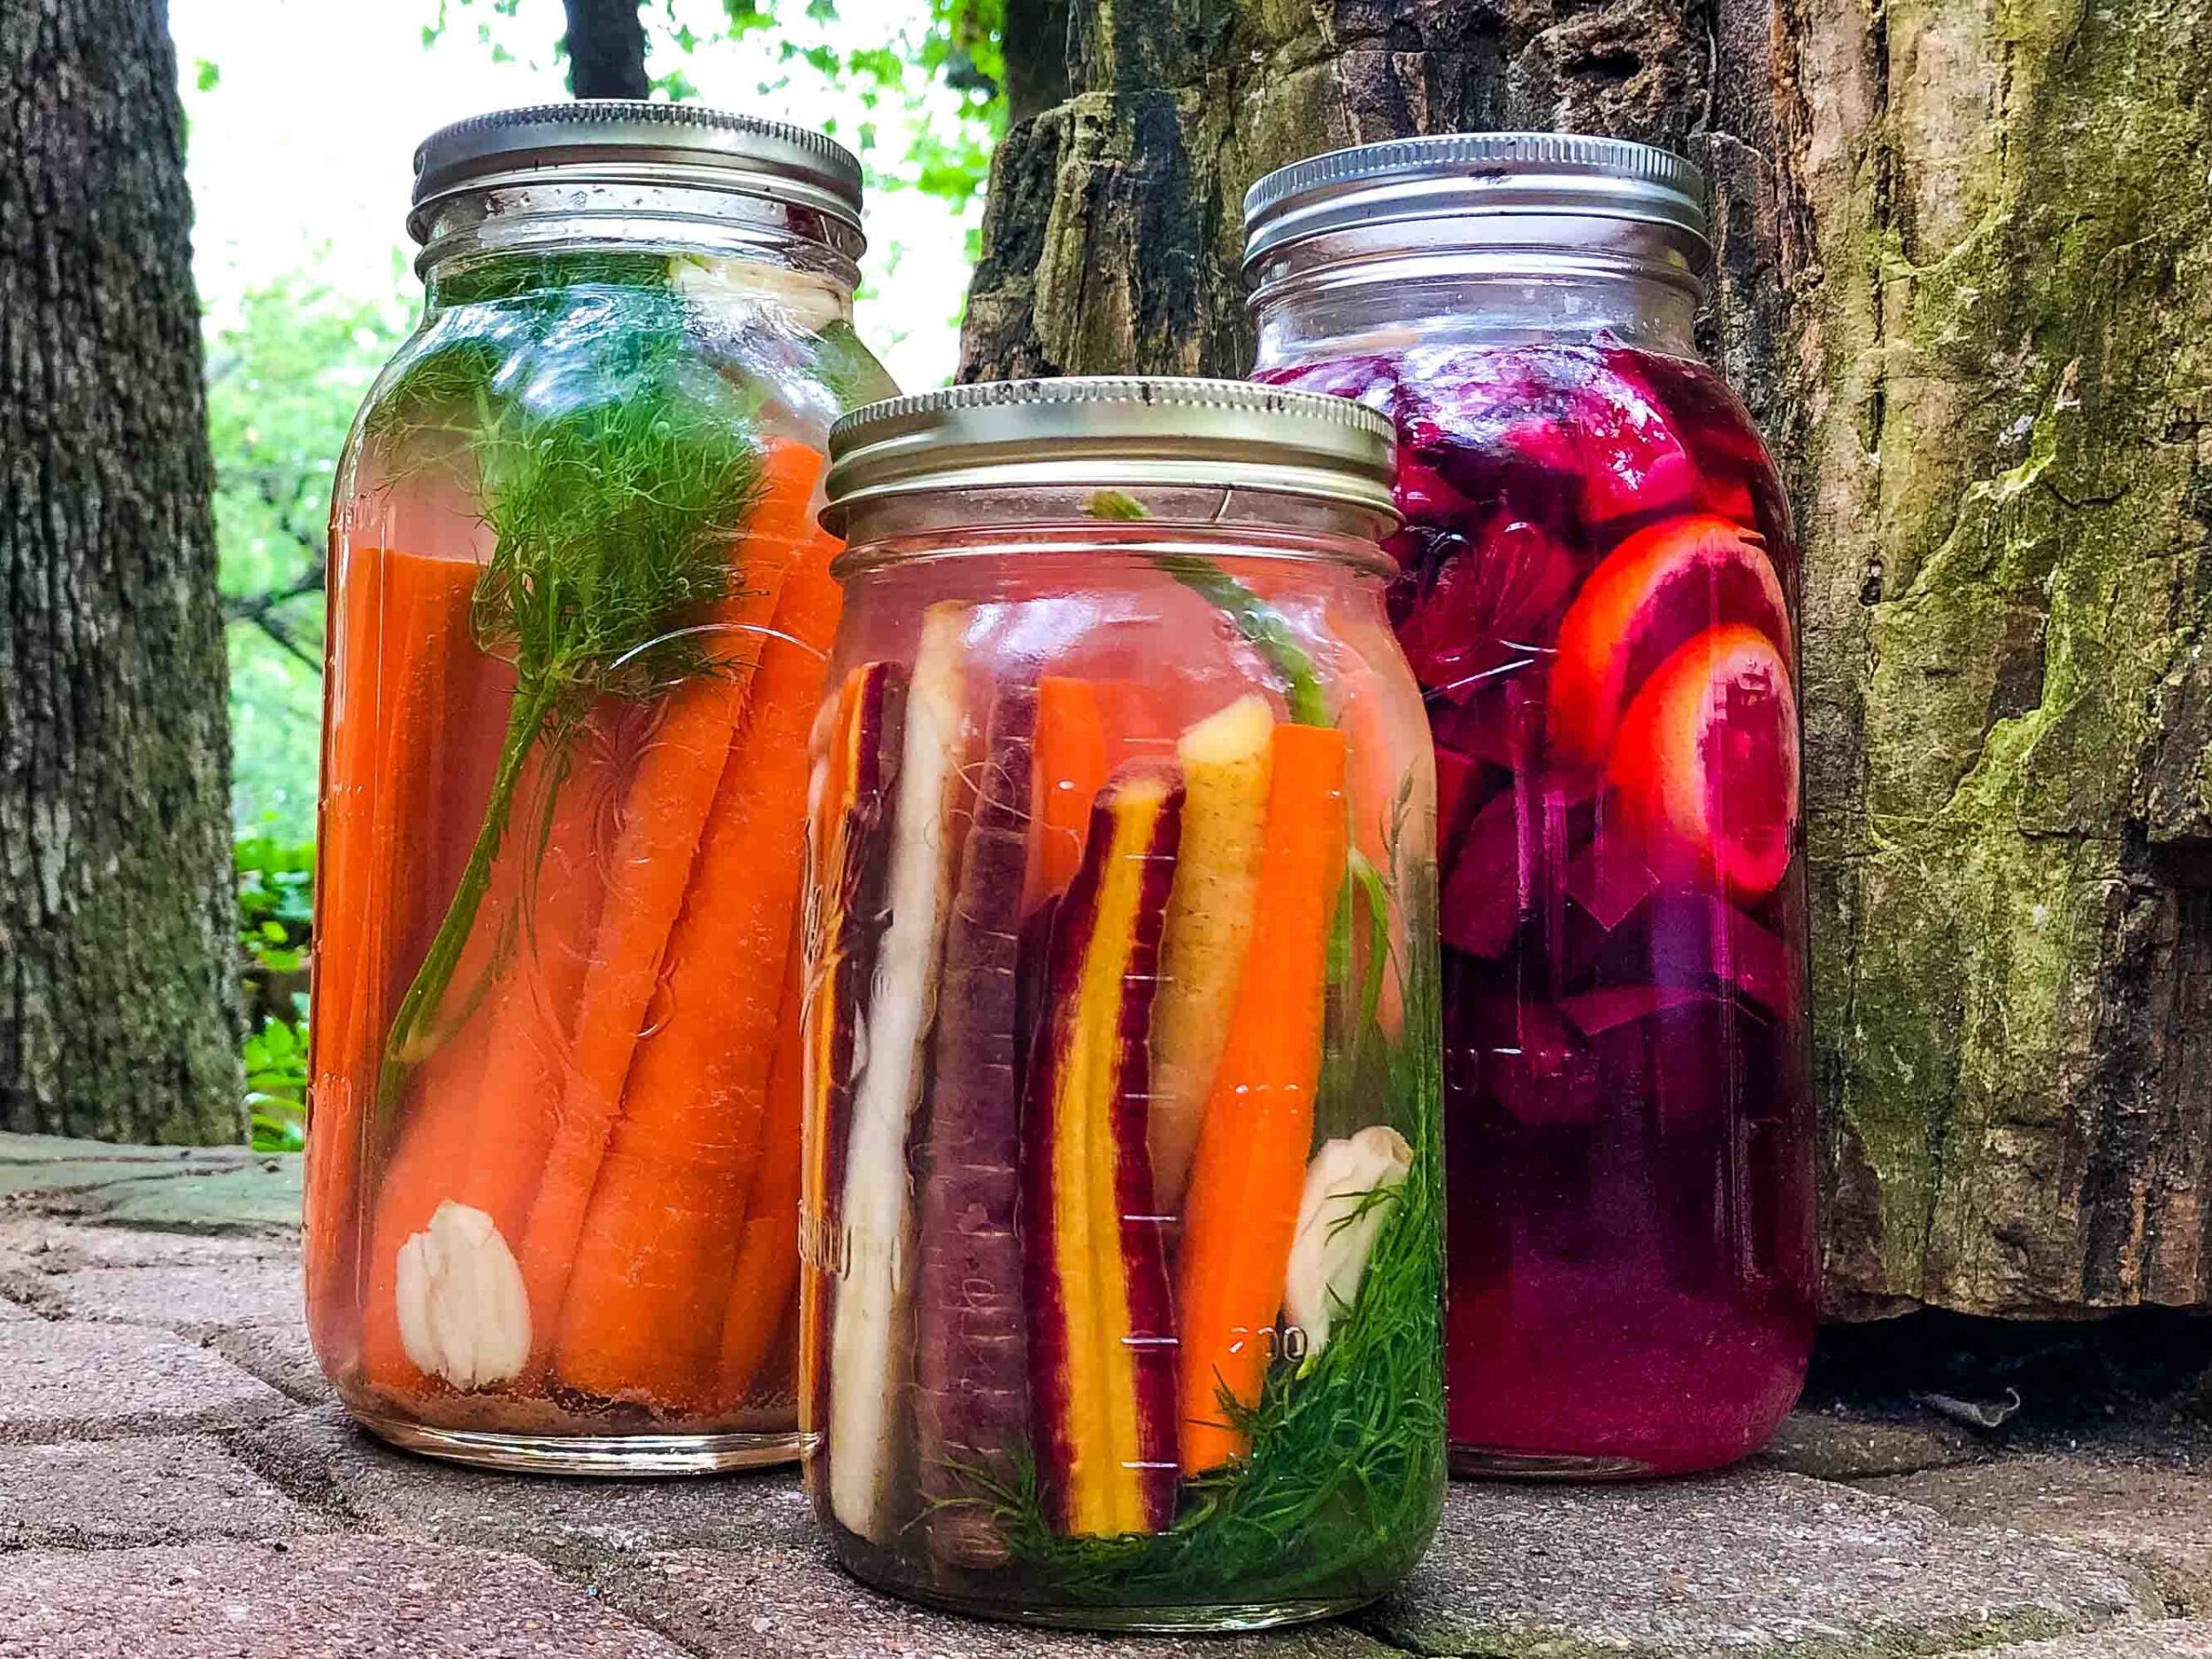
The history of lacto fermented veggies
During seasons when fresh produce was available, our ancestors would slice, dice, or shred vegetables and pack them into jars or crocks with salt or brine. The salt would prevent harmful microbes from developing, but did not hinder the growth of lactic acid producing bacteria.
Thanks to this process, our ancestors could store their veggies long term in cold storage. (Before refrigeration, people used root cellars, caves, and even buried their ferments to keep them at a suitable temperature.)
Until fairly recently, historically speaking, this was how a great deal of food was preserved. You may recognize traditions of vegetable fermentation in Europe’s sauerkraut, Germany’s fermented white asparagus, Russia’s beet kvass, or Korea’s kimchi.
Sadly, as we progressed into industrialized society, we largely forgot the wisdom of lactofermentation.
Are pickled vegetables the same as fermented?
No, they are different. Industrially pickled vegetables have basically no beneficial bacteria and probiotics in them. Fermented veggies made at home are teeming with gut healthy microbes.
Because lacto fermentation does not provide a consistent product, our food industry moved away from it and embraced sterile methods, like vinegar pickling and pressure canning.
The problem with lactofermented products for industry is that they change over time, as the beneficial microbe population develop. This results in differences in taste and texture, and the requirement of cold storage.
Our society chose the convenience of shelf stability and ease of transport, at the cost of a very wise, probiotic rich old tradition that has deeply benefitted us for millenia.
Are fermented vegetables good for you? 3 Benefits of Eating Fermented Foods
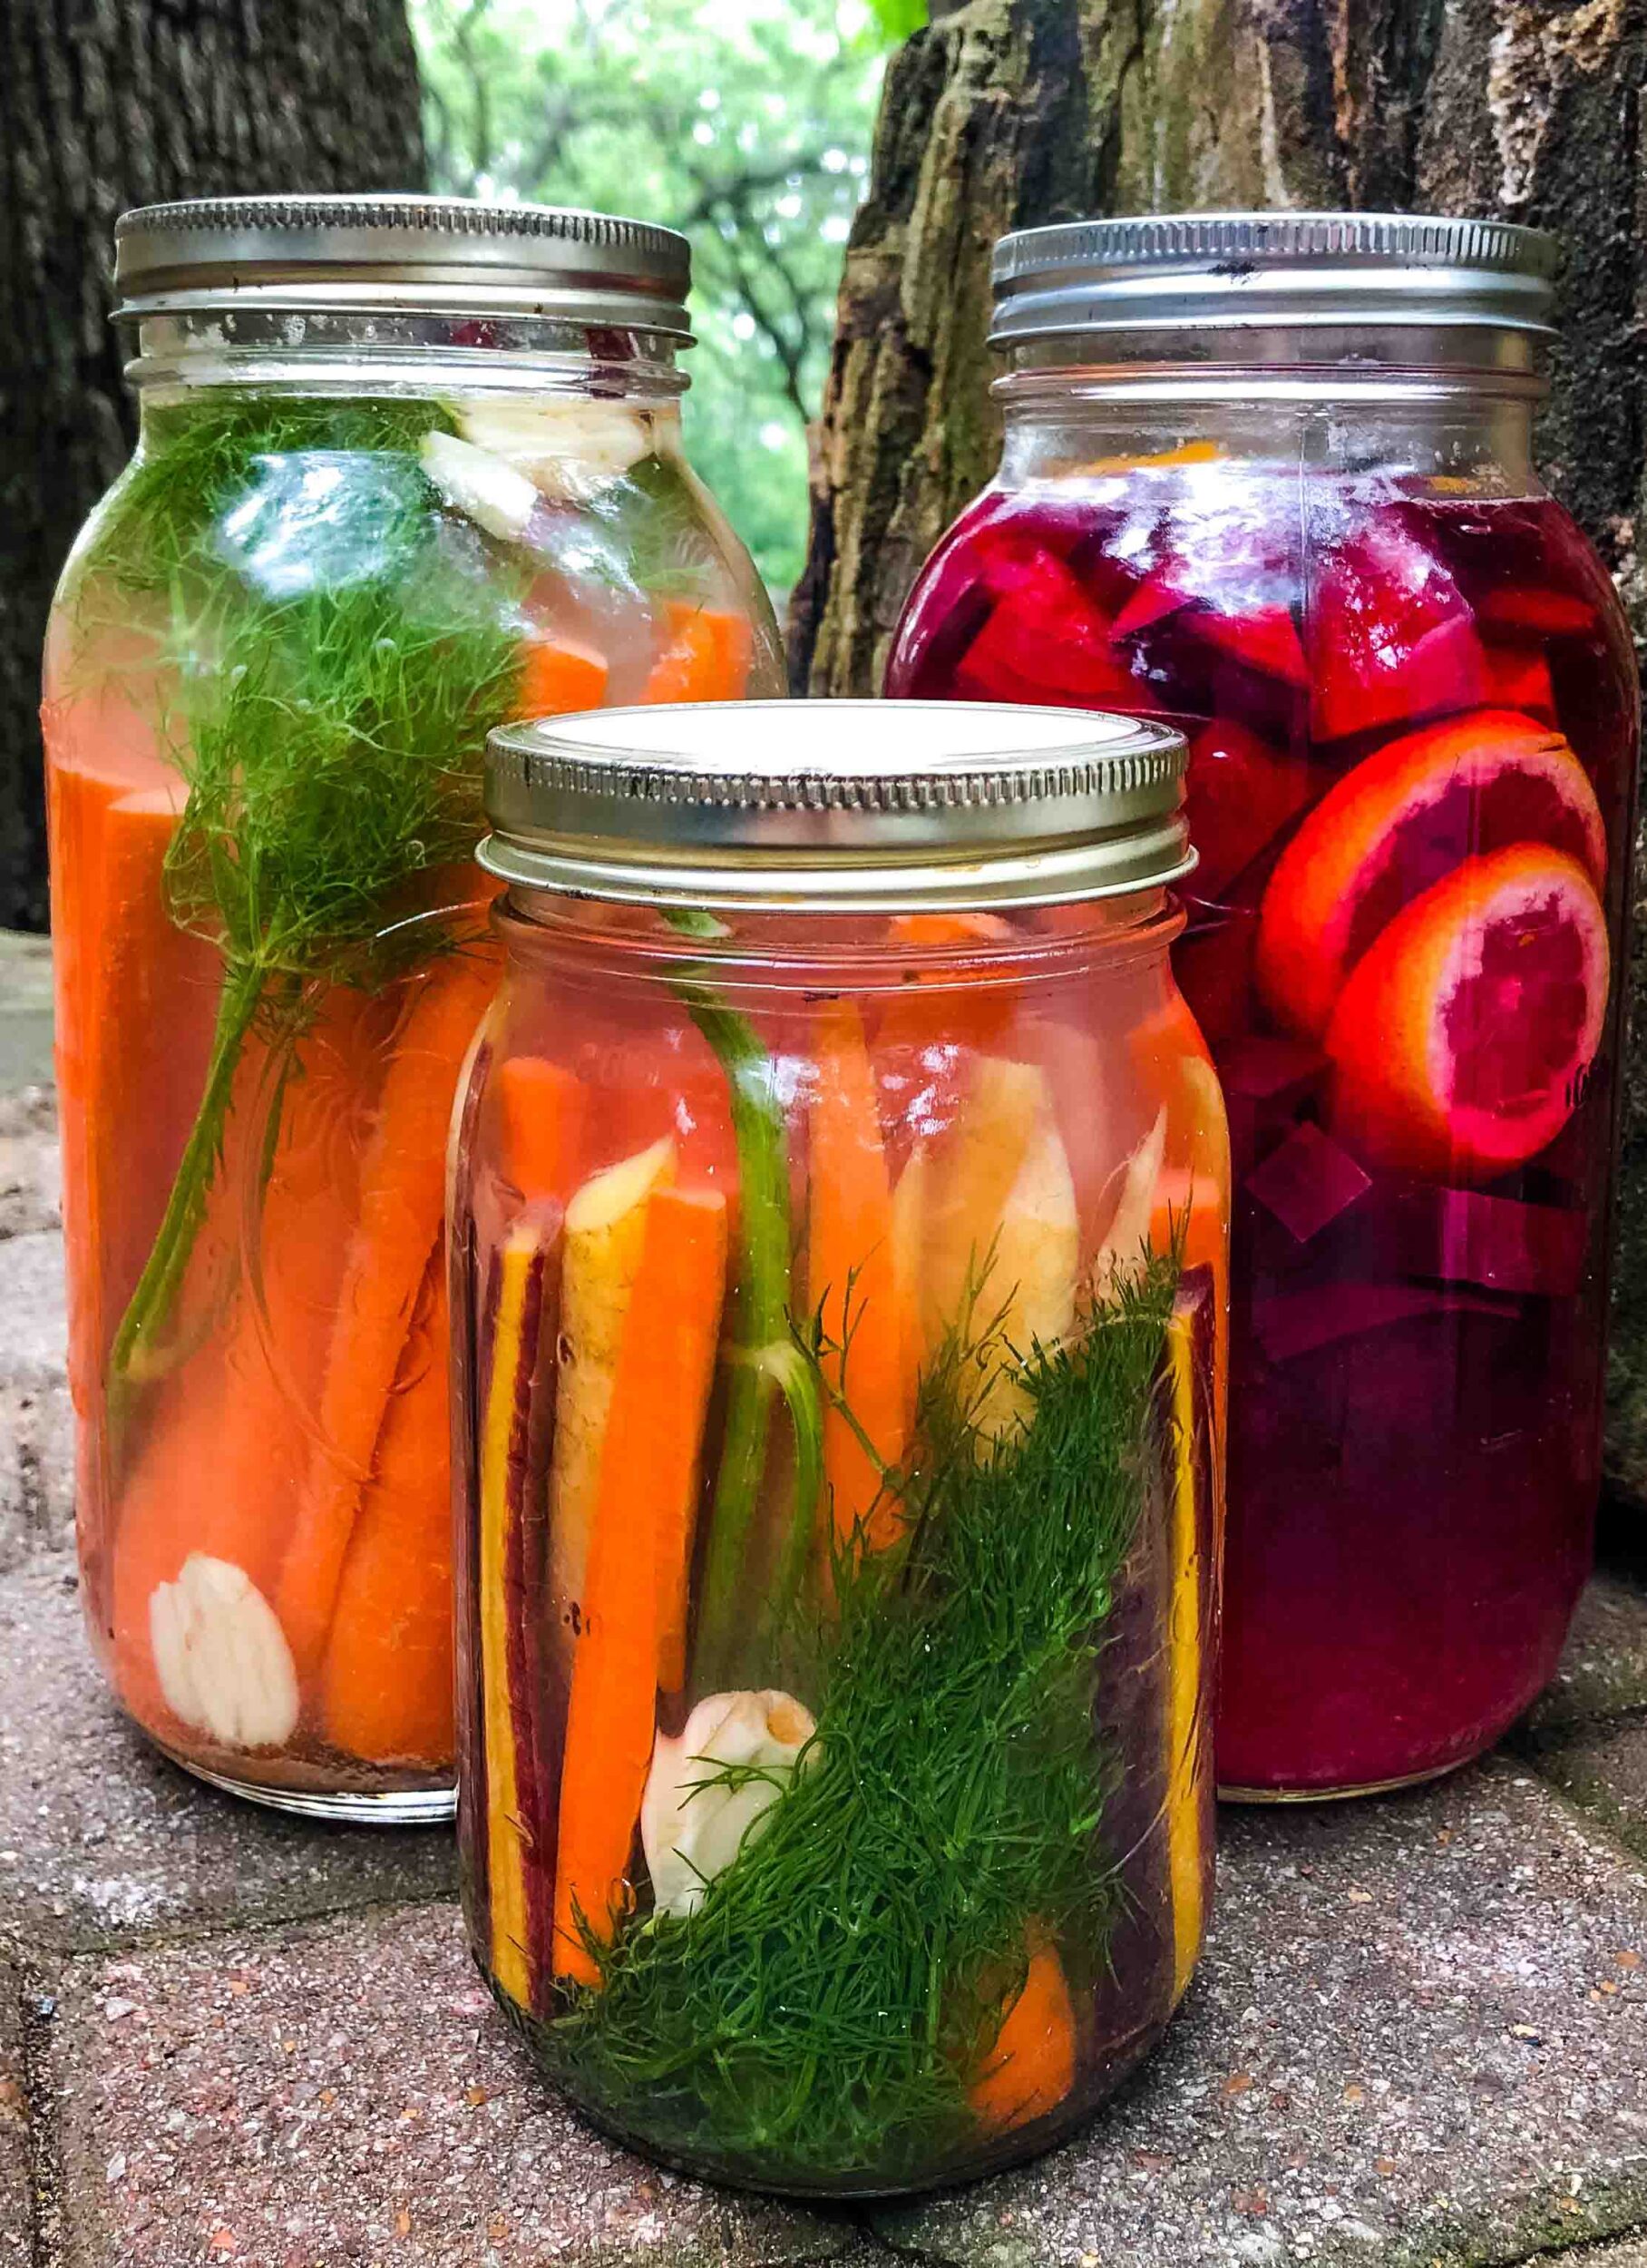
1. Nutrient Content
Fermented foods are typically highly nutritious- oftentimes even higher in certain nutrients than their non-fermented counterparts. For example, sauerkraut is higher in vitamin C than fresh cabbage.
This is because the bacteria consume starches and fibers that we are not able to digest, turning them into healthful byproducts and vitamins our bodies can use.
2. Digestibility
In addition to their superior nutrient content, fermented vegetables are easier to digest. As mentioned before, the bacteria consume indigestible starches and fibers.
I often refer to this as pre-digestion: The bacteria break down indigestible things, release nutrients, and infuse the food with enzymes, before we even take a bite! As a result, our bodies do not have to work as hard to process these foods and unlock the nutrients they contain.
3. Probiotics
The beneficial microbes that inhabit our gut are referred to collectively as our microbiome, and as “probiotics” when we consume them. Having a healthy microbiome contributes to everything — from optimal digestive function and nutrient absorption, to immune function, to weight management!
There are more microbial cells in our bodies than there are human cells, and they are always coming and going by various avenues. When the bacteria in our microbiomes die, they leave through our healthy digestive function (excretion).
Unfortunately, much of the food we consume in the modern day is sterile (remember the pickles and canned food?) and offers no probiotic benefit. To make matters worse, most people do not consume enough fiber to feed their microbiome!
As a result, many modern people are not consuming enough probiotics to replace dying microbes, nor enough prebiotic fiber to maintain the current population. Eating lacto fermented vegetables is a fun and healthful way to replenish and support our microbiomes.
Bonus benefit: Reweaving an old and time-honored thread of wisdom into the modern world
In essence, lacto fermenting food is a way that we can have a symbiotic relationship with other species, thus benefiting all involved (we get good health, and the microbes get a place to thrive) and in turn, enhancing our connection to and appreciation for God’s incredible and beautifully choreographed creation.
In a modern world that celebrates sterility and independence (disconnect), every tiny thing we can do that adds a bit of wisdom, beauty, and life to the world is worth doing… even if it’s just in a jar on the countertop!
How to Make Fermented Vegetables (Step-by-Step)
1. Source great vegetables.
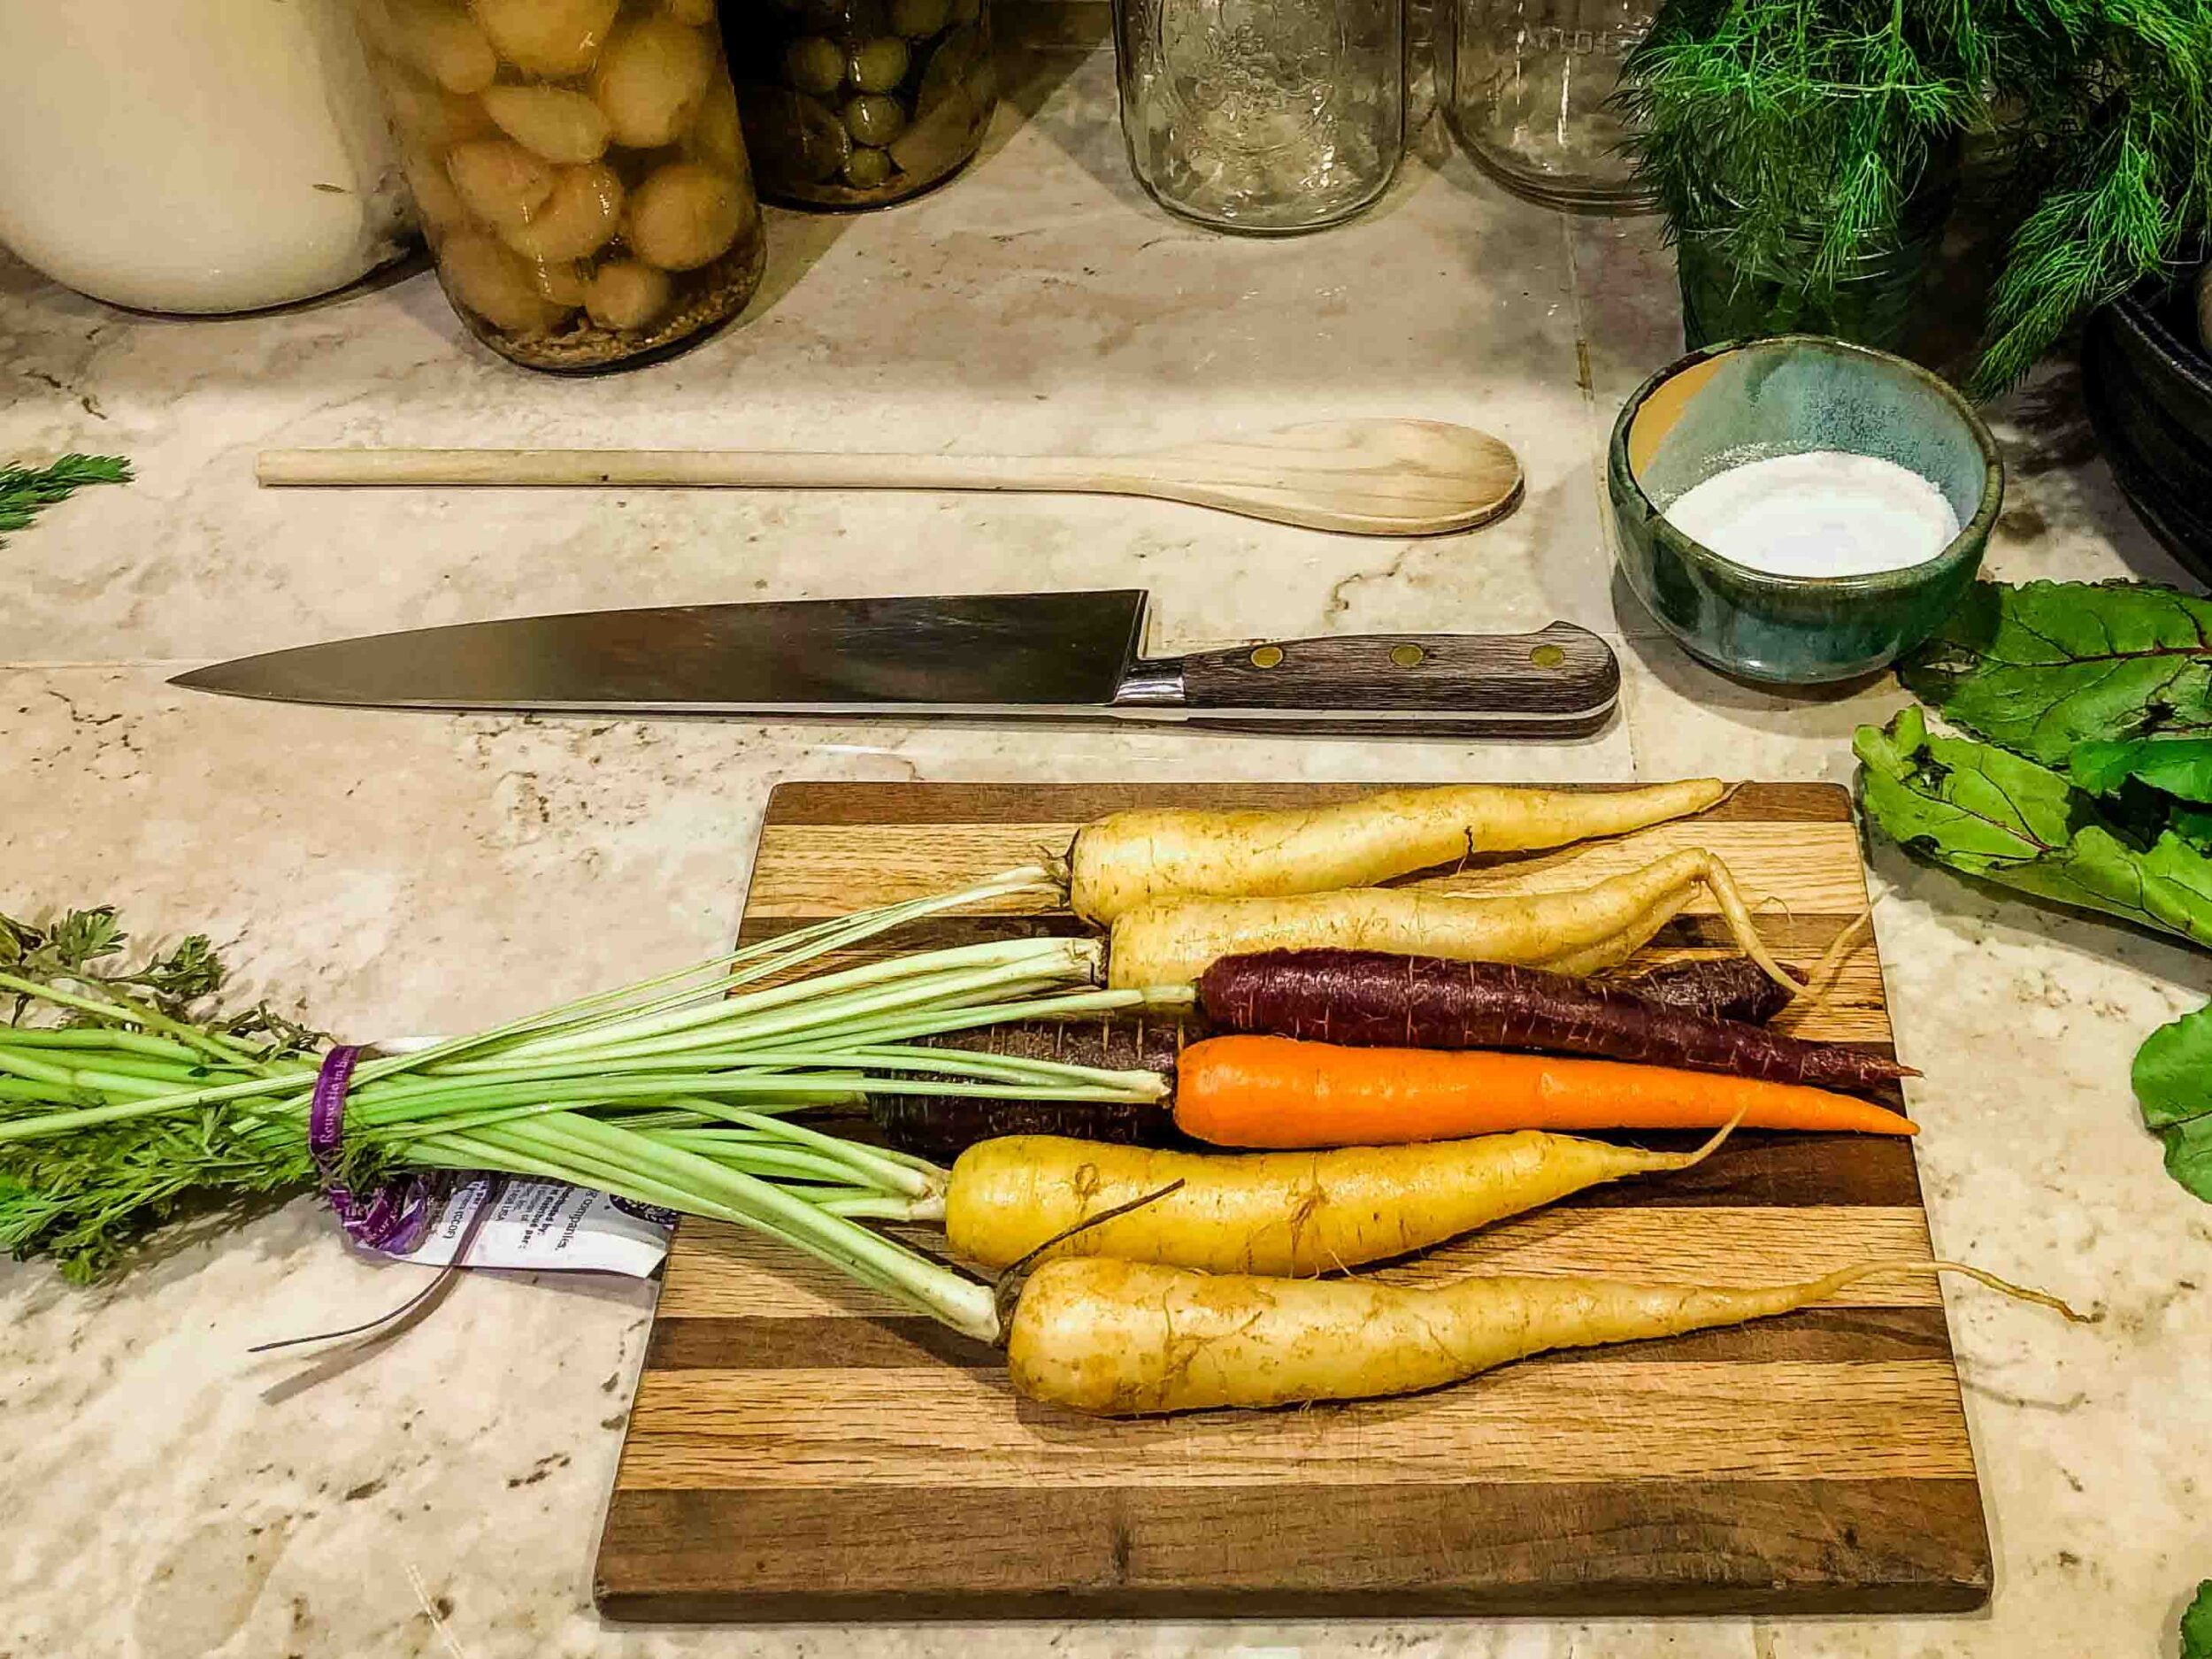
Sourcing good quality produce that you’d like to ferment is paramount. Great options include carrots, pickling cucumbers, hot peppers, small onions, garlic, beets, and cabbage. Also consider adding fresh herbs for flavor.
A few notes on sourcing:
Using produce that is locally grown ensures freshness, and presents an opportunity to adapt your microbiome to the microbial populations most prevalent in your area.
Avoid using conventional produce that is treated with chemical agricultural inputs or irradiated, as these practices disturb or destroy the microbe populations that you need to ferment the vegetable.
If you don’t have other options, be sure to wash your produce and consider adding some juice from an established ferment (like sauerkraut juice) to culture your ferment. Otherwise, avoid washing your vegetables too thoroughly, as you want the native microbes to stick around!
2. Prep the veggies.
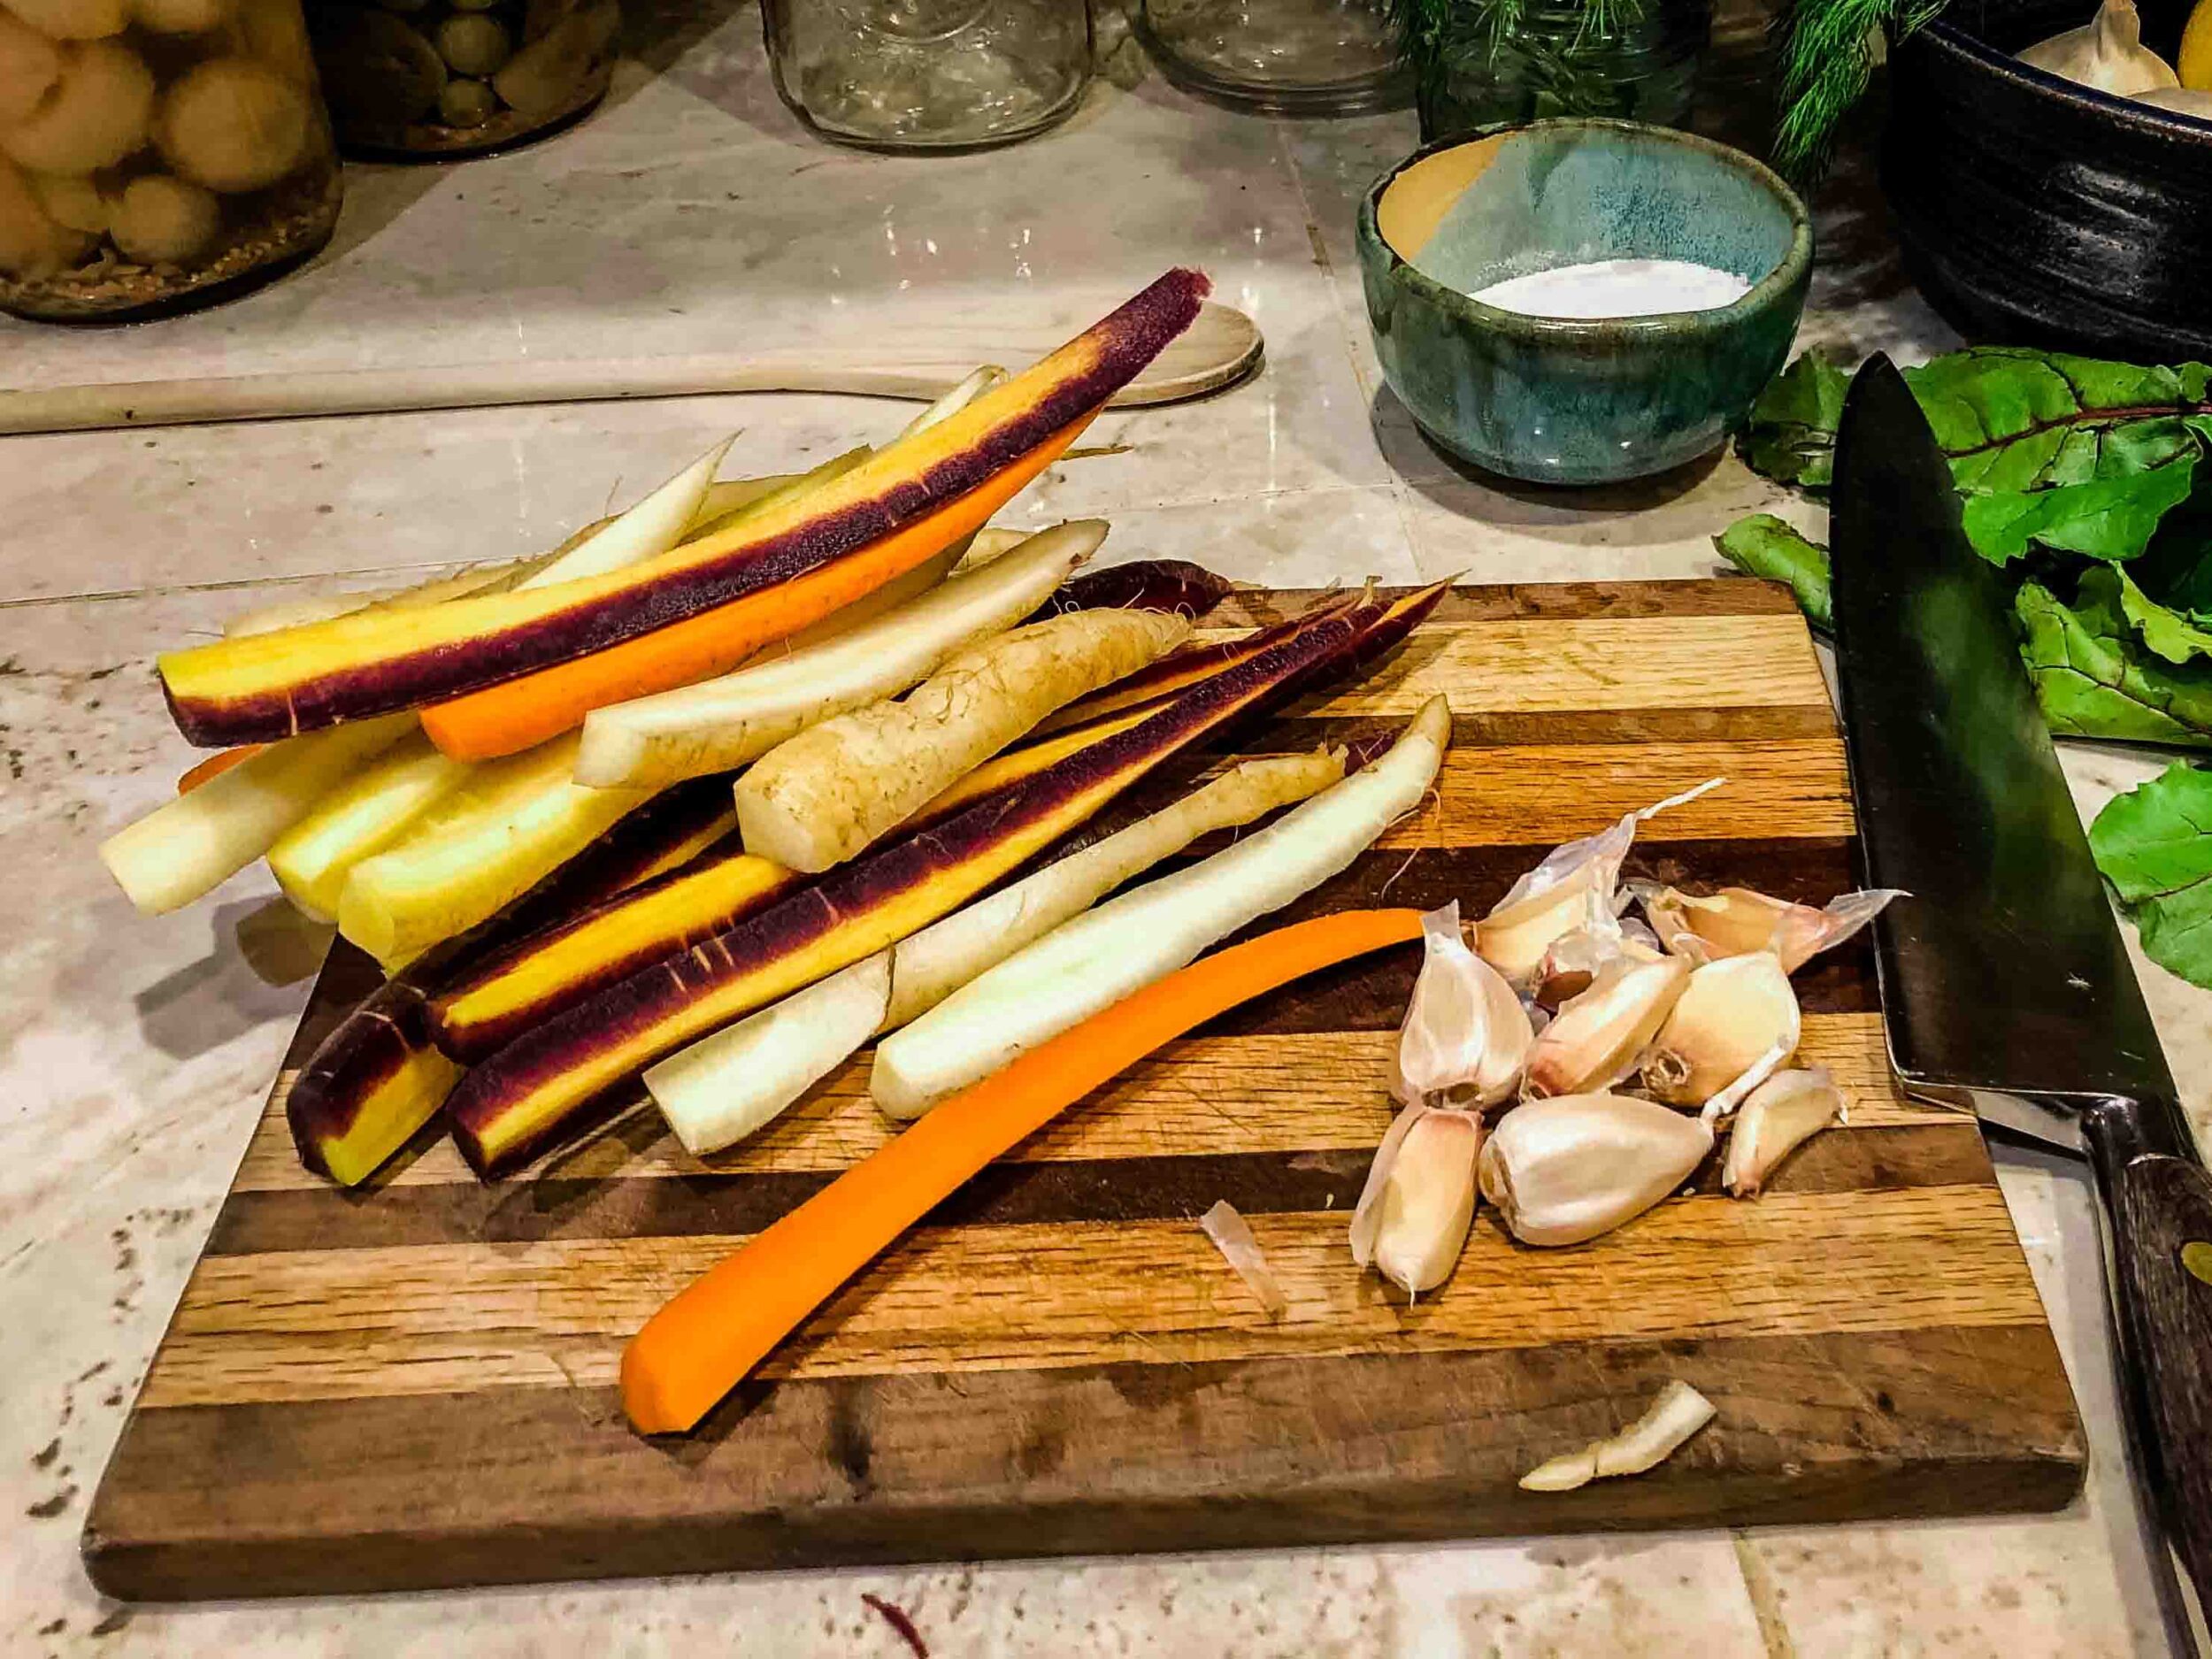
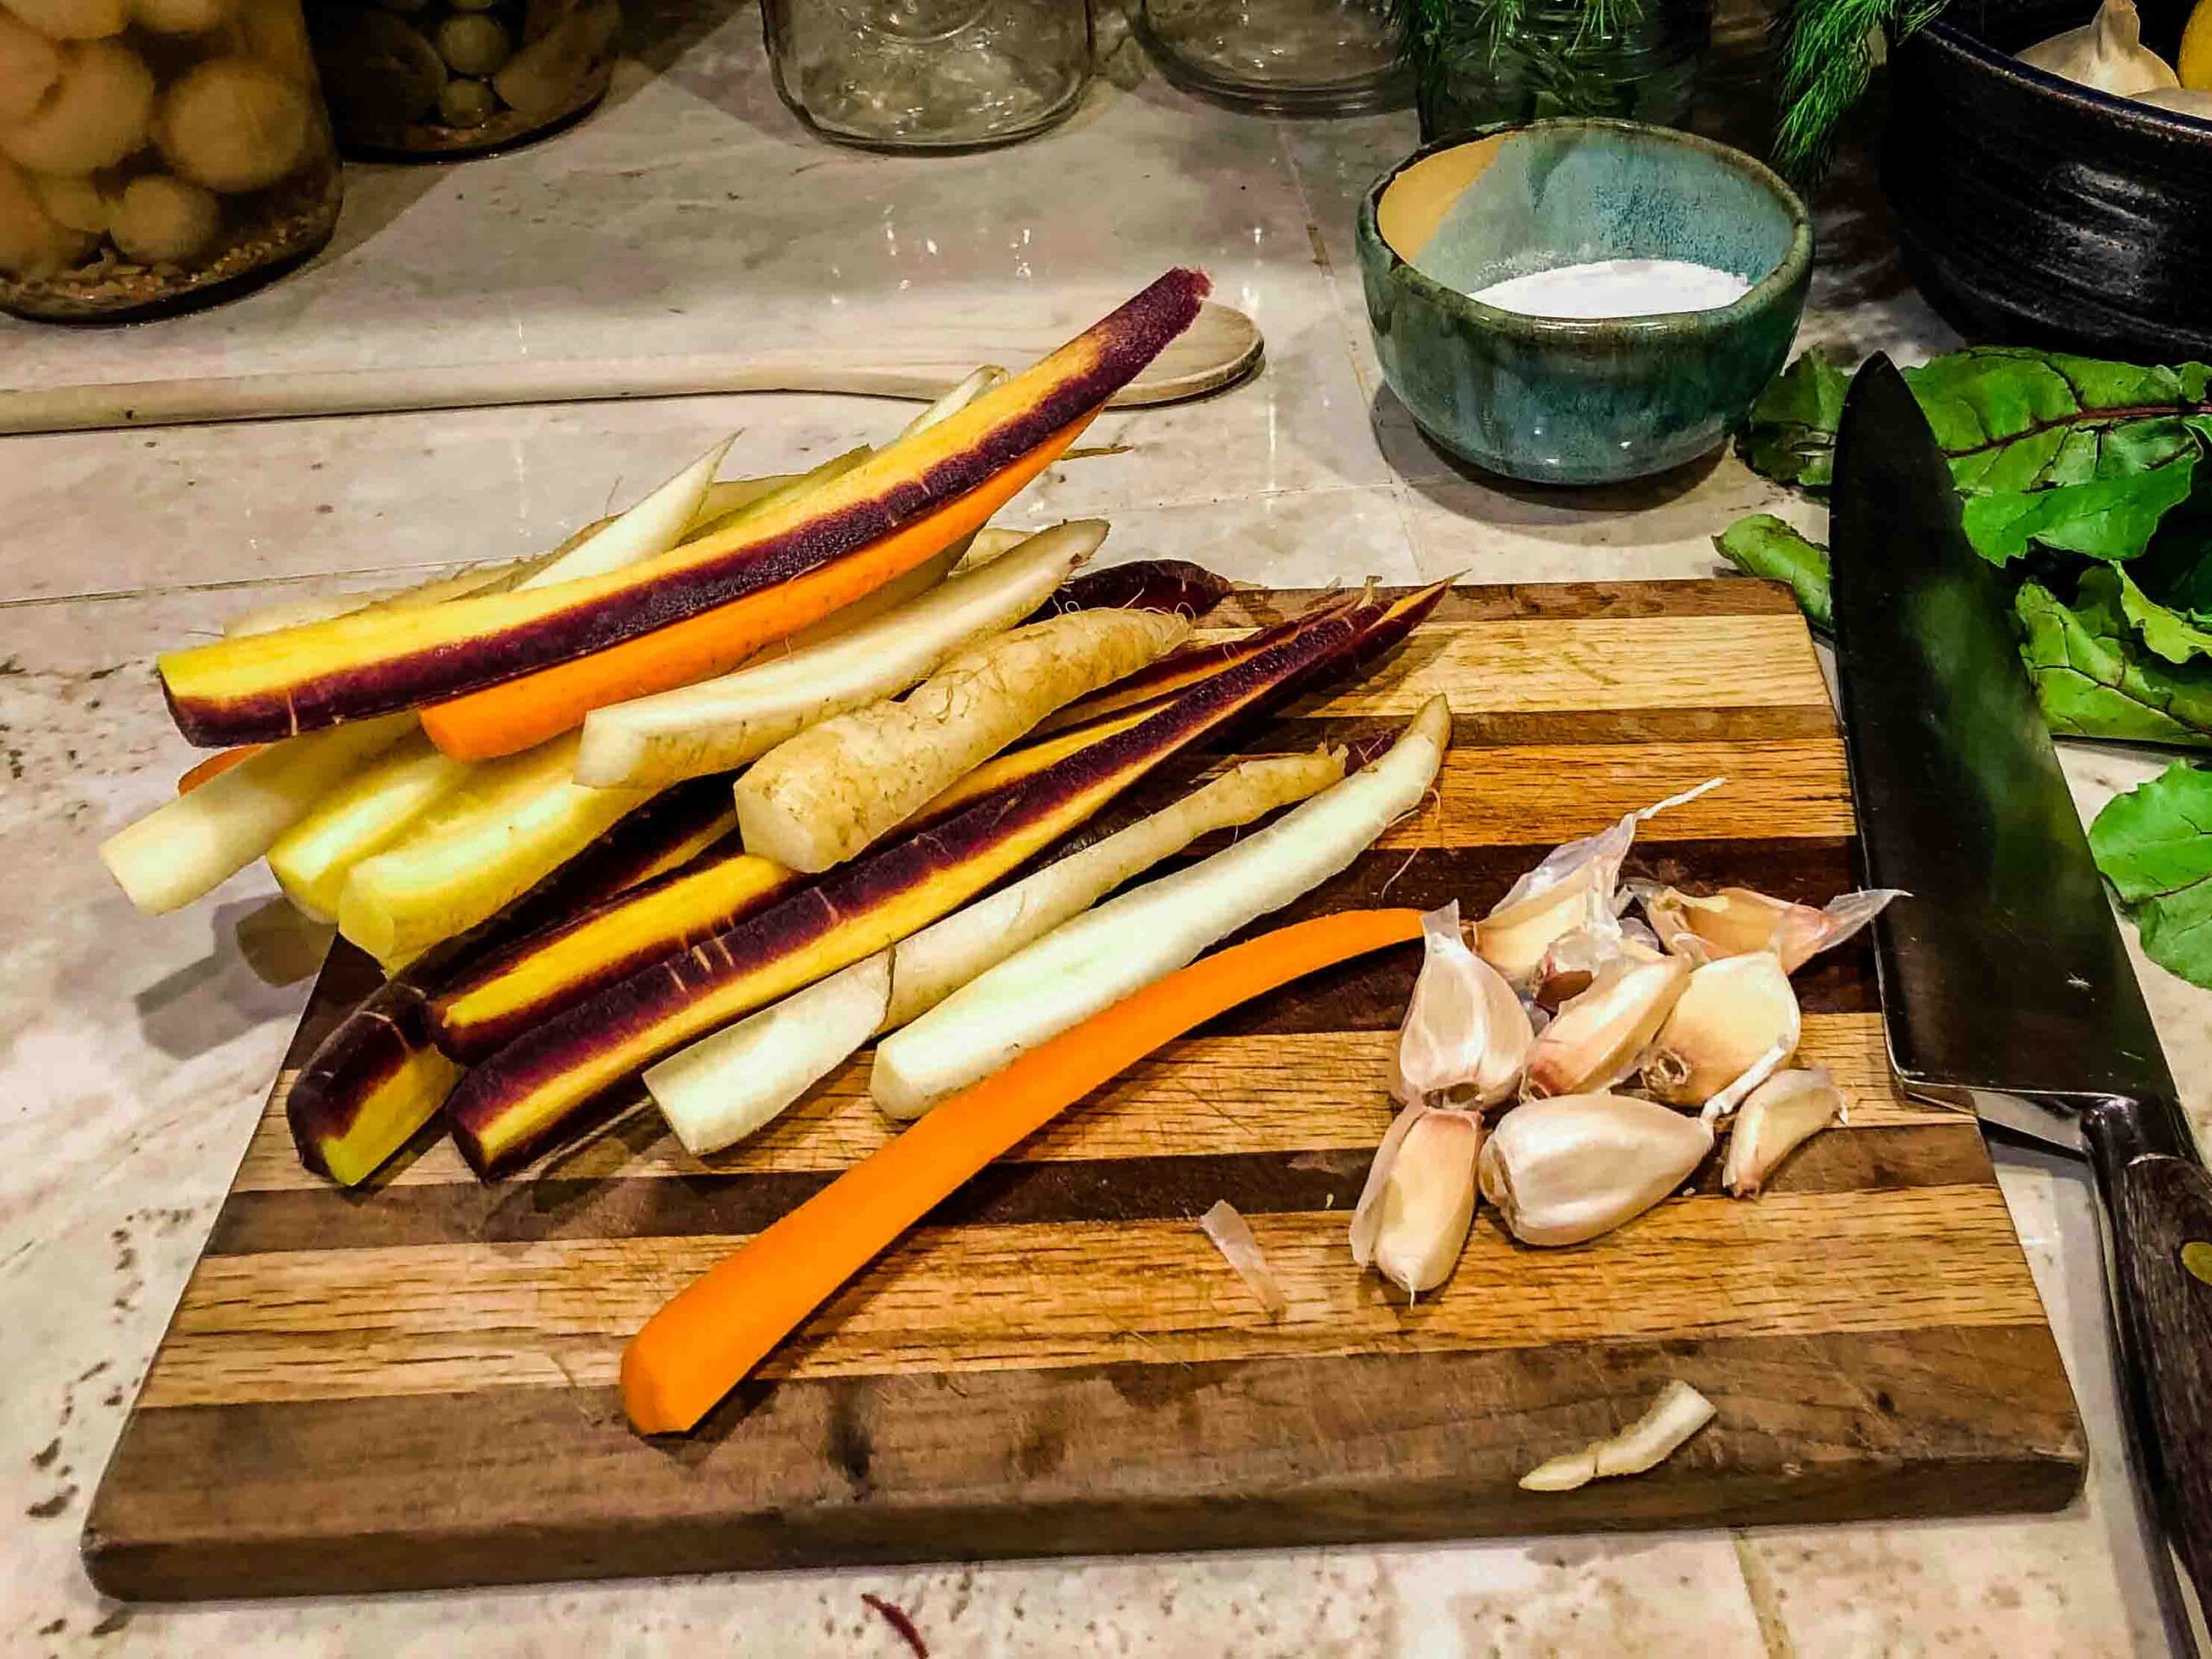
Decide what texture you would like your ferment to have. You can slice, grate, crush, or even ferment your vegetables whole, depending on your choice of vegetable.
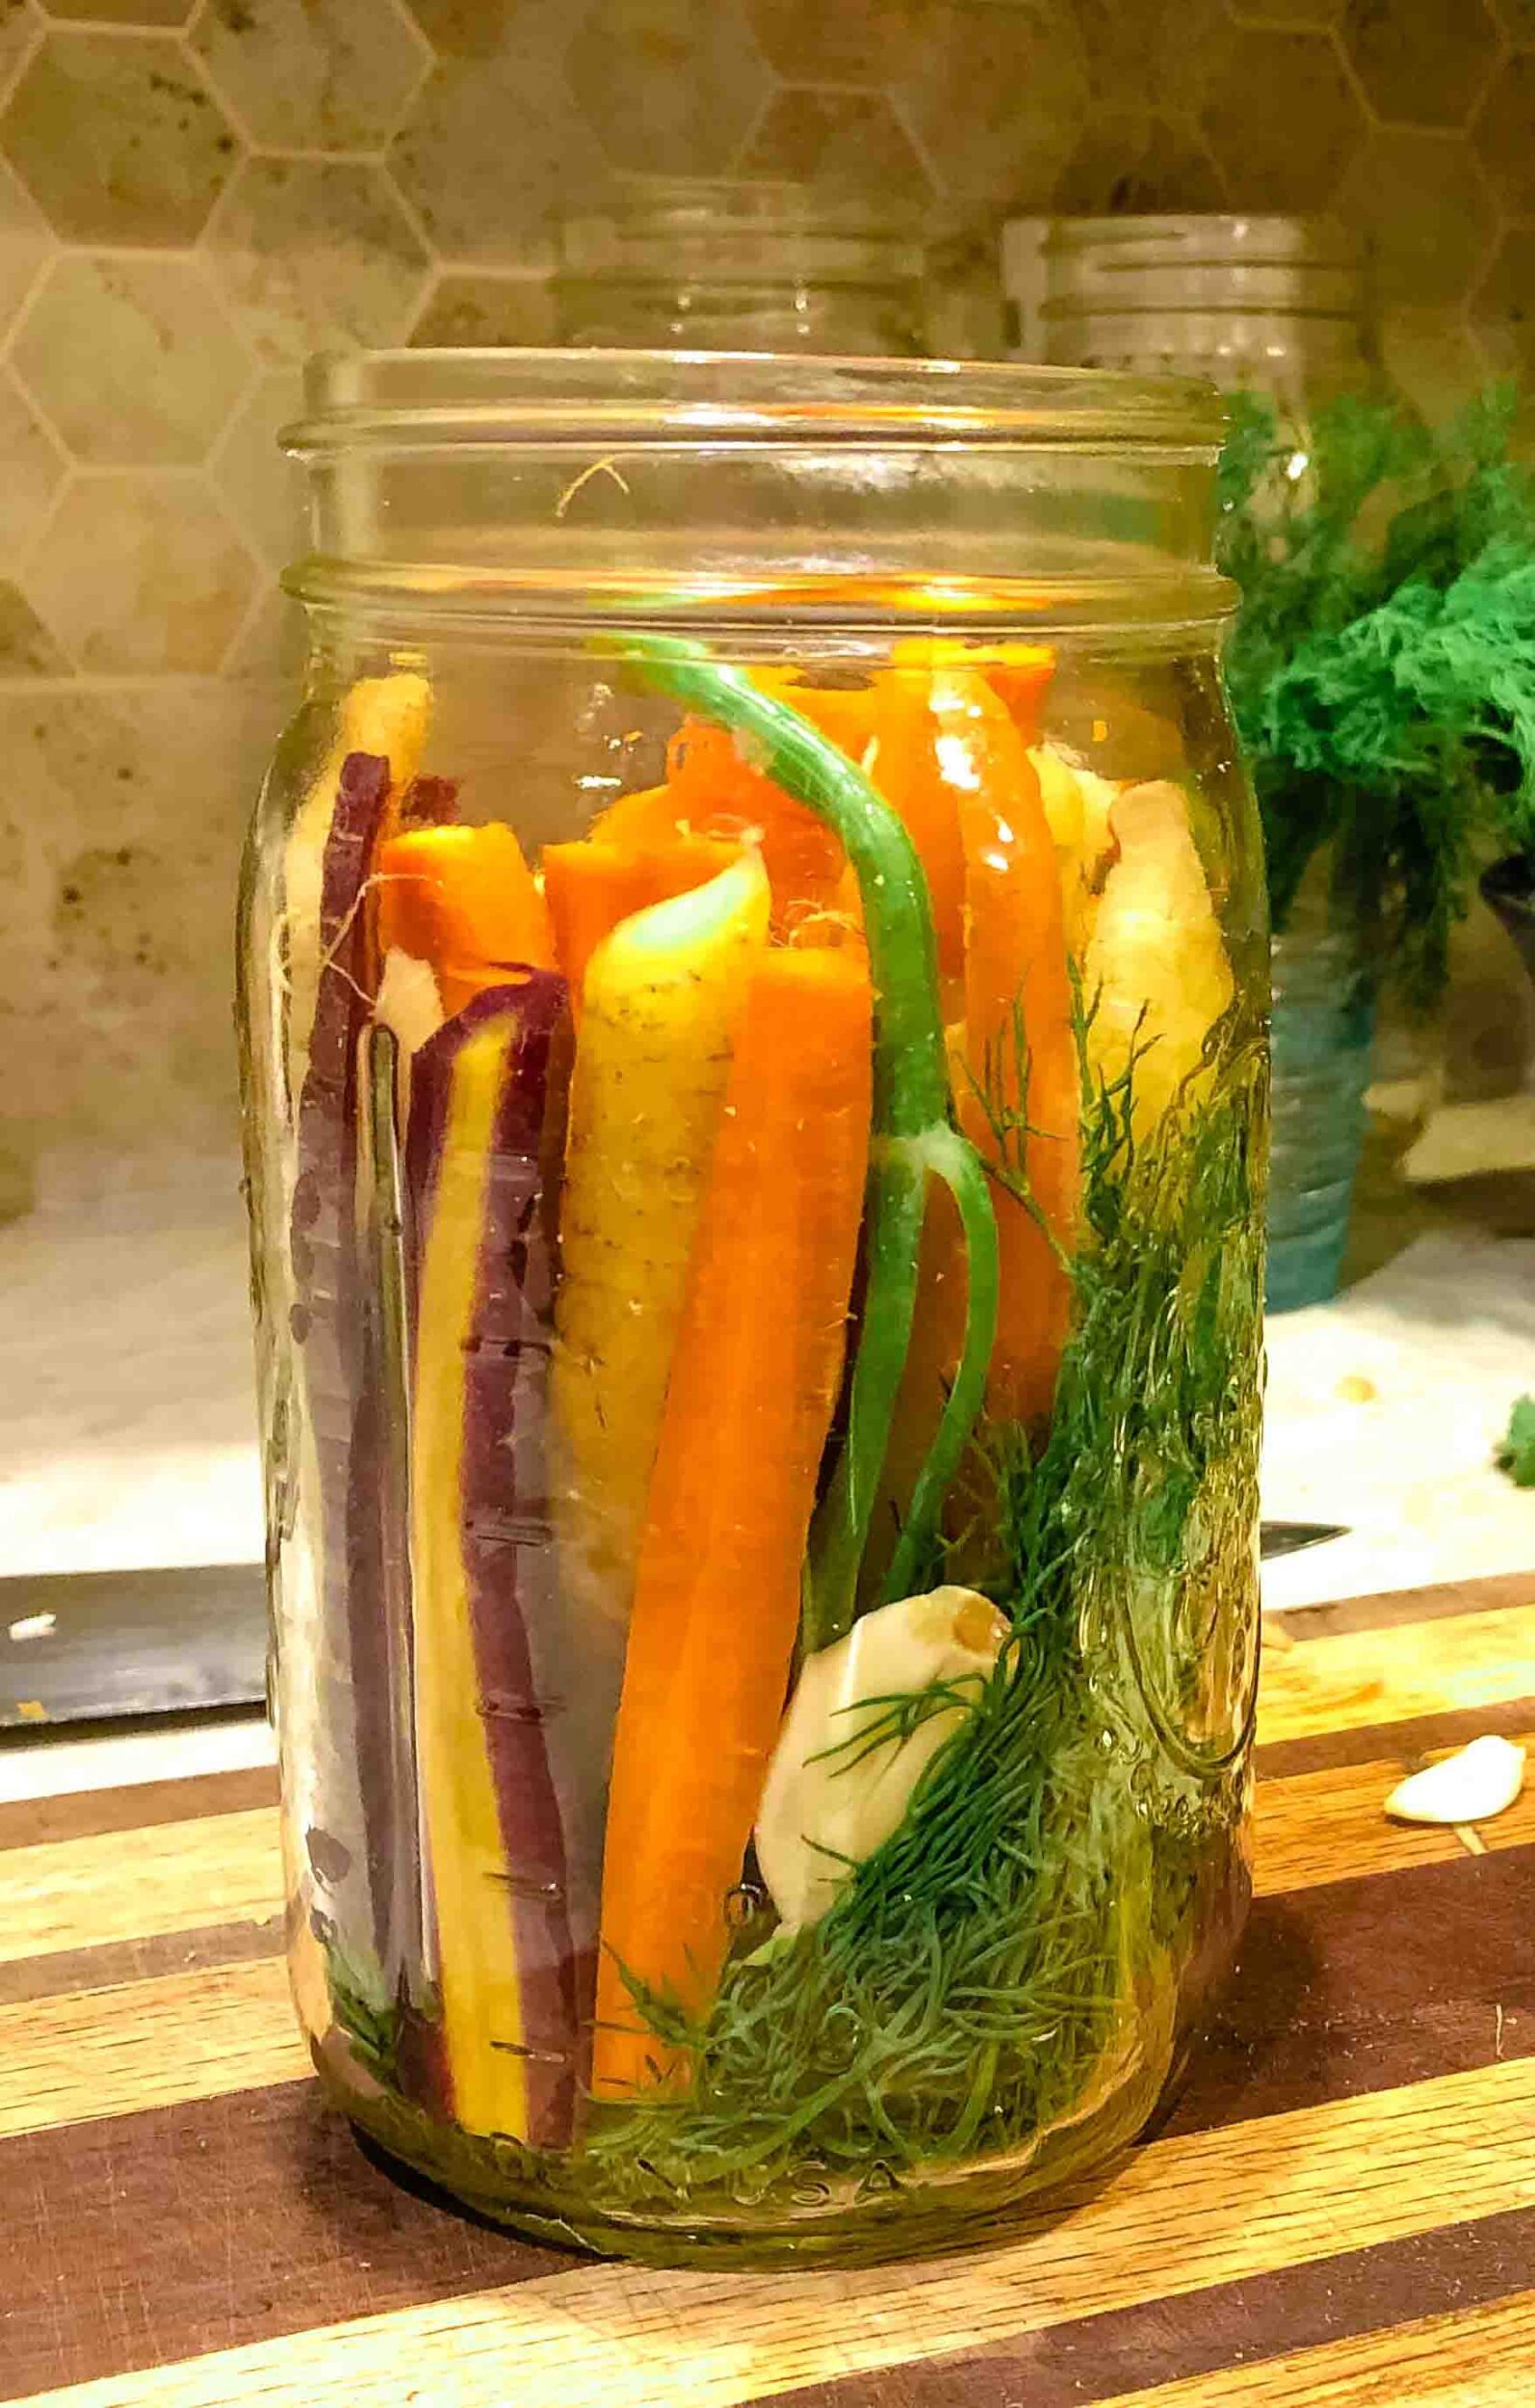
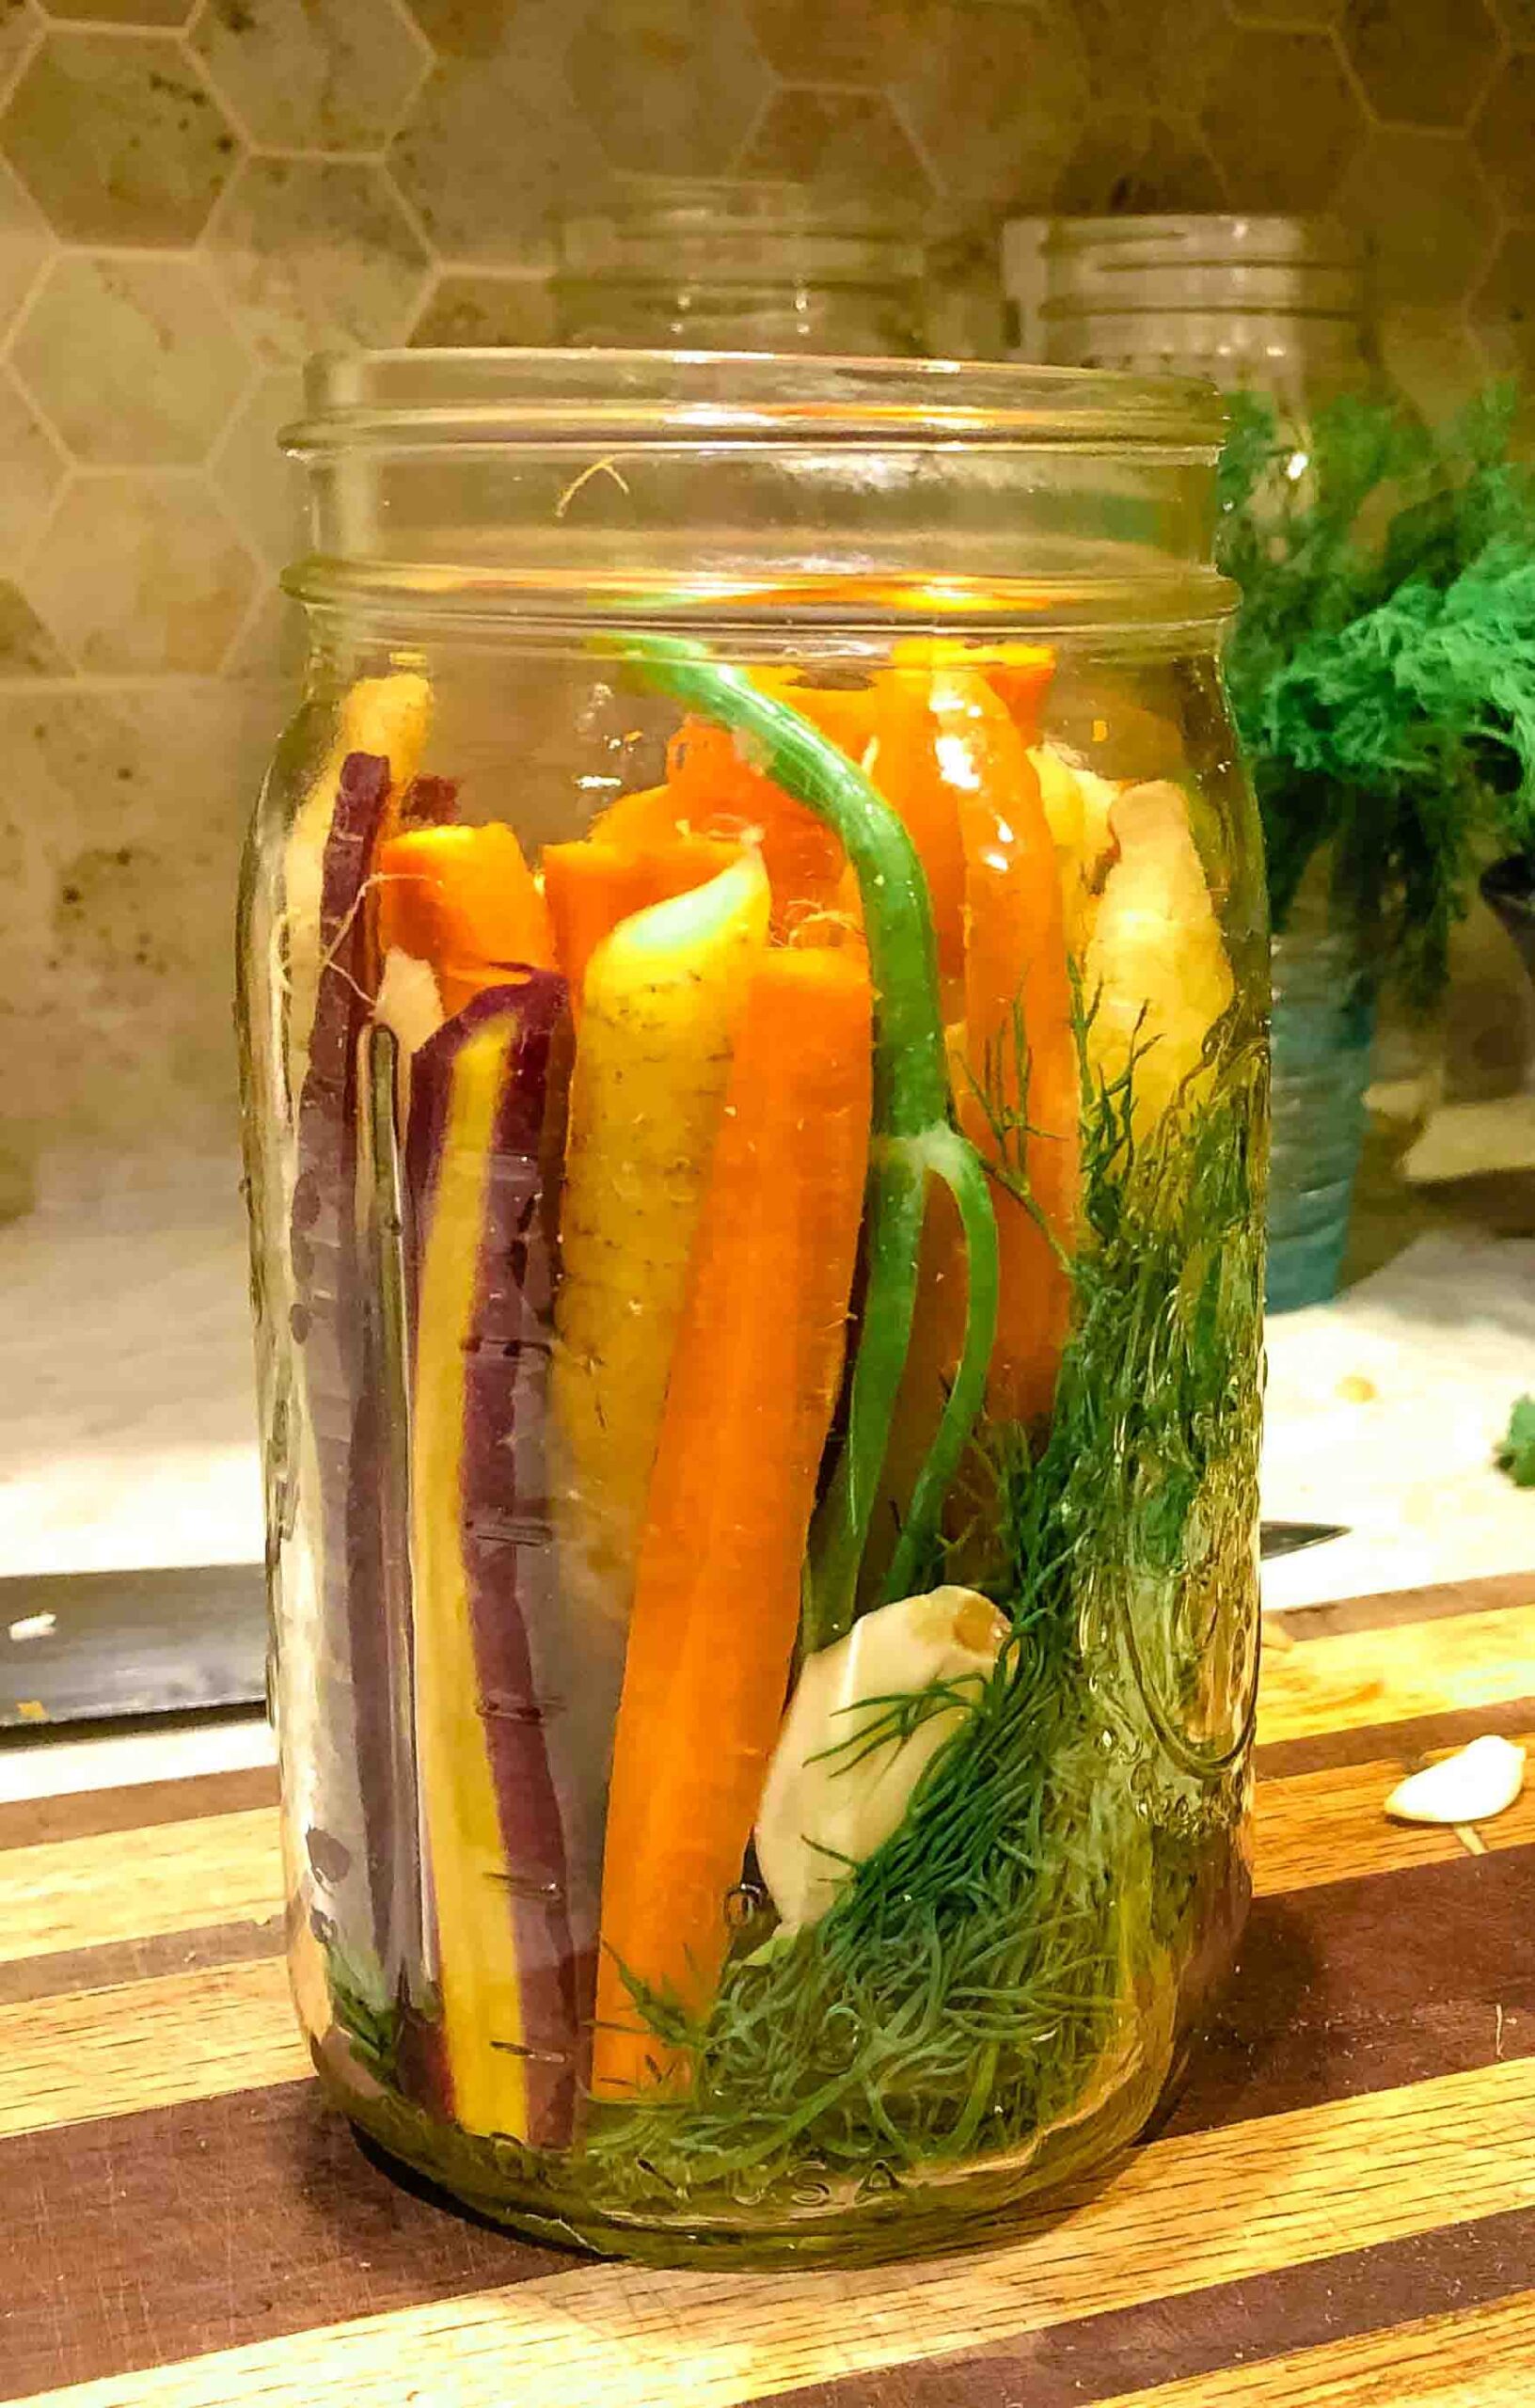
Next, pack the prepared vegetables and any flavorful herbs you want to add into your fermenting vessel. This can be a glass jar or bowl, or a stoneware or ceramic crock- just make sure it’s good and clean! Be sure to pack them in as tightly as you can, so that no pieces will float to the surface.
Optional: Add a bit of juice from a previous successful ferment, or a naturally fermented product like Bubbies or WildBrine. This will kickstart your culture and encourage the right type of microbes to populate the ferment.
3. Time to brine.
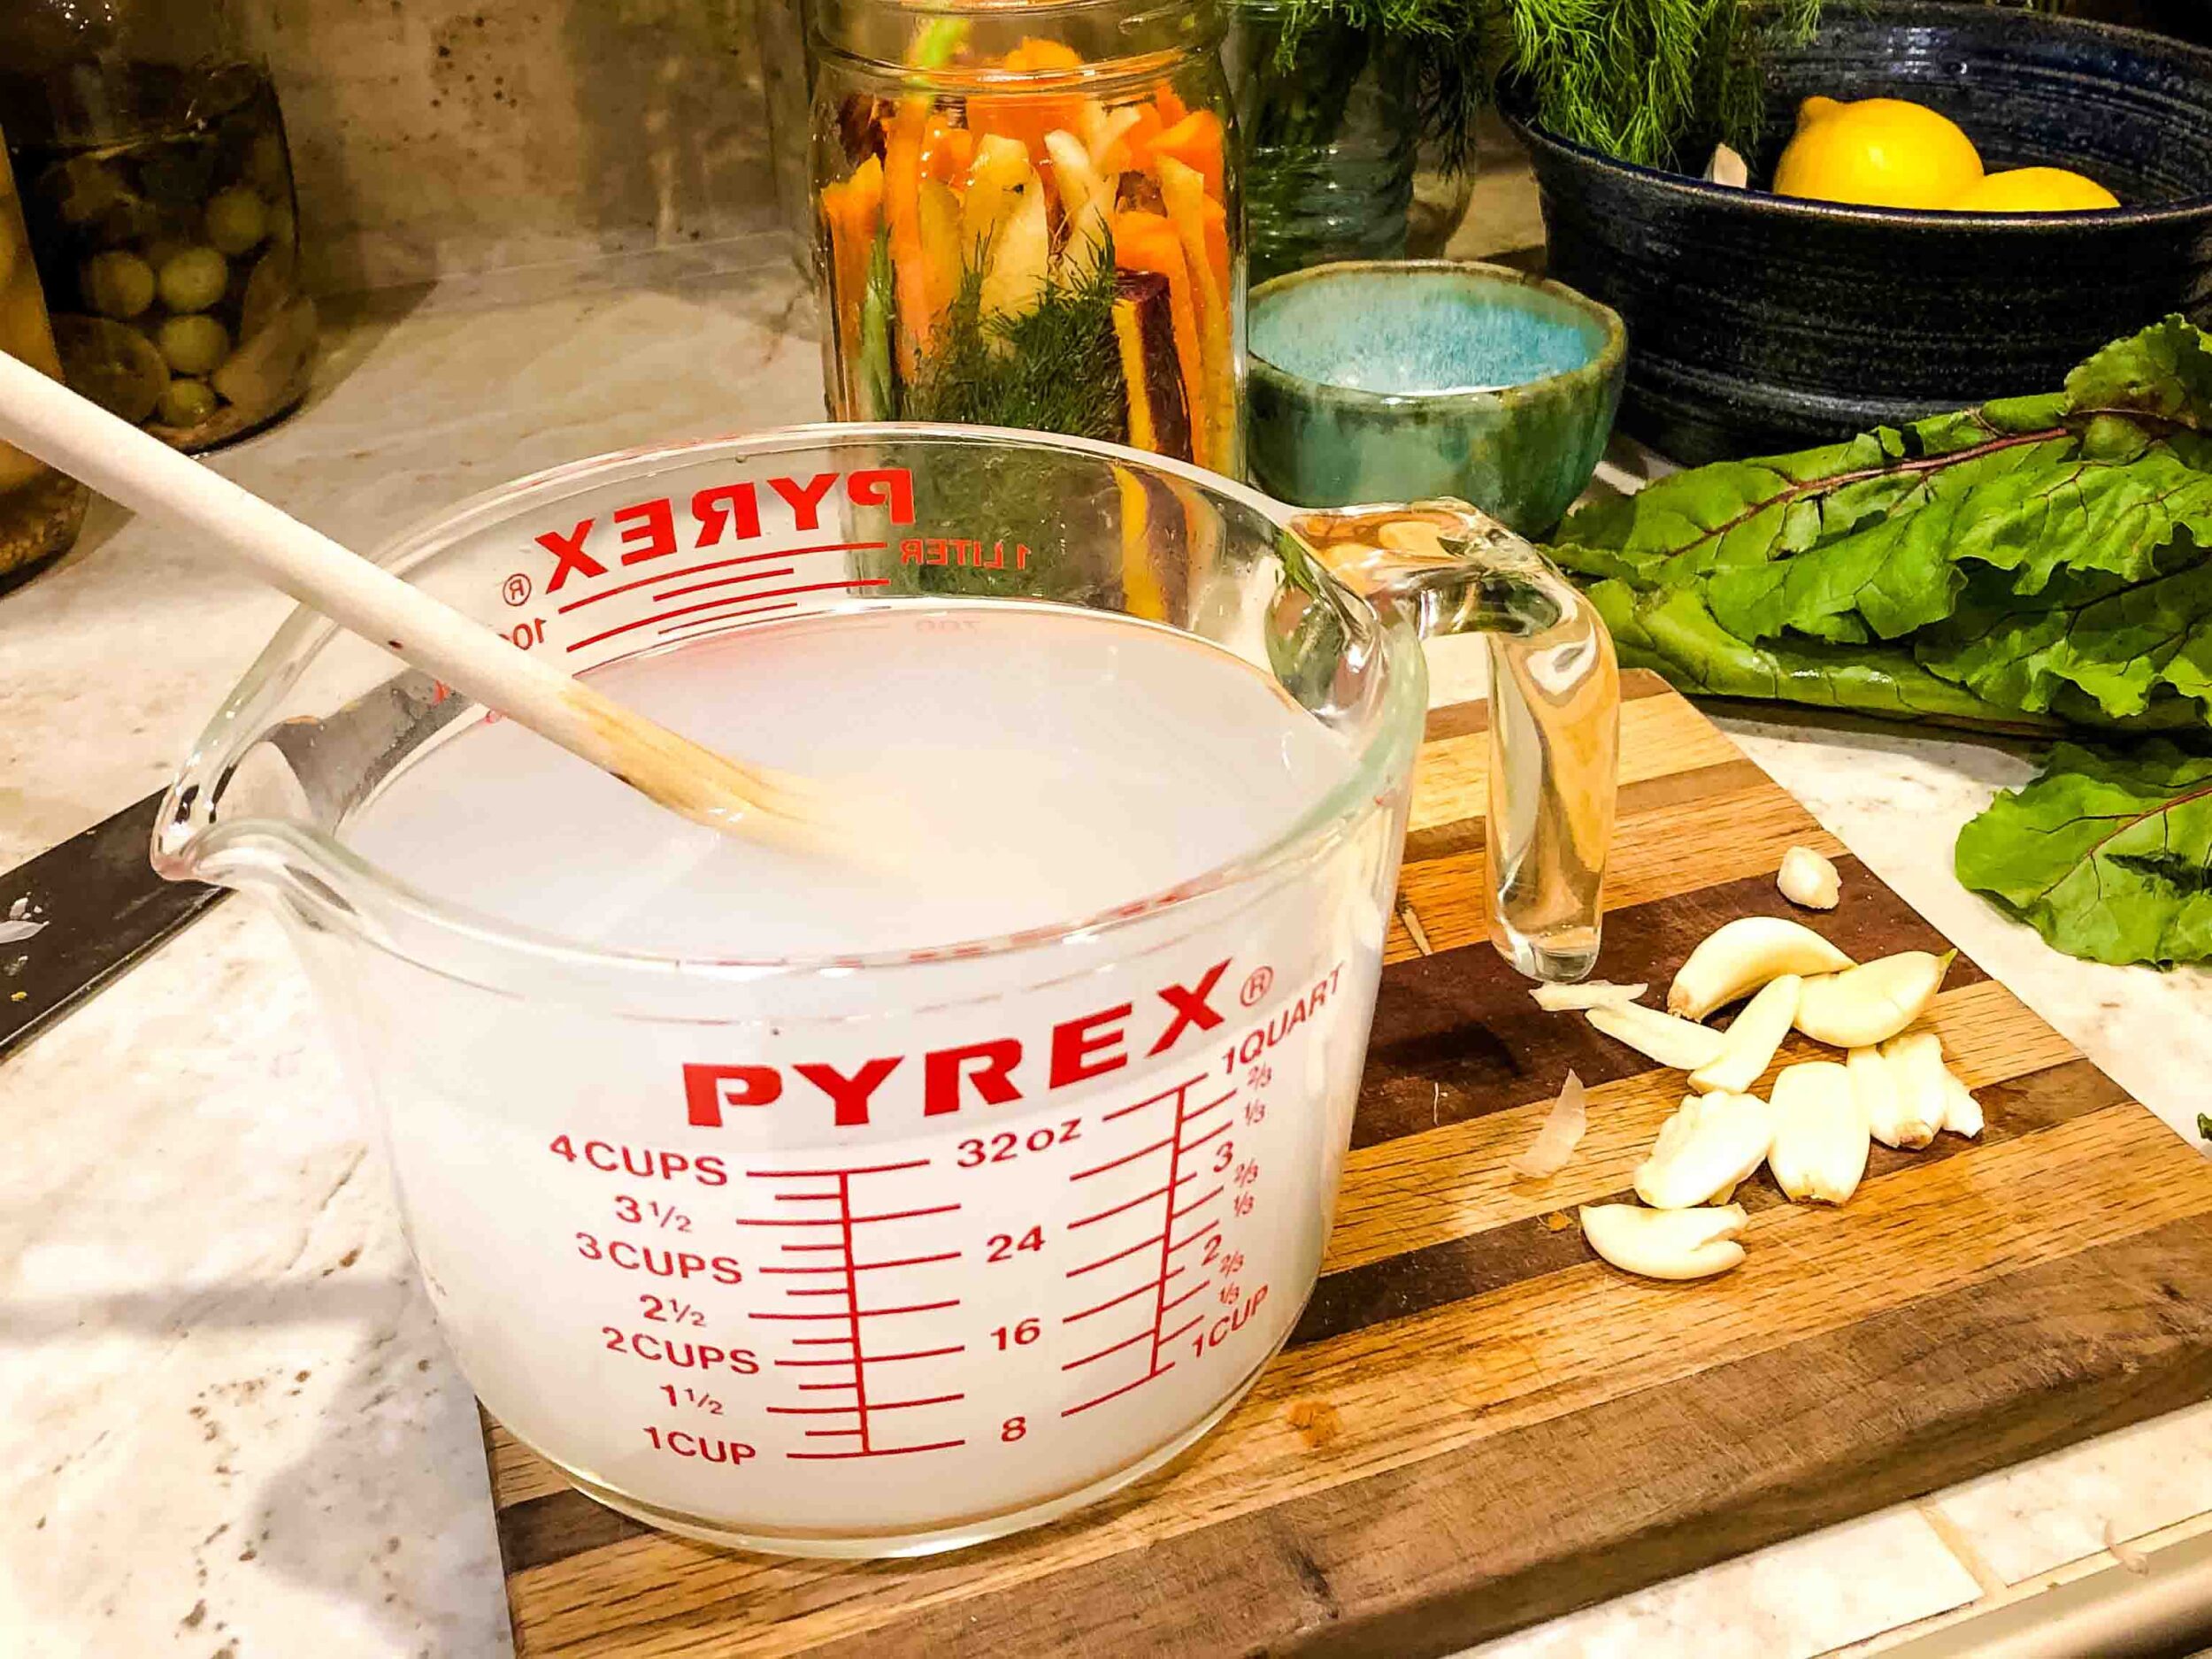
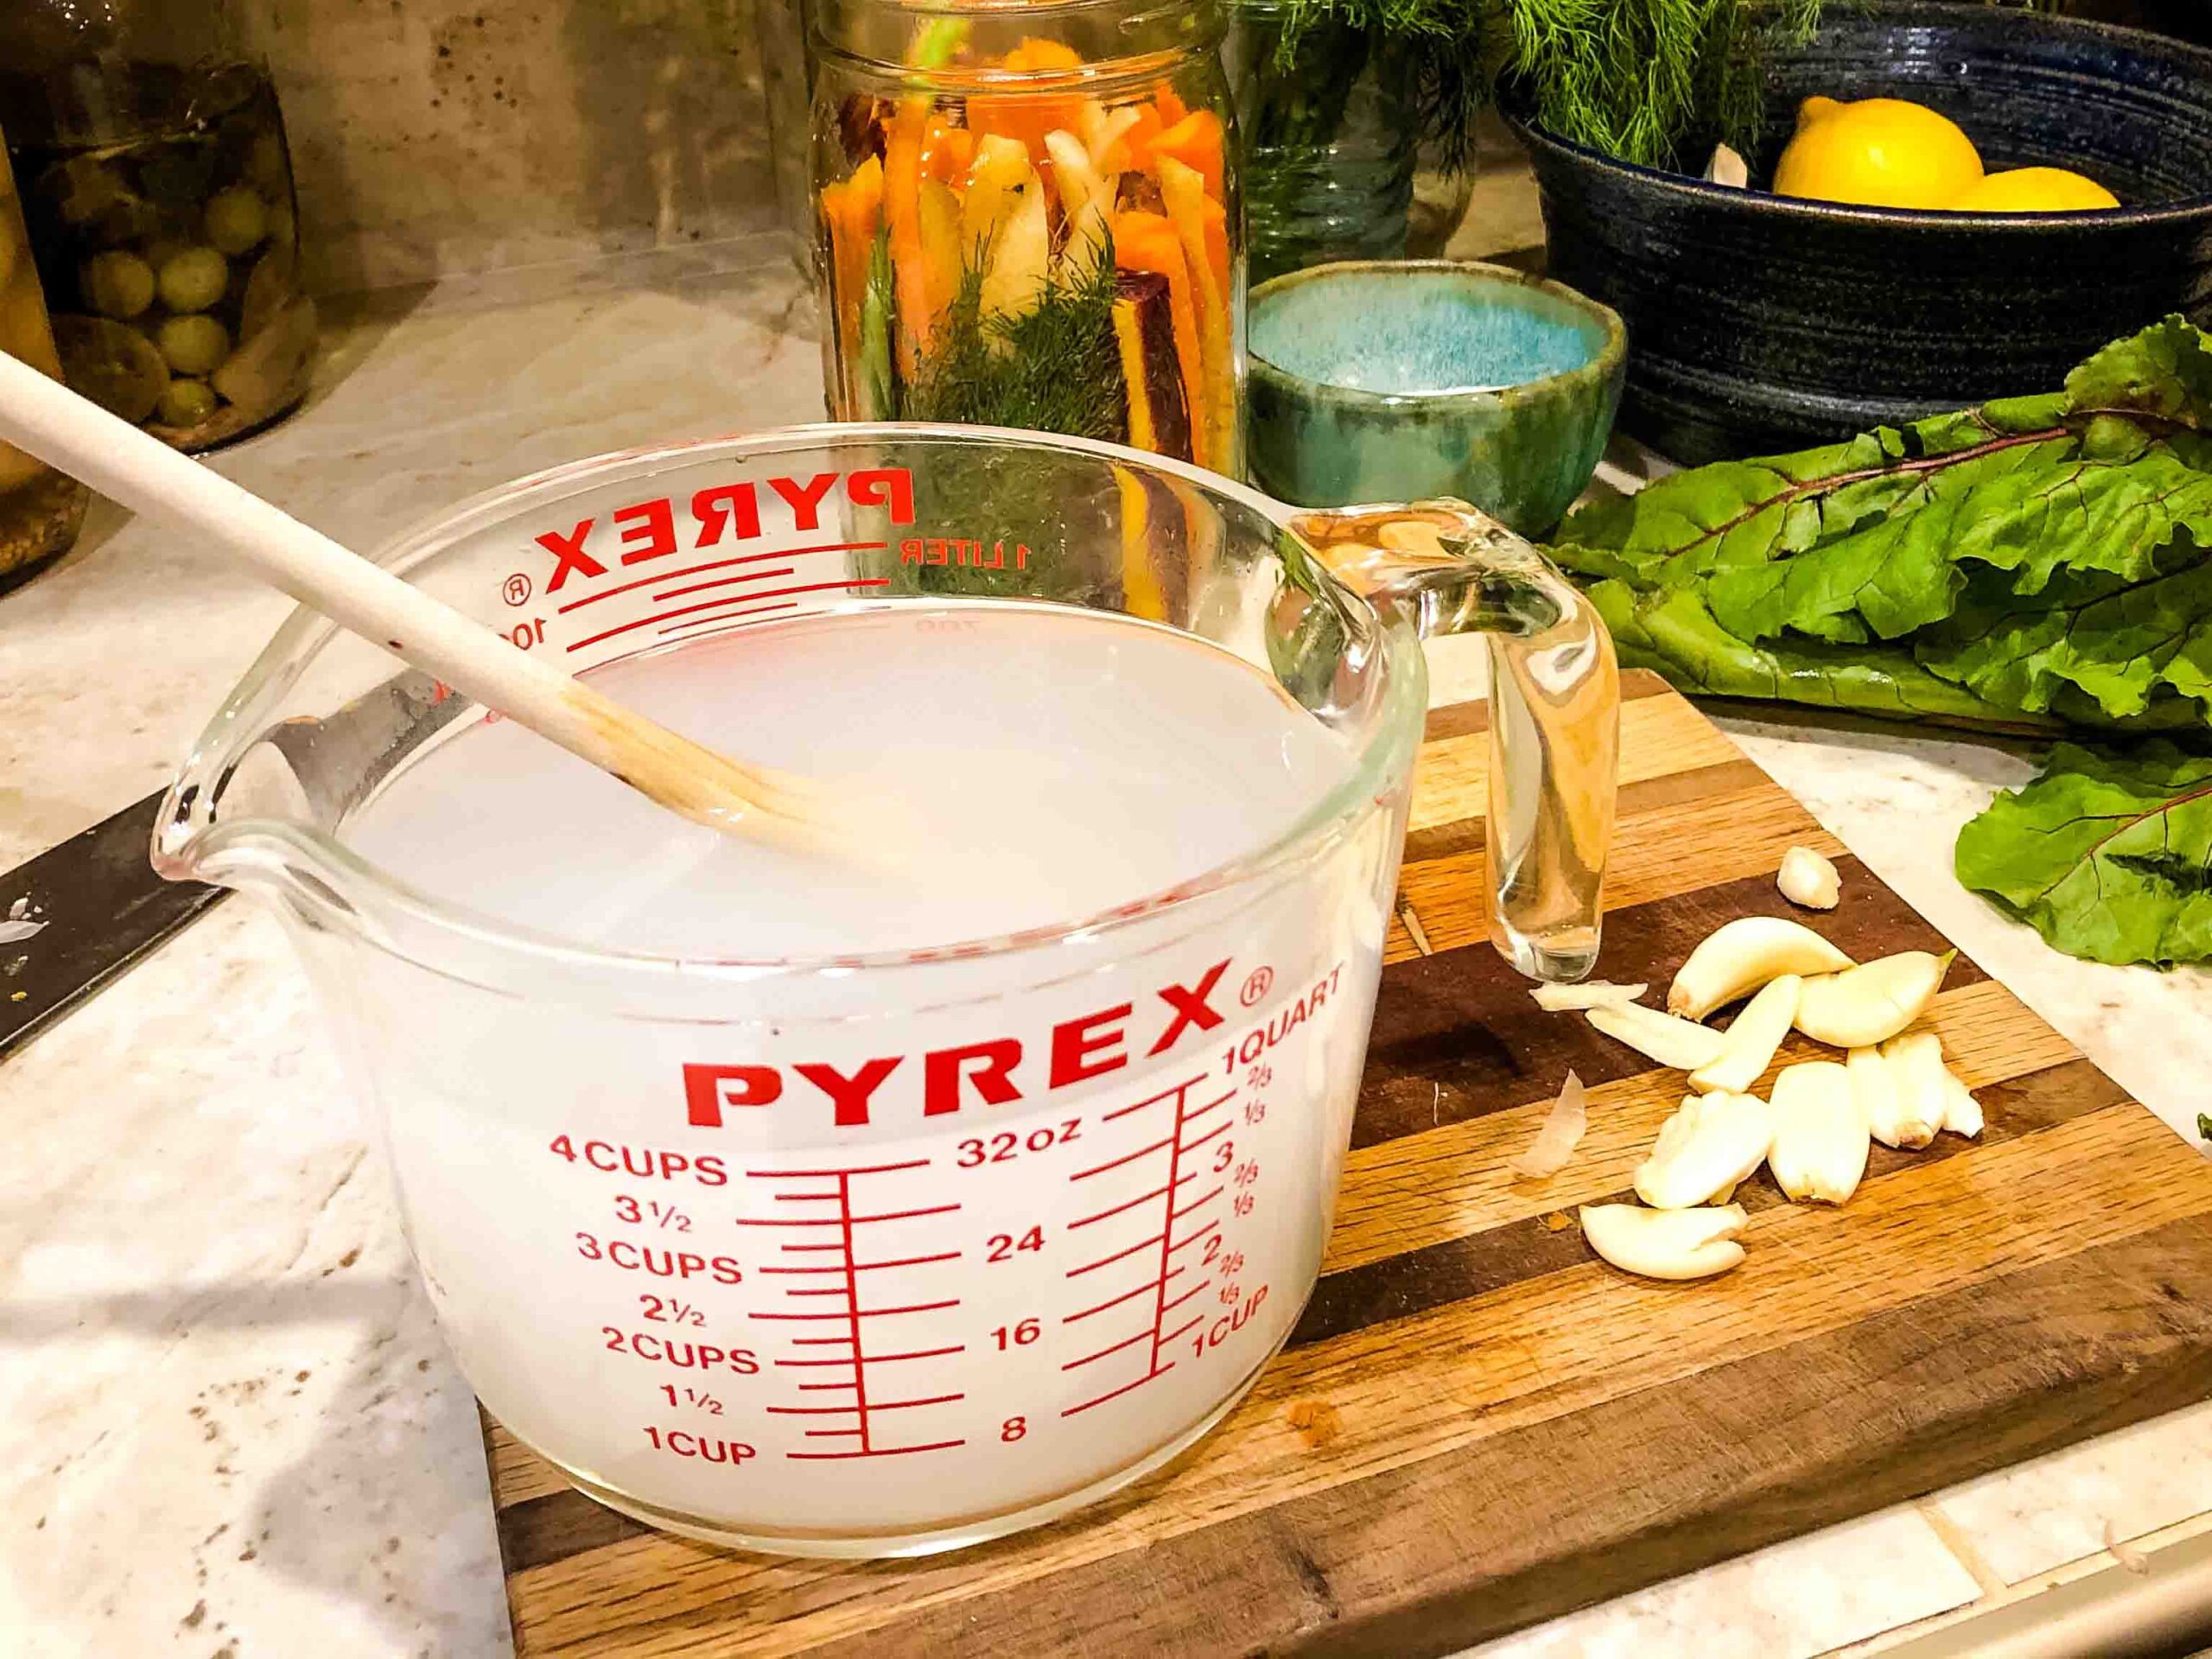
Next, it’s time to mix up some brine to cover the vegetables. Make your brine by dissolving two tablespoons of salt for every four cups of filtered water (room temperature).
Mix up whatever amount of brine you need for the amount of fermented veggies you are making. The salt adds flavor, important nutrients, crispiness, and prevents harmful microbes from growing.
Pour the brine over your packed vegetables. If anything floats to the surface, pack it back down. Also, consider using a clean cabbage leaf or fermentation weight to hold the pieces under the brine, as exposure to air will encourage the development of mold.
4. Choose the right lid.
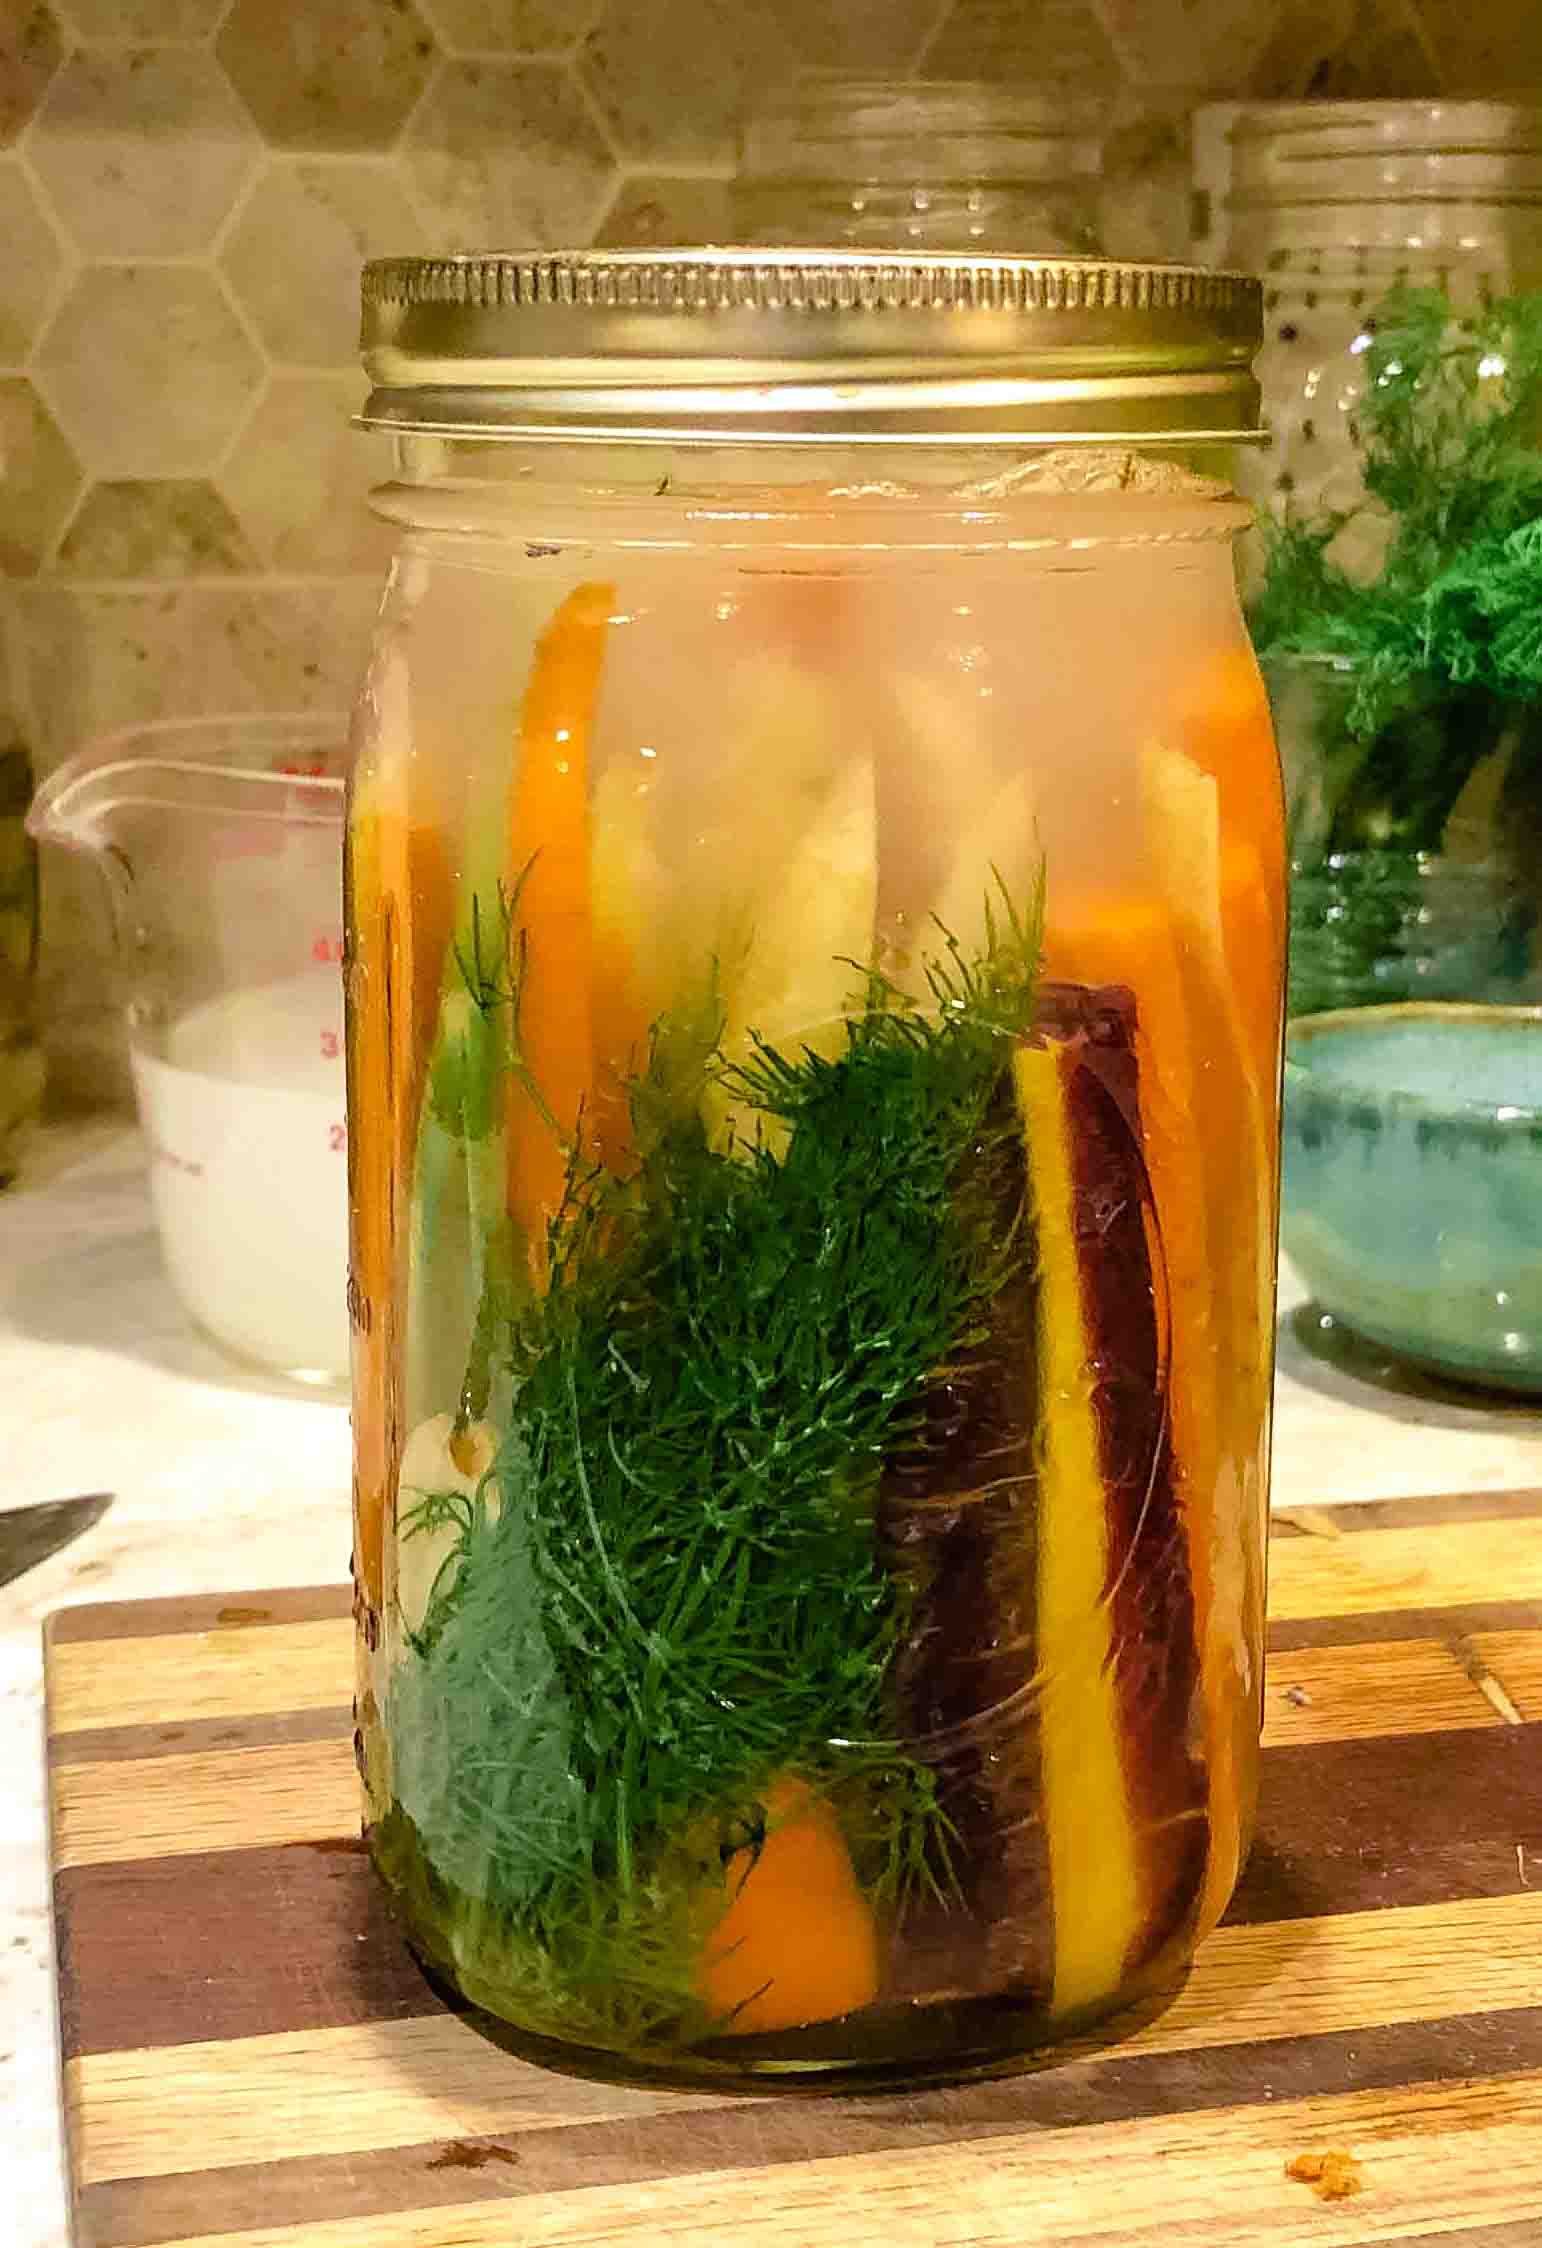
You want a tight seal against unwanted microbes, and your friendly microbes prefer an anaerobic environment. I suggest either using a regular mason jar lid (assuming you used a jar) or an airlock.
If you use a jar lid, be sure to loosen the lid every day to release any gas buildup as your vegetables ferment, as they’ll get very bubbly. (Folks call that “burping” your jars.) Failing to “burp” your jars could result in a busted jar, which we don’t want at all. Using an airlock allows you to avoid that issue entirely, as airlocks are designed to release gas buildup without letting any air back in.
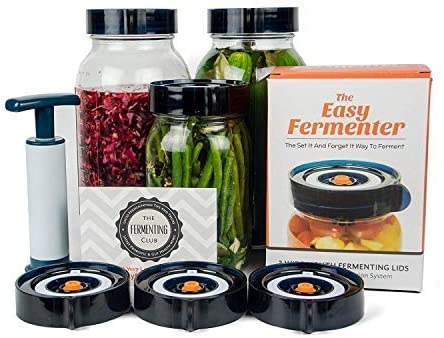
A lot of people love these easy fermenter lids because you can just “set and forget” your ferments!
5. Ferment the veggies.
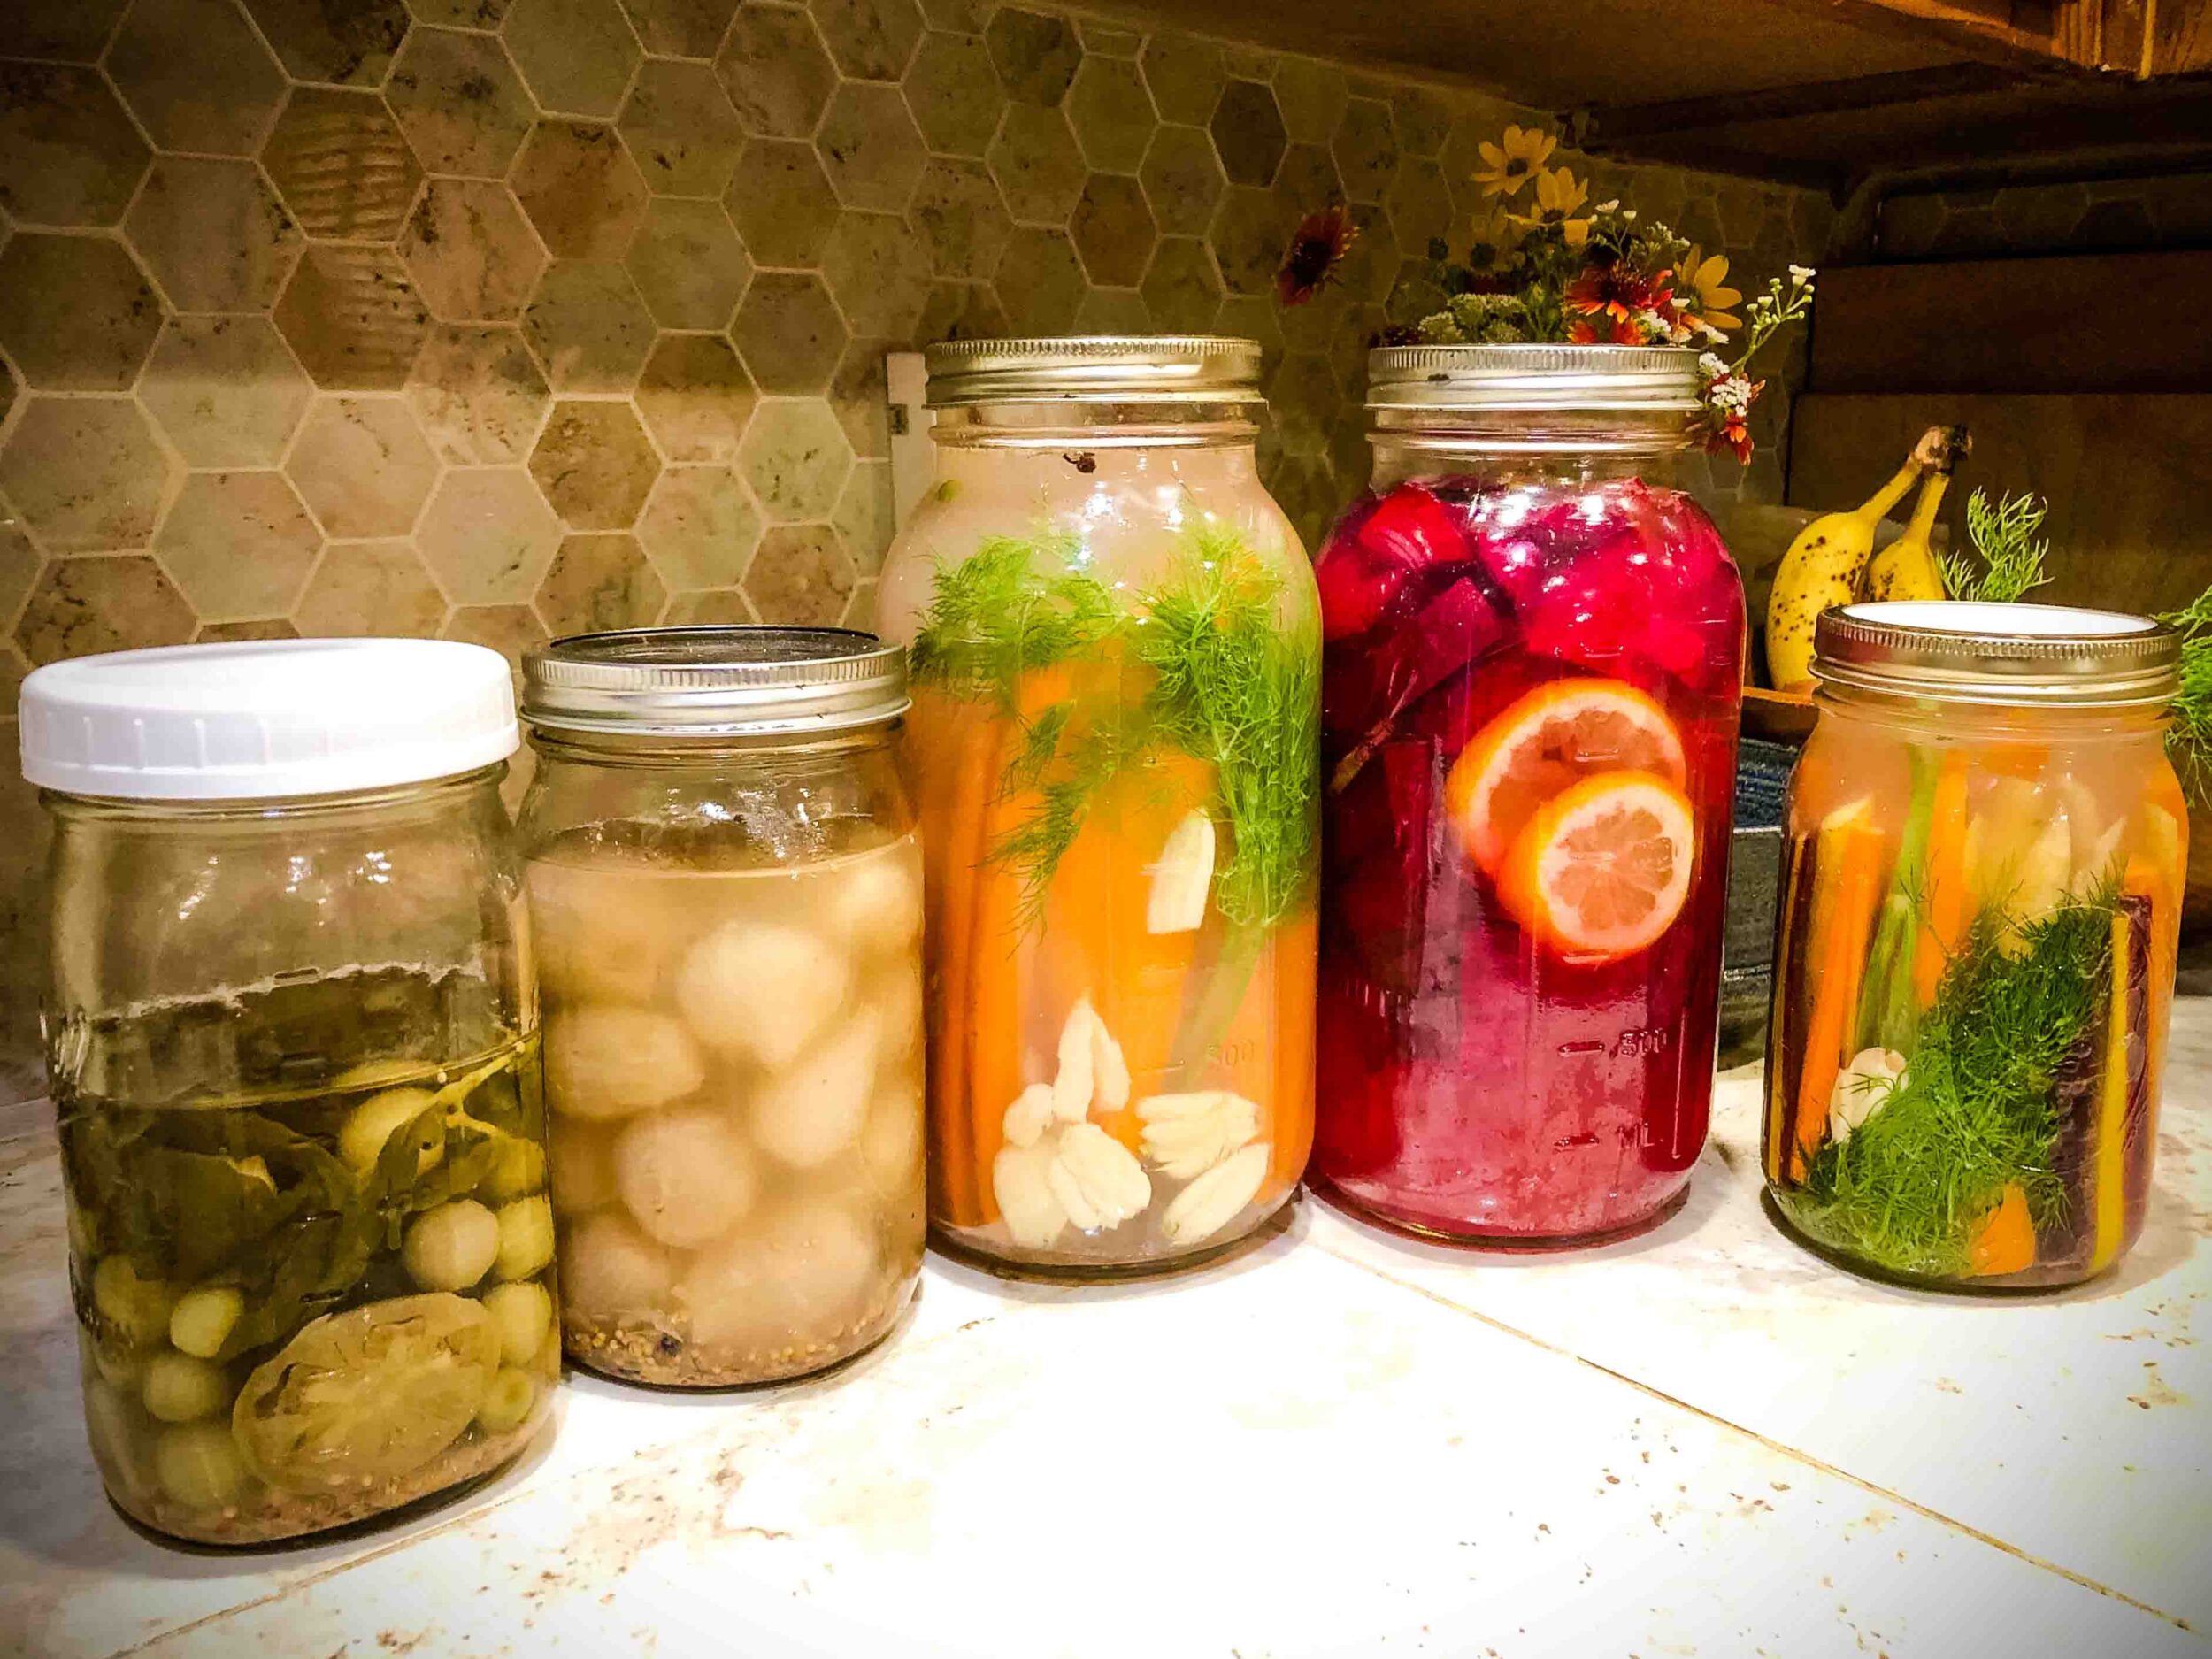
Allow your vegetables to ferment on your counter (or in any safe and warm spot) for at least a week, avoiding direct sunlight exposure. Remember to burp your jars every day!
The longer you ferment your veggies, the more the flavor and nutrition they will develop. Ferments one quart or smaller will generally take a week or two to ferment. Larger ferments could take anywhere from a couple weeks to several months!
After a week or two, go ahead and try your ferment to see how it tastes. It should have a nice, pleasantly sour, acidic taste and smell. If you like the taste as it is, they’re ready!
For a stronger taste, check it again in a few days. If your ferment tastes or smells putrid, something went wrong and you shouldn’t eat it. Same goes for visible fuzzy mold growth.
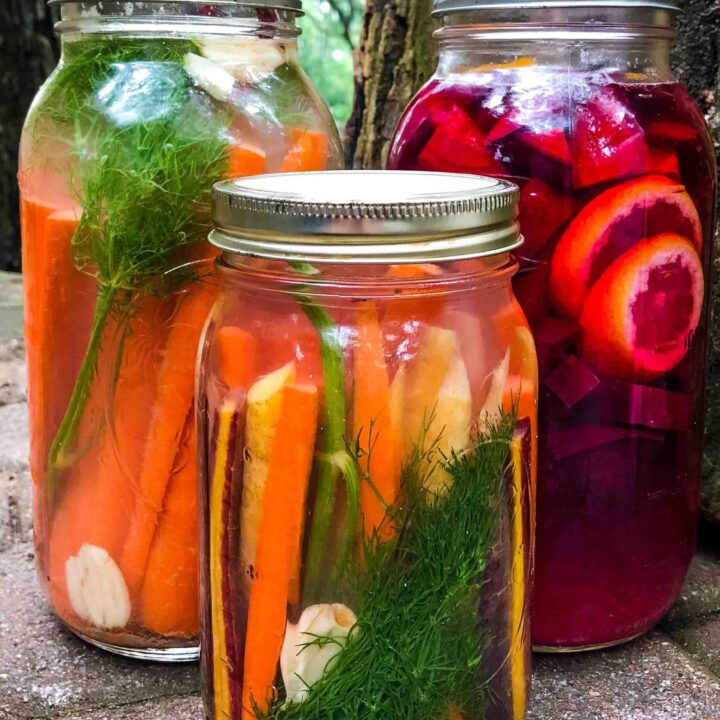
Easy Lacto-Fermented Vegetables
Lacto-fermented vegetables sound intimidating, but they're actually very easy to make! Just follow these step-by-step directions and you'll be enjoying your very own probiotic rich veggies in no time.
Ingredients
- 3-4 cups chopped firm vegetables of choice (like carrots, beets, cauliflower, etc.)
- 2 garlic cloves
- 2 Tbsp. natural sea salt (like Celtic)
- 1 quart filtered water
- Fresh herbs of choice (optional)
- 1 tsp. red pepper flakes (optional)
Instructions
Source any good quality vegetables that you’d like to ferment. Great options include carrots, pickling cucumbers, hot peppers, small onions, cauliflower, garlic, beets, and cabbage. Also consider fresh herbs for flavor.
Decide what texture you would like your ferment to have. You can slice, grate, crush, or even ferment your vegetables whole, depending on your choice of vegetable.
Next, pack the prepared vegetables, garlic cloves, and any flavorful herbs you want to add into your fermenting vessel. Add red pepper flakes if you like spice. You can frement in a glass jar or bowl, or a stoneware or ceramic crock- just make sure it’s good and clean! Be sure to pack them in as tightly as you can, so that no pieces will float to the surface.
Mix up a brine by dissolving two tablespoons of good quality sea salt for every four cups(1 quart) of filtered water (room temperature). Mix up whatever amount of brine you need for the amount of fermented veggies you are making.
Pour the brine over your packed vegetables. If anything floats to the surface, pack it back down. Also, consider using a clean cabbage leaf or fermentation weight to hold the pieces under the brine, as exposure to air will encourage the development of mold.
Screw the jar lid on tightly, and be sure to loosen the lid every day ("burp" the jars) to release any gas buildup as your vegetables ferment. Using an airlock lid allows you to avoid that issue entirely, as airlocks are designed to release gas buildup without letting any air back in. Many love easy fermenter lids because you can just "set and forget".
Ferment vegetables on your counter (or in any safe warm spot) for at least a week, avoiding direct sunlight exposure. Ferments one quart or smaller will generally take 1-2 weeks to ferment. Larger ferments could take anywhere from a couple weeks to a month or more.
After a week, try your ferment to see how it tastes. It should have a nice, pleasantly sour, acidic taste and smell. If you like the taste as it is, your ferment is ready! If you'd like it to develop a stronger taste, check it again in a few days.
Recommended Products
As an Amazon Associate and member of other affiliate programs, I earn from qualifying purchases.
What are the best fermented vegetables? Best Vegetables to Use
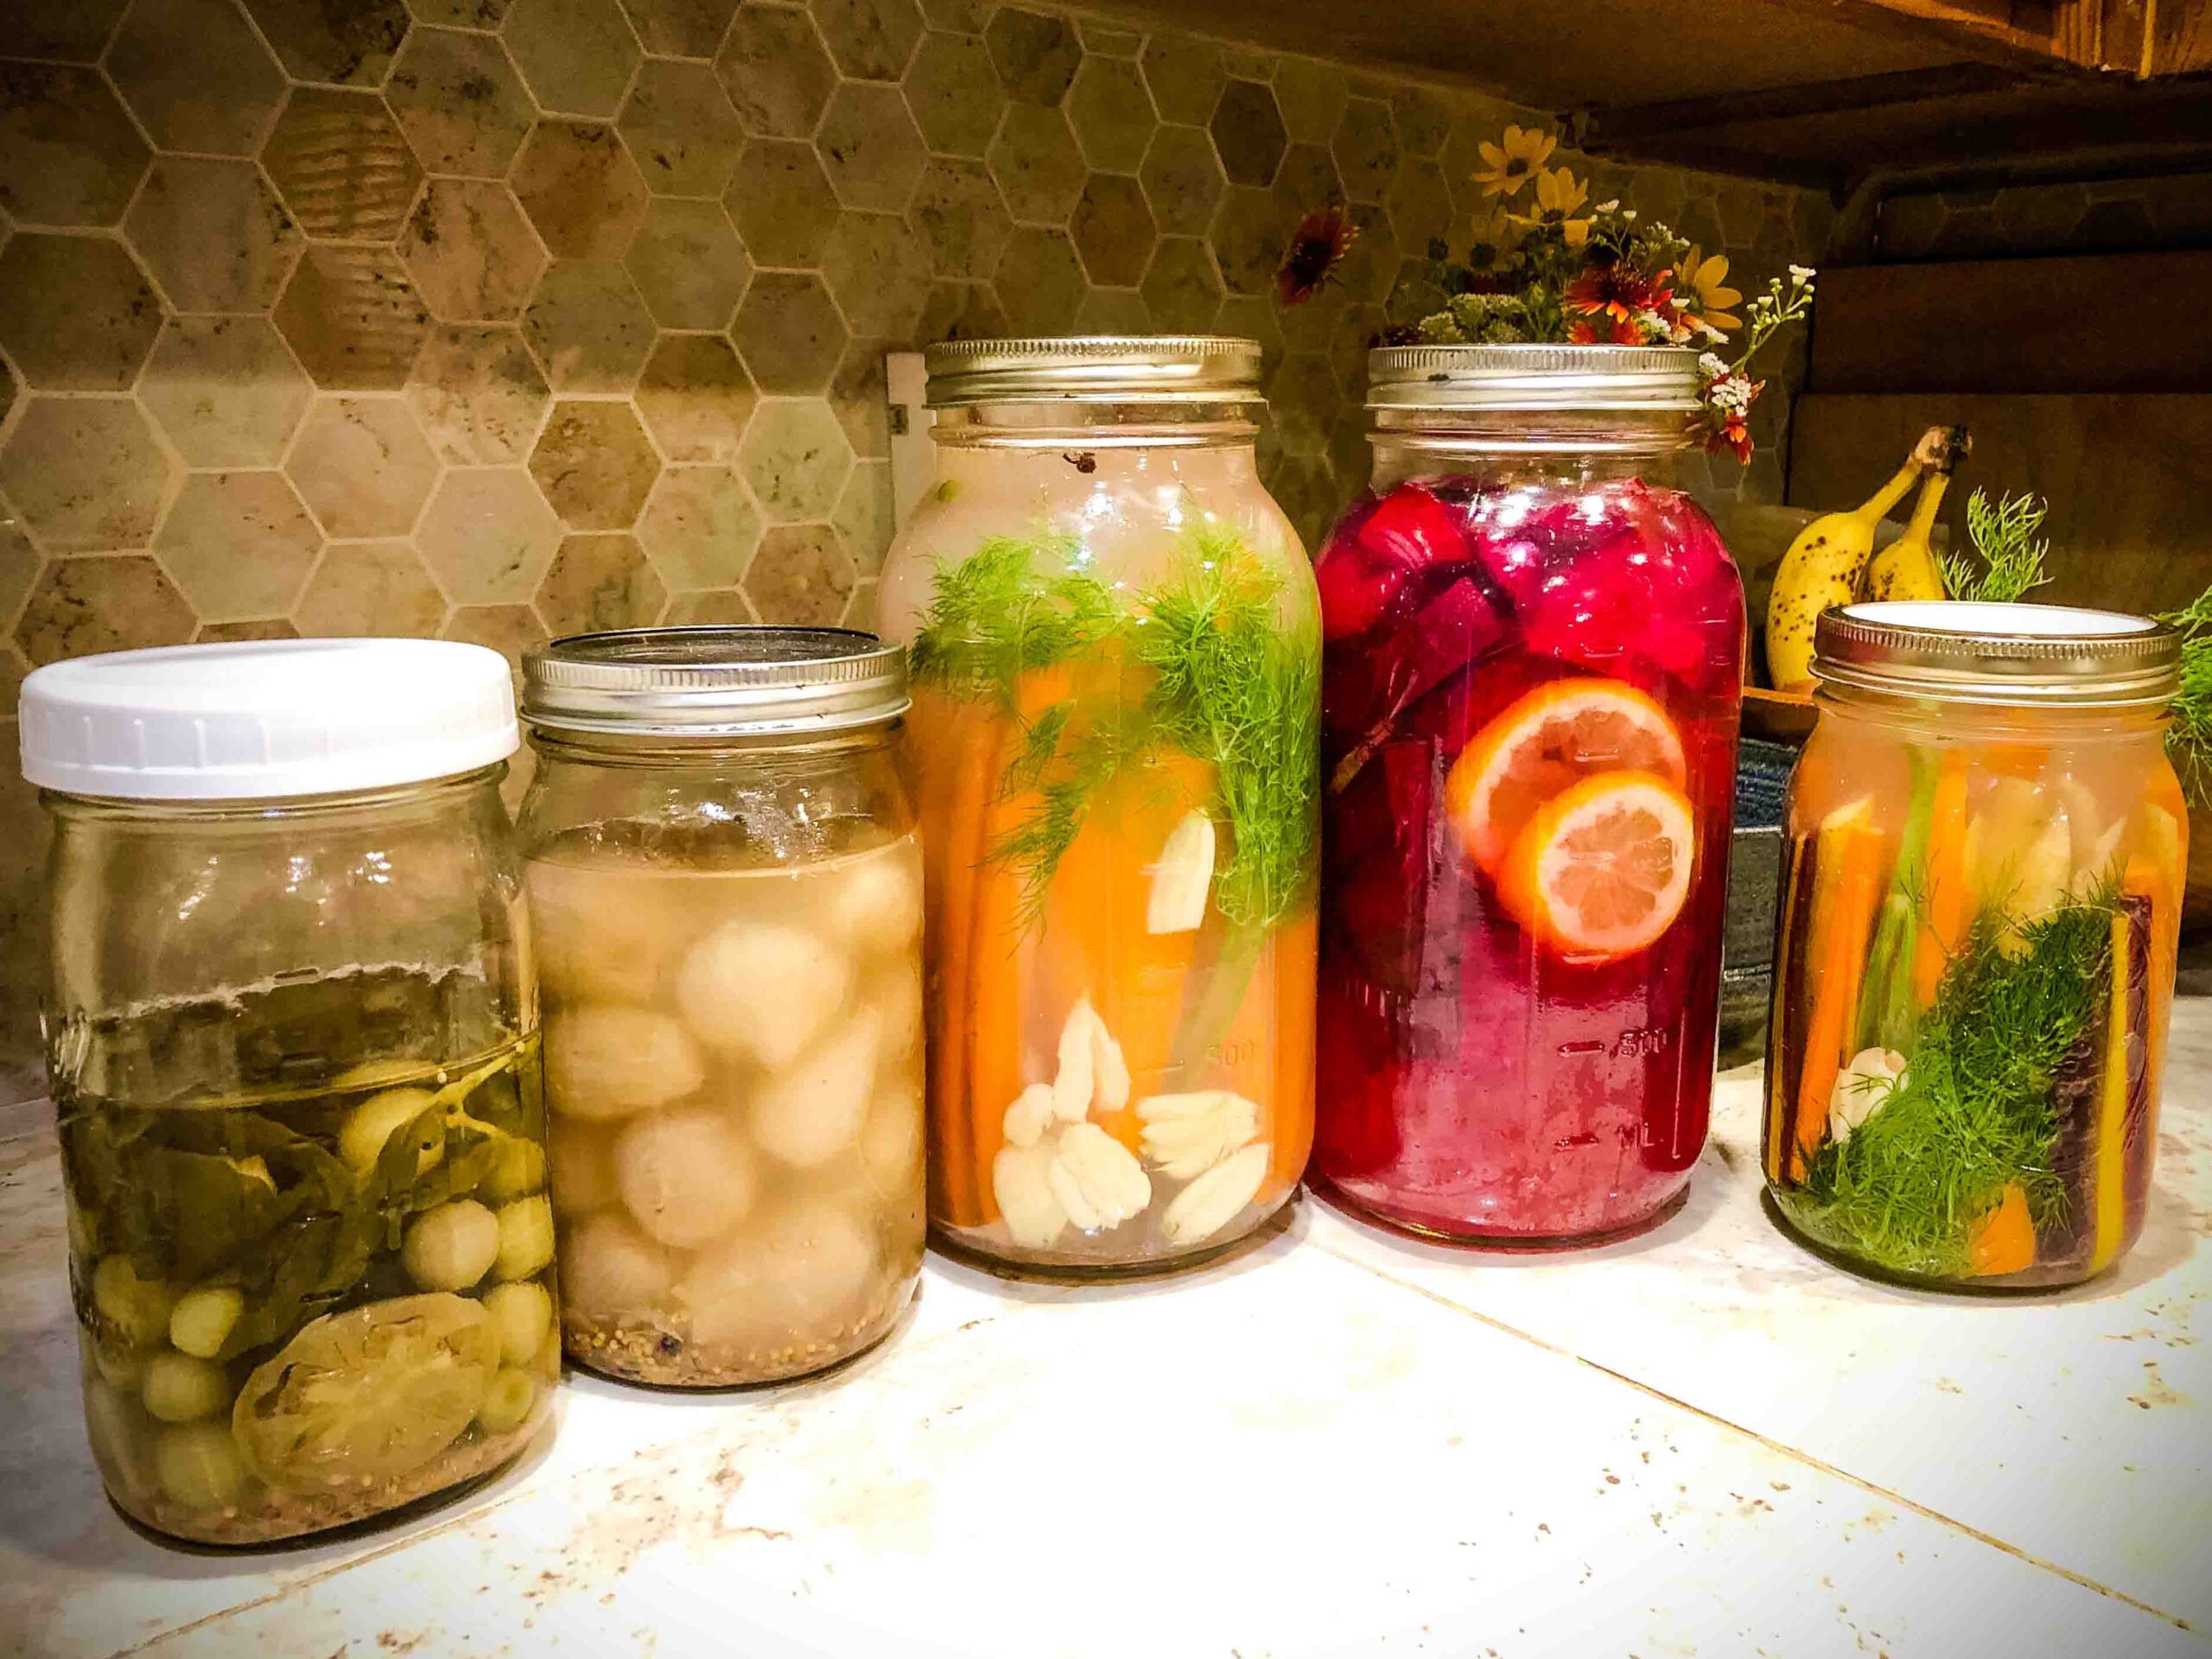
My go-to quick and easy veggie ferments are carrot sticks and beet kvass. Carrot sticks are tasty and versatile snacks and can be flavored in so many different ways- jalapenos, garlic, ginger, dill, you name it!
The term “beet kvass” actually refers to the beet juice infused brine of a simple beet ferment, which is used traditionally as a tonic for liver support and health. I love drinking beet kvass, and then eating the fermented beets themselves in salads or as a snack on their own.
I also love to combine in-season vegetables in unique blends. Last year, I made a jar of little green tomatoes (which I had accidentally knocked off my tomato plants when pruning) with basil (also from the garden) and garlic. Making your own fermented hot sauce from your favorite spicy peppers is also really easy!
Are there any veggies I should avoid fermenting?
While there aren’t any vegetables that are dangerous to ferment, sticking with produce that has structure will give you a much more crisp and enjoyable end product.
For example, pickling cucumbers make a much better pickle than, say, English cucumbers, because pickling cucumbers are developed to be a bit tougher. And, maybe broccoli wouldn’t be the best idea, since it’s super soft and very smelly when fermented, ha.
Ultimately, it’s up to you to decide which varieties of vegetables you love to ferment! Just steer clear of produce that is poor quality, old, or rotten, which is guaranteed to give you an undesirable end product.
Whether you have fermented carrot sticks with your lunch, sip on beet kvass, or dip your chips in fermented salsa, experimenting with different vegetables and herbs will give you and your family an endless supply of new flavors and nutrients to explore!
Have you fermented vegetables before? Tell me about your creations in the comments below, or show me by tagging me on Instagram: @holistic_homemaking
PIN IT!




Hi, thank you for such wonderful information on fermenting foods at home. Have you ever tried fermenting fruit? I am brand new to this but I swear I heard some thing about fermented pineapple so I can’t find much on the Internet except for a drink that might be worth a try but I’m curious about fermenting fruit, is the natural sugar a problem, I wonder?
I have not fermented fruit personally, but my guess would be that the sugars present in fruit would create more alcohol in the final product. I would look online to see if you can find more recipes or information. Traditional cooking school is a great resource.