Learning how to cut boys hair doesn’t have to be difficult. A little info and practice can save you a LOT of money. At first, I was intimidated to learn how to do a boys haircut, but decided to give it a try. I’m so glad I did!
All you need for a professional-looking DIY boys haircut is patience and a little practice. Also, letting go of perfectionism is key.
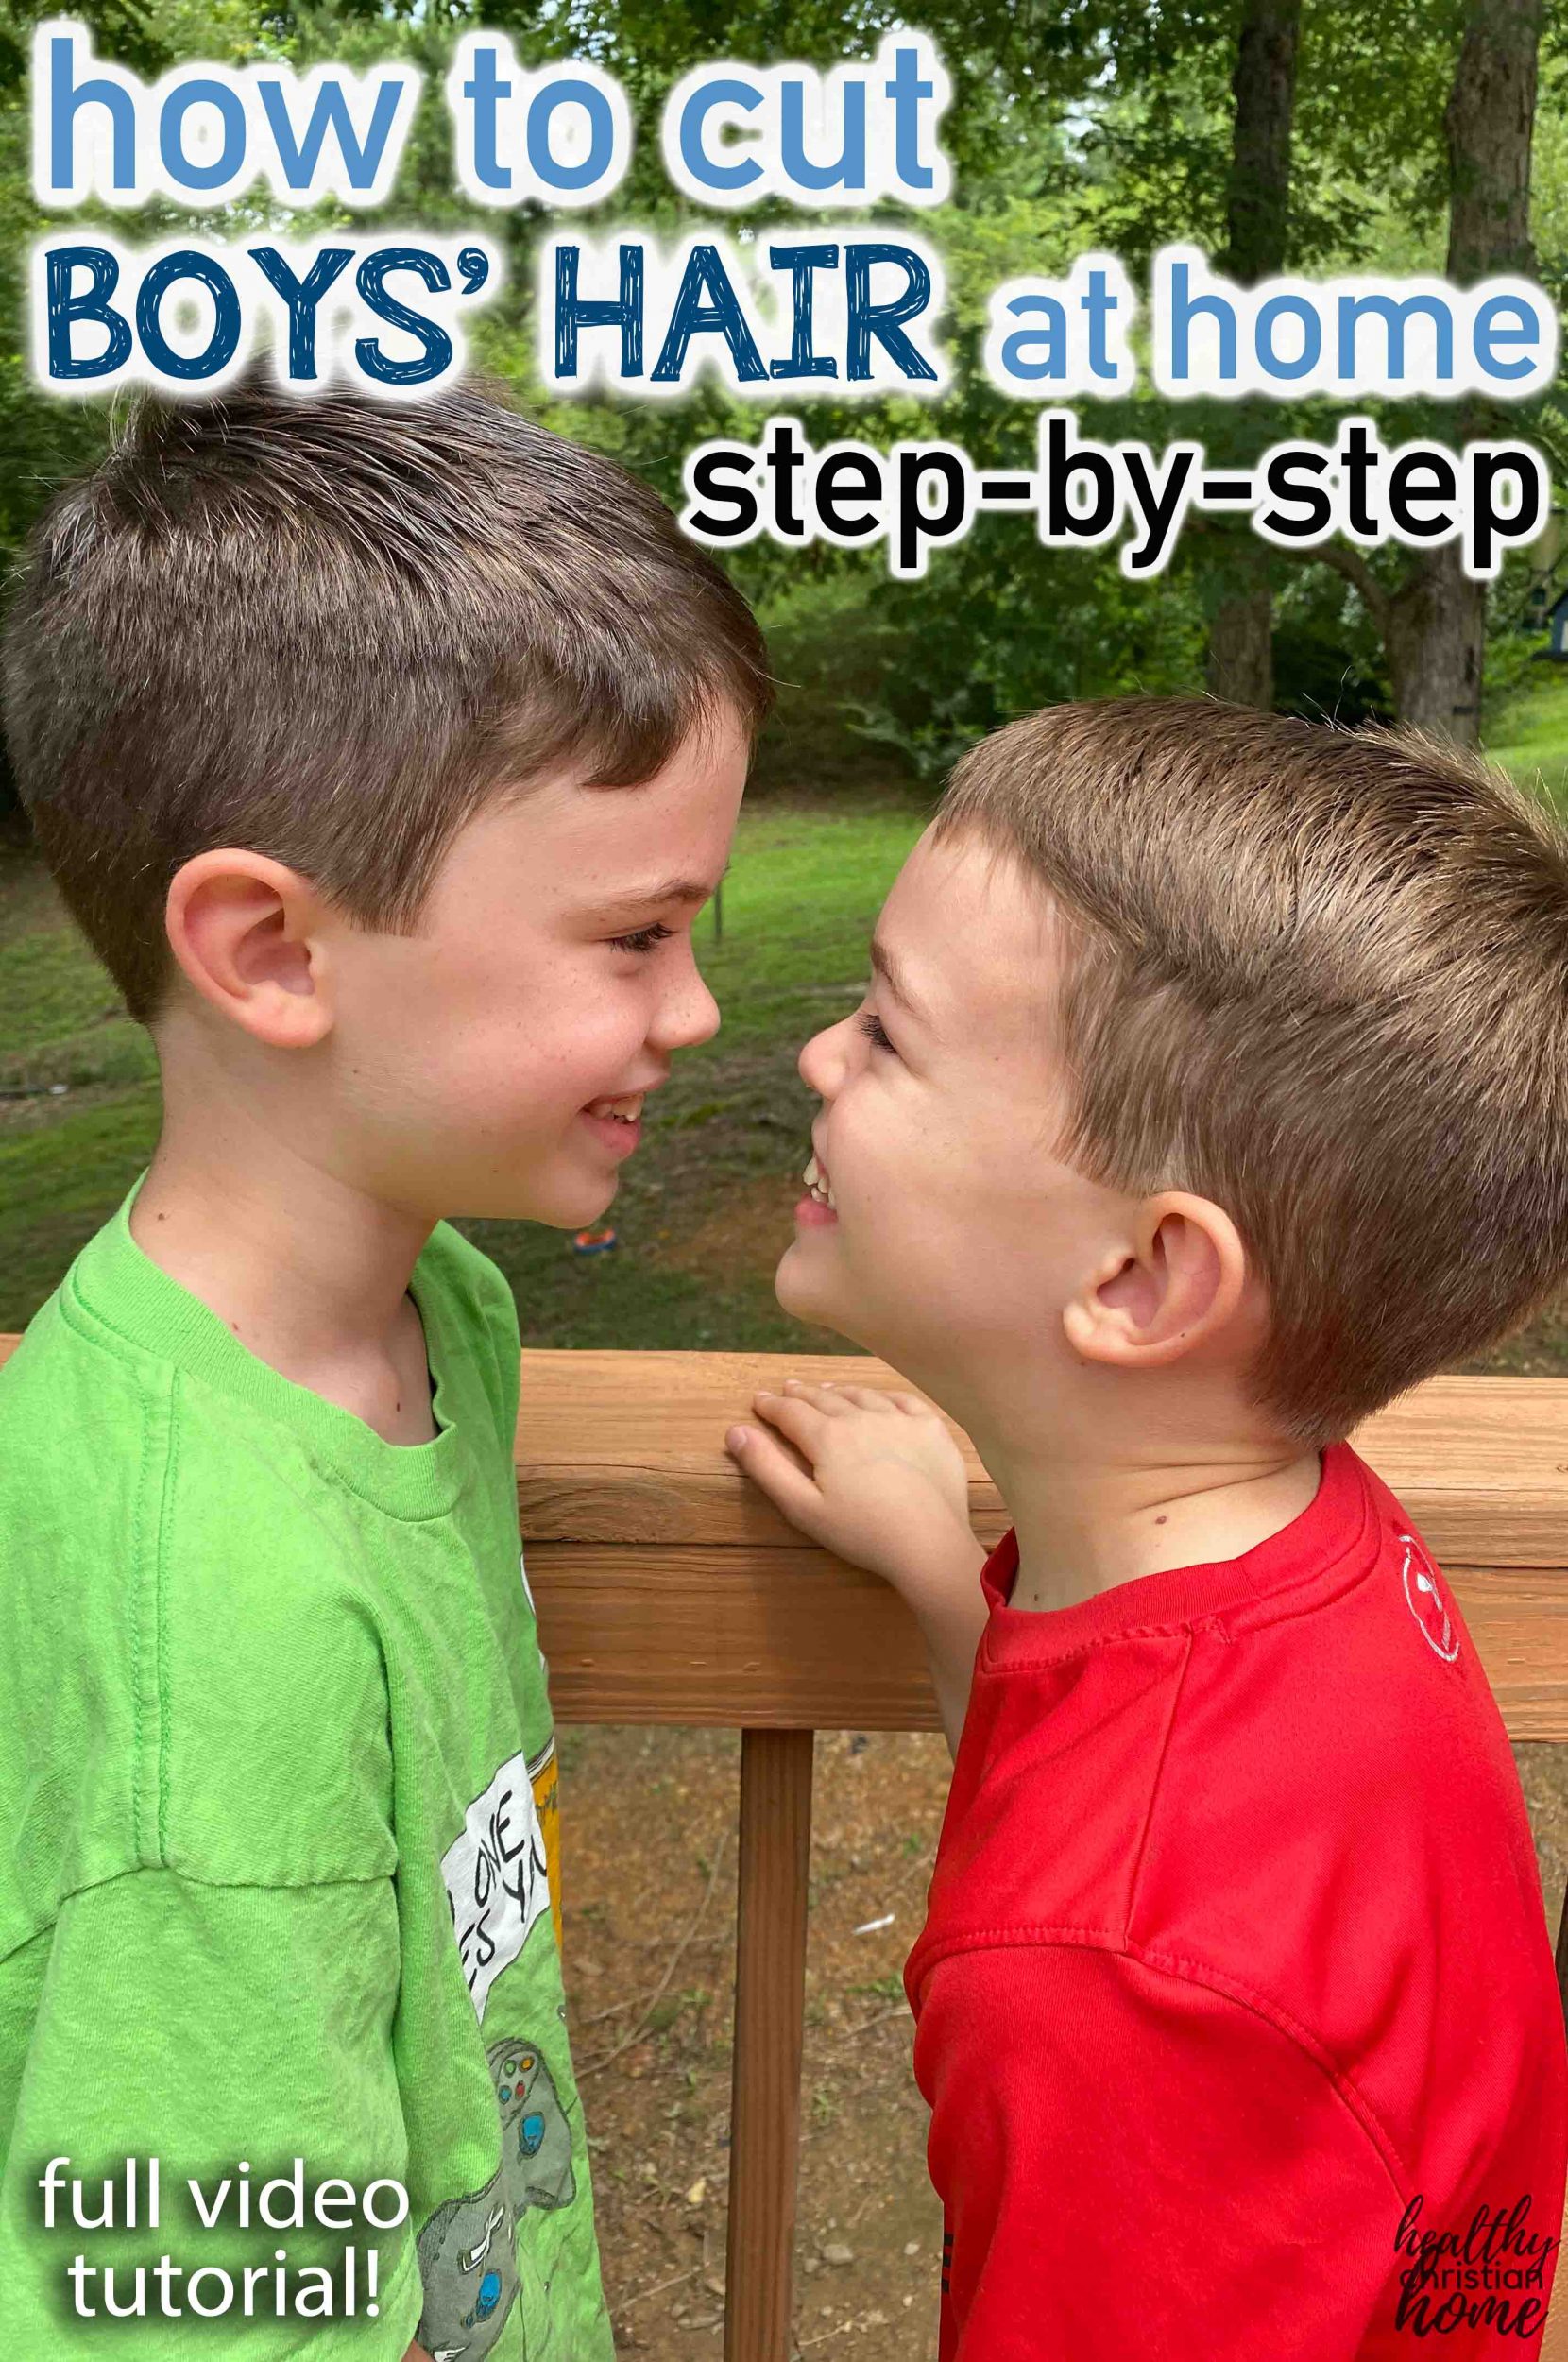
Simply invest in electric clippers, read these instructions, and watch the video a couple times. You’ll be all set to try a haircut at home.
DIY Haircuts – A Great Money Saving Skill!
I love finding ways to save money – it makes me feel like I’ve cheated the system. After my husband lost his job a while back (he is now wonderfully employed), we racked our brains for ways we could save money, even in small ways.
That’s when I had the idea to start cutting our family’s hair myself. The problem was, I had no idea how to cut hair at home.
I figured that if I messed up, the worst that could happen is we’d have to buzz their hair. Nothing could take away their cuteness! So, I started watching YouTube videos on how cut boys hair.
Being summertime, I just took the kids outside in their swim gear to cut their hair, then let them play in the sprinkler afterwards. I was nervous, but the haircuts turned out pretty well! Not perfect, and they took me about an hour each, but they looked acceptable.
Now every time I do a DIY boys haircut, it gets faster and easier and looks more professional! Practice makes perfect.
Another perk is that, especially with young children, it is less of an ordeal having a parent cut their hair than some random stranger. This eliminates a lot of the haircut anxiety and drama you often get with toddlers.
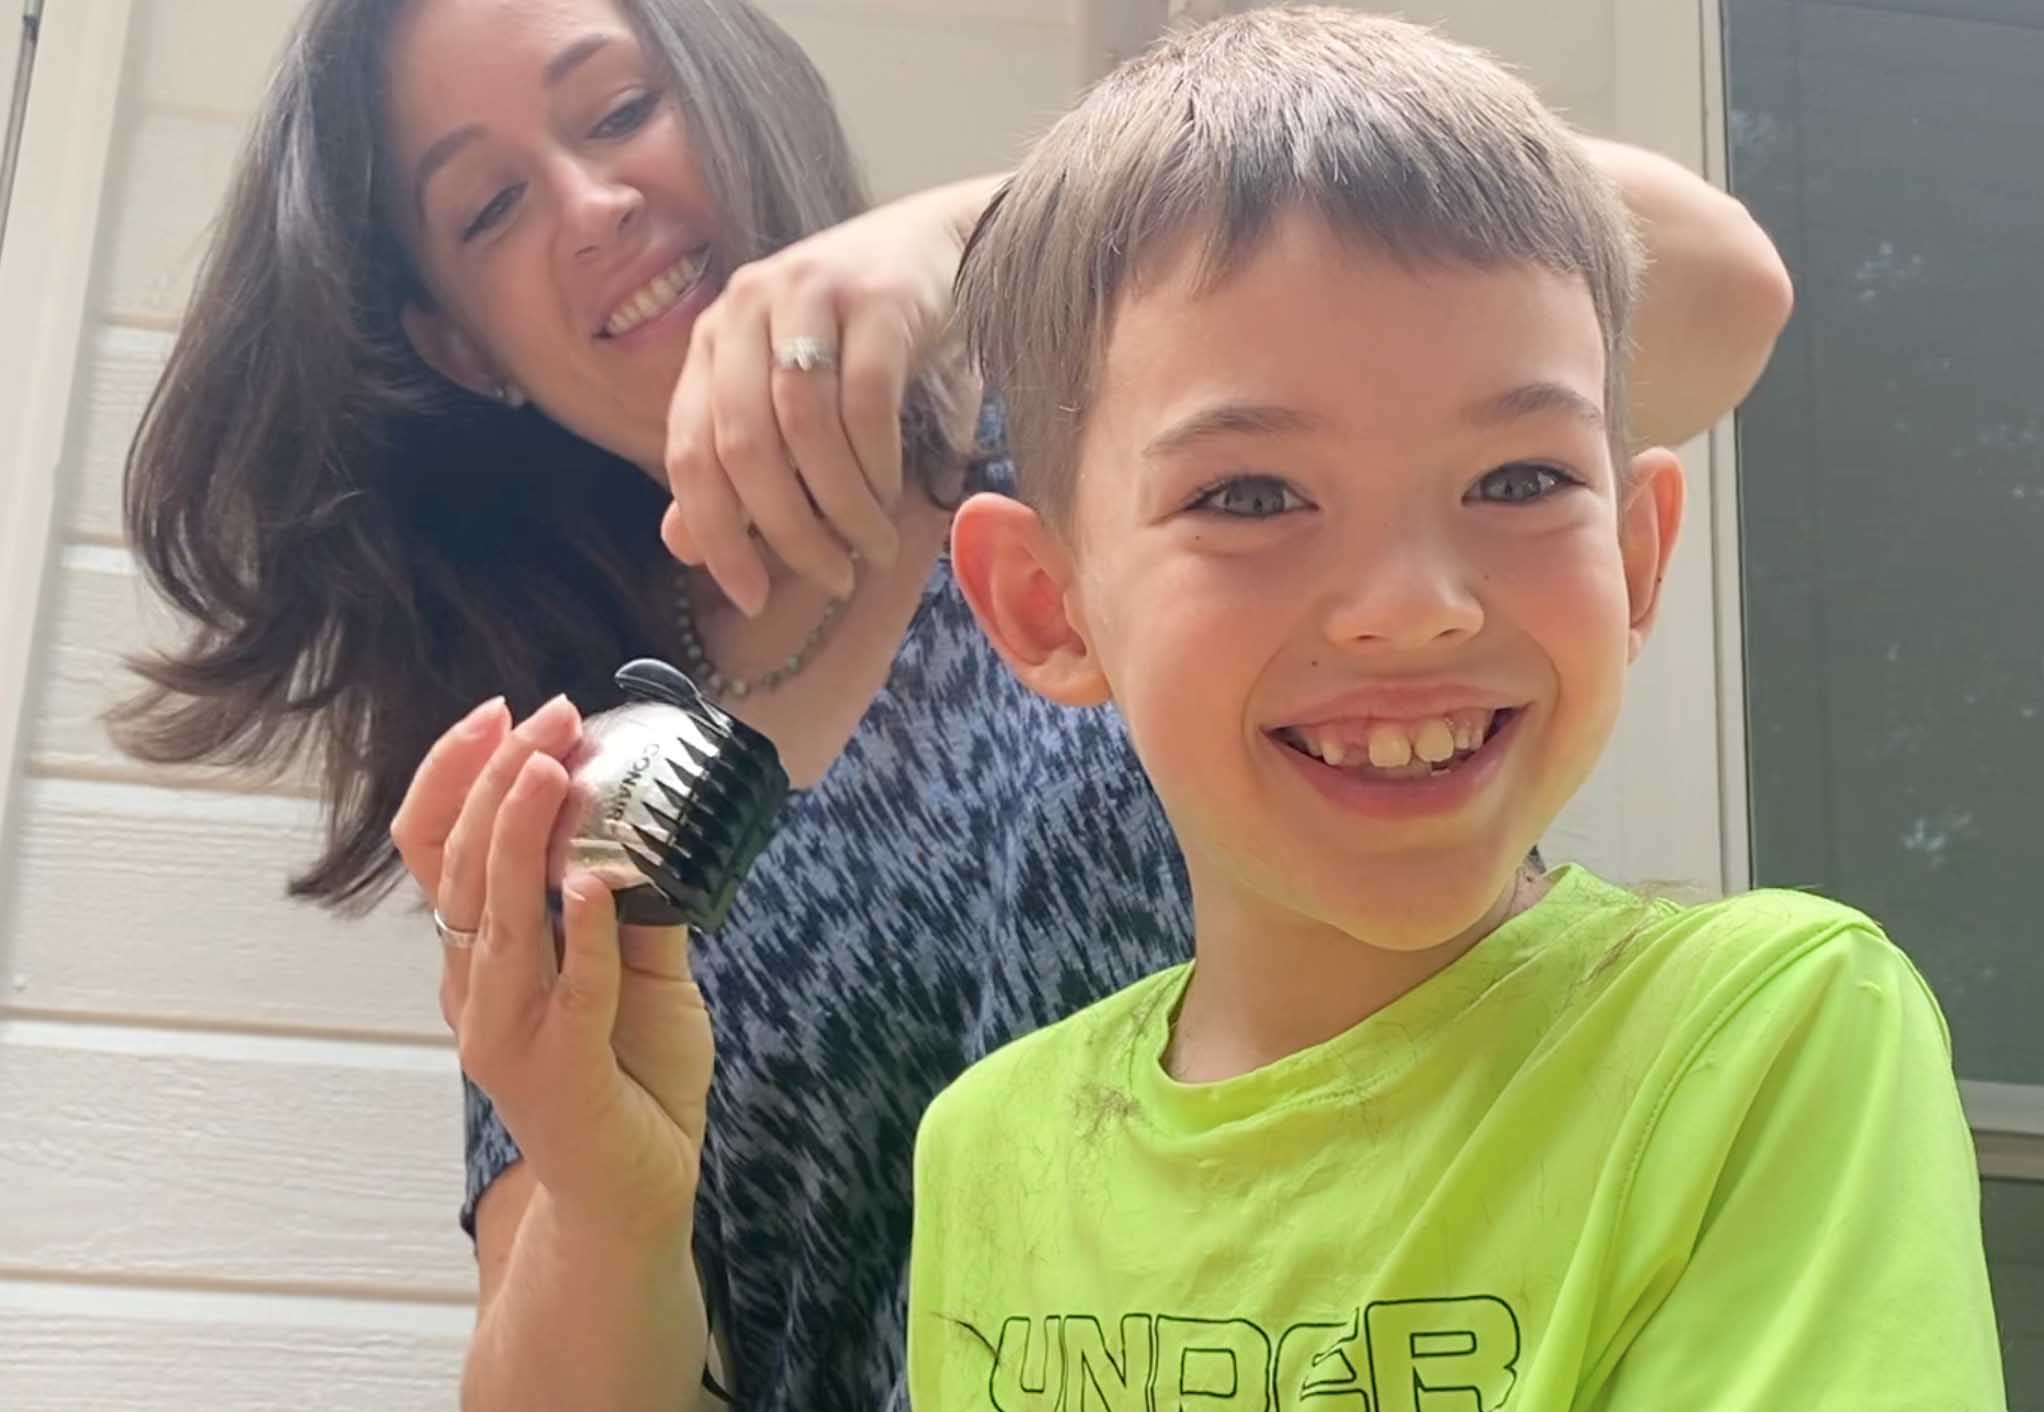
Tips for Success: How to Cut Boys Hair
- Pick a “slow” time to try your first haircut – not before any major events (or family photos, ha!).
- I like to let my kids watch cartoons on my phone during the cut, which helps with the wiggles.
- Complete your haircuts outside – much easier cleanup!
Home Haircutting Supplies You will need:
- A good pair of hair-cutting scissors
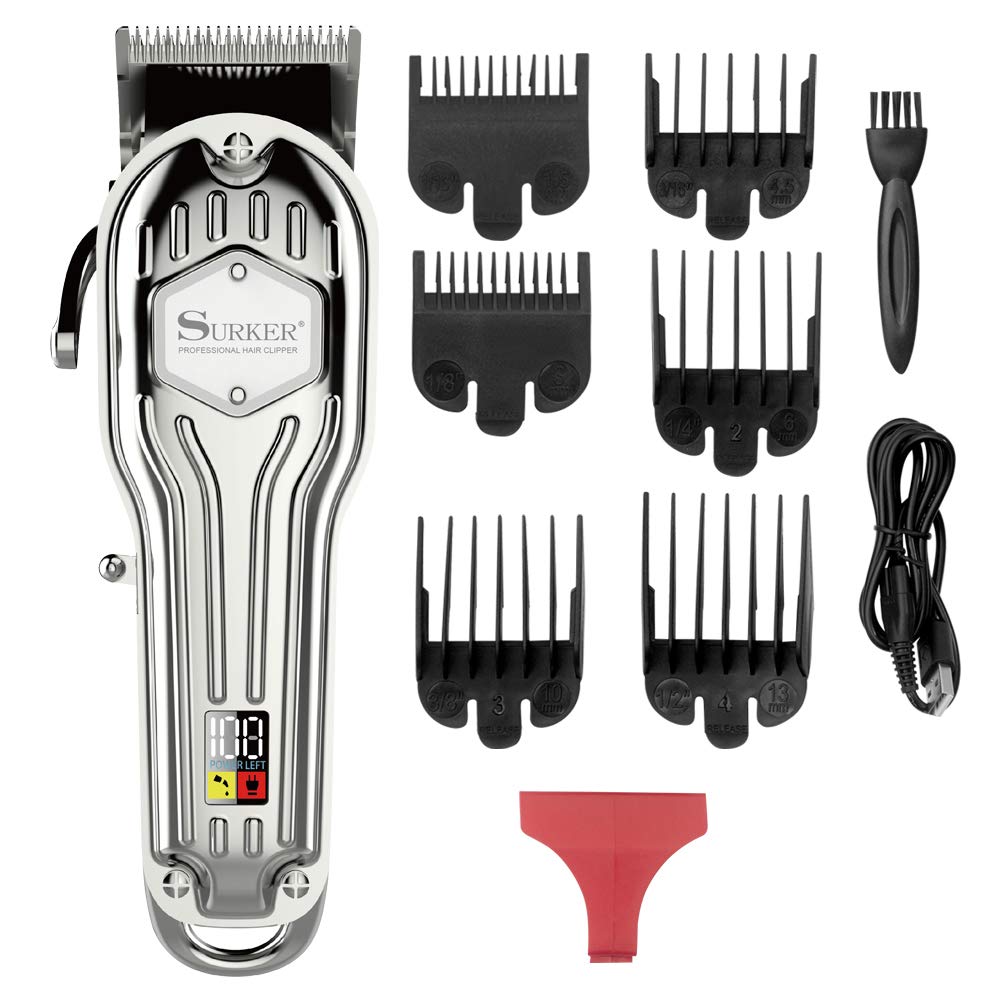
- A hair trimming kit (clippers – I use the WAHL brand and it’s great).
- A good quality spray bottle for water
The clippers are a bit of an investment but you will be SO GLAD you got them. We’ve had ours for almost a decade and they’re still going strong. They have paid for themselves many times over!
The full tutorial is below — I hope it helps. Please leave a star rating and let me know how it goes for you!
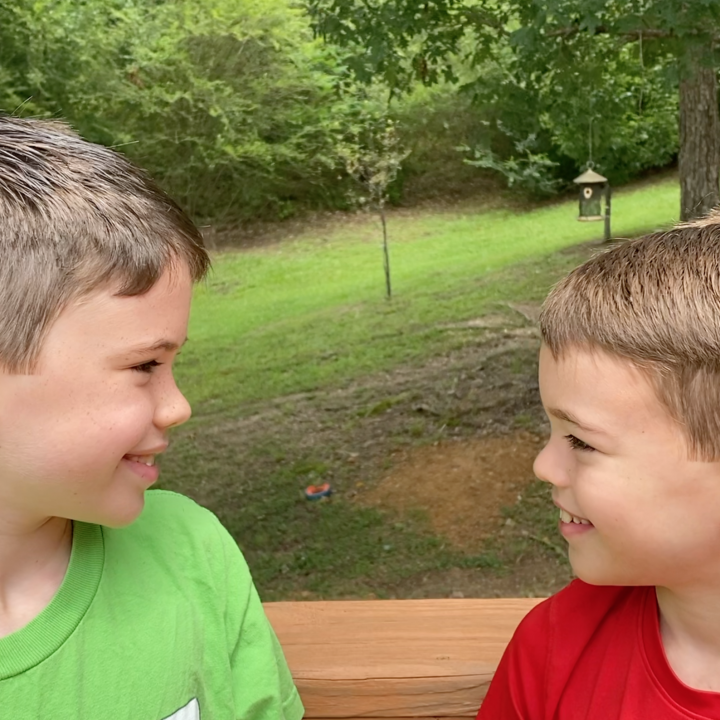
How to Cut Boys' Hair at Home
Instructions
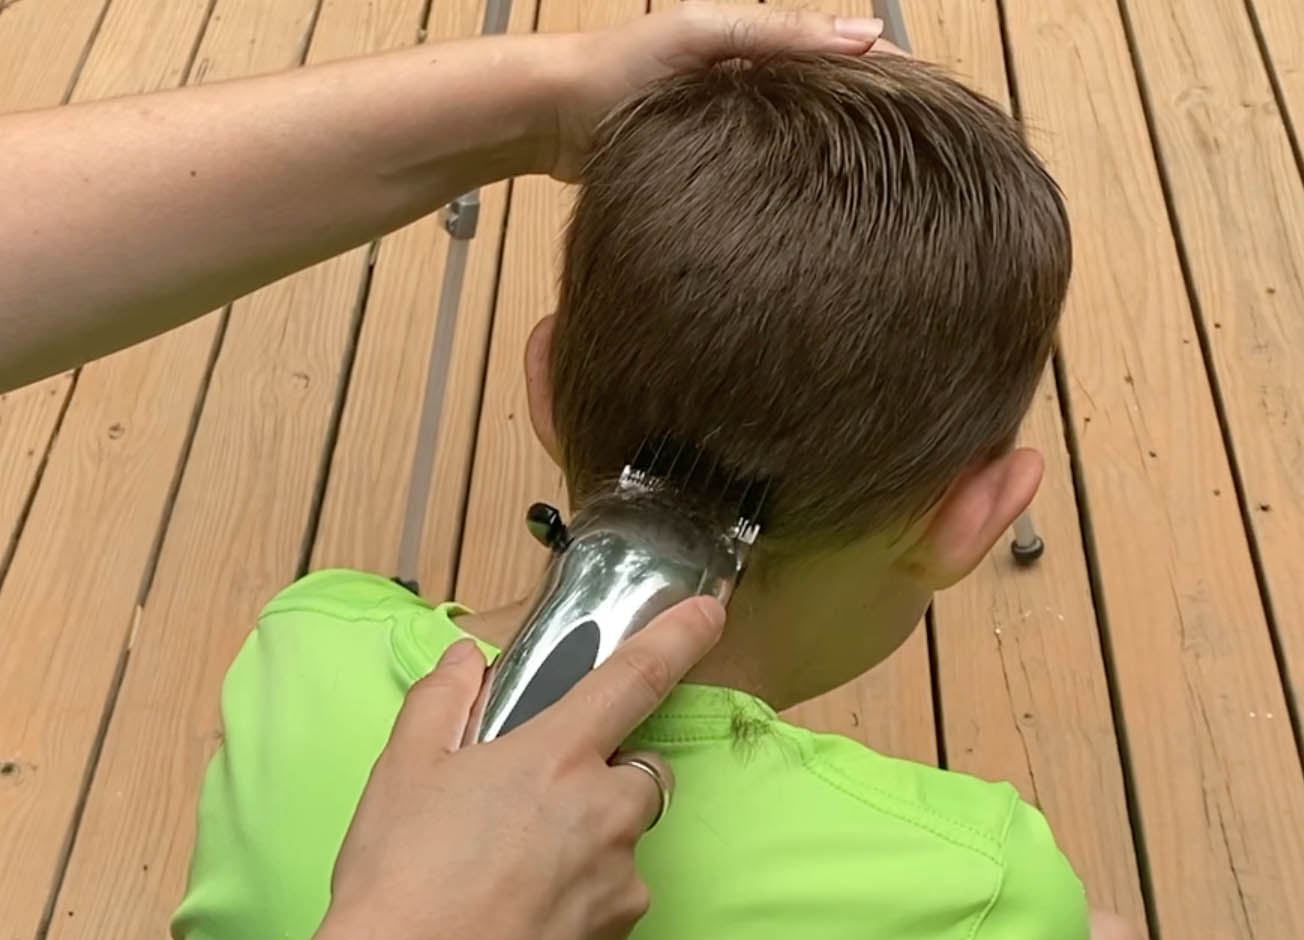
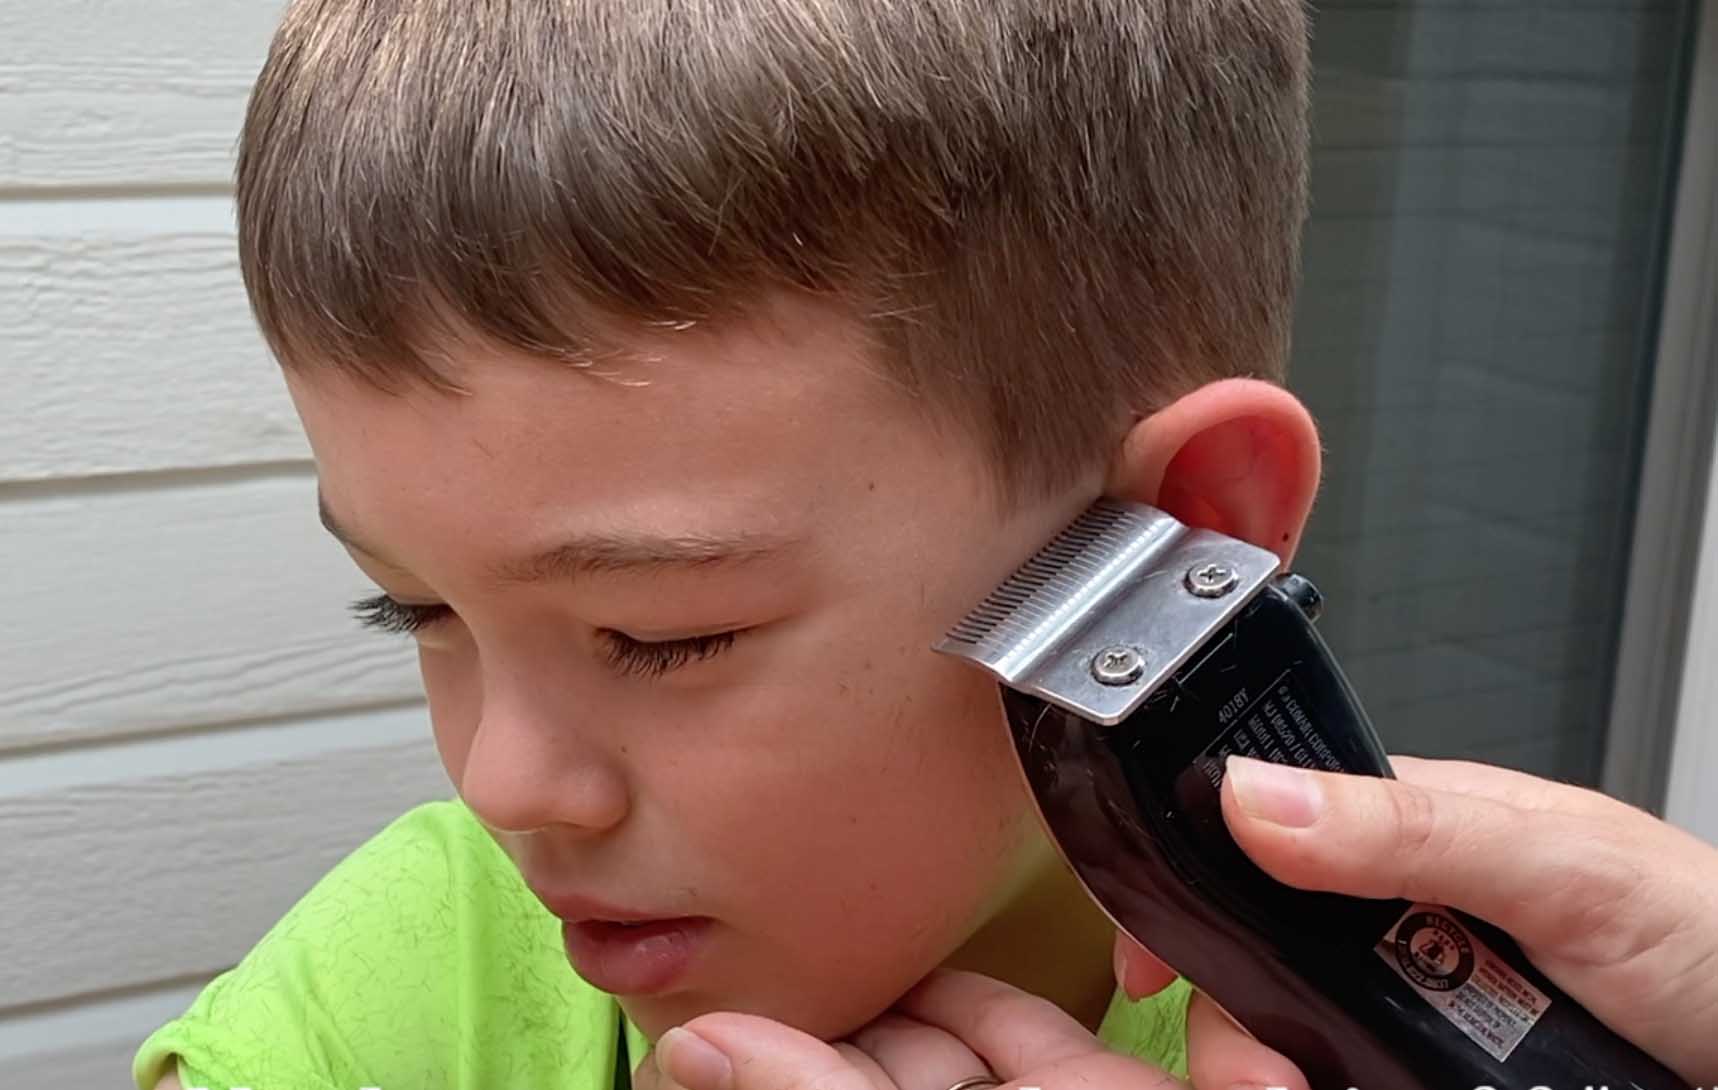
First, using your electric hair clippers, trim from the neck up to around the middle of the back of the head with a #2 or 3 guard. You should basically trim up to almost the temple area. Try to keep the "line" you are trimming across the head as straight as possible. Hold the clippers flat against the head at a 90 degree angle and trim straight up.
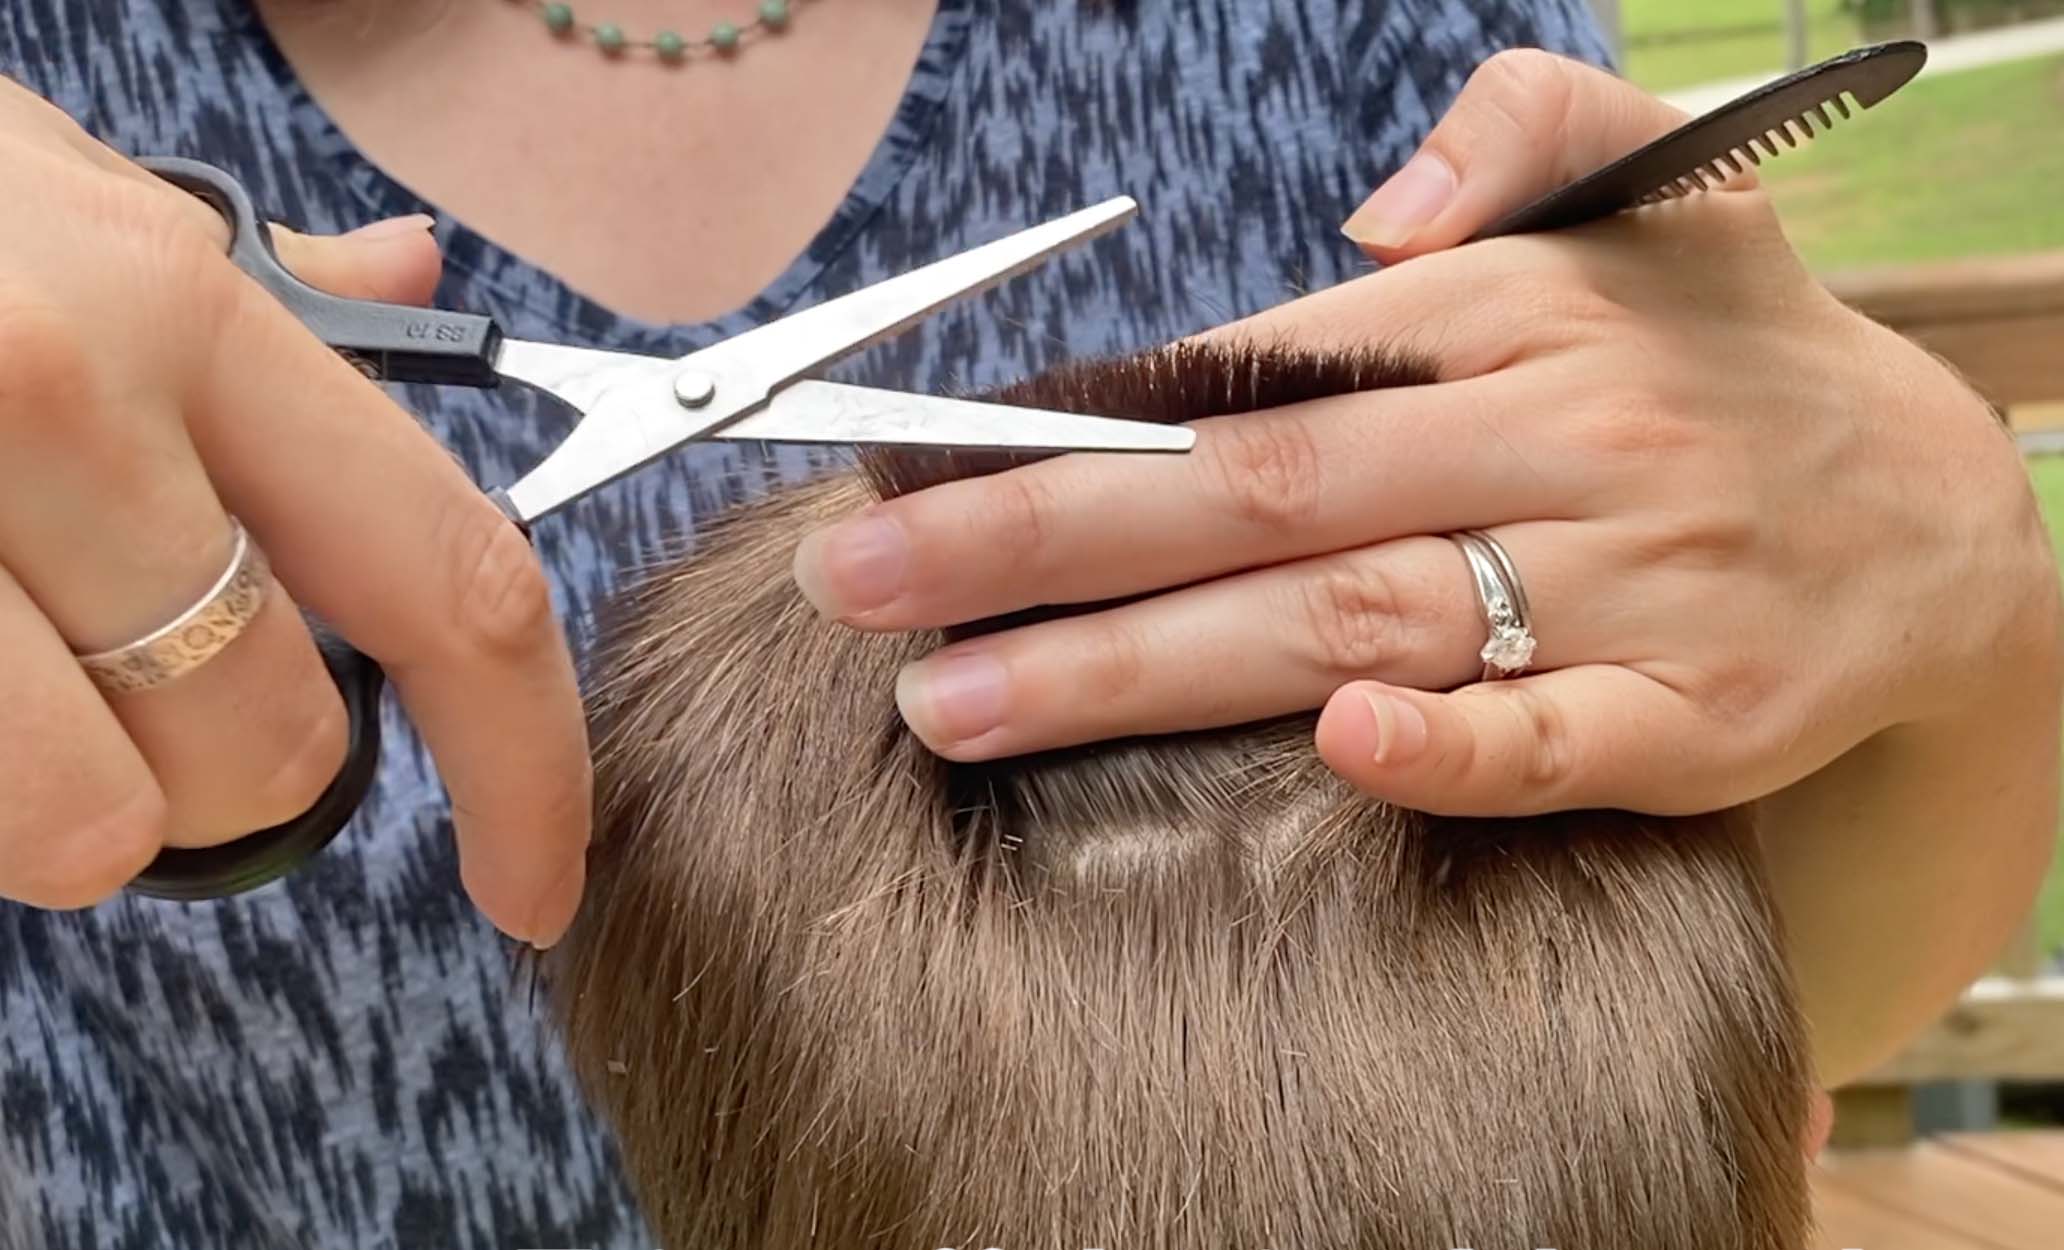
Next, we are going to trim the length. You may cut wet or dry - spray hair with water and comb if desired. Starting from the crown and using your comb, take a section of hair between your two fingers and pull up, cutting off however much hair you would like. This section will be your guide. Take another section of hair (including some of the hair from the first section), and trim this section evenly with your guide. Continue this process around the entire head.
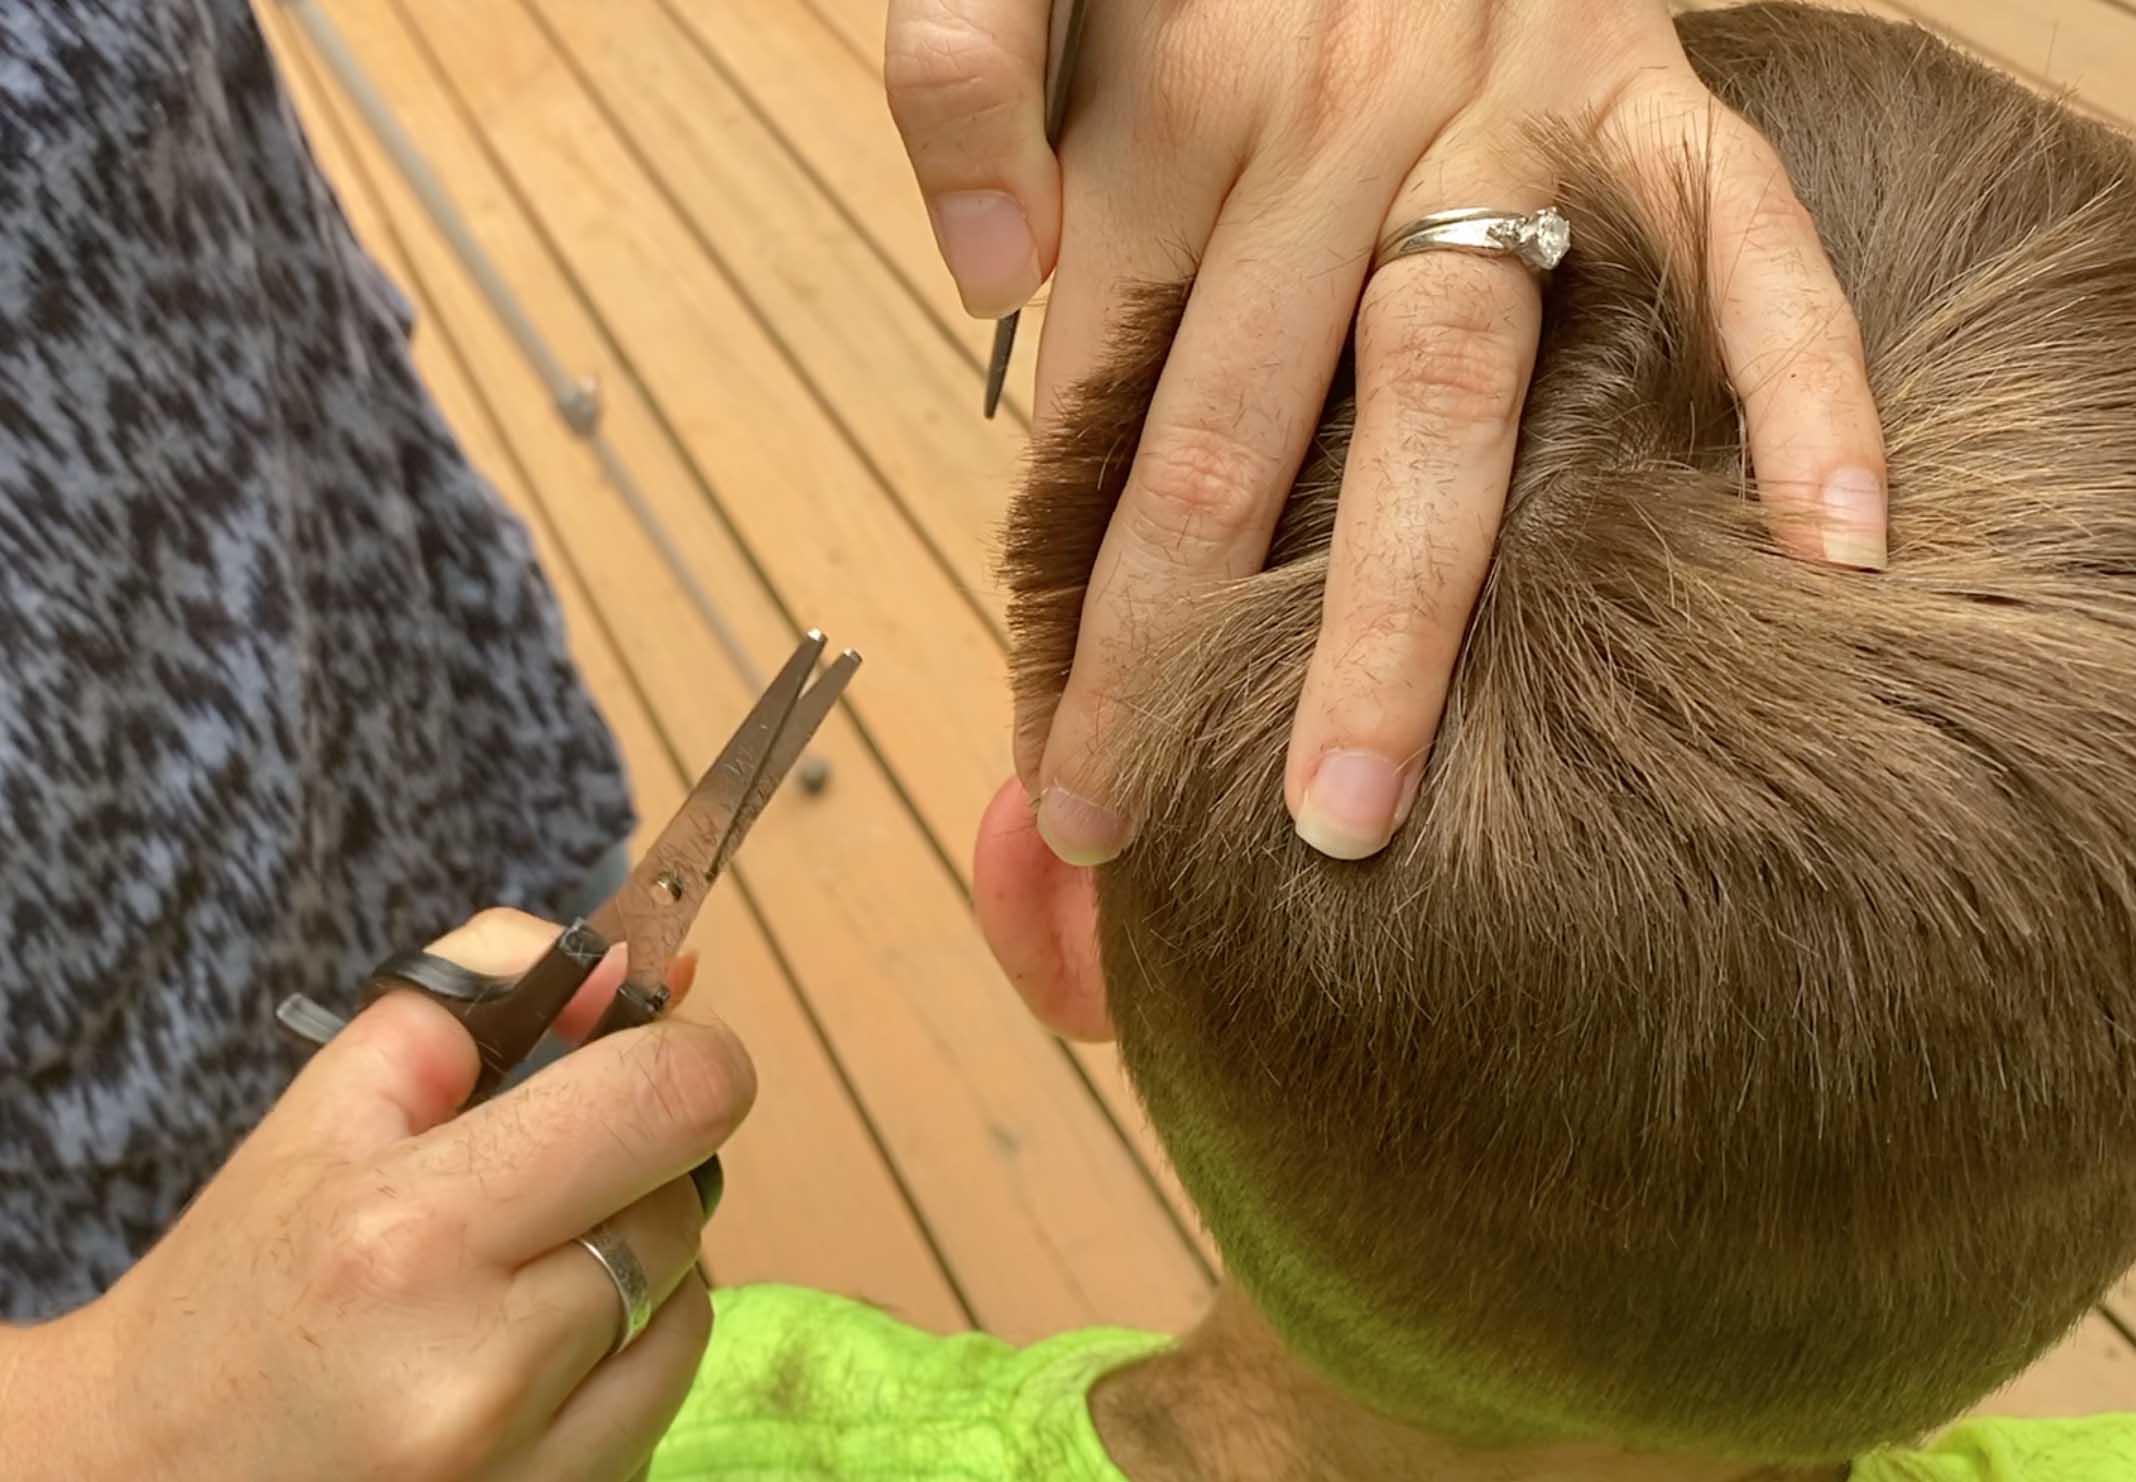
Now you want to make your longer hair on top "blend" with your short hair on the bottom. Using your comb, grab a section of hair on the sides that includes part of your top and bottom sections. You will see the sharp difference in hair lengths. Cut this hair at an angle, creating a smooth, gradual line from the long hair to the short hair. This process is called "rounding off" or "blending".
Finish "rounding off" all the hair on the back and sides, making sure the top and bottom of your hair is well blended.
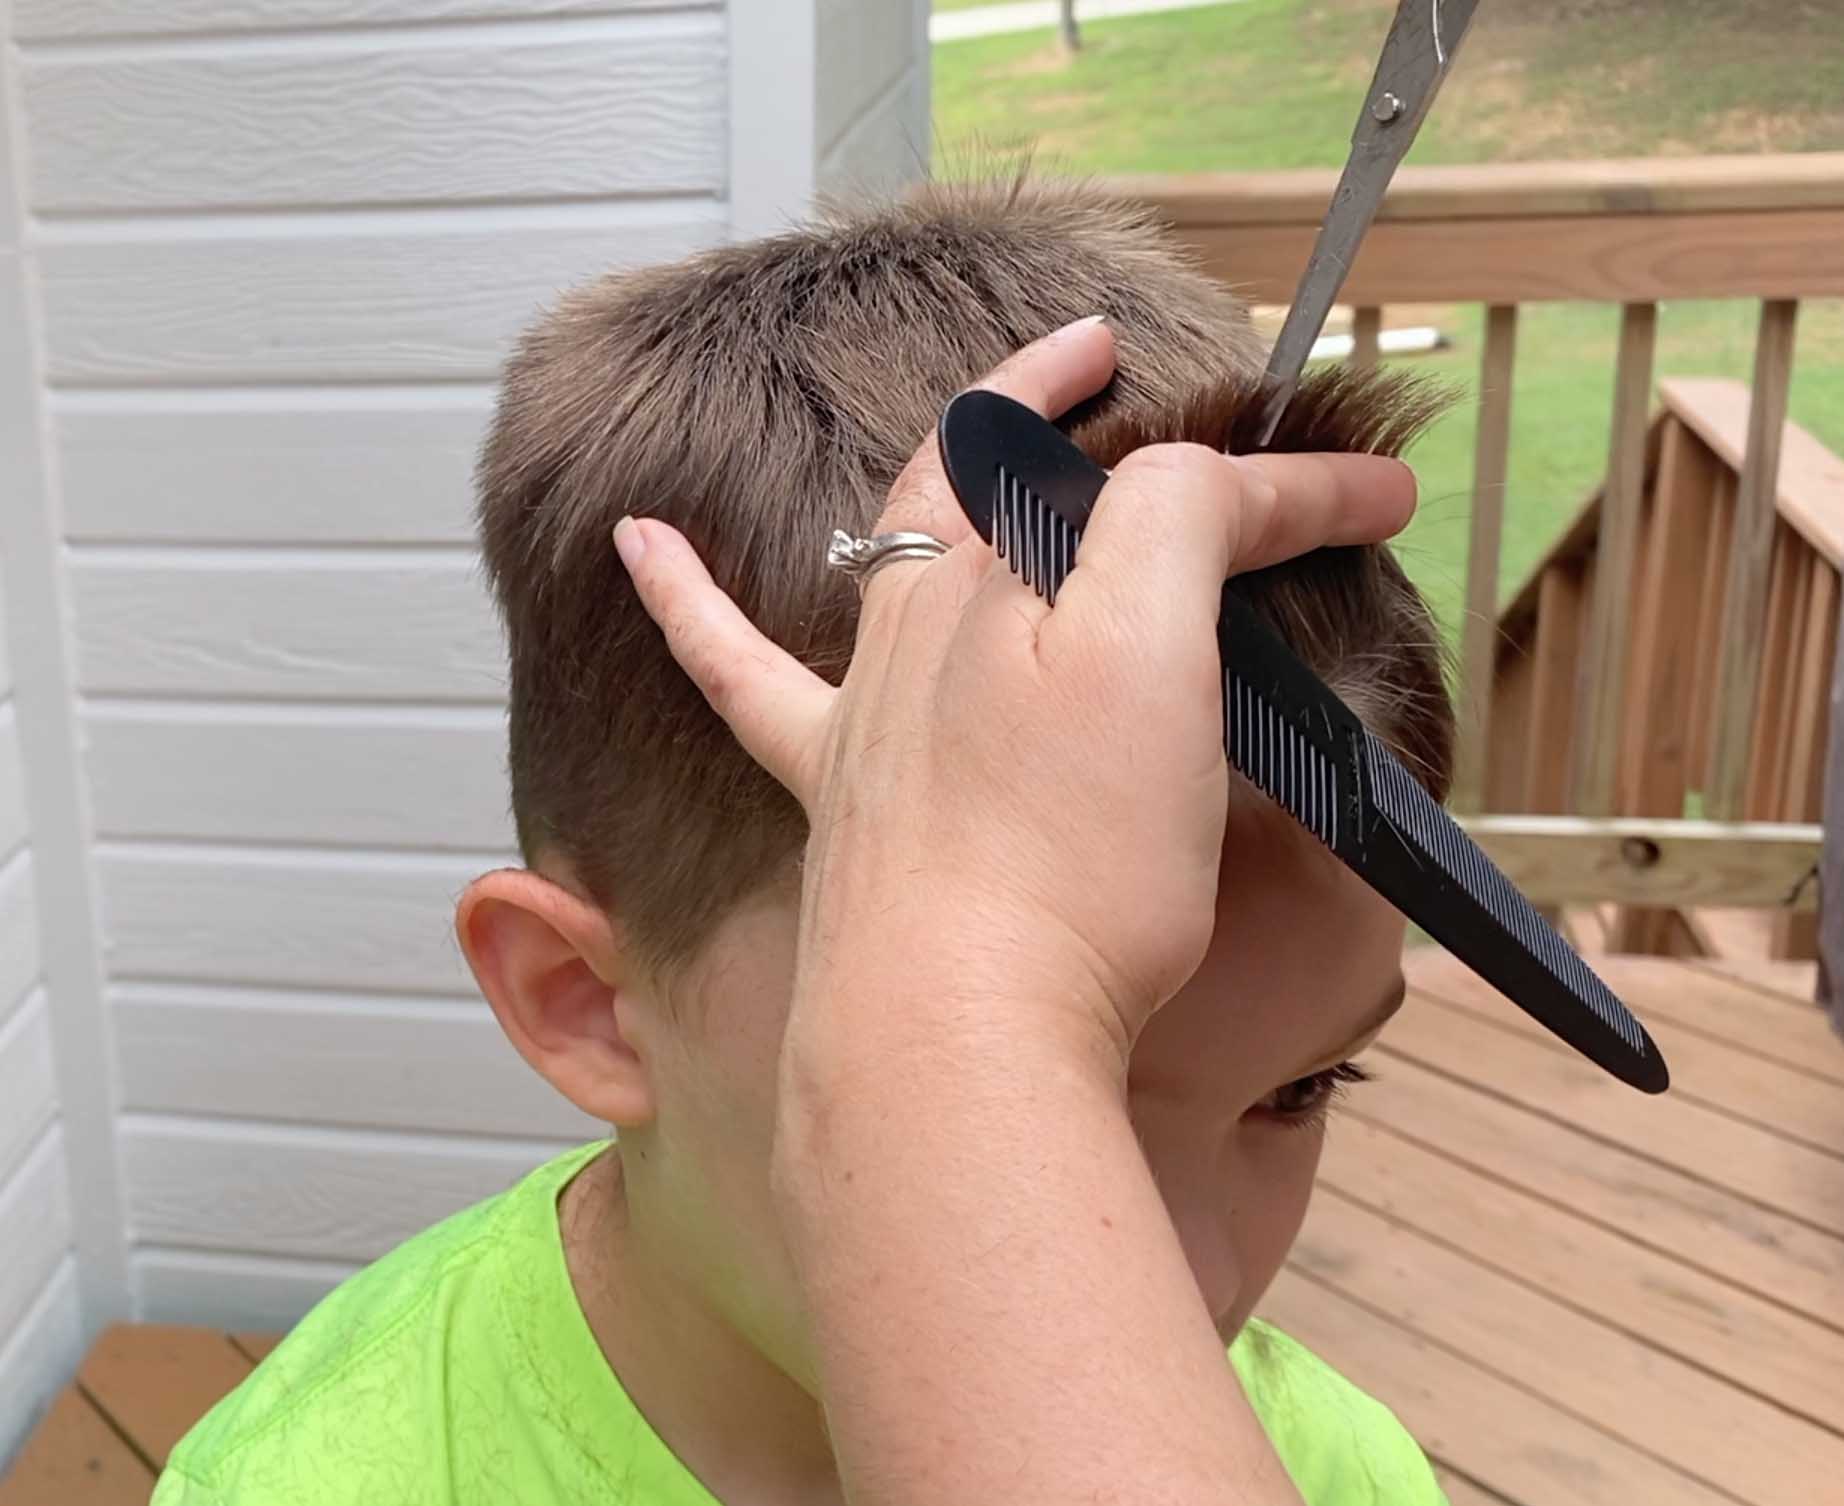
Finally, look at the front and make sure the bangs look nice. I usually like to leave these a little longer than the rest of the hair when I am cutting. Pull the bangs straight up with your comb, and "point cut" (vertically cut) them to give them a little texture and avoid that horizontal, straight-across look.
At this point, I also like to use my scissors to make sure everything is trimmed nicely around the ears.
Last, use your hair clippers with no guard to clean up any straggling hair at the base of the head and make a clean hair line at the neck and sideburns.
Notes
Quick, clippers-only method:
- First, using your electric hair clippers with a #2 guard, trim from the neck up to middle-back of the head (up to the temple area). Try to keep the "line" you are trimming across the head as straight as possible.
- Hold the clippers flat against the head at a 90 degree angle and trim straight up, using an outward "C" motion toward yourself as you reach the top of the line. This will create a tapered effect ate the top for blending later.
- Next, using the electric clippers again, trim the top section of the head with a much longer guard (I like to use a #8).
- Blend the top and bottom sections with a #5 guard, rocking the clippers back and forth to blend.
- Last, use your hair clippers with no guard to clean up any straggling hair at the base of the head and make a clean hair line at the neck and sideburns.
Recommended Products
As an Amazon Associate and member of other affiliate programs, I earn from qualifying purchases.
* Disclaimer: I am by NO MEANS a professional hair stylist! I am just sharing the easy at-home technique that works for me!
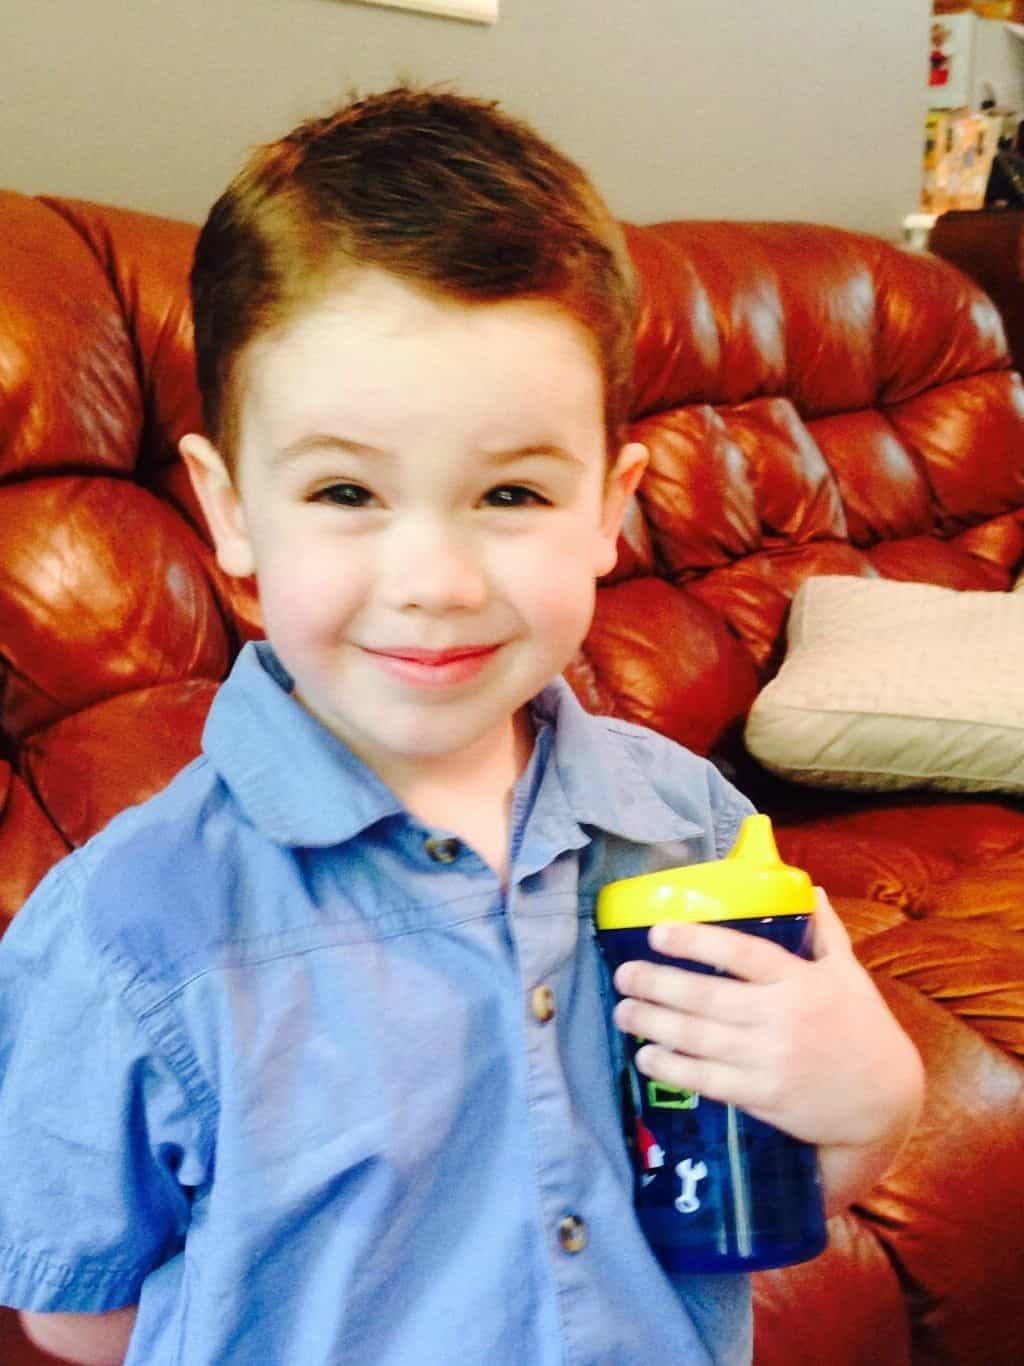
Don’t be intimidated by at home haircuts
If all these steps sound complicated, don’t worry! If you’re intimidated, try just doing a buzz cut with the hair clippers to get a feel for how to cut boys hair.
This will make you more confident and you’ll be wanting to try different cuts in no time! Believe me, its fun 😉
After trying my hand at kids’ haircuts without any major hiccups, I figured cutting adult hair couldn’t be that much harder. I used the same basic technique with my husband’s cut, and it turned out well also!
I wasn’t too worried about messing up on him either, since he had no job at the time and no one to impress. Ha! The biggest learning curve here was how thick his hair is, which took some getting used to.
The final “experiment” was cutting my own hair. I admit I was a bit more apprehensive about this. I mean, what girl isn’t concerned about how her hair looks? But, I took the plunge.
The first haircut I tried, I used this video tutorial, which is a bit more detailed and involved. If you like exact directions, this is for you! My most recent cut was a bit more “organic”, which I liked since I’m an artist. If you’re more of a free spirit, this one’s for you! The layers turned out a bit shorter than I planned (my fault), but I like the final result!
I also recently decided to add bangs (or fringe, for my British friends). I like this video on how to cut your own bangs.
Also, please take care of your tresses. The best thing I ever did was stop washing my hair daily and only using heat occasionally.
After you finish your gorgeous cut and get rid of those split ends, it’s the perfect time to try a “no heat” experiment and keep your hair lovely. Read my in depth guide to all nautral haircare for healthy hair.
So… how much money did we save this year with our DIY haircuts?
Since this summer, I’ve given my husband 3 haircuts ($20 each), my oldest son 3 haircuts ($10 each), my youngest son 2 haircuts ($10 each), and myself 2 haircuts ($20 each) + bangs ($10). That’s $140 saved in just six months!!
Can you imagine how much we’ll save over the course of our lives?? It’s also strangely therapeutic for me – a great creative outlet.
I hope you learned something about how to cut boys hair. Would you be brave enough to cut your own hair (or your family’s) to save money?
PIN IT!


Leave a Reply