
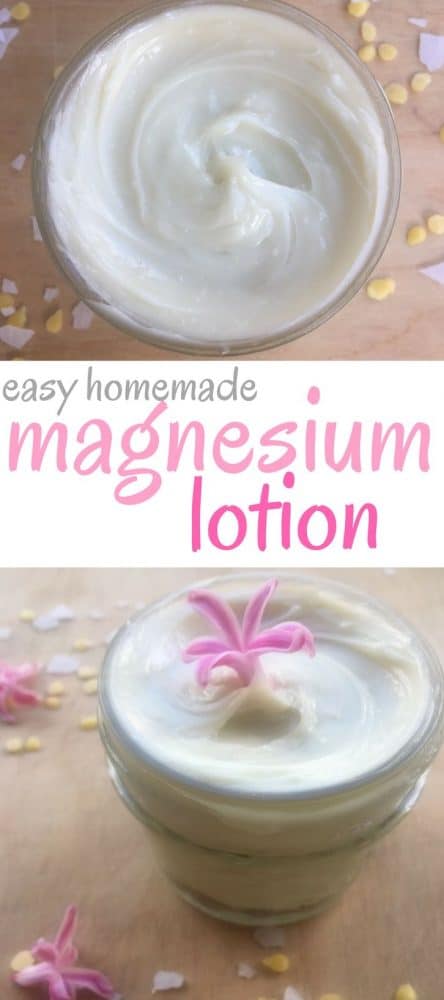
Easy DIY Magnesium Body Butter for Relaxation + Wellness
DIY magnesium body butter is easy to make, cost effective, and beneficial to the body. Homemade magnesium lotion is the easiest and most pleasant way to naturally increase your magnesium levels. This magnesium body butter feels luxurious and also increases your health with regular application.
Magnesium is vital for over 300 biochemical processes in the body, and most people in our society have depleted levels due to stress, junk food, etc. There are lots of ways to get more of this beneficial mineral, but DIY magnesium lotion is one of my favorites. This magnesium body butter is so simple and good for you!
Post Updated April 17, 2018
The first time I ever tried a magnesium supplement a few years ago, I took one right before bed. It felt like my whole body was relaxing more than usual, and that night I had lots of vivid dreams. That experience helped me see what a powerful mineral it is.
One hint that you might need extra magnesium is poor quality sleep, restless legs, muscle pain, fatigue, headaches, or anxiety. If you struggle with any of these issues, adding more magnesium (especially DIY magnesium lotion) is a simple thing to do that can add hefty benefits to your life.
Since then, I’ve made epsom salt baths and magnesium rich foods a priority. I also tried a few different kinds of magnesium sprays and gels, but every single one of them made my skin sting and unbearably itchy. Then, I was brave enough to try magnesium lotion and boy, am I glad I did! It was an entirely different experience.
For a full year I used and loved Life-Flo Magnesium Lotion, which works great with zero itchiness (and smells like a vanilla cupcake, which is divine). The only thing I disliked was the price tag: almost $10 for a small 8 ounce bottle.
While I love natural products, I always try to choose the most frugal option when possible. One day, I stumbled across this recipe for DIY magnesium lotion by Don’t Waste the Crumbs (one of my favorite blogs). I was intrigued!
The prospect of saving money on one of my favorite products had me hooked. My friend Tonya and I decided to try it out together, and it was a success! The finished product is soothing, moisturizing, and leaves no itchy after-effect like the magnesium sprays and gels I’ve tried.
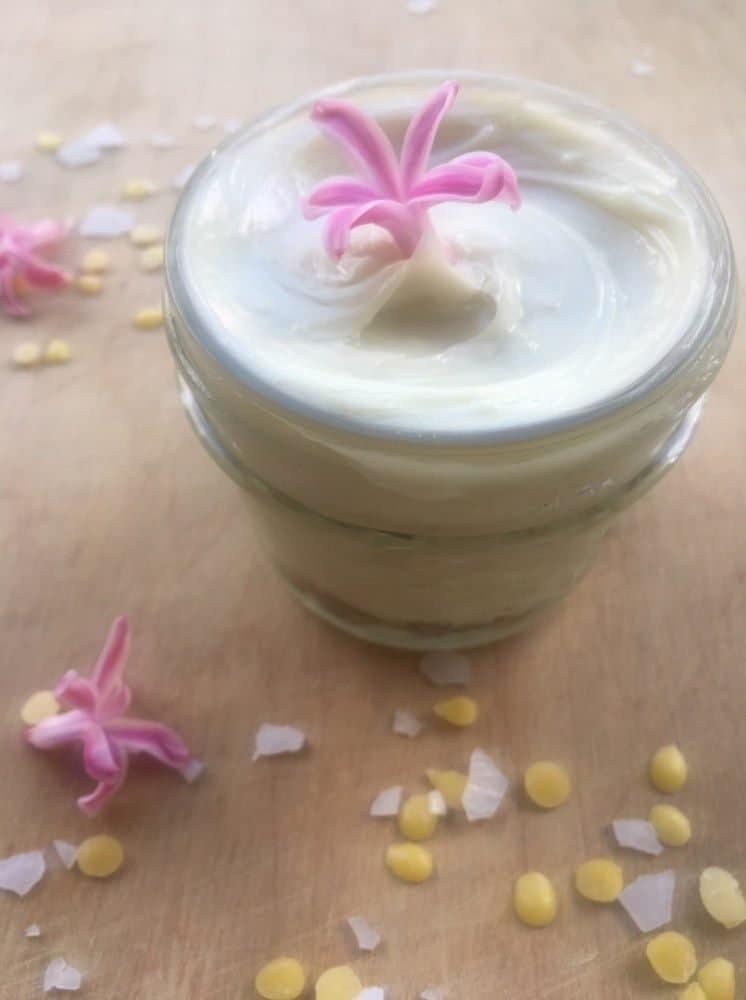
This recipe can be called a lotion, but I’m calling it a body butter because it is thick and nourishing, like a salve.
For a comprehensive list of all the benefits of magnesium, plus the best ways to incorporate it into your life, you can read my post “Magnesium: The Ultimate Guide.”
DIY Magnesium Body Butter Benefits
Homemade magnesium body butter may help you:
- Sleep more soundly
- Relax muscles
- Improve restless legs
- Soothe headaches
- Balance hormones
- Calm the nervous system
If nothing else, this DIY magnesium body butter recipe will moisturize your skin with all natural ingredients and no chemicals or fillers. Well worth a try!
Another great benefit of using a lotion instead of a supplement is that it is absorbed straight into the bloodstream and bypasses the GI tract. Magnesium supplements have a reputation for causing digestive issues if too much is taken, and the lotion completely eliminates this concern.
As perviously stated, one of the biggest benefits of DIY magnesium lotion is the money you’ll save. In this recipe, which makes 16 ounces of lotion, the price of all ingredients comes to $7.95. Compare that to the cheapest option of ready-made lotion, which is $10 for half the amount (8 oz.). That’s a savings of over 50%!
DIY Magnesium Body Butter Recipe Ingredients
For this recipe, you only need a few natural ingredients. Here’s what you need + why it’s important.
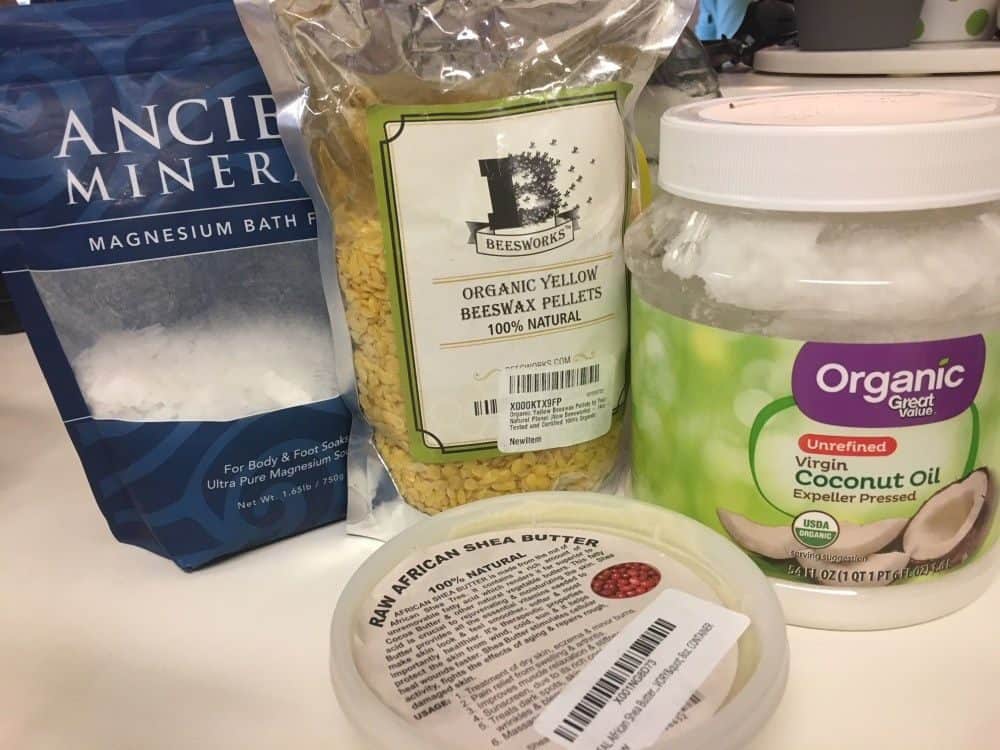
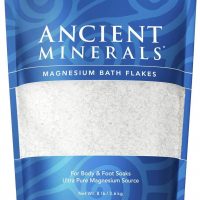
Magnesium Flakes
The magnesium flakes are obviously the star of this recipe, so getting a good quality brand is really important. Ancient Minerals magnesium flakes are top quality magnesium chloride from the Zechstein Seabed in Europe. If you try a different kind, I can’t guarantee that your skin won’t be itchy. But, as previously stated, this kind is soothing to the skin with zero itchiness. It is rapidly absorbed, potent, and free of contaminants.
Coconut Oil
Can you actually make any natural DIY skin products without coconut oil? Joking aside, coconut oil is one of the most moisturizing substances for the skin. Unrefined, virgin coconut oil is the best kind to use. It plays many roles in our home, from cooking to smoothies to makeup remover to chocolate magic shell.
Shea Butter
Funny enough, I’ve never actually used shea butter before this recipe! It is an absolute powerhouse of moisture, locking it into the skin and helping repair it. It is solid and buttery at room temperature, and provides essential fatty acids to the skin as well as vitamins (source).
Another shea butter recipe for you: Sensitive Skin Homemade Deodorant
Beeswax Pastilles
Beeswax is what helps this lotion come together and solidify somewhat, making it easy to spread onto the skin. It also creates a barrier to help seal in moisture, adding a protective benefit (source). Beeswax pastilles are much easier to use and measure than a beeswax block, but do whatever works for you.
Vitamin E Oil
Anti-aging and repairing skin damage, Vitamin E oil is a great addition to any lotion. It reduces inflammation, helping heal spots and stretch marks, adding an extra benefit to this magnesium body butter. Using a Vitamin E oil blend which contains other oils like jojoba and rosehip is the way to go.
Essential Oils
These aren’t essential to the recipe (see what I did there?), but can add a lovely smell as well as other benefits. Tailor the scent to meet your personal preference. I used lavender, which also aids relaxation.
Magnesium Body Butter Recipe Supplies:
- 1 cup magnesium flakes
- 6 Tbsp. boiling water
- 1/2 cup unrefined coconut oil
- 1 tsp. vitamin E oil blend
- 4 Tbsp. beeswax pastilles
- 6 Tbsp. shea butter
- 20 drops essential oils (I used lavender)
- Double boiler (or large jar inside a pot of boiling water)
- Quart size mason jar or large mug
- Stick immersion blender
DIY Magnesium Body Butter Recipe Process
Below is the step-by-step DIY magnesium body butter recipe tutorial with photos. I apologize for the poor lighting in the tutorial photos. My current kitchen has one tiny window which doesn’t make for the best picture quality. But hopefully the photos still help you understand each step.
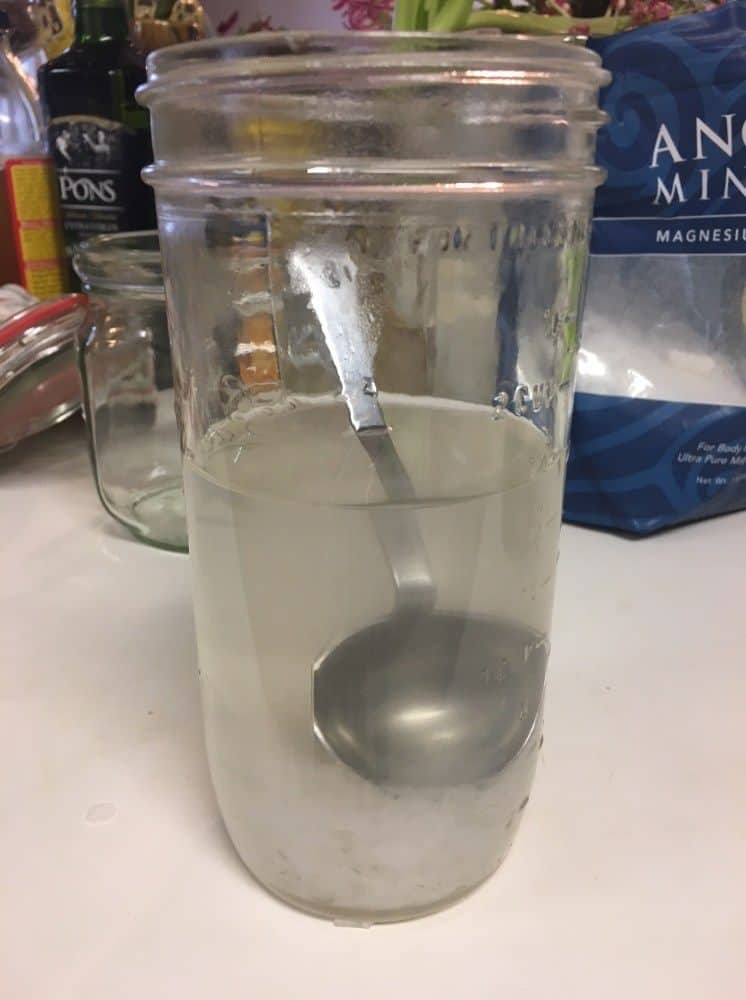
Boil some water. Add magnesium flakes into a mason jar or mug. Add 6 Tbsp. of boiling water to the flakes, stir until flakes are dissolved, and set aside.

In large jar or double boiler, add the coconut oil, shea butter, and beeswax.

Place the jar into a pot filled with several inches of water (or, if using a double boiler, place the top pot over the pot of water). Turn the heat to medium-high.
Melt the solid ingredients together, carefully stirring occasionally. You can also swirl the jar to mix everything together. Be extremely careful when handling the hot jar, and wear an oven mitt.
Once everything is melted together, remove the pot or jar and set it aside to cool for 3-5 minutes. Add vitamin E oil and essential oils.

Pour the magnesium liquid into the other ingredients. It may start to solidify when you do this, which is fine.
Pour the magnesium liquid into the other ingredients. It may start to solidify when you do this, which is fine.
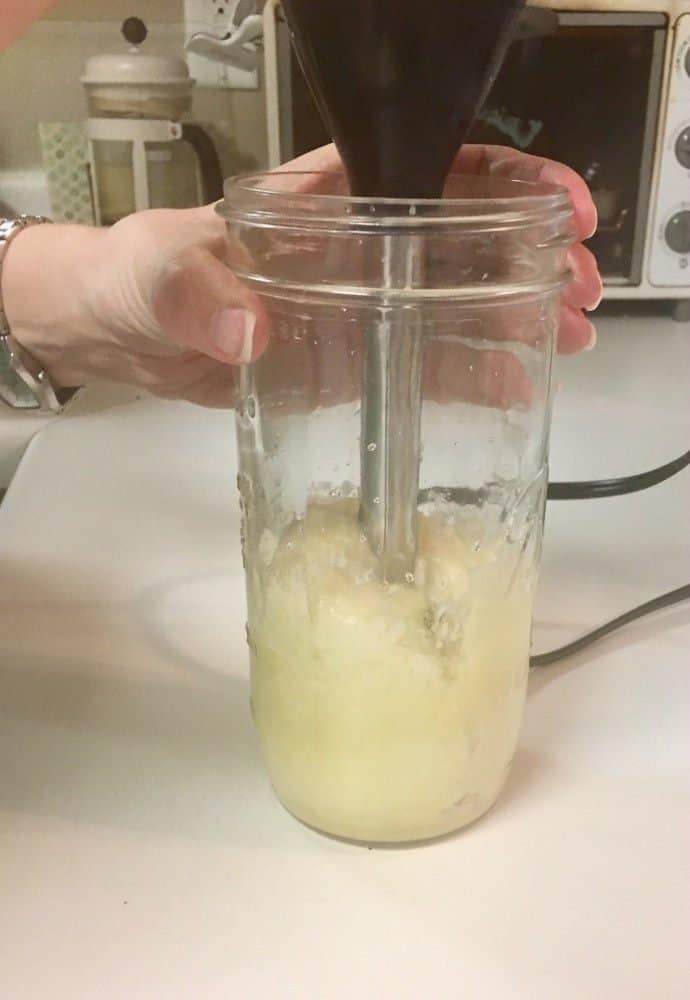
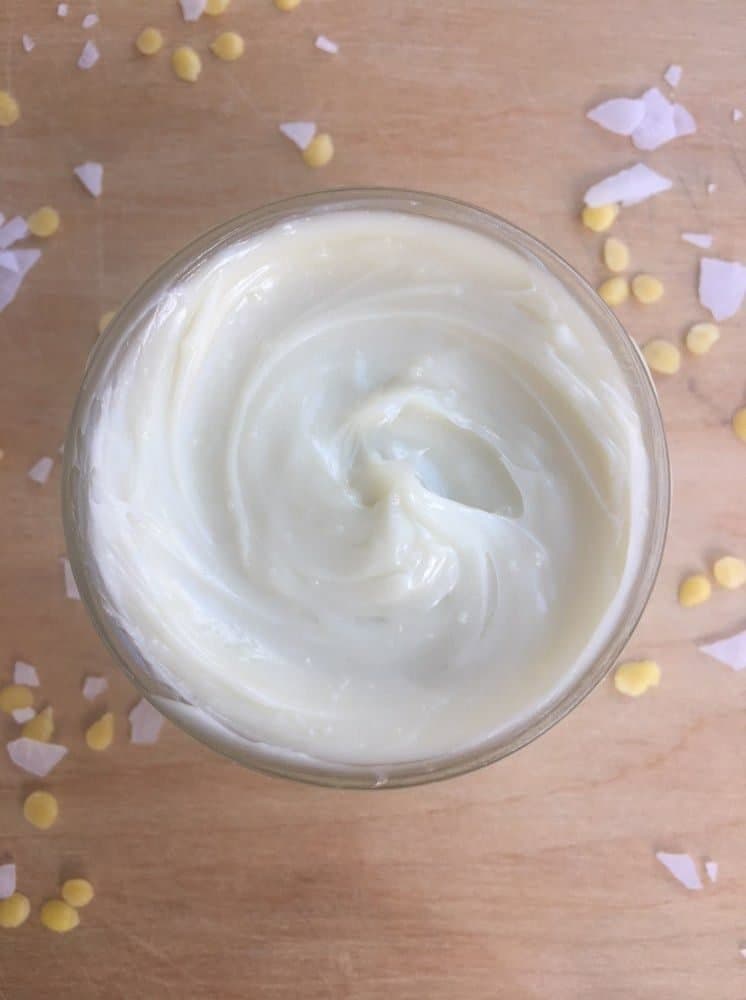
Blend everything together thoroughly with your immersion blender.
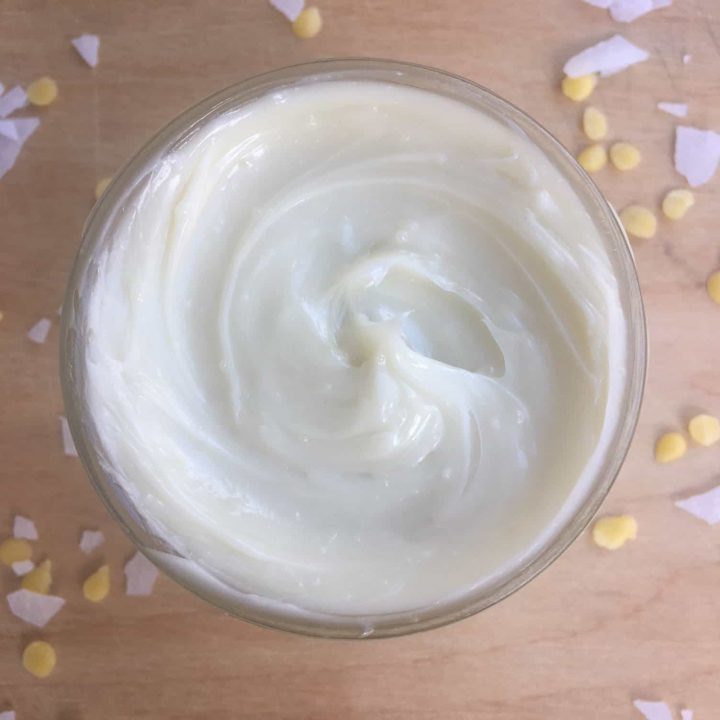
Magnesium body butter keeps in an airtight container for up to 2 months.
Yield: approximately 16 ounces of body butter. This is enough of you and several friends. You can easily halve this recipe if you’re making it just for yourself. However, this is a messy project. So, if I’m going to make a mess, I’d rather make a bigger batch and give some to friends/family, or even sell it!
Easy DIY Magnesium Body Butter for Relaxation + Wellness
Materials
- 1 cup magnesium flakes
- 6 Tbsp. boiling water
- 1/2 cup unrefined coconut oil
- 1 tsp. vitamin E oil blend
- 4 Tbsp. beeswax pastilles
- 6 Tbsp. shea butter
- 20 drops essential oils (I used lavender)
Tools
- Double boiler (or large jar inside a pot of boiling water)
- Quart size mason jar or large mug
- Stick immersion blender
Instructions
1. Boil some water. Add magnesium flakes into a mason jar or mug. Add 6 Tbsp. of boiling water to the flakes, stir until flakes are dissolved, and set aside. 
2. In large jar or double boiler, add the coconut oil, shea butter, and beeswax. 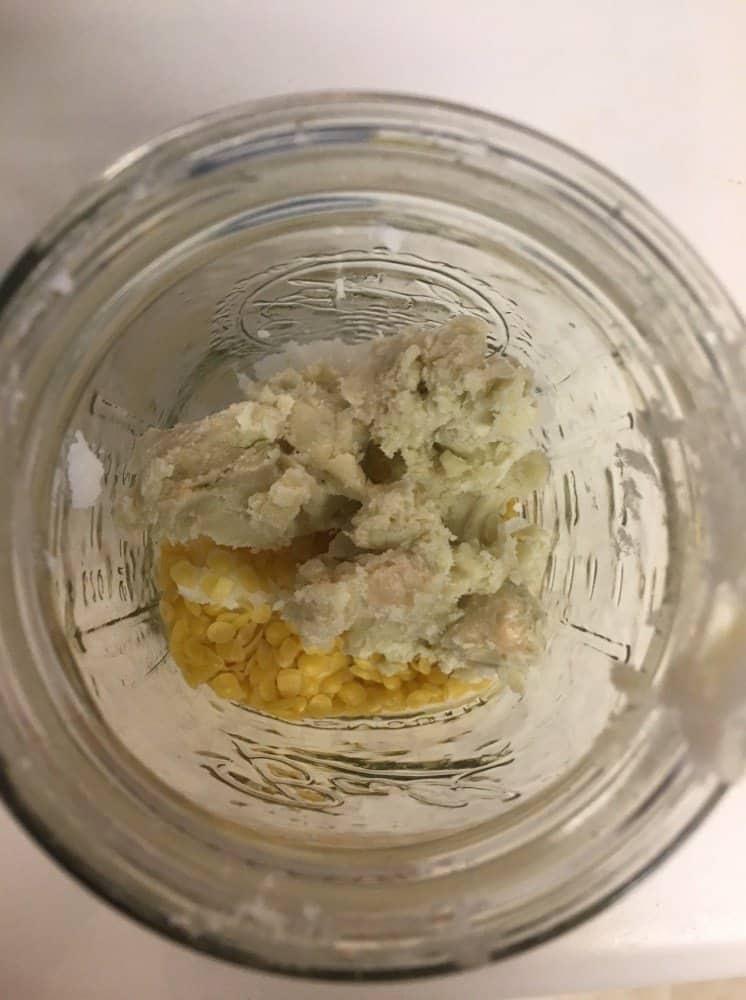
3. Place the jar into a pot filled with several inches of water (or, if using a double boiler, place the top pot over the pot of water). Turn the heat to medium-high. 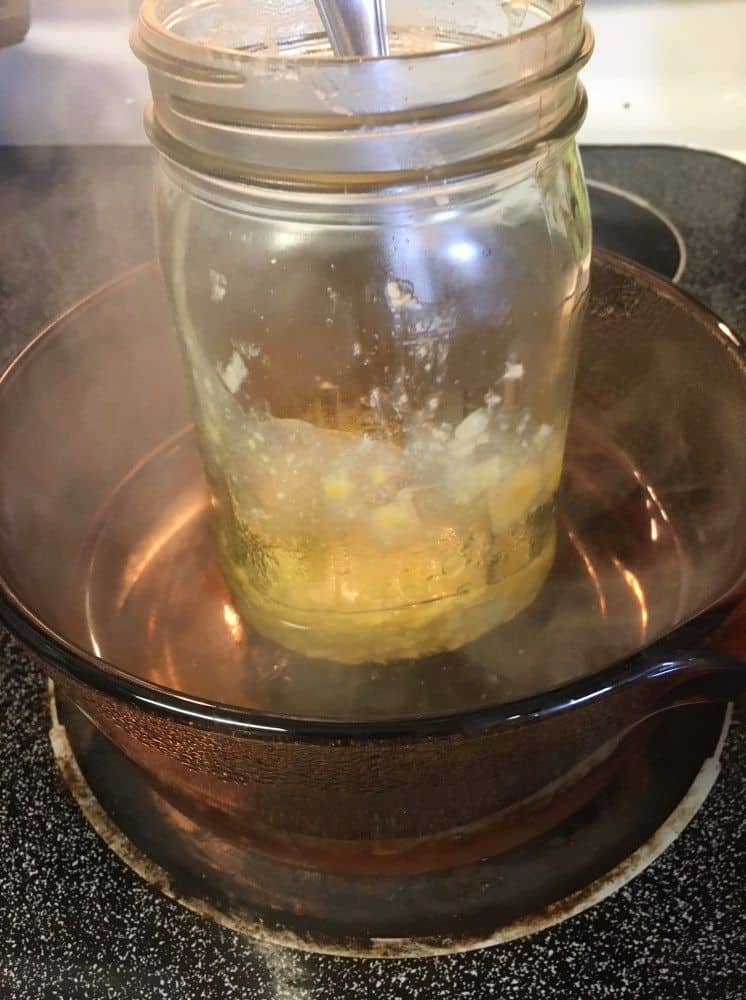
4. Melt the solid ingredients together, carefully stirring occasionally. You can also swirl the jar to mix everything together. Be extremely careful when handling the hot jar, and wear an oven mitt.
5. Once everything is melted together, remove the pot or jar and set it aside to cool for 3-5 minutes. Add vitamin E oil and essential oils.
6. Pour the magnesium liquid into the other ingredients. It may start to solidify when you do this, which is fine. 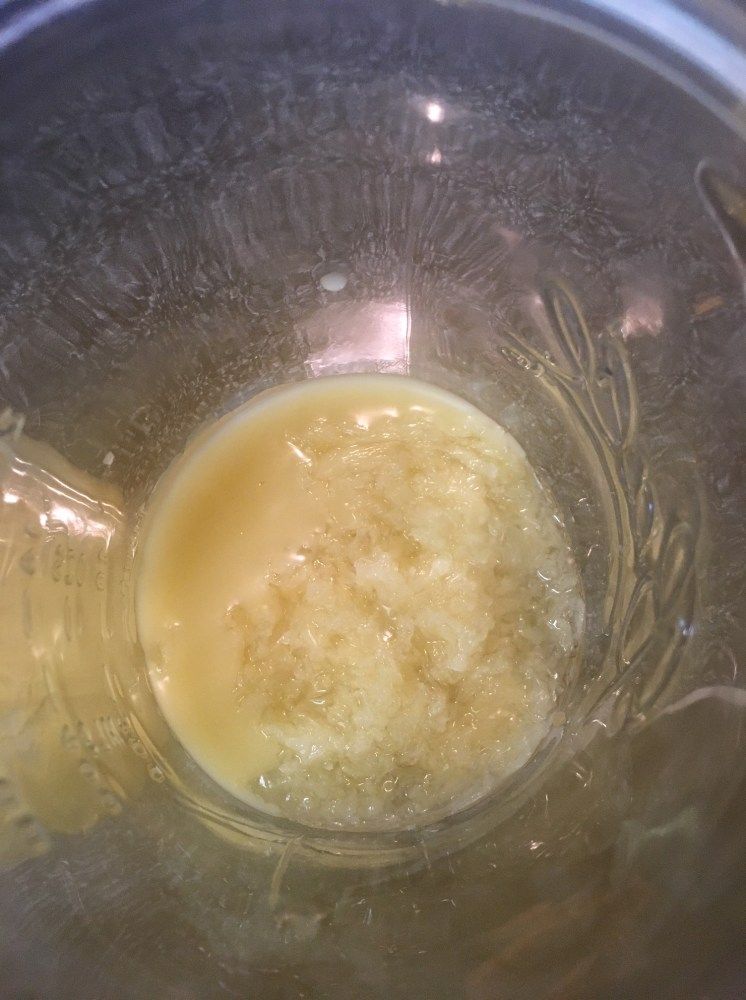
7. Blend everything together thoroughly with your immersion blender. 
8. Magnesium body butter keeps in an airtight container for up to 2 months.
9. To apply, rub ½ to 1 teaspoon into your skin to aid relaxation.
Recommended Products
As an Amazon Associate and member of other affiliate programs, I earn from qualifying purchases.
DIY Magnesium Body Butter Recipe Notes:
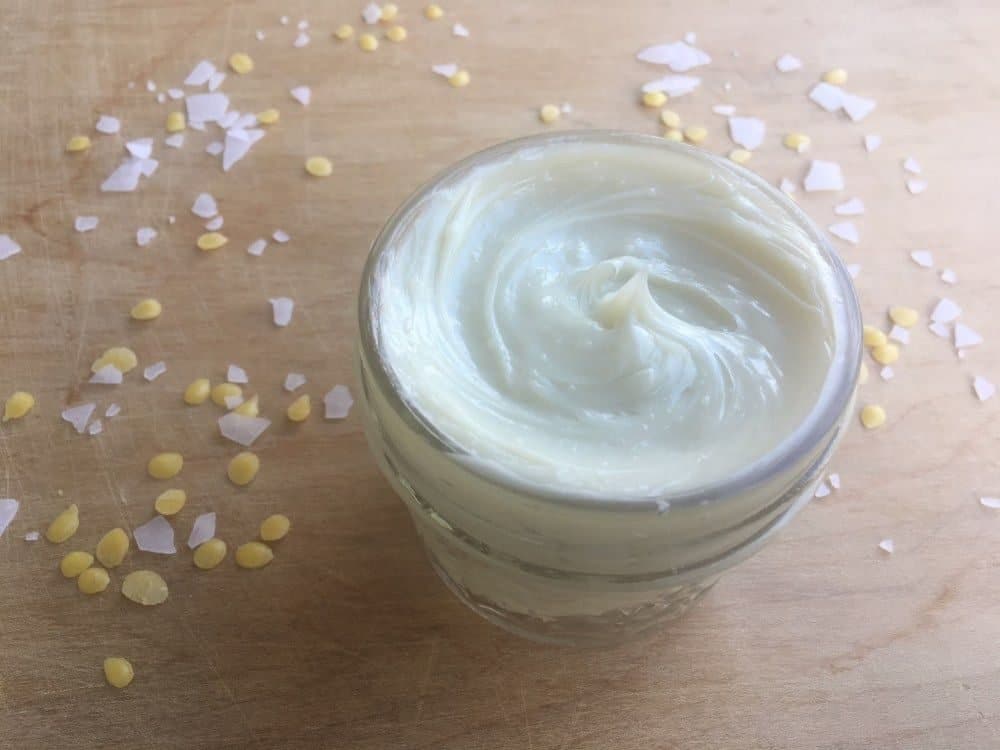
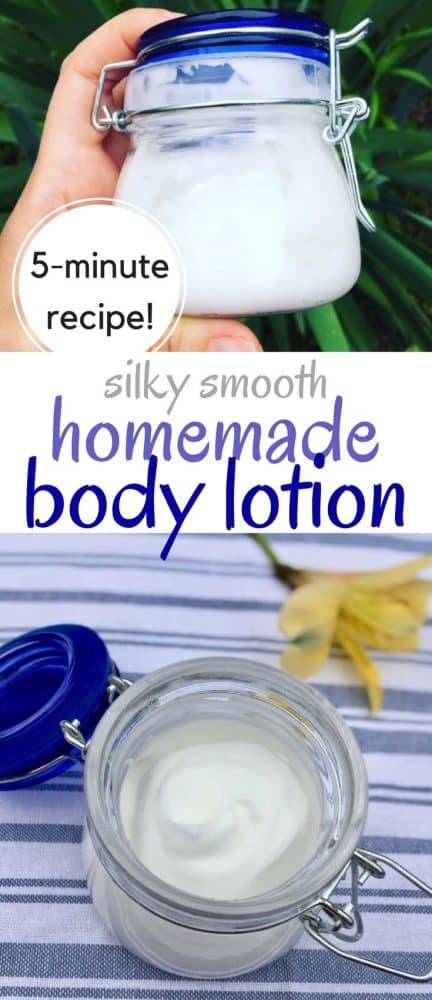
- The finished product is quite thick (kind of like a salve). It also has a slightly waxy/greasy feel because it is all natural. It won’t absorb exactly the same as a drugstore lotion, but that’s the point! If you want a homemade lotion that feels like store bought, try my DIY silky smooth body lotion which uses aloe vera as the base.
- You might prefer to use this body butter at night if the fact that it doesn’t absorb quickly is bothersome to you.
- This magnesium body butter can be applied anywhere (except maybe your face – it would be too heavy). I like to apply it to my abdomen, since I tend to carry more tension there. Apply it wherever you feel your muscles are tense – shoulders, back, etc.
- A lot of people like to apply this to their legs to help with restless leg syndrome (RLS), or to the bottoms of feet for better absorption.
Recipe adapted from Don’t Waste the Crumbs.
You May Also Like: Best Homemade Deodorant on Planet Earth
DIY Magnesium Body Butter Recipe Cleanup
Yes, there is a separate section just to explain how to best clean up this recipe! Although this body butter is very easy to make, it is messy and cleanup can be a little challenging since the beeswax tends to create a semi-solid layer of lotion on all your tools when you’re finished.
The easiest method is to put all your tools and containers into a sinkful of very hot water with a generous amount of grease-cutting dish liquid. Allow to soak for several minutes, scrub with a sponge, and run through the dishwasher.
For the immersion blender, fill the quart mason jar with hot soapy water and blend with the blender. This should make cleanup pretty easy. If you find your tools are still messy after this process, use a baking soda + water paste as a scrub to remove residue. My tools came clean with just the dish liquid though, so you shouldn’t have any issues. If you want to simplify the process even more, you can have designated tools that you use only for DIY projects.
Update 11/01/19: While I still enjoy using this body butter, I’ve come across something I like even better! This is perfect if you don’t want to make your own, and it’s very affordable.
Magnesium Lotion Shop makes the purest magnesium formula I’ve found (the only ingredients are magnesium oil, apricot oil, mango butter and beeswax), and I love using it before bed every night to help me sleep.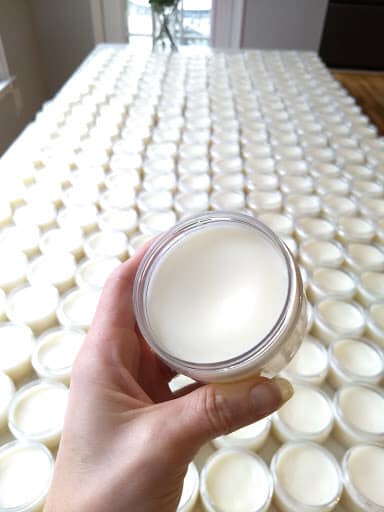
It’s a silky smooth hard lotion which helps nourish dry skin. This lotion also has a calming effect and may help you drift off to an amazing nights sleep ? SOOOO helpful on stressful days!
My husband and I love it, we’ve been sleeping better, and it’s been helping Richard a lot! He had really sore knees from running and this gave him a lot of relief.
It’s also really affordable and lasts a long time – you only need ½ teaspoon per application! Grab some here.
Have you ever used magnesium lotion or oil before? What was your experience?
You May Also Like: DIY Body Lotion {Silky & Non-Greasy}
With Joy,

PIN IT!
I love love love this post. I want to slather myself in this! Magnesium is truly magical! Thank you for this great recipe!
It truly is magical! So amazing for relaxation 🙂
I made this and while I do like it the liquid seems to separate all the time from the lotion and I also notice it has kind of a funny smell is anybody else having this issue almost smells like it’s moldy or something
LeeAnn
Sometimes there is a bit of condensation, it’s just the nature of the magnesium. This lotion does have a shelf life to avoid mold, I recommend using within a month or so.
Oh…I want some!
It’s so nice!
Great diy I will have to try this!
Hope you enjoy it Karen!
Can I make this into lotion bars?
I think so, if you press it into a rectangular mold. The final product is pretty solid.
I want to try this but I only have magnesium oil, will this work?
You could try mixing some magnesium oil with some coconut oil instead of dissolving the flakes in water. If you try it, let me know!
I have made two batches of this and I love it! as do friends I have made for. It takes the edge of my pain and has relieved headaches. Thank You so much
That is awesome to hear, Rene! So happy it’s helping you! Thanks for reaching out. ❤️
I tried making this for the bursitis pain in my shoulder, it worked really well after it got absorbed into my skin. I just used a small sauce pan to melt everything and it turned out great!
Thanks so much Mary for a wonderful home remedy
Yay, I’m so happy you are finding it helpful Angela! Blessings!
How long this good for shelf life ?
I would say around 2 months, possibly longer
How long it’s good for shelf life i made it today
It should be good for around 2 months, at least
Why might the shelf life only be two months? Would the magnesium not be effective after that time frame?
It’s more to be on the safe side for ingredient freshness, since there’s no preservatives.
can i use carnauba wax pellets to make it vegan, or must it be beeswax?
I have not tested carnauba wax with this recipe but you could certainly try it!
Please tell me if I can use this on kids & grandkids!
A small amount, yes! Always ask your practitioner before trying something new.
Just made a batch today as I was buying bottle of magnesium lotion online and it was so expensive I figured it would be better to make it at home and so easy to do.
Oh I’m so glad you enjoyed it!!
Hello, very nice recipe. Does it not separate as there is no emulsifier in it ?
I made this recipe but it turned out very thick, what do you suggest I do to make it less thick, Thank you
It is meant to be thick, but you could add some additional oil.
How long do you blend it?
How much magnesium will one be getting by the application of say per teaspoon?
Every time I make a batch usually four out of the twelve do not set. They have a thin line of wax and lotion the rest is water underneath. I can’t figure out what I’m doing wrong. I follow the recipe exactly. Could I add a carrier oil maybe?
What would happen if I used refined coconut oil?
This is a very nice recipe – I made it – your instructions and links to ingredients were awesome. Well done. I did change the recipe slightly – did 3 TBSP of the Beeswax instead of 4, and used 8 drops of essential oil to keep the fragance softer. It turned out great. Very silky. Thank you.
I’m so happy to hear this! Thanks for sharing your experience!