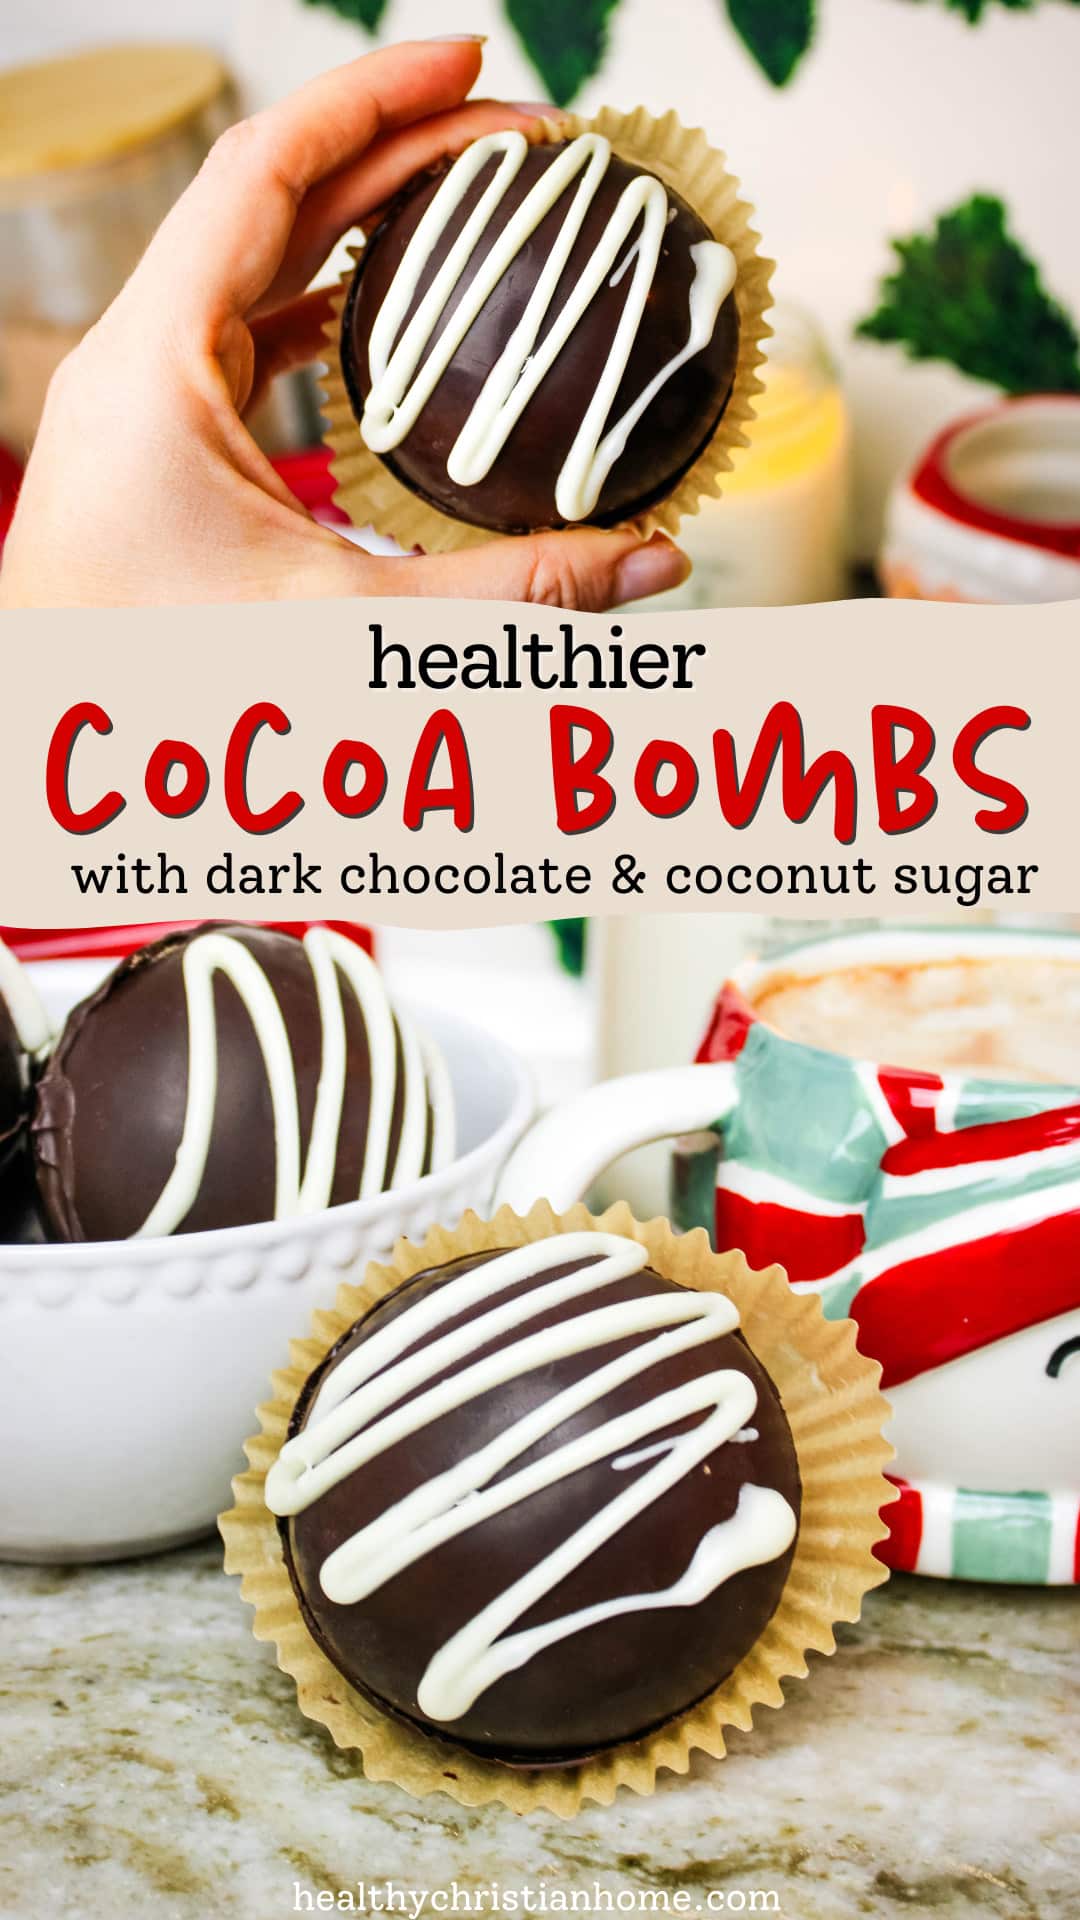
Healthier Hot Chocolate Bombs
These healthier hot chocolate bombs are a fun, special way to make the ultimate cup of hot chocolate. It’s so fun to watch them melt & explode! They also make perfect handmade gifts. We are making them a bit healthier with coconut sugar and dark chocolate!
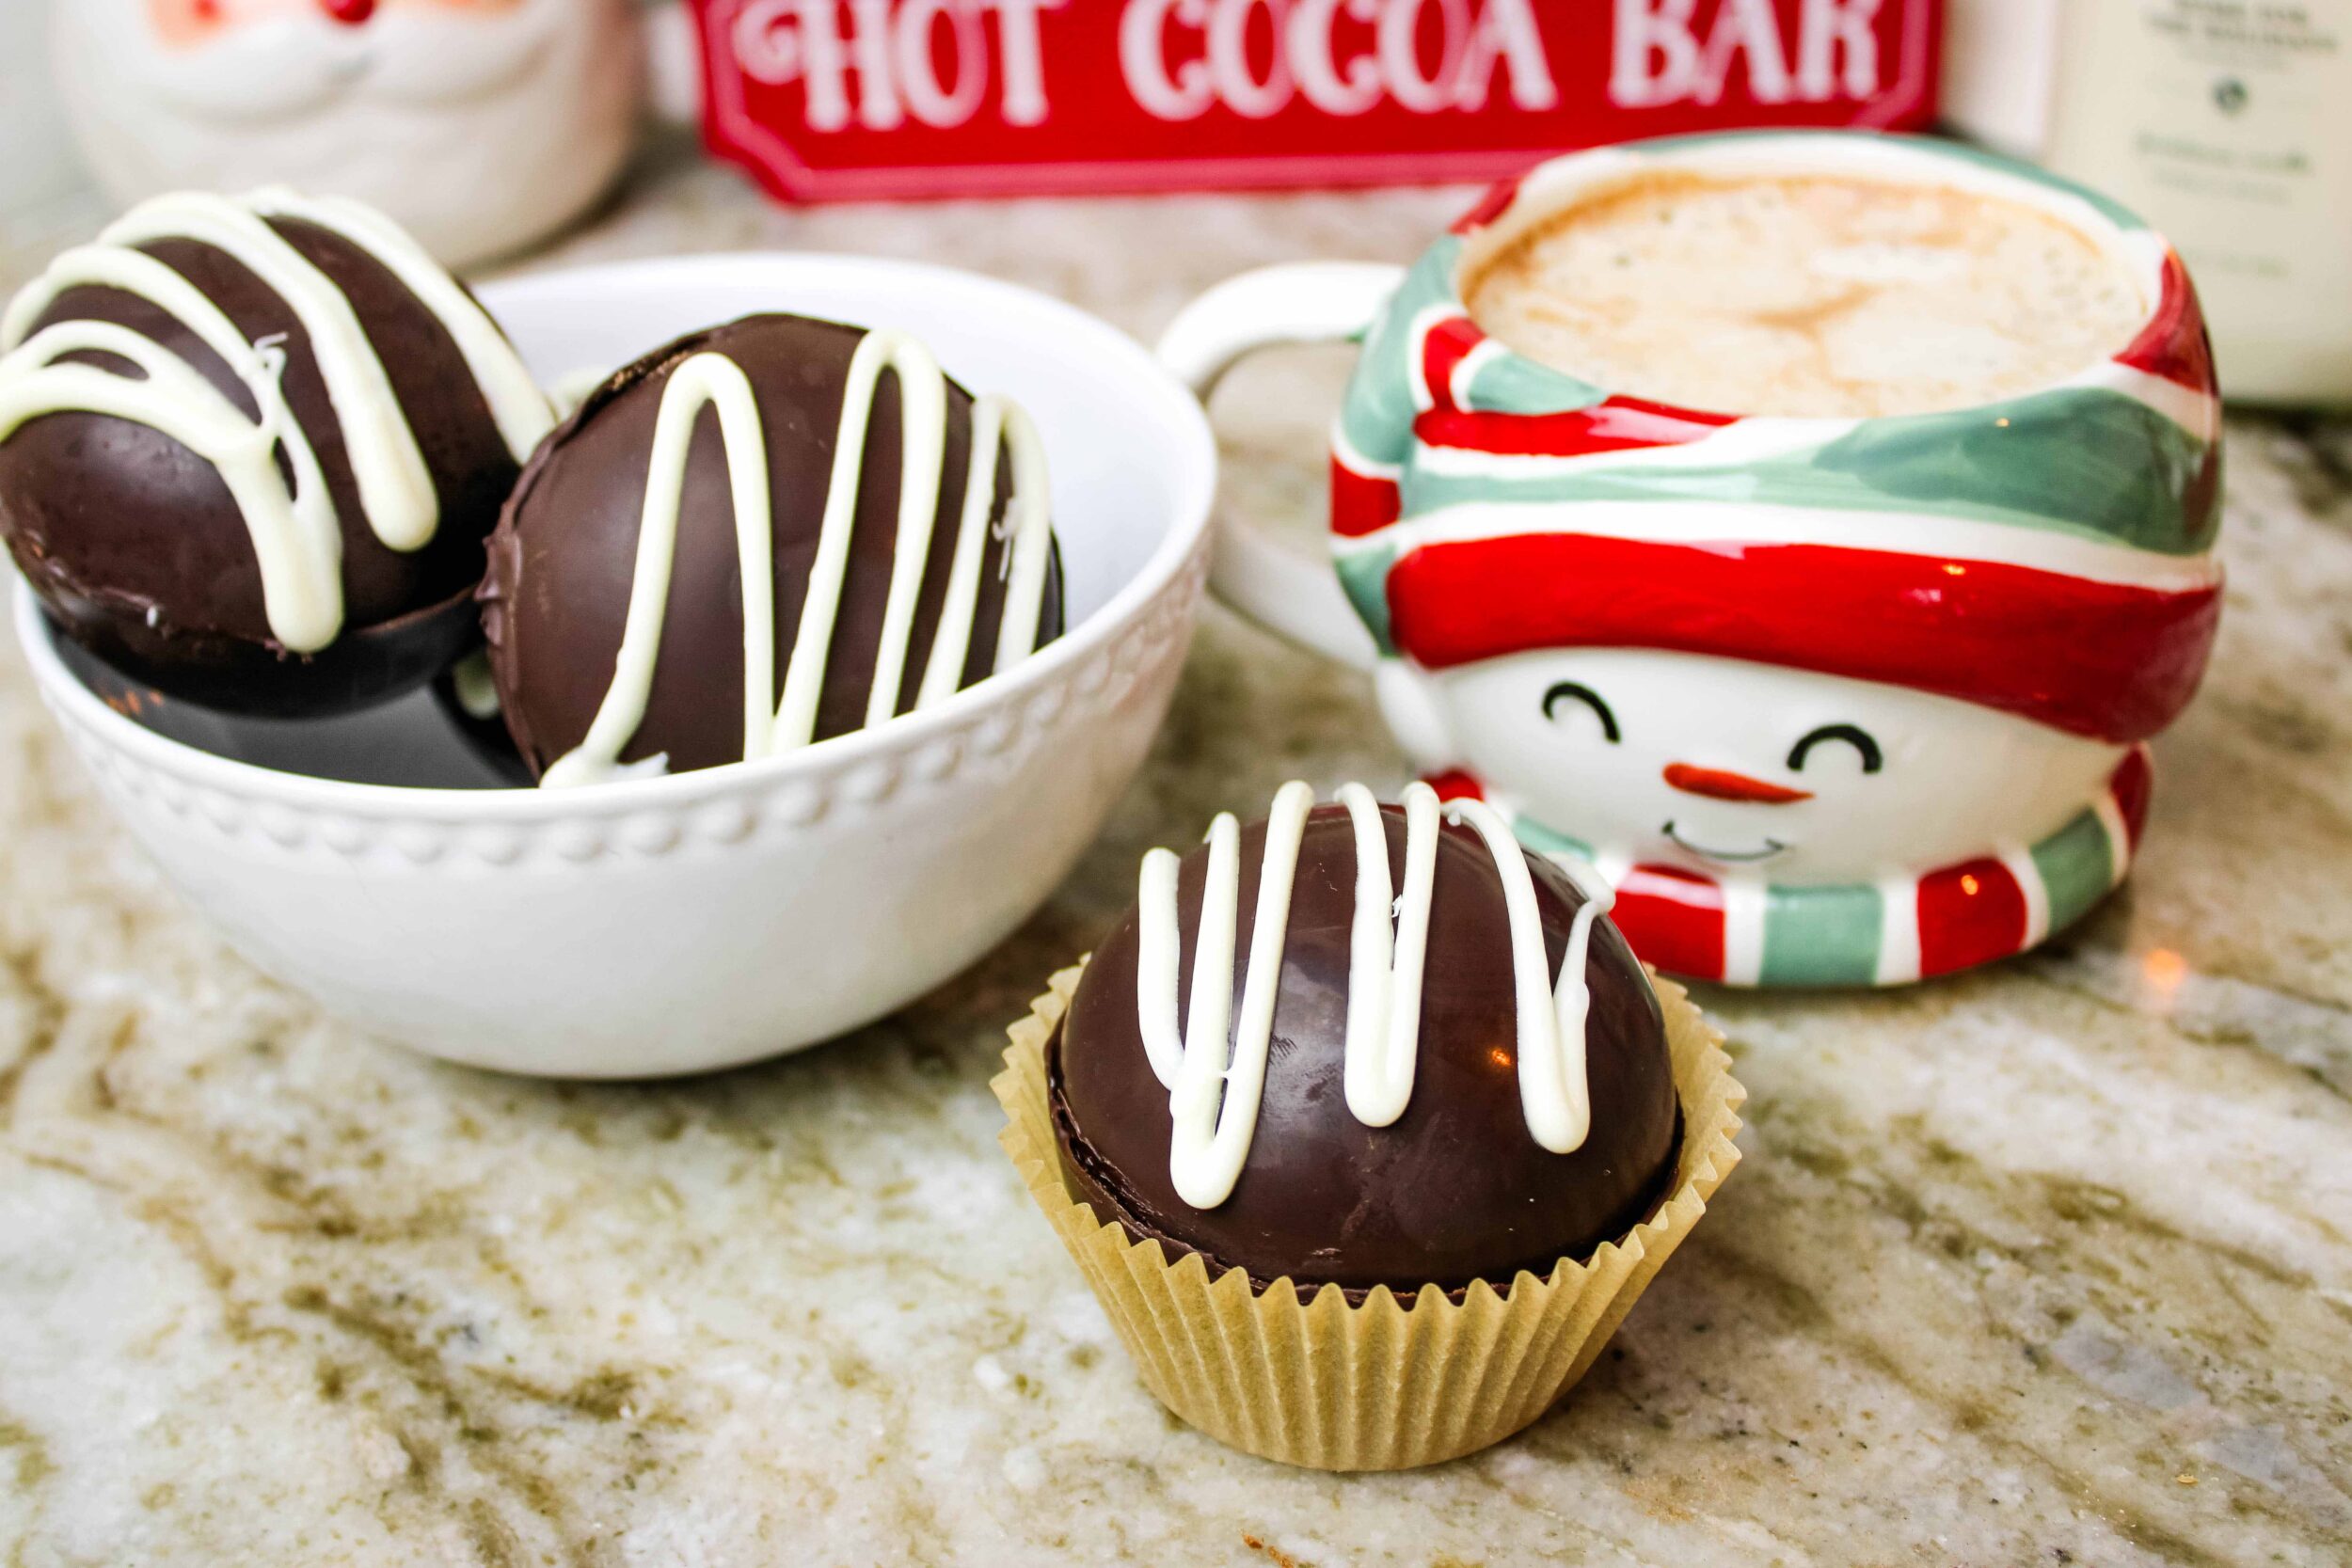
The most fun way to celebrate with cocoa!
Who doesn’t love a cup of hot cocoa? And, your cup is instantly elevated with a hot cocoa bomb — a super fun experience and even richer chocolate-y taste!
This is a super fun holiday project to do with kids. They love painting the inside of the silicone molds and adding the cocoa mix & marshmallows!
I love making these myself because I can make them with healthier ingredients like dark chocolate chips (less sugar) and coconut sugar instead of cane sugar. You can even add homemade marshmallows and homemade cocoa mix, customized the way you like it!
Hot cocoa bombs ingredients
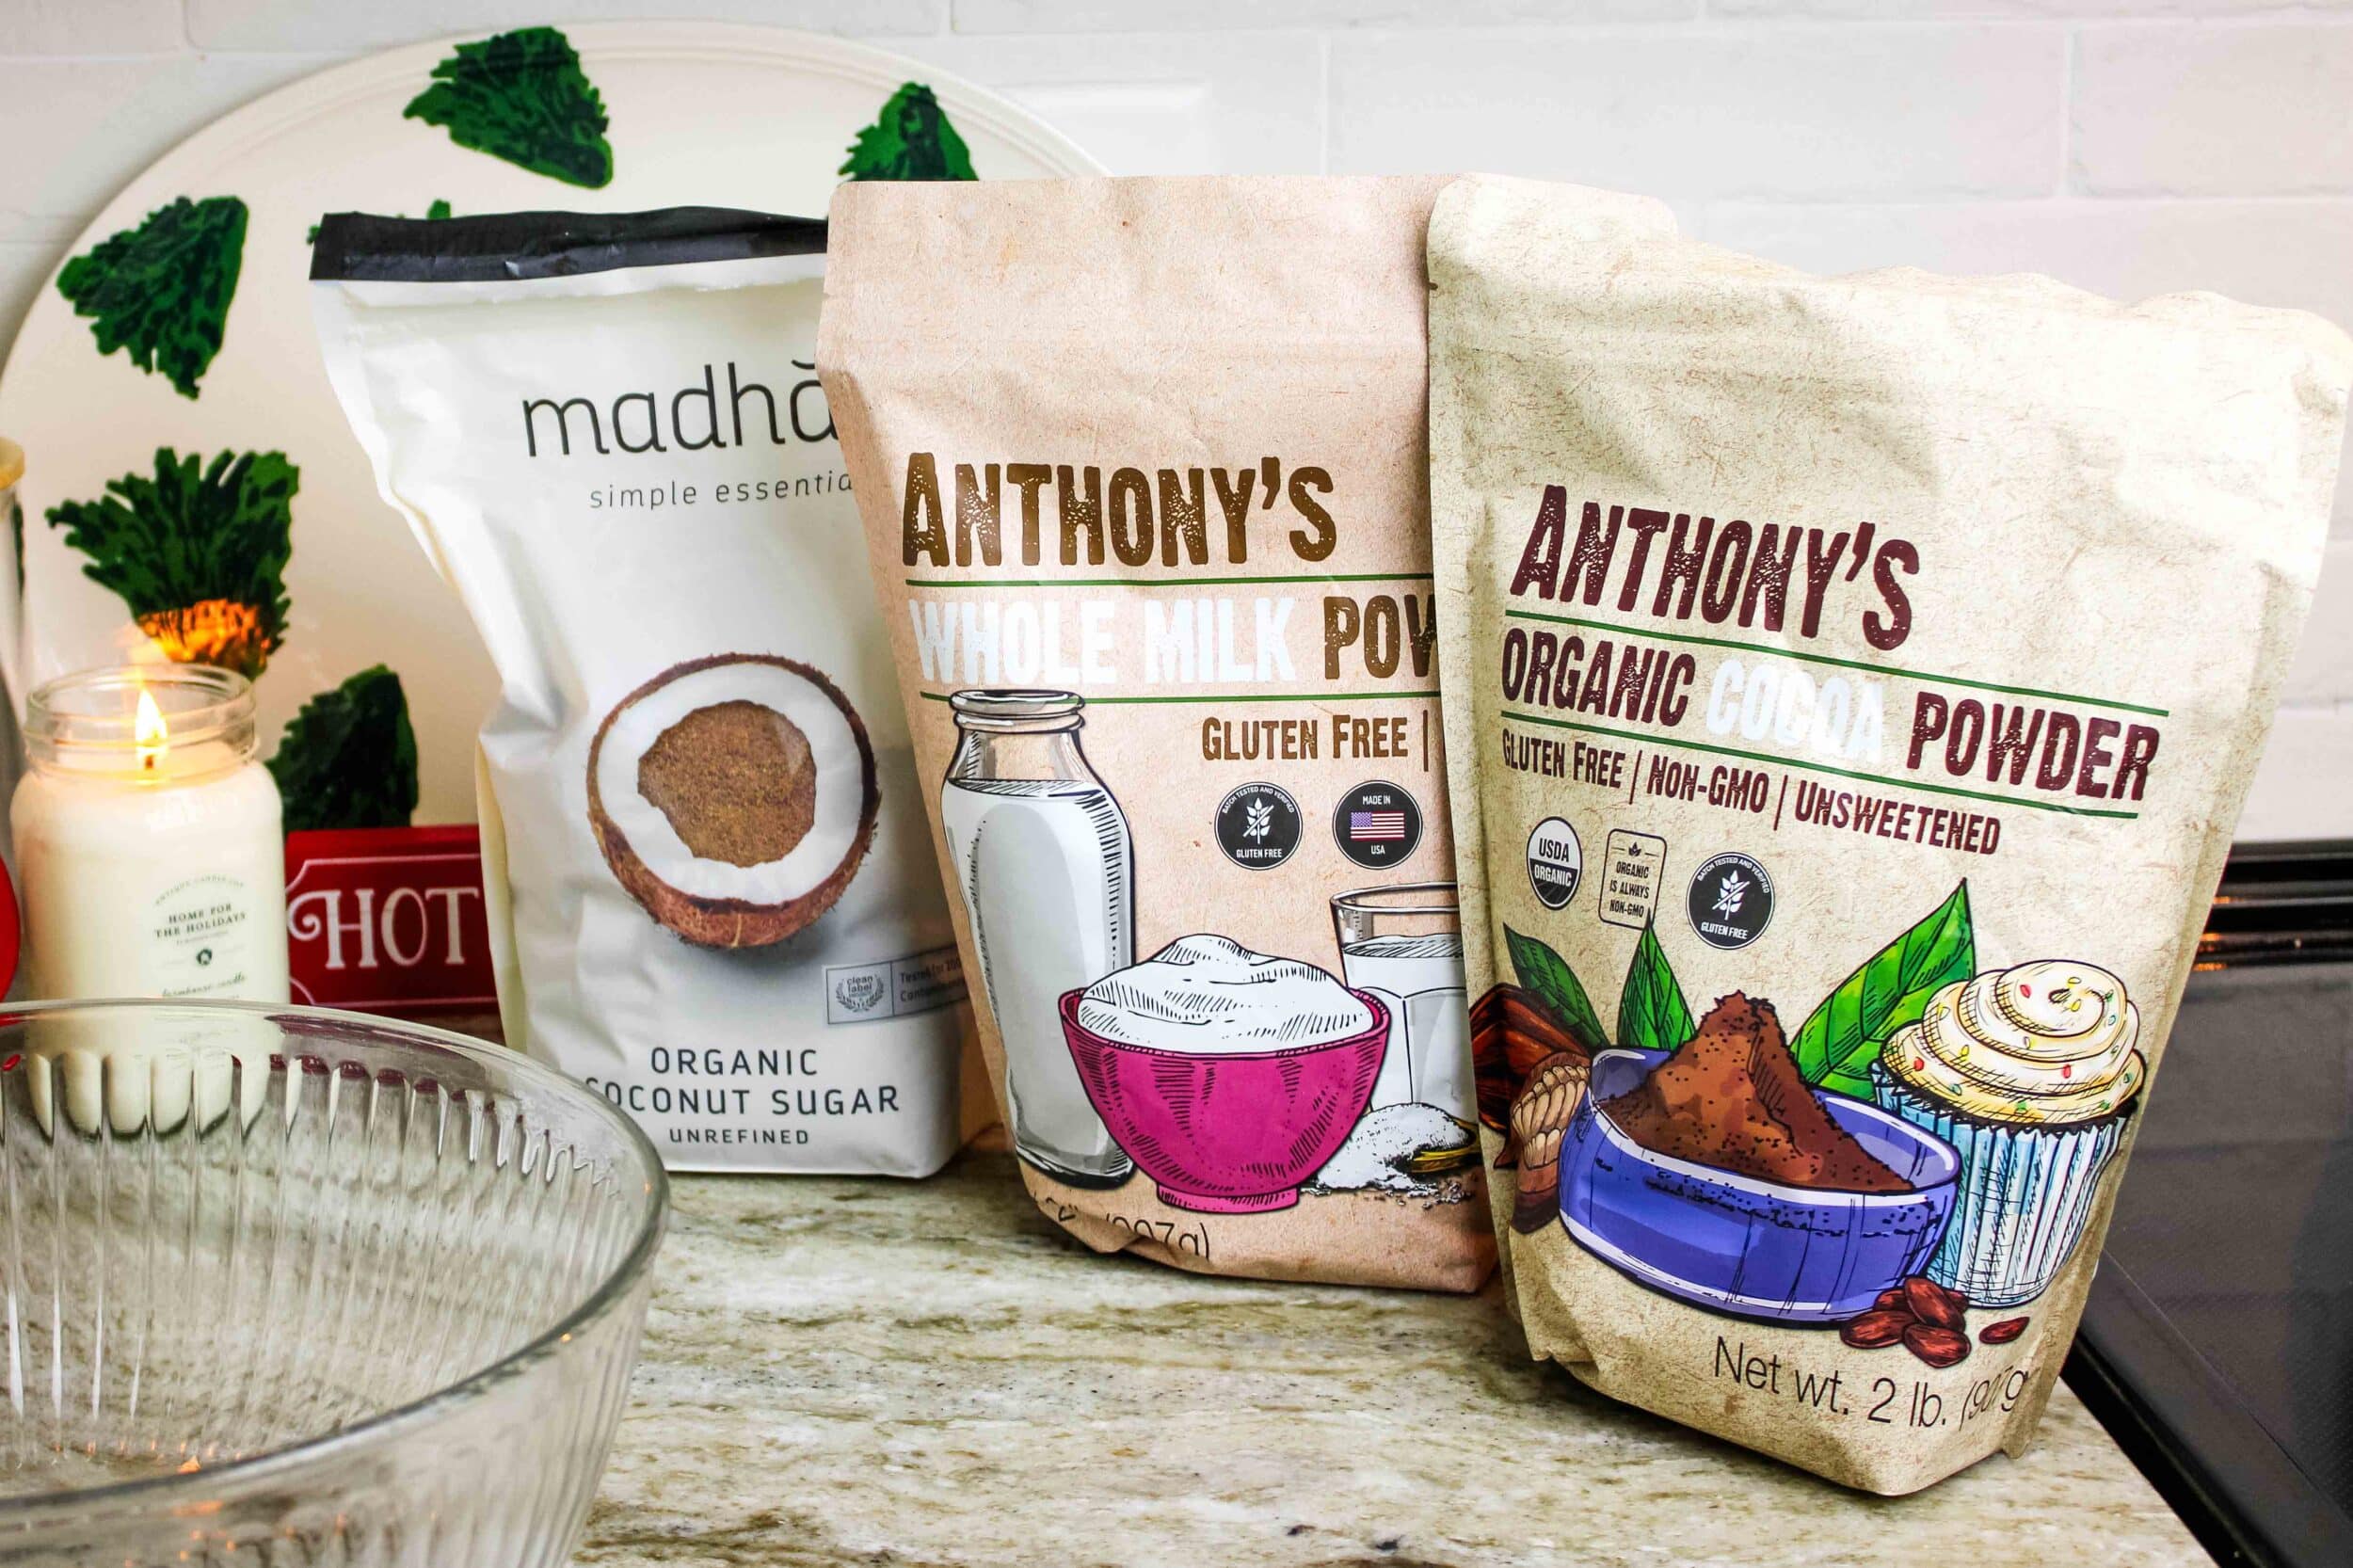
For this recipe you will need:
Dark or semi sweet chocolate chips – Dark chocolate works better for this recipe, and it’s healthier. Instead of chocolate chips, you could also use good quality bar chocolate. Milk or white chocolate melts at lower temps and doesn’t hold up as well for cocoa bombs.
Hot cocoa mix – You can use any you prefer, but we are making our own because it only takes a few minutes and it’s easy to make it healthier. (Here’s a detailed recipe for how I make mine.) I’m swapping cane sugar for coconut sugar because it has a lower glycemic index and doesn’t spike blood sugar as high (something we could all use during the holidays!) Sucanat is also a good choice. I also use dry whole milk powder to make it creamy, and organic cocoa.
Marshmallows – Make these cocoa bombs extra special by adding your own homemade marshmallows cut into mini pieces! (If you do this, you’ll need to consume the cocoa bomb within a week for optimal freshness.) Or, if using these for gift giving, add store bought marshmallows of your choice, or healthier ones like Max Mallow minis!
Equipment needed for hot cocoa bombs
There are a couple of important things you’ll need to make this recipe:
Silicone bomb molds – You can usually find these at hobby stores like Hobby Lobby or Michael’s. But, I had a little bit of trouble finding them locally, so I ordered mine online (these are the ones I used). You want them to be around 2.5” in diameter, which is the perfect size to hold your cocoa mix. I have a 3-pack of molds, which makes 9 hot chocolate bombs total. You can adjust the recipe depending on the number of molds you have.
Silicone pastry brush – This is really helpful for painting the chocolate into your cocoa bomb molds. I’ve seen people just use a spoon, but that’s more tricky to get even coverage. A silicone brush really helps!
Making the hot cocoa mix
To make the cocoa mix, simply whisk together powdered sugar (I made my own with organic coconut sugar in the blender), whole milk powder, and cocoa powder.
Instead of regular milk powder, you can use goat milk or coconut milk powder. I also like using organic cocoa. This is what you’ll fill your cocoa bomb molds with. For more info, read my detailed blog post about making homemade cocoa mix.
Making the hot cocoa bombs
This seems complicated, but it’s actually fairly simple! You just need a little bit of patience. Be sure to watch the recipe video in this post so you can see all the steps in real time.
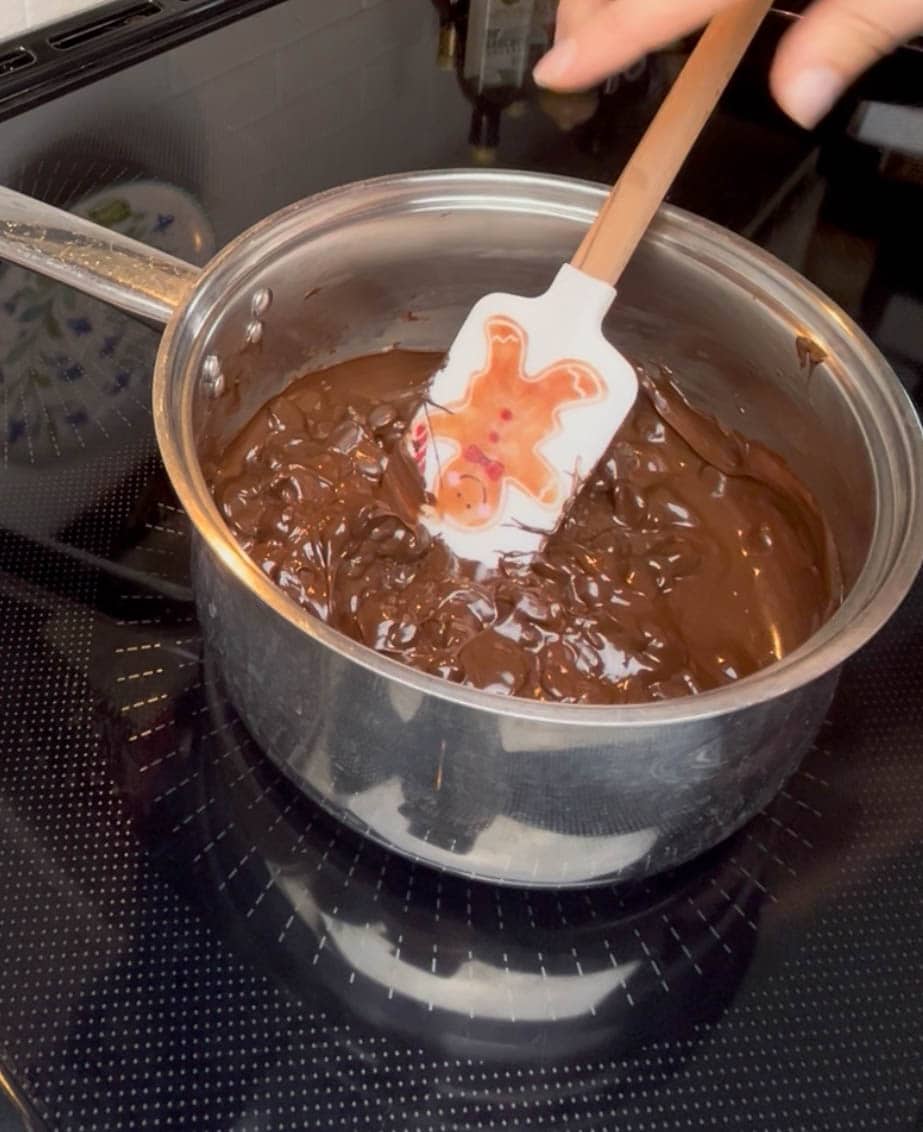
First, melt your chocolate chips on low heat. You don’t want to heat the chocolate too fast (it can burn or not set up well in the final product). For best results, use a double boiler. You can also heat the chocolate in the microwave in 30-second intervals, stirring until melted and smooth.
A note on tempering: I wanted this recipe to be simple and uncomplicated, so I chose not to temper my chocolate. However, if you want your chocolate to look professional & glossy, you’ll want to temper it first.
To do so, melt the chocolate in tiny (15-sec) intervals in the microwave, stirring after each interval. Use a food thermometer to check that the chocolate temperature does not go above 90 degrees. Just keep heating gradually and stirring until it reaches the correct temperature and all the chocolate is melted. Using this precise method will ensure your chocolate doesn’t melt when handled and stays glossy and shiny.
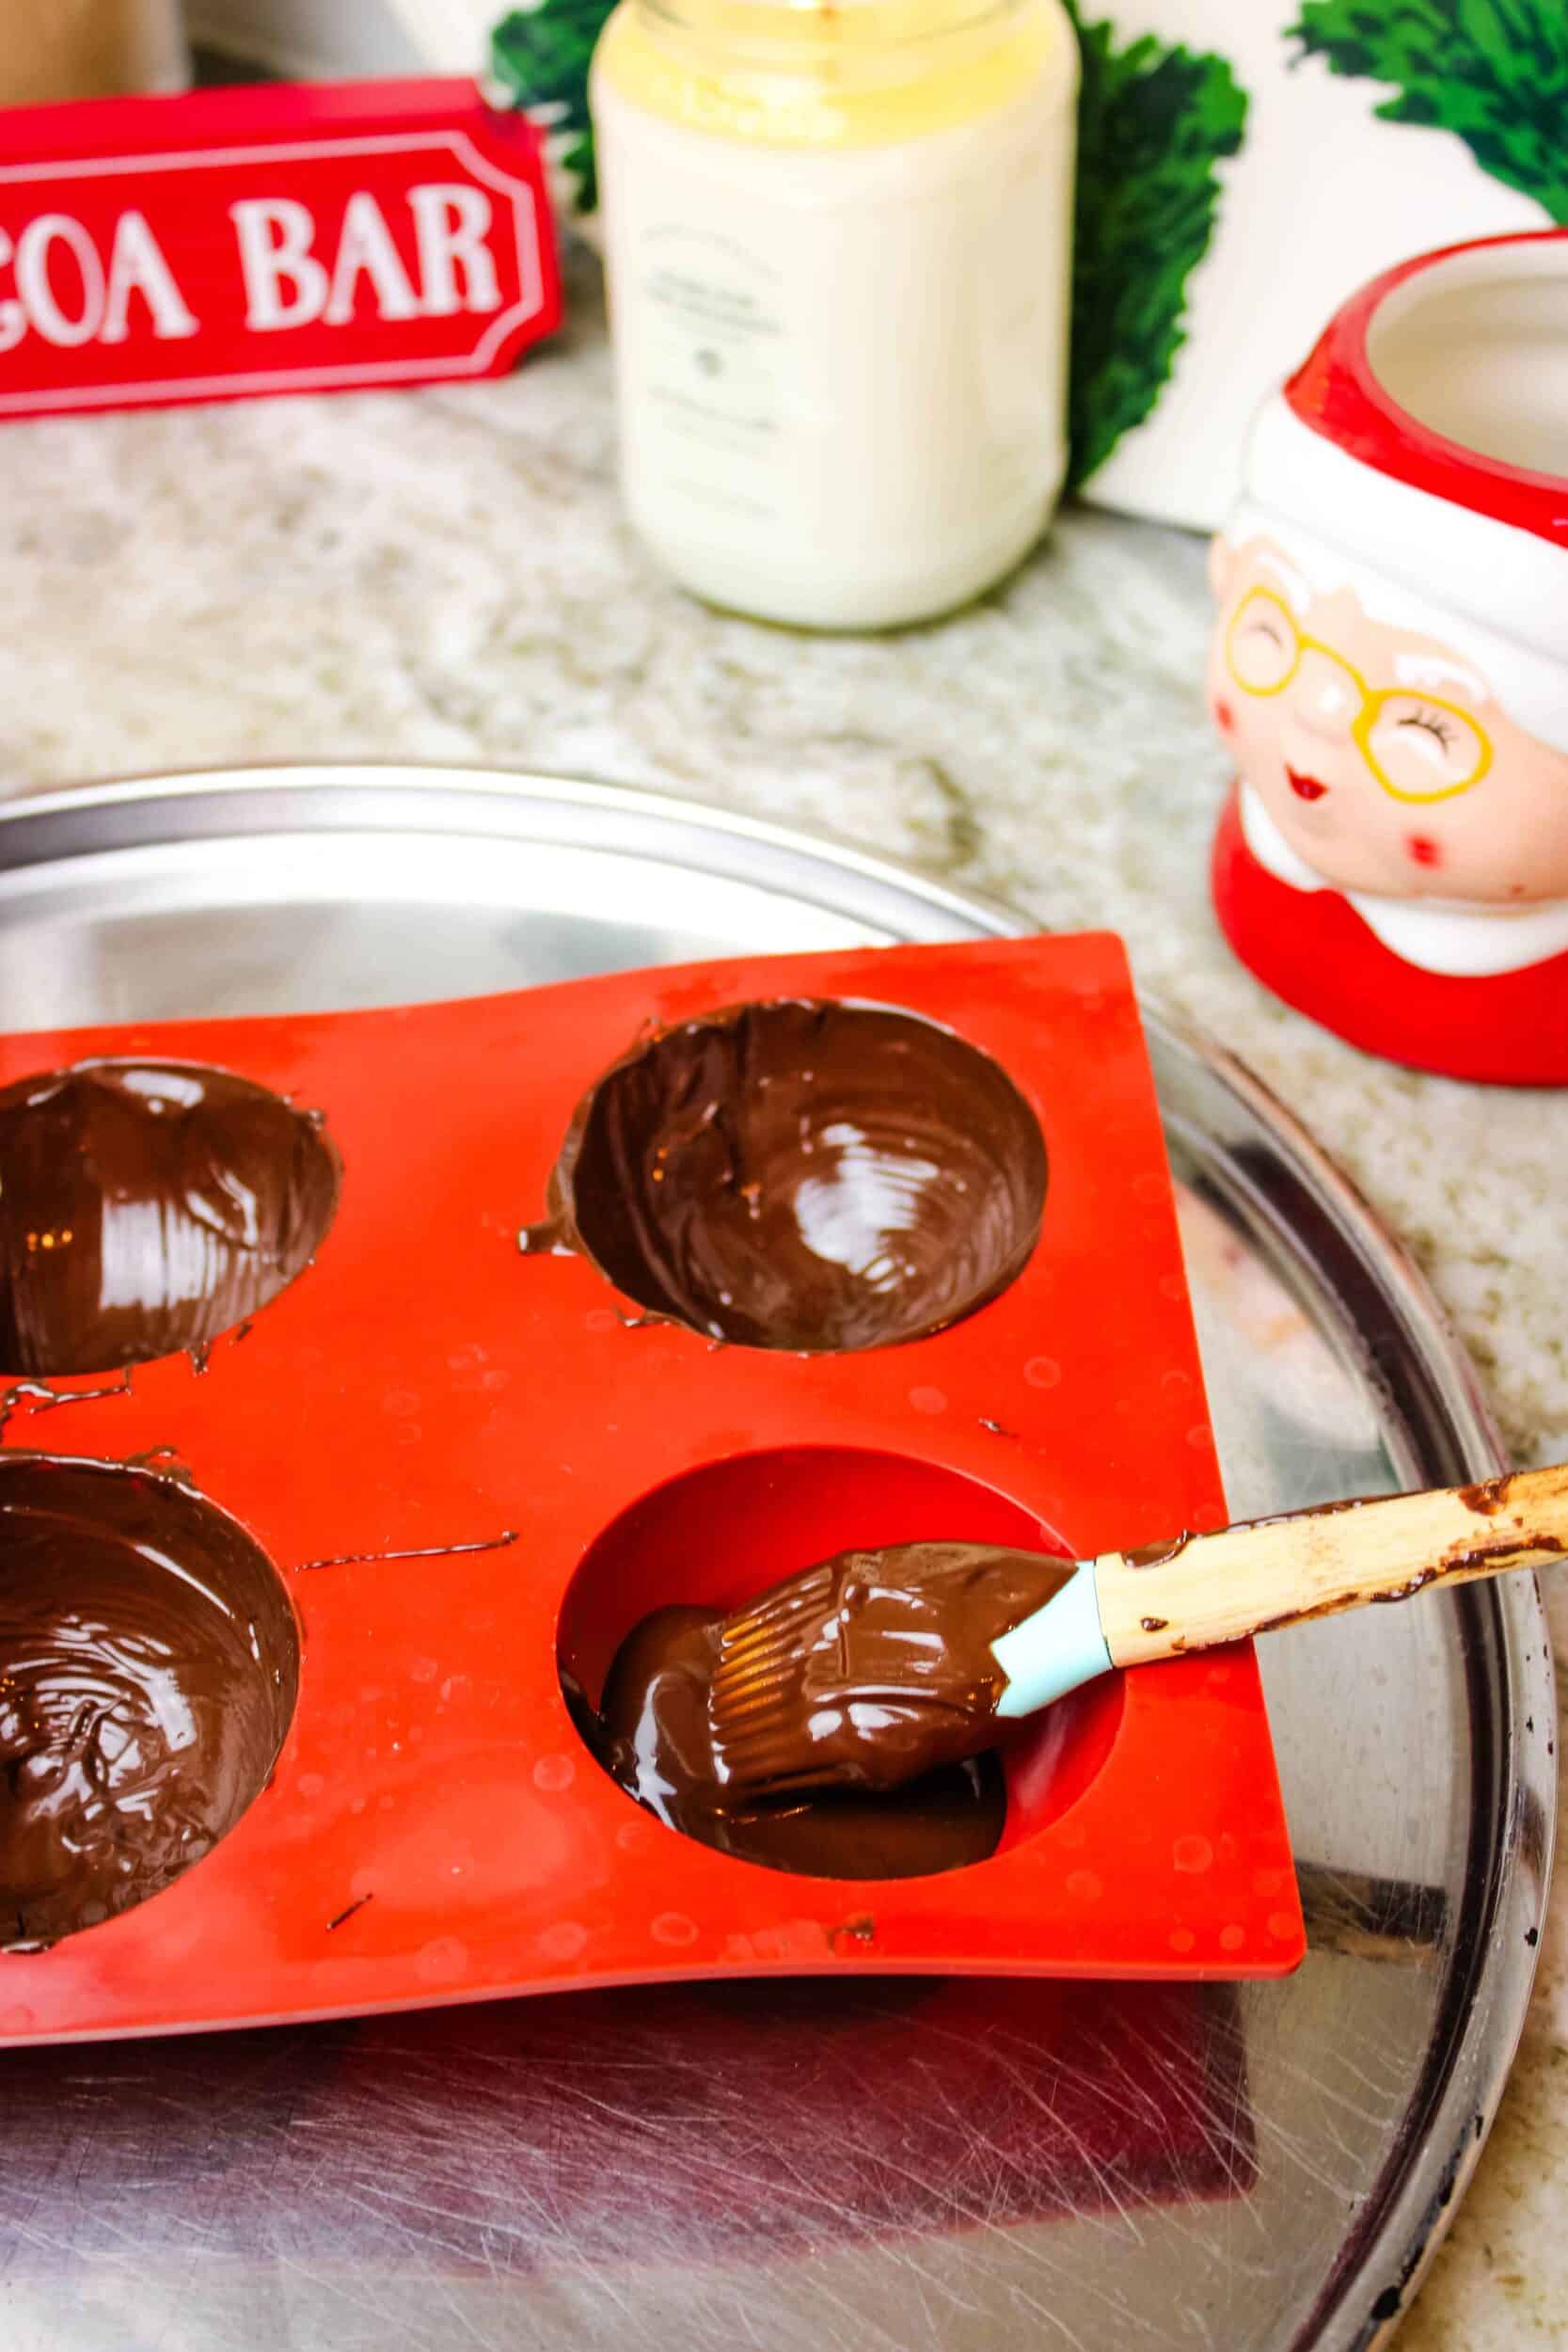
Okay, now that your chocolate is melted, it’s time to paint our silicone molds! Place the molds on a large baking sheet and paint an even layer inside each mold. You want a fairly thick layer, because you don’t want any holes or translucent areas.
It’s also a good idea to build up the chocolate layer sufficiently around the rim, so the two pieces “glue” together more easily. For an even better result, you can do two thin layers of chocolate (pop the molds in the fridge after the first layer and then paint on a second layer.)
After painting all your molds with chocolate, allow them to set and harden before moving on to the next step. You can pop them in the fridge to speed up the process (it will take around 20 minutes or so).
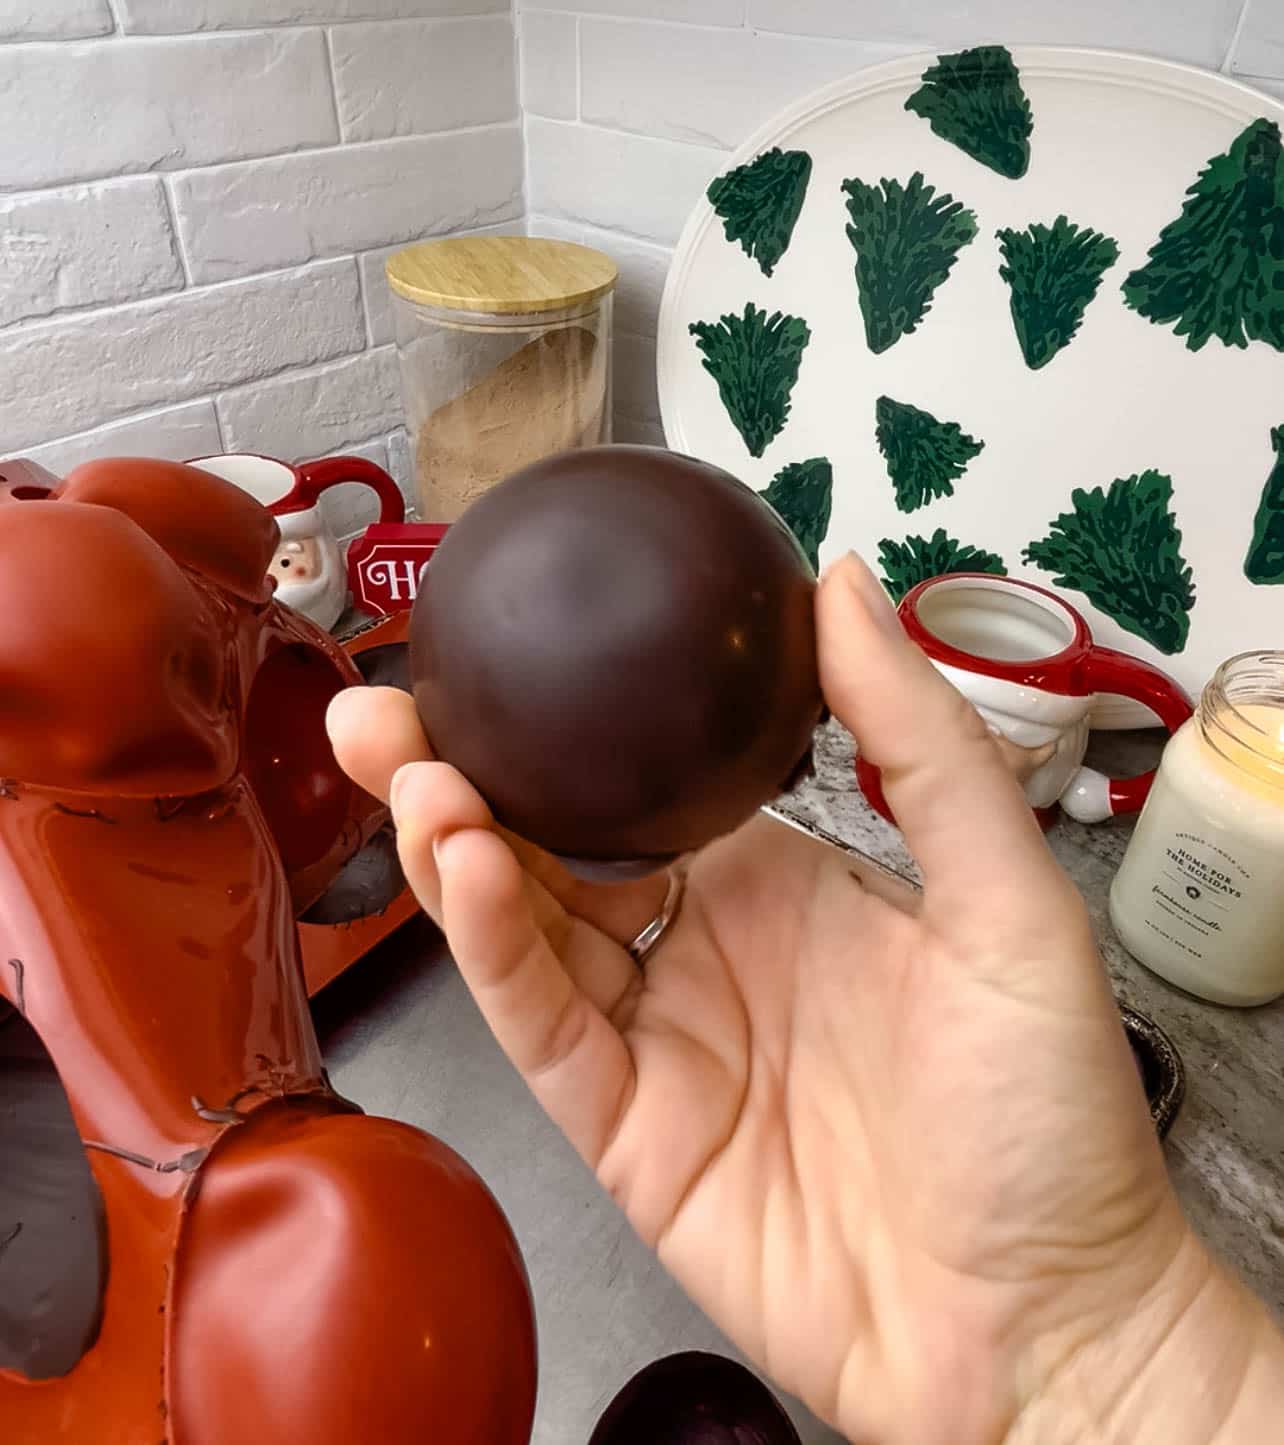
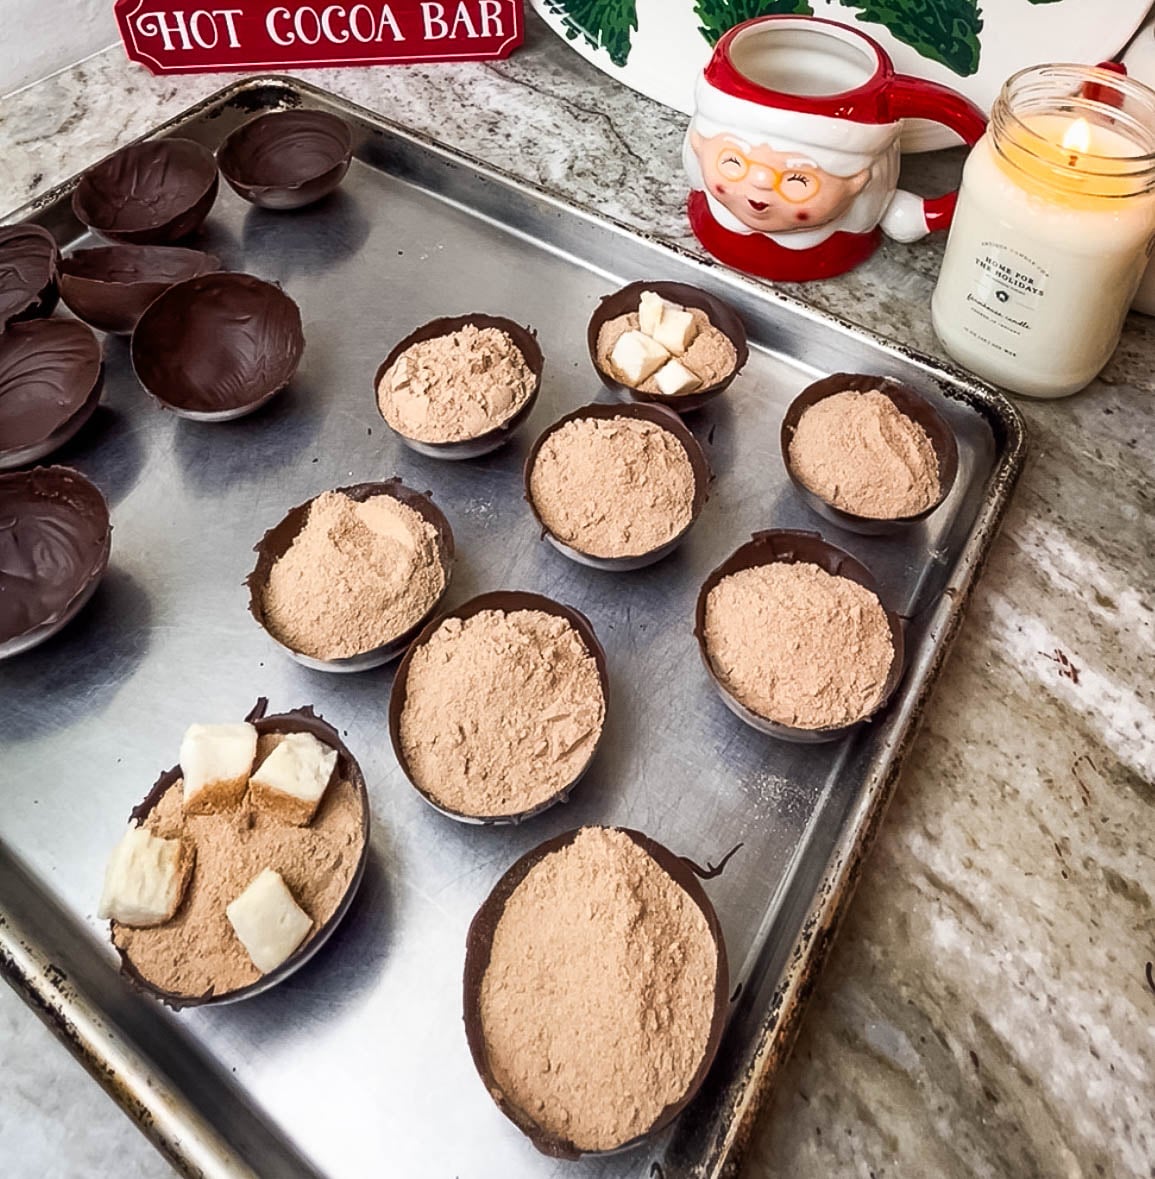
Once the chocolate is hardened, carefully remove each chocolate shell from its mold and place on the baking tray. Fill half of the shells with 2 tablespoons cocoa mix and 4-5 mini marshmallows (if using).
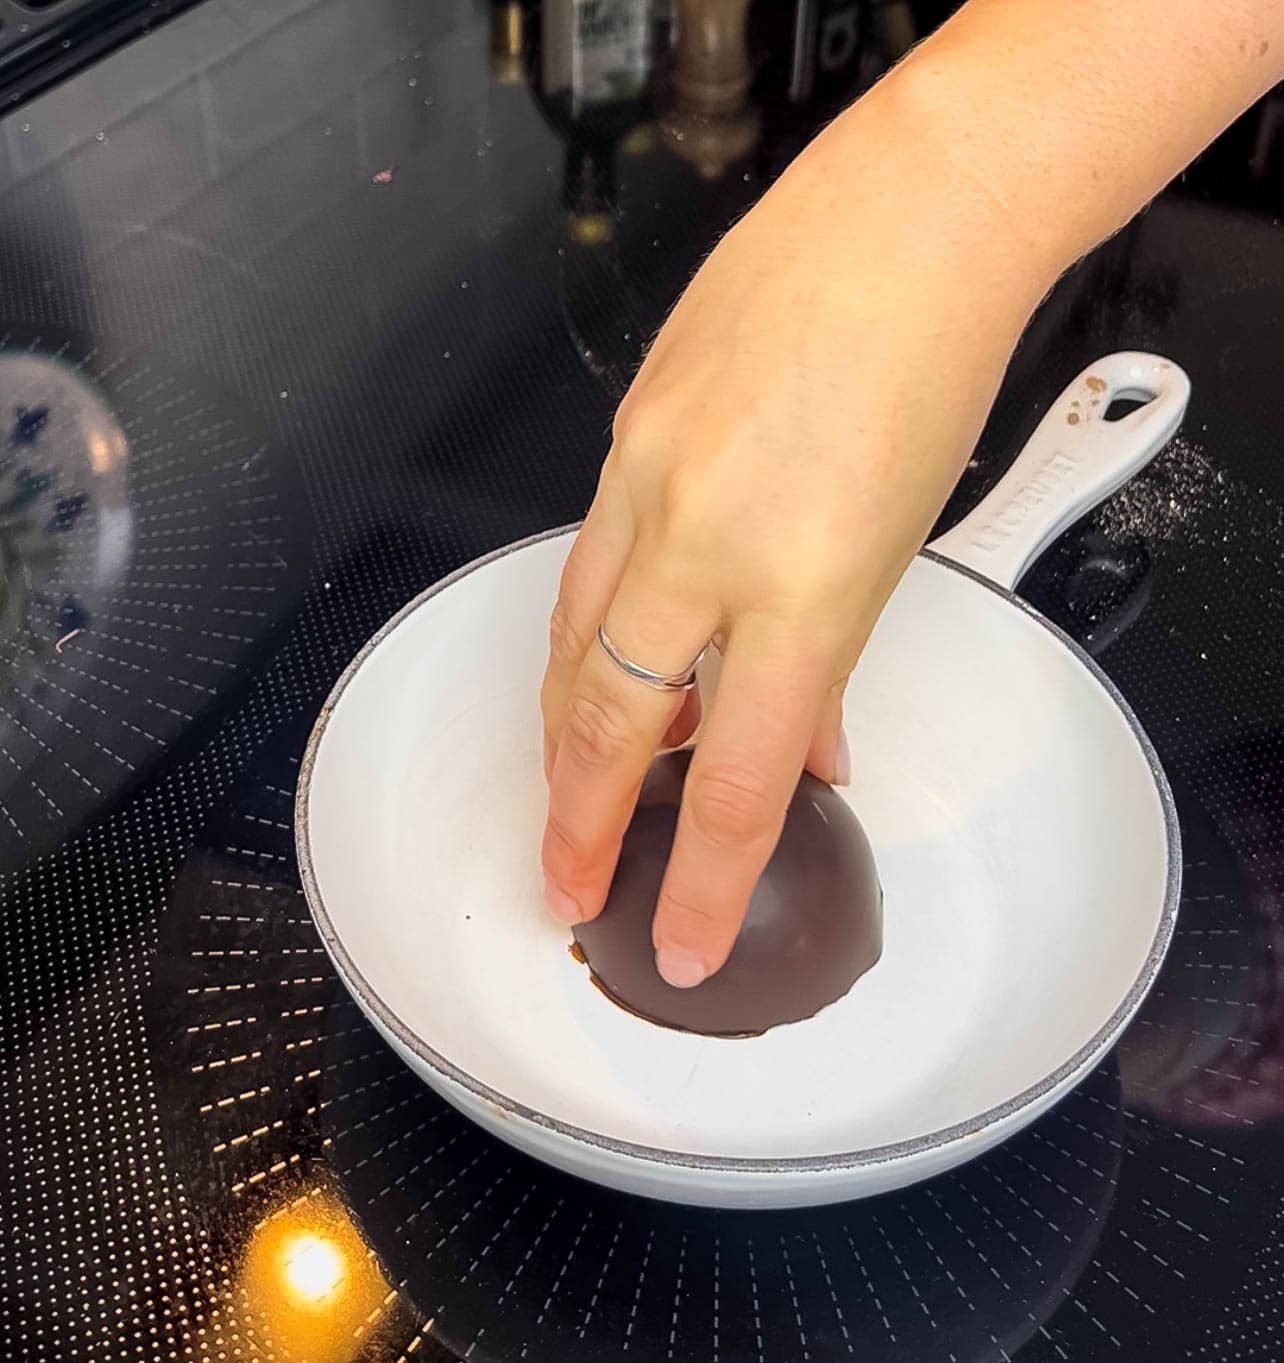
Once they’re filled, it’s time to “glue” our cocoa bombs together! There are 2 ways to do this. One method is to heat a small saucepan on low heat, and then place the rim of the half shell on the warm pan for just a few seconds, then press the two pieces together. (If you do this, make sure not to melt it for too long.)
The second method is to paint or pipe a little melted chocolate onto the rim, and then press both sides together. Make sure the melted chocolate isn’t too hot. Either method will work. Allow the chocolate bombs to harden.
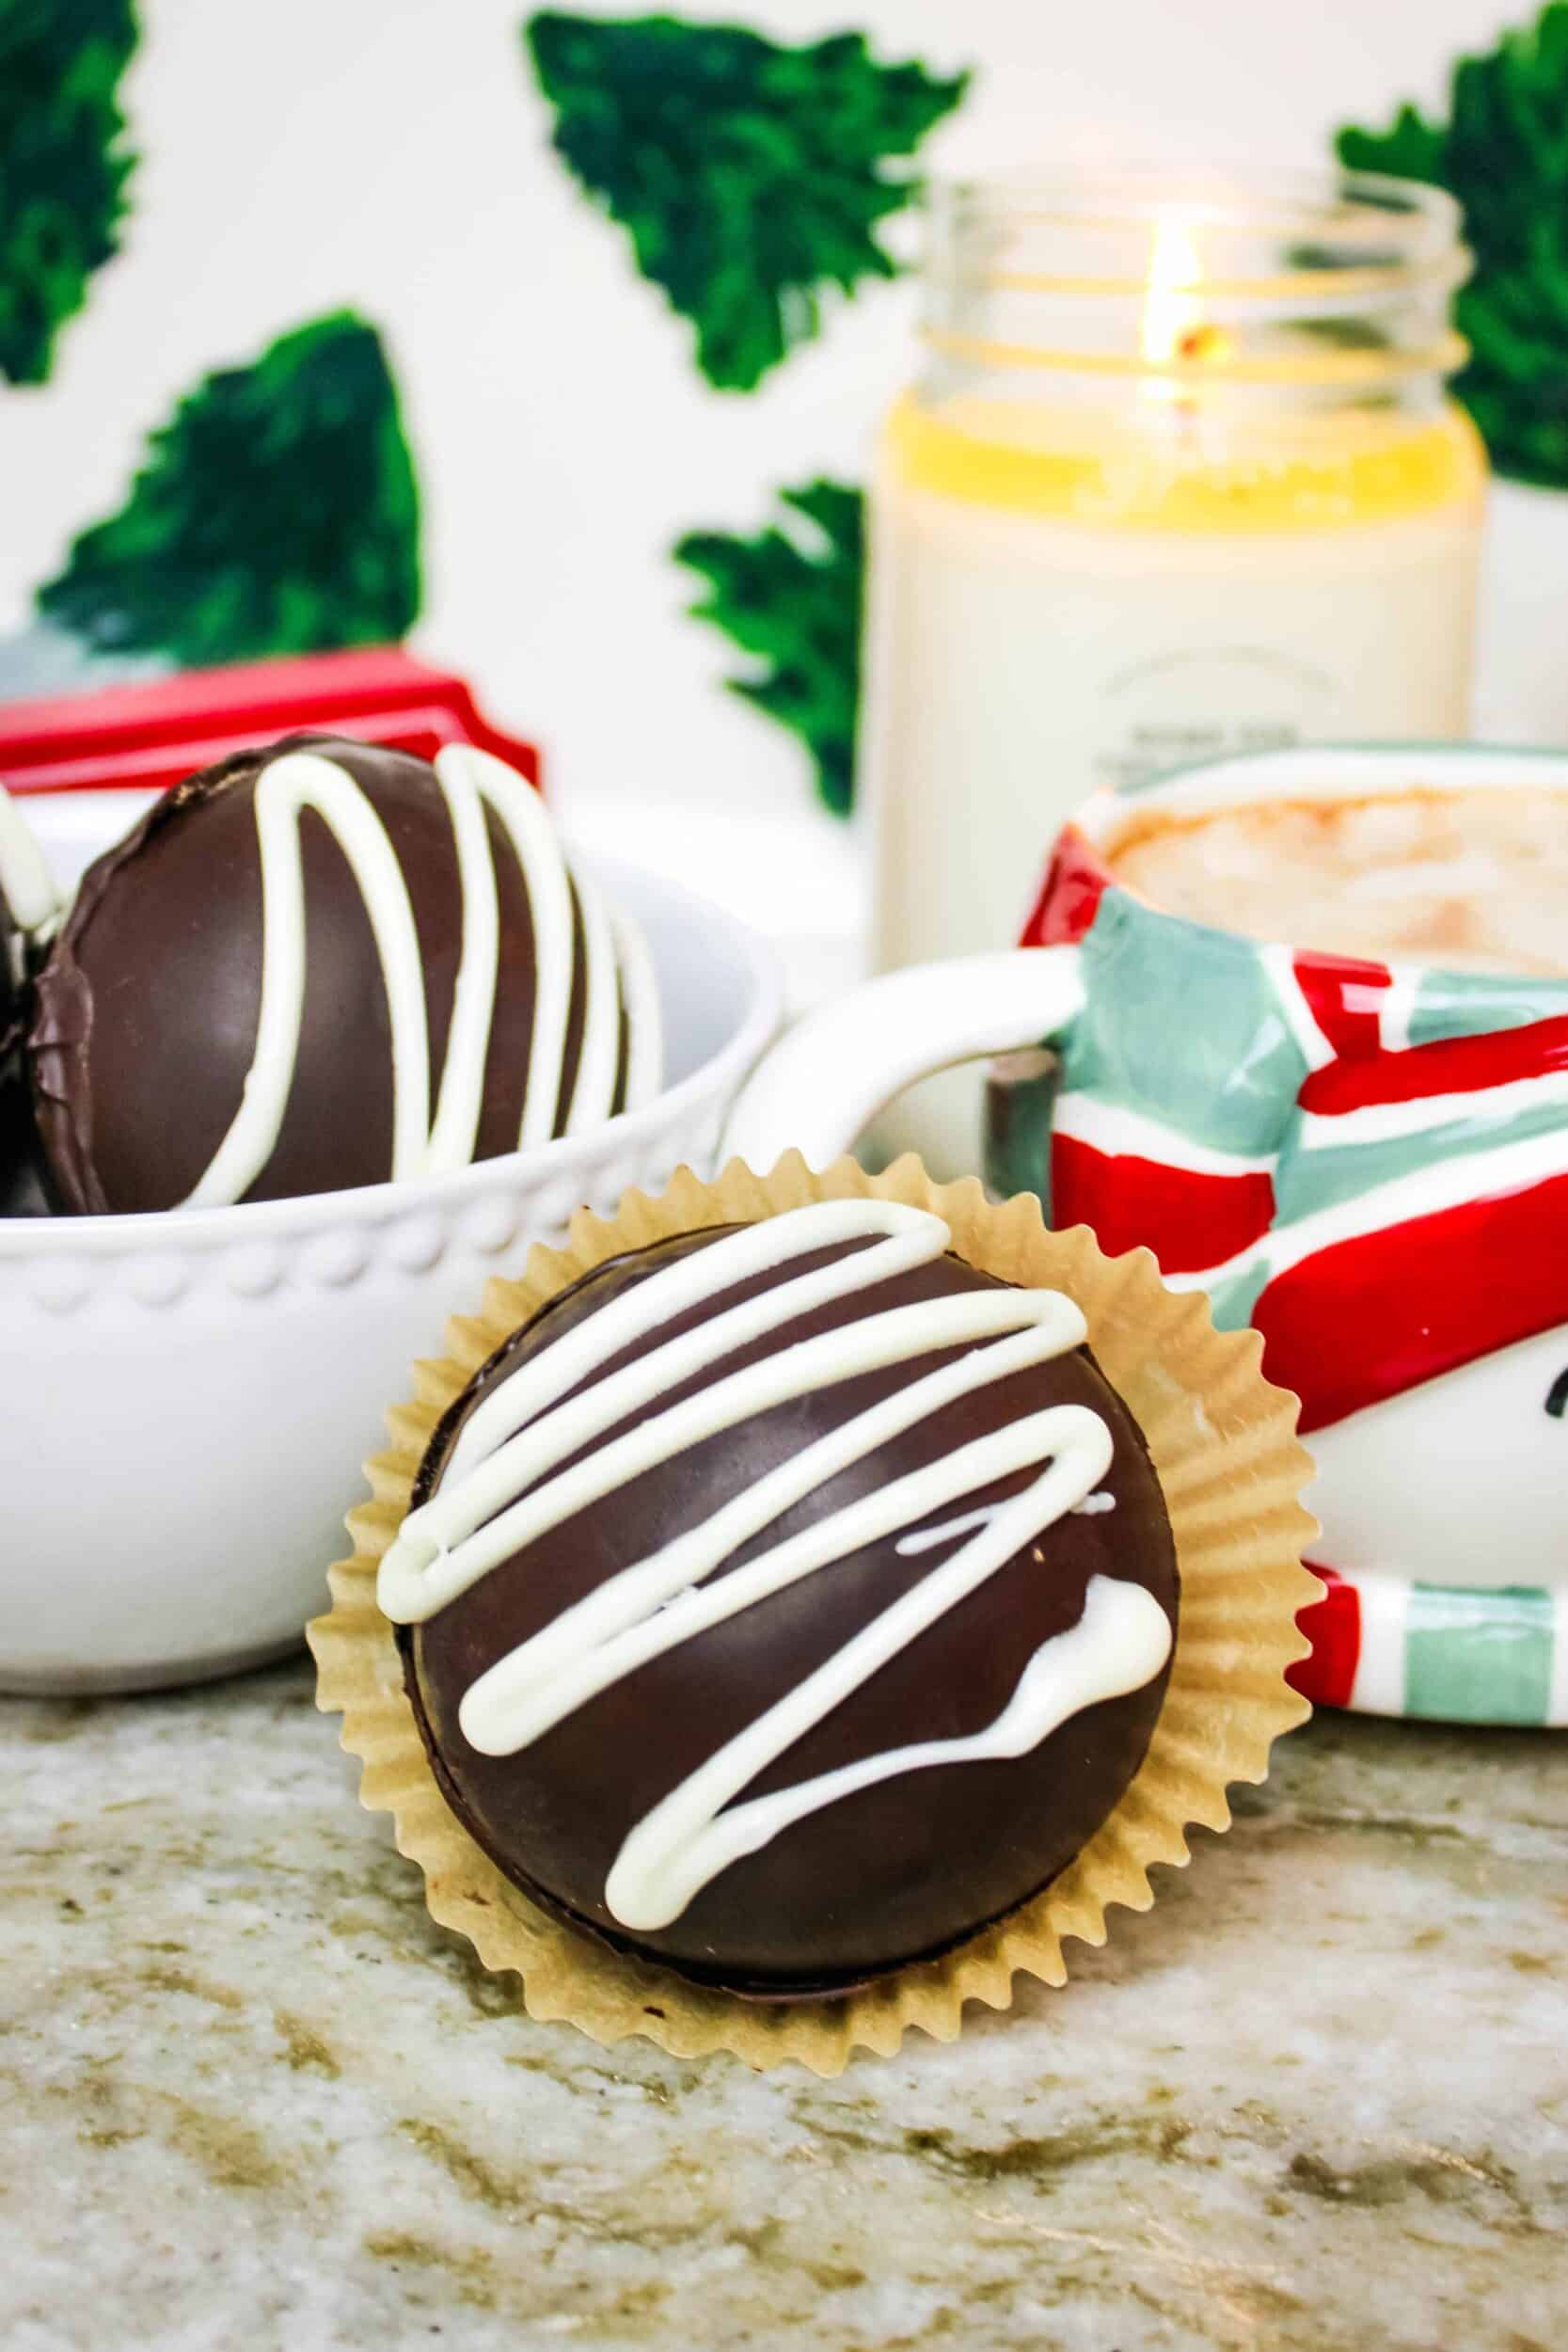
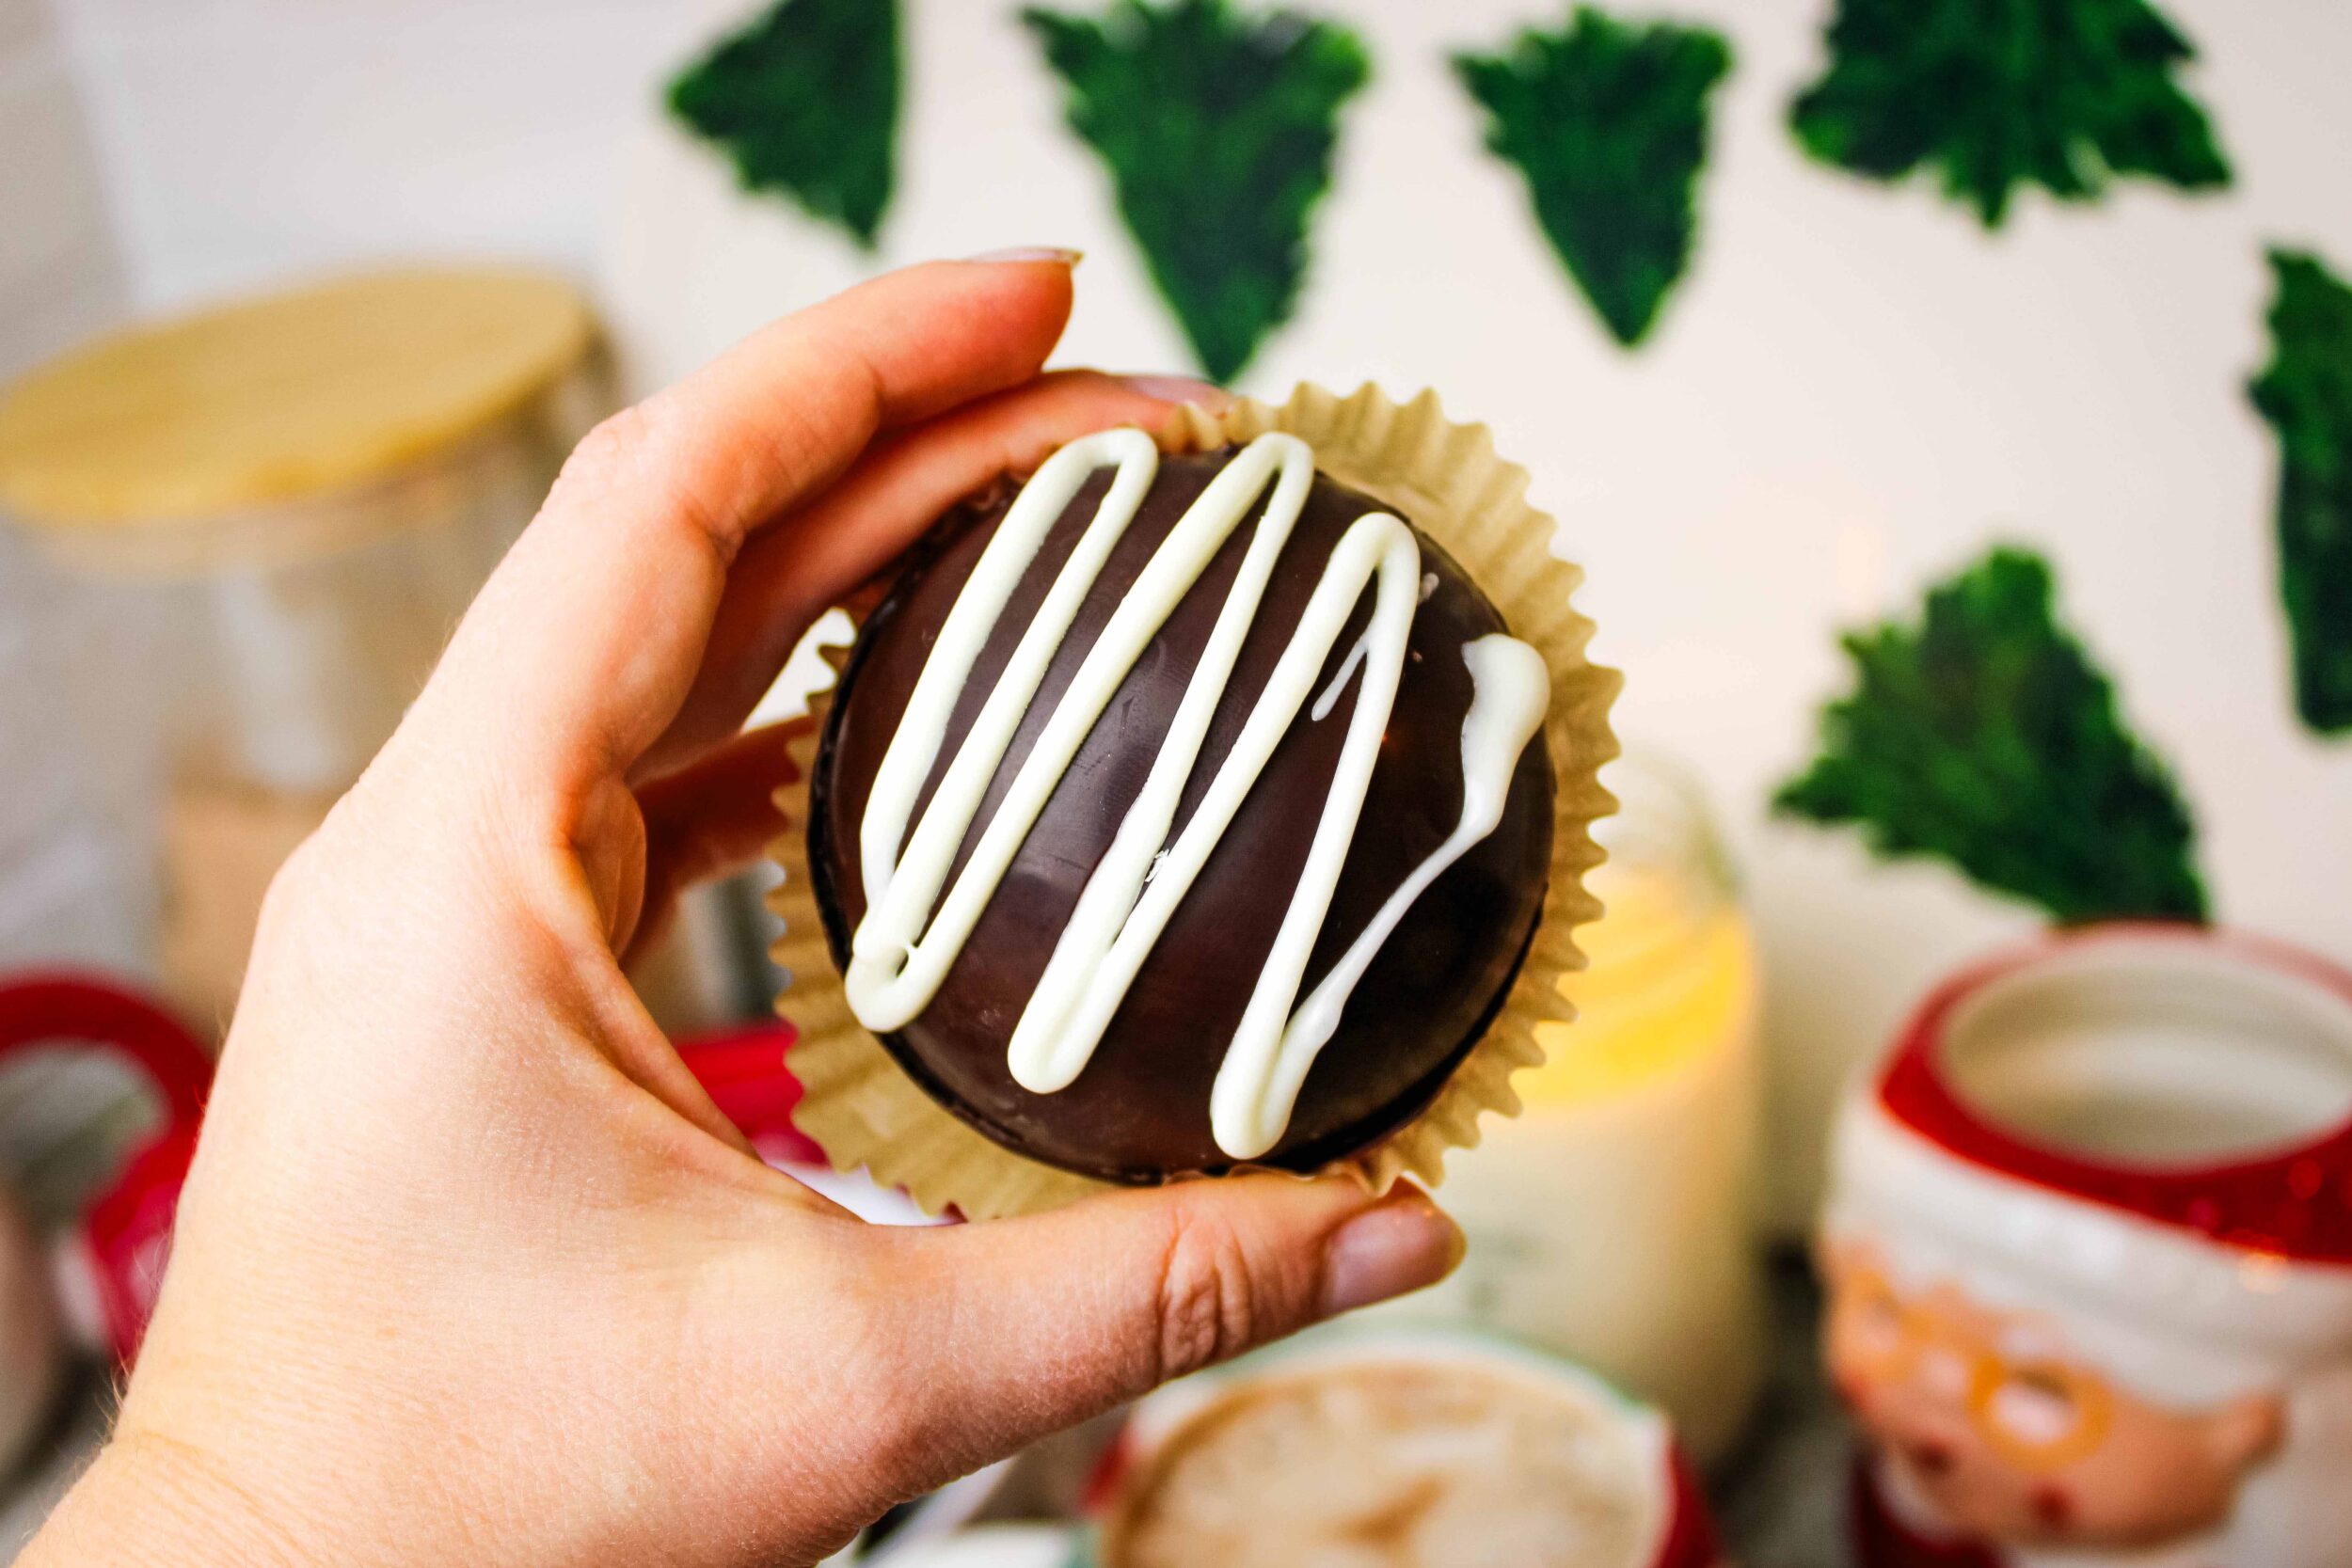
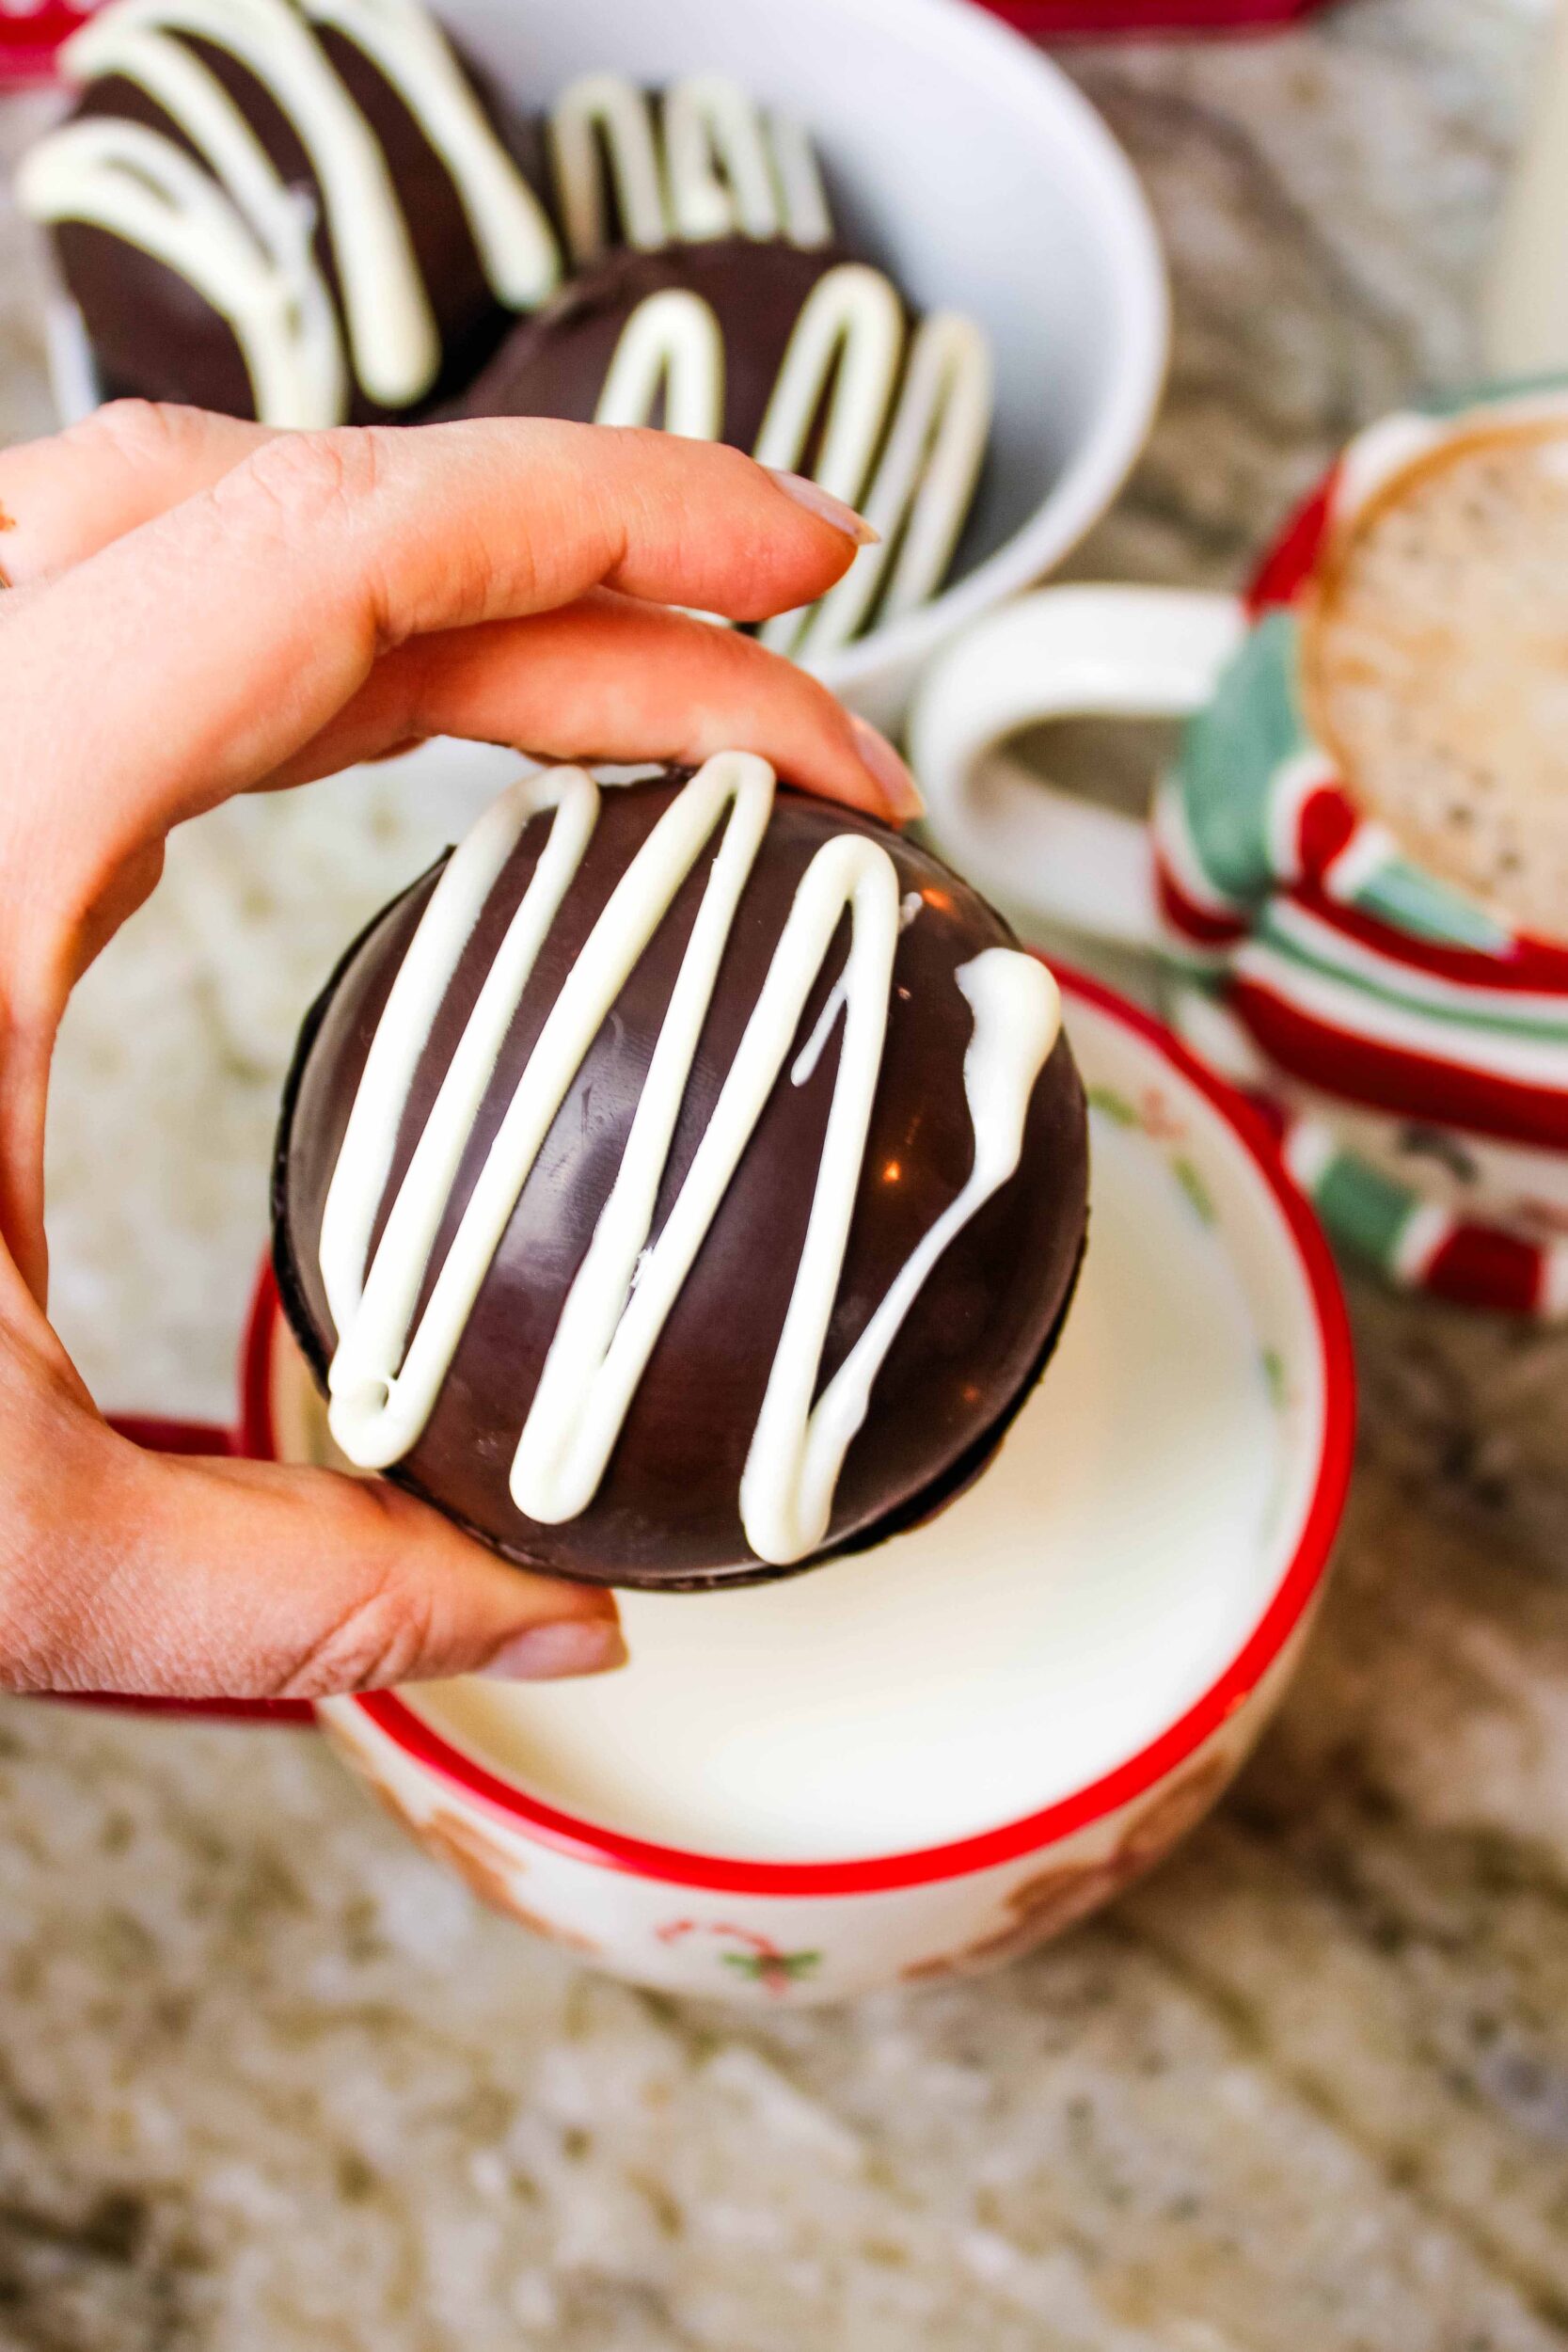
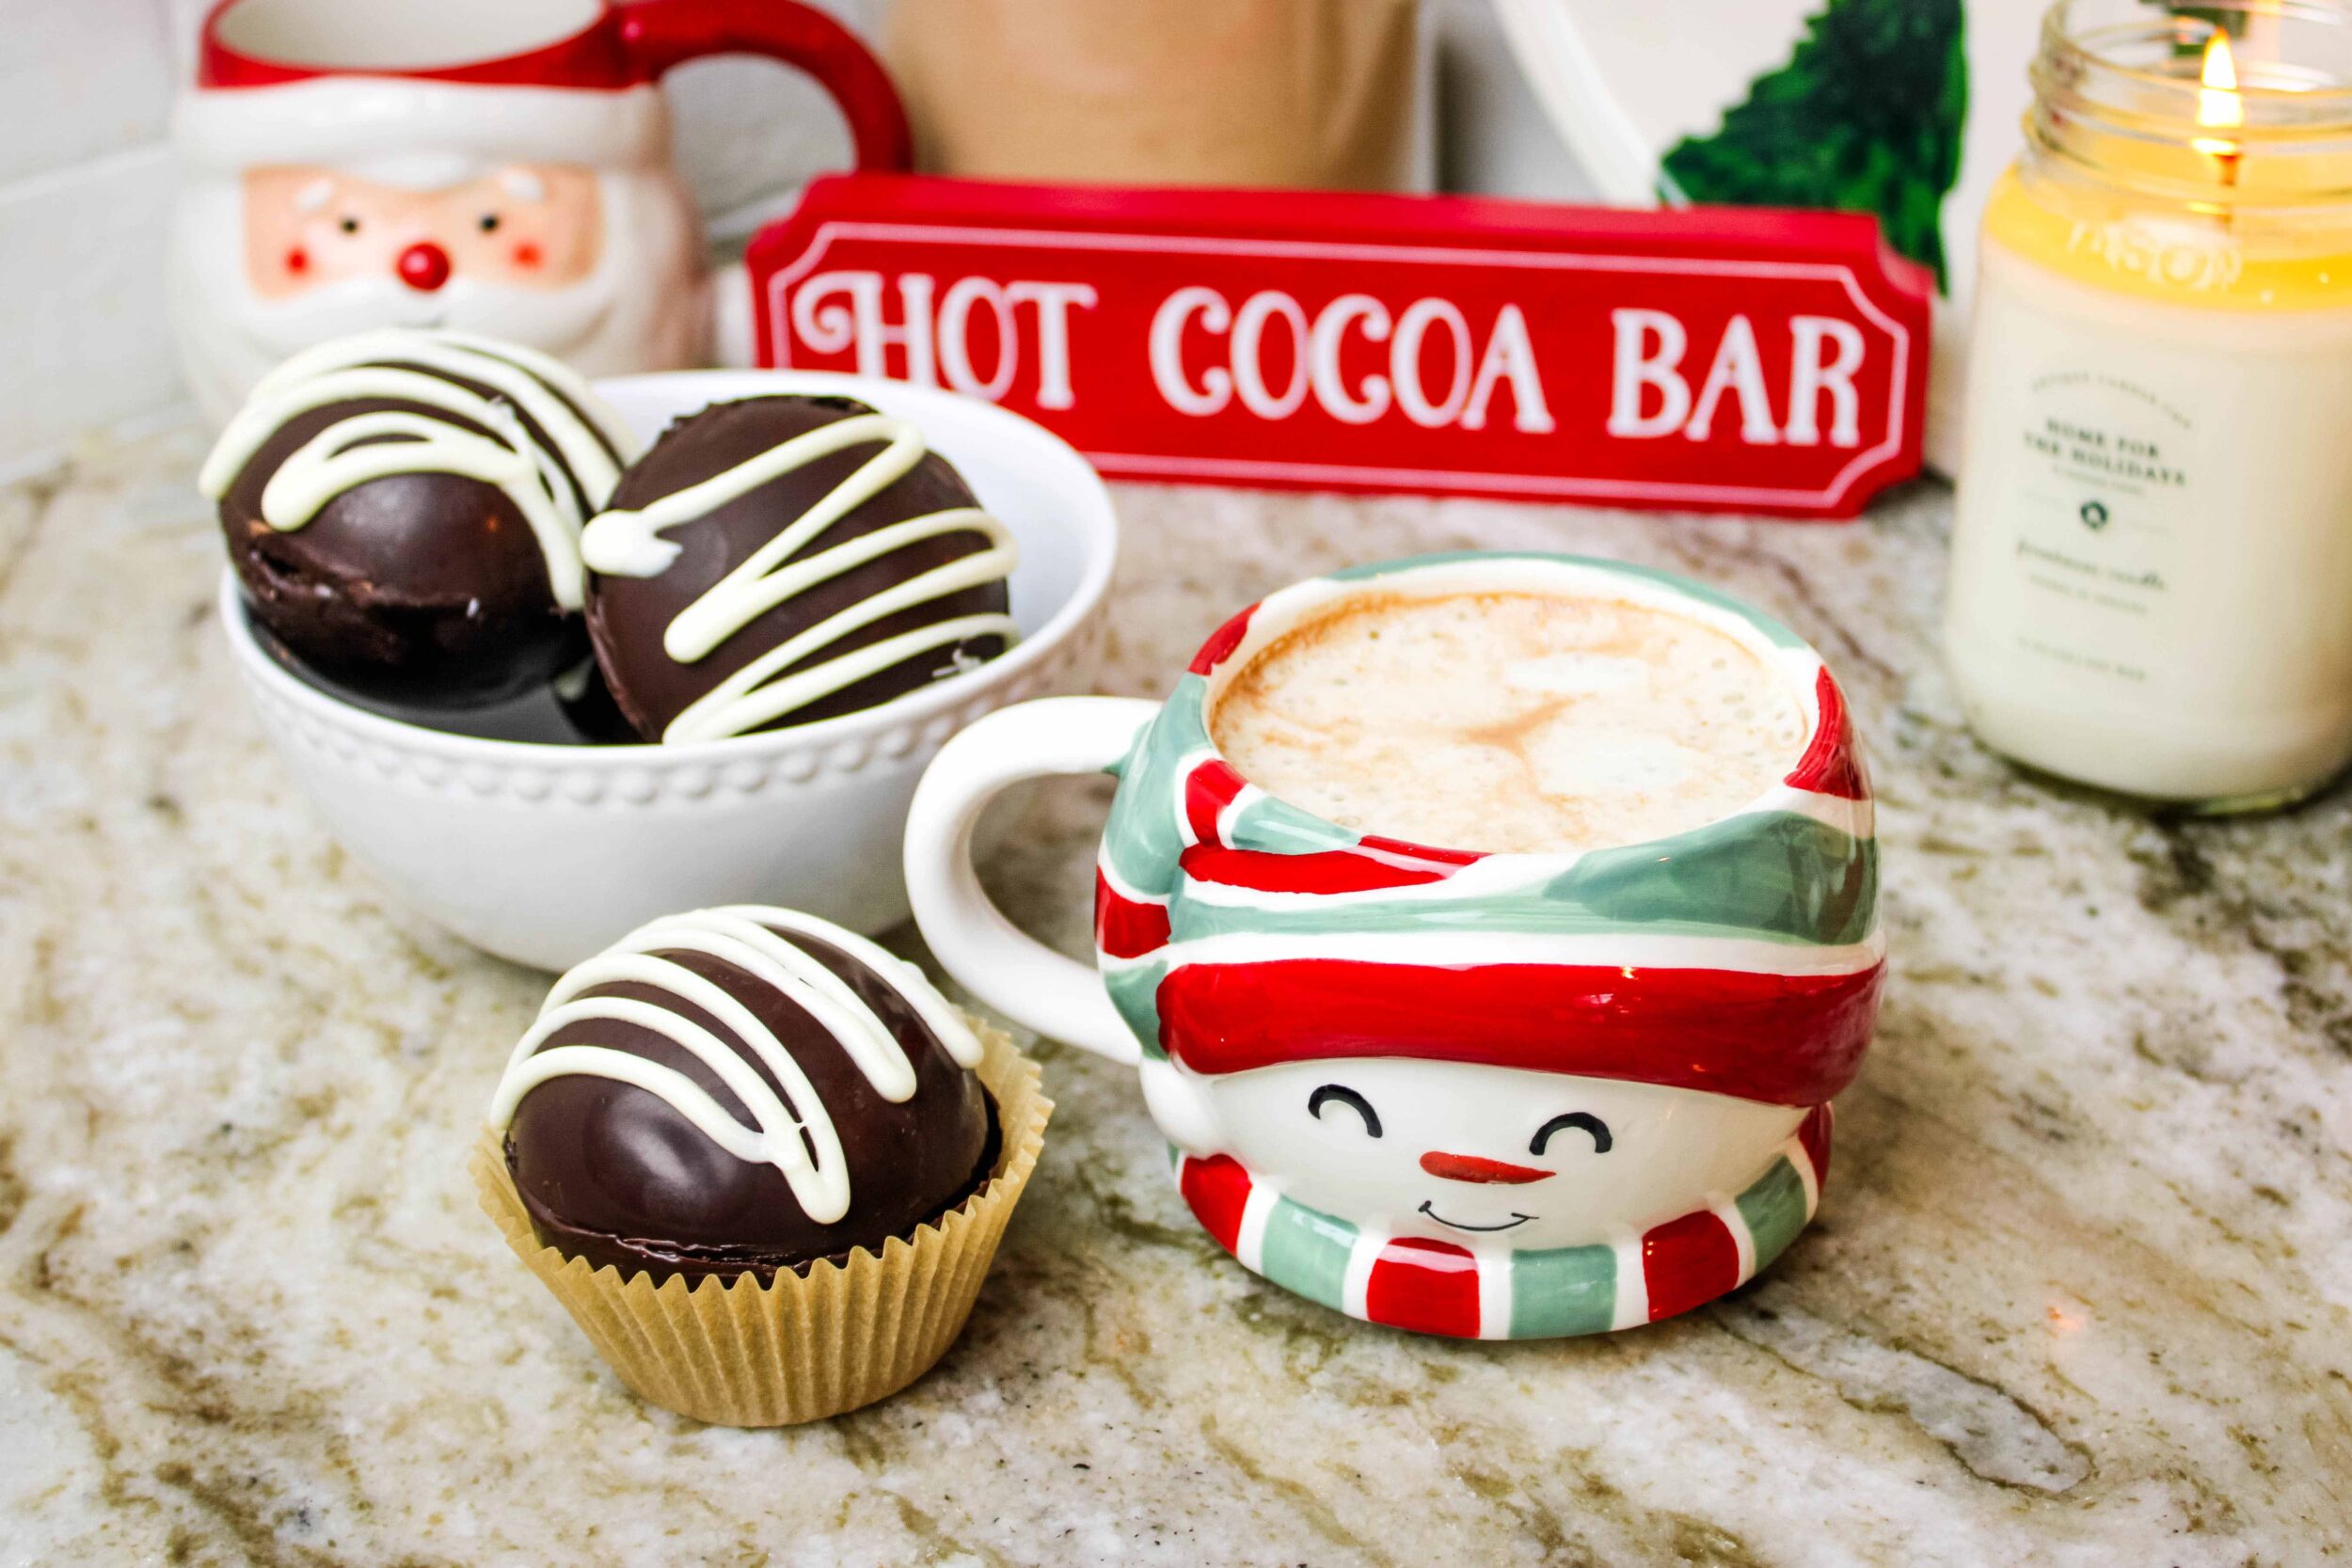
Now, your healthier hot chocolate bombs are ready for enjoying or gifting! This is optional, but if you want to decorate your bombs by piping on a little of the extra melted chocolate, it looks so pretty. I used some white chocolate. Just make sure the chocolate isn’t too hot, or you can melt holes into your cocoa bomb (ask me how I know, ha). You can even decorate them with sprinkles before the chocolate hardens.
Healthier hot chocolate bomb tips & tricks
- Melt the chocolate slowly — you don’t want it to burn or get too hot. It will set up better if it’s melted just enough, not overly hot.
- When heating the rim of the chocolate bomb shell, do so over low heat and don’t heat for too long. Just for a second to get it melty. You don’t want to over-melt the rim because it won’t press together as well.
- Alternatively, you can melt some chocolate in the microwave and pipe it onto the rim of the shell, and then press both sides together.
- Make sure you paint a thick enough layer of chocolate in the molds, and check closely to ensure there are no translucent spots. You want your cocoa bombs to be sturdy and not break before using. Or, an even better method is to paint 2 thin layers of chocolate inside – this will make them even more sturdy.
- When painting the molds, make sure you build up the rim so there’s a fairly thick layer of chocolate around the rim. If it’s too thin, it will be more difficult to “glue” the two sides together.
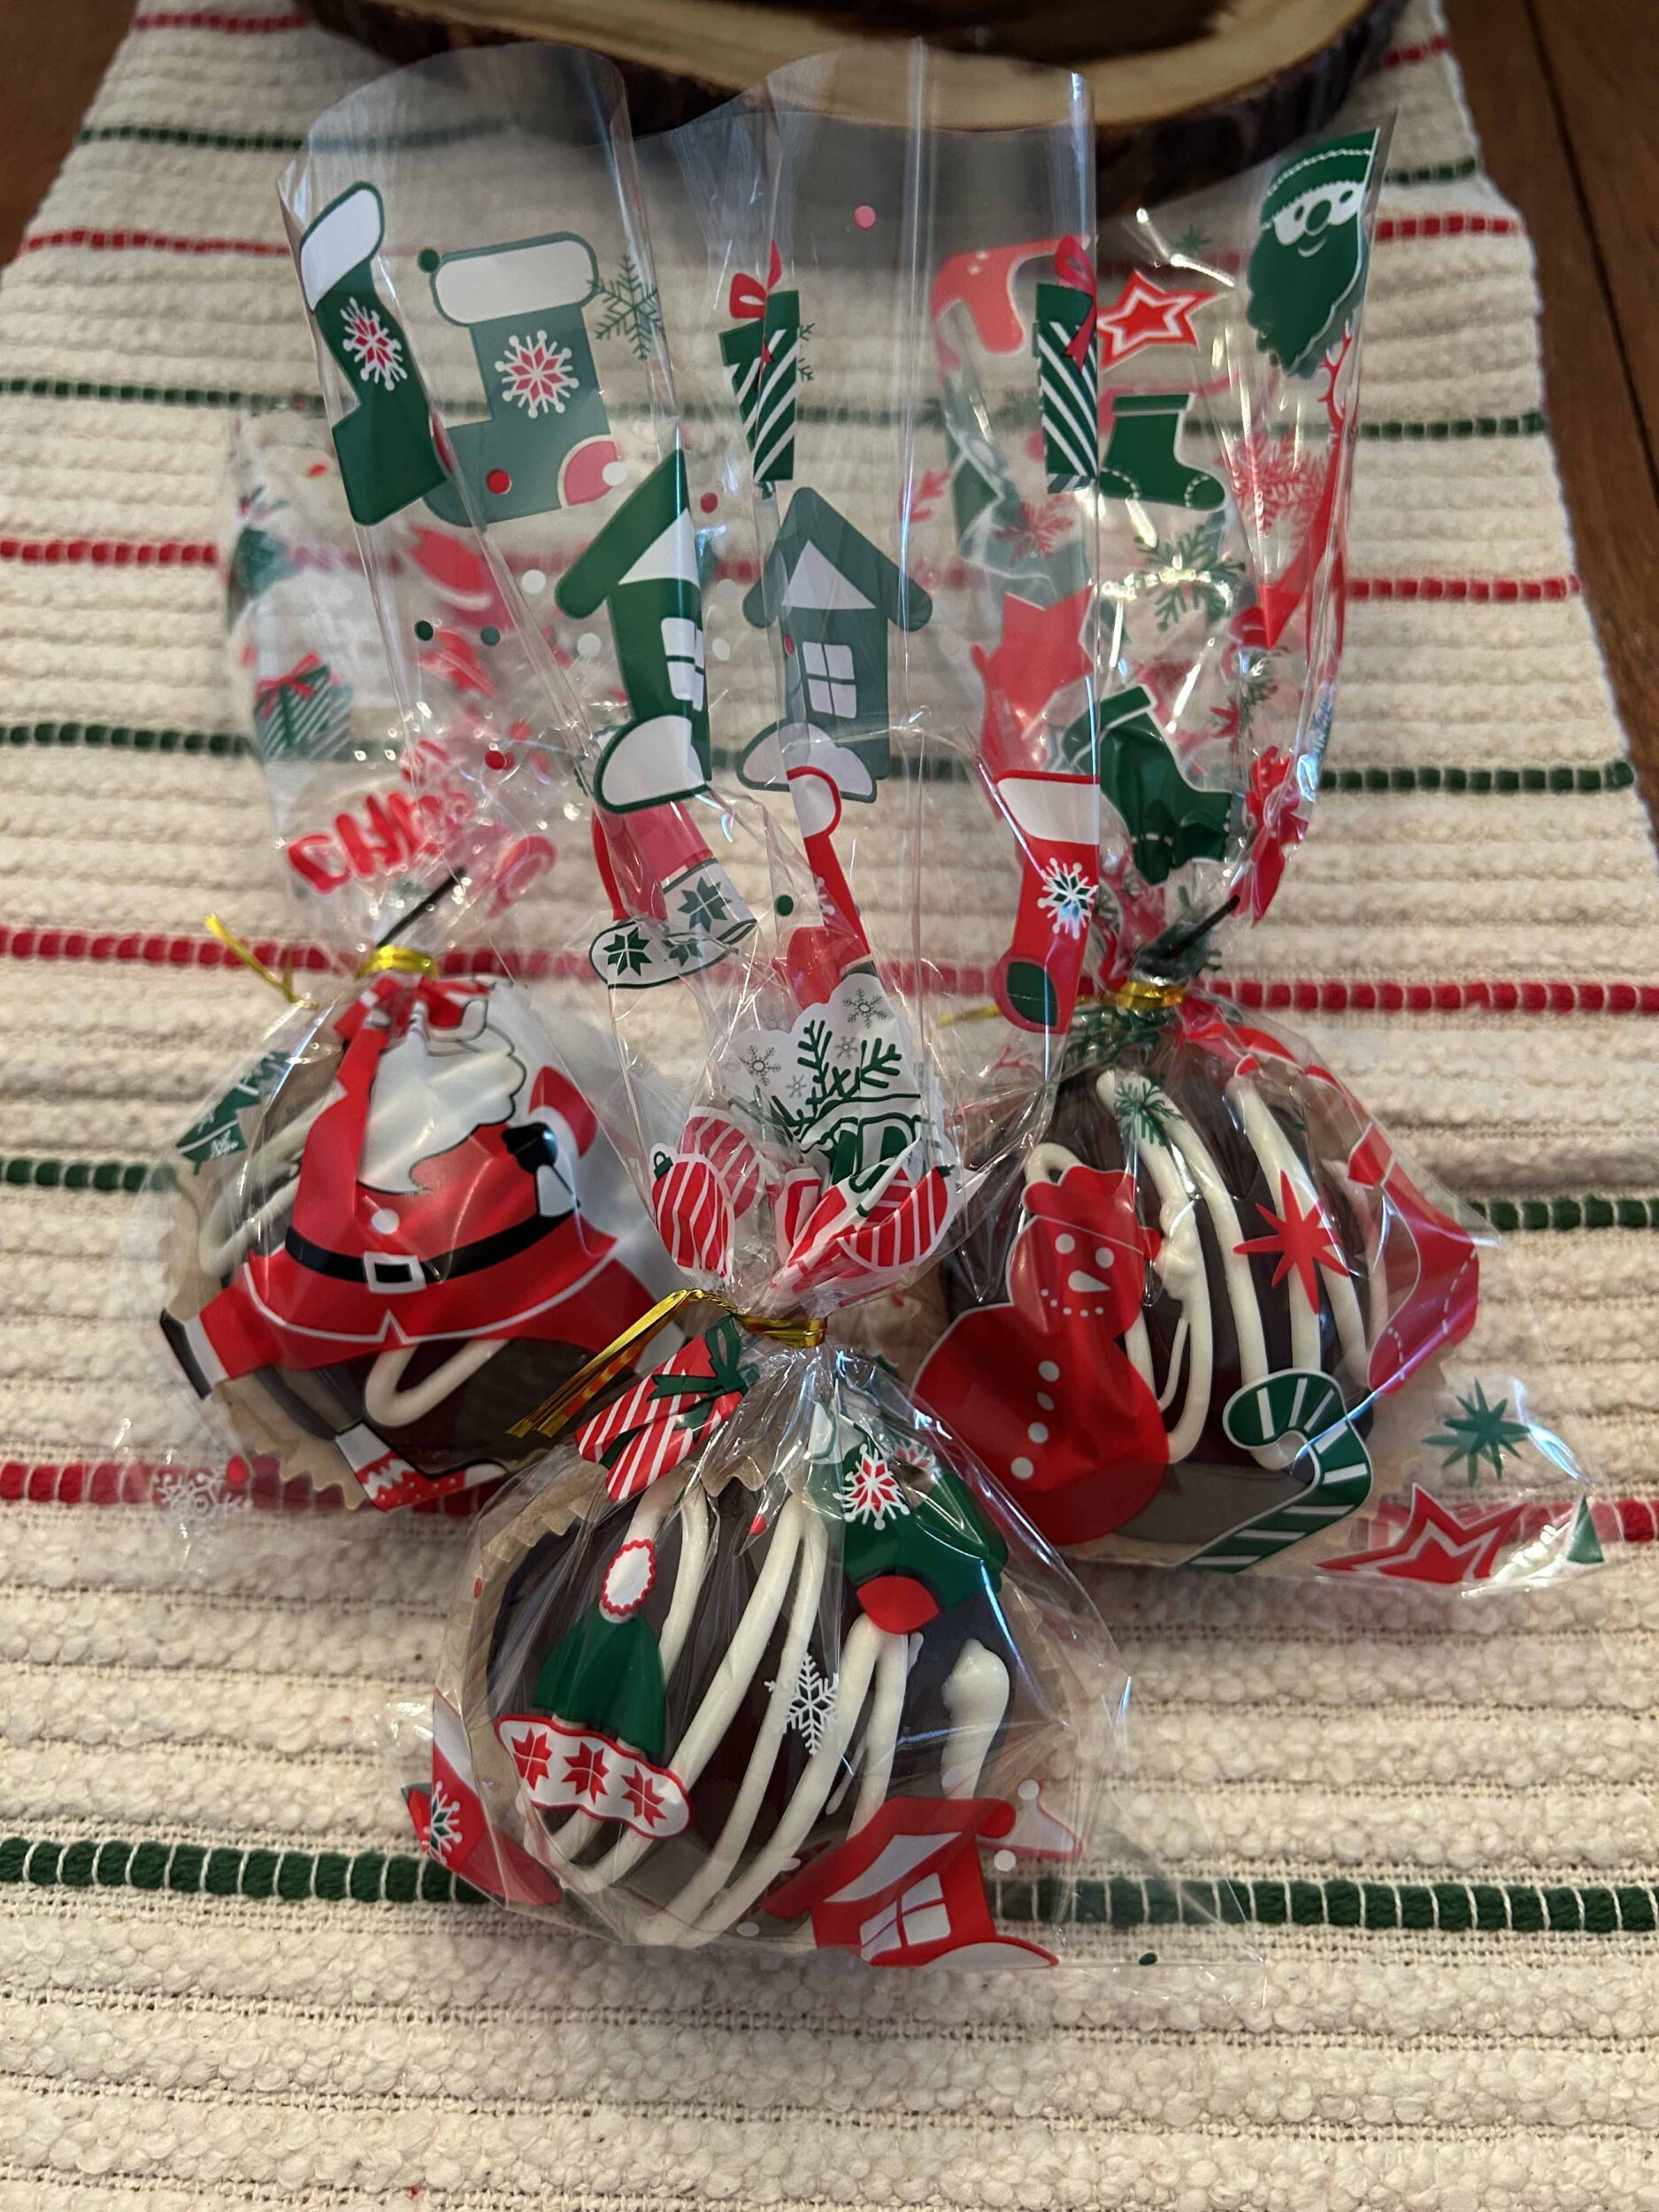
Gifting Hot Chocolate Bombs
These healthier hot chocolate bombs make the ultimate holiday food gift! Just add one to a cute cellophane bag with some ribbon, and it is sure to impress all your loved ones! I added a freshly baked cookie too, because cookies & cocoa just go together.
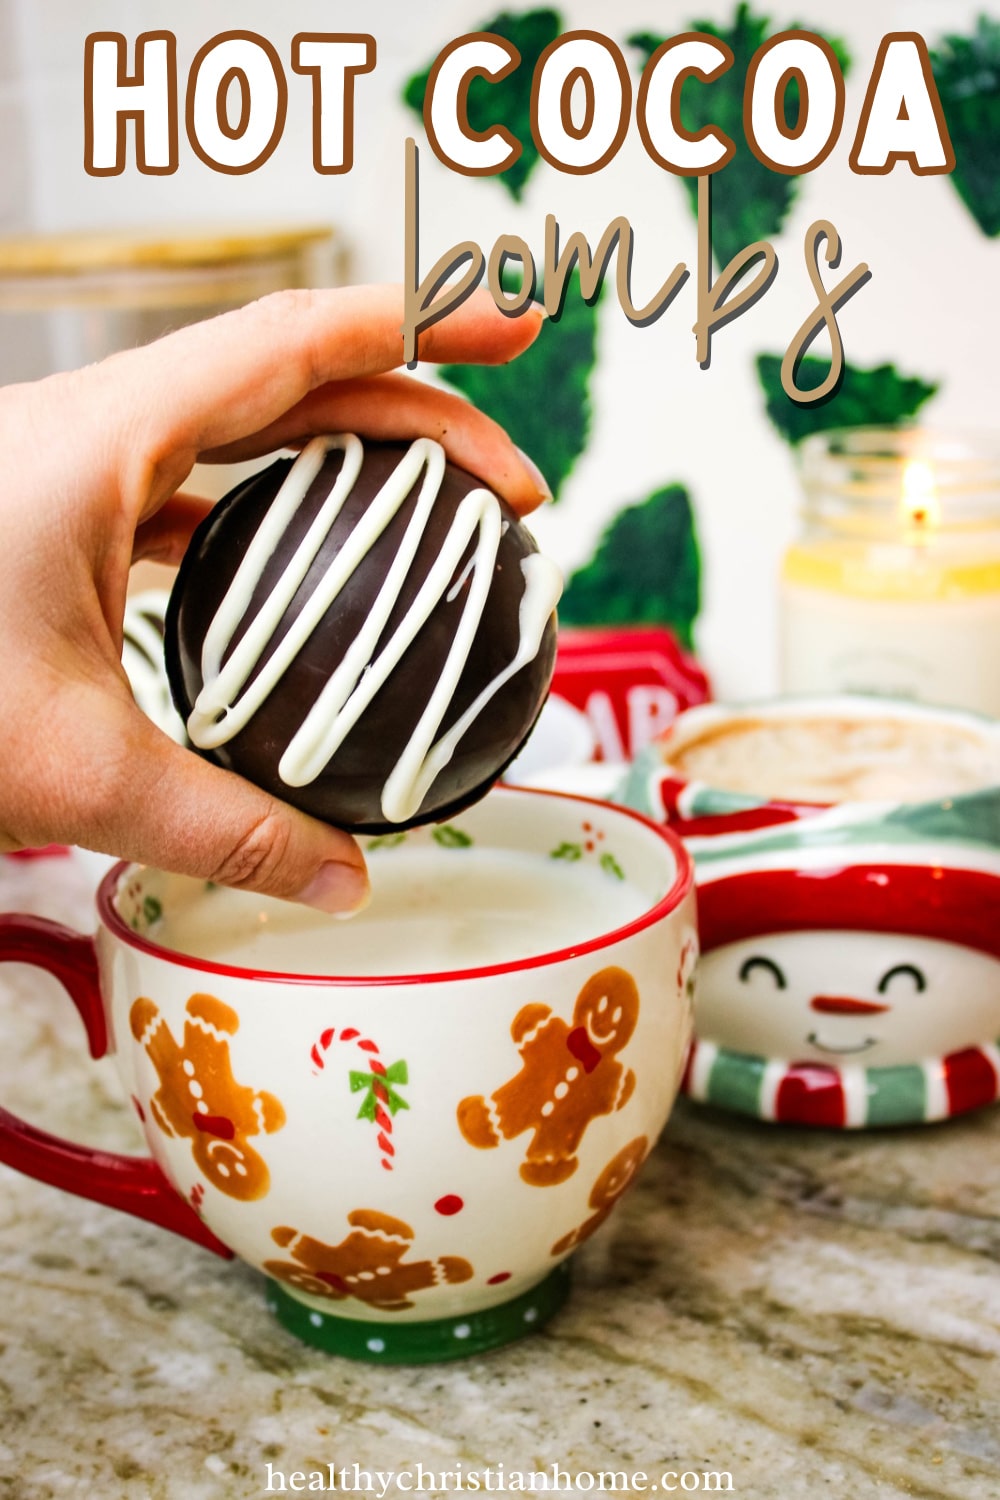
Making the Hot Chocolate!
To make hot chocolate, add your hot chocolate bomb to a large mug and pour over 1 cup of hot liquid, either water or milk. Milk makes an extra creamy & decadent hot chocolate! Or, you can drop your cocoa bomb into the hot liquid. It’s so fun watching the cocoa bomb “explode” in your mug! Stir with a spoon and enjoy.

Healthier Hot Chocolate Bombs
These hot chocolate bombs are a fun, special way to make the ultimate cup of hot chocolate. It’s so fun to watch them melt & explode! These are made a bit healthier with coconut sugar and dark chocolate.
Ingredients
- 1 1/2 bags (18 ounces) dark chocolate chips (or good quality bar chocolate)
- 1/2 cup coconut sugar (or other sweetener of choice)
- 1/2 cup dry whole milk
- 1/4 cup cocoa powder
- Mini marshmallows (optional)
Instructions
- Blend coconut sugar (or other sweetener) in a high speed blender until powdered. In a bowl, whisk sugar, dry milk, and cocoa powder together until well combined.
- Place cocoa bomb molds on a large baking tray. Melt chocolate in a double boiler on low heat until smooth, or in the microwave in 30-second increments until just melted.*
- Add a spoonful of melted chocolate to each half dome mold. Using a silicone pastry brush, apply an even layer inside each mold. Try to make an even layer all the way to the top of the mold, and check thoroughly for any small holes or translucent areas. You may need to refrigerate until hardened and paint and additional layer if you want to make them even more sturdy (this is optional). Pay special attention to the rim, and build up each rim a little with some extra chocolate so they hold up well.
- Allow the chocolate domes to completely harden. You can allow them to harden at room temperature, or speed up the process in the fridge.
- After the chocolate is set, carefully pop the chocolate domes out of their molds and place on a tray. Fill half of the empty domes with 2 tablespoons of cocoa mix and 4-5 mini marshmallows (if using).
- Warm a small pan over low heat. Melt the rim of one of the empty domes just for a few seconds, and then place on top of one of the cocoa mix filled domes, pressing gently to "glue" the two pieces together. Alternatively, you can pipe some melted chocolate onto the rim and "glue" them together that way. Continue with the remaining cocoa bombs.
- If there is any leftover melted chocolate, you can add it to a piping bag and drizzle the cocoa bombs to decorate. Ensure the chocolate isn't too hot, or it may melt holes into your finished cocoa bombs. You can even top with sprinkles if you wish.
- To make hot chocolate, simply add your cocoa bomb to a large mug and pour over 1 cup of hot water or hot milk (milk makes these extra creamy and decadent). Enjoy watching your cocoa bomb "explode", mix with a spoon, and enjoy!
Notes
* If you want these to look extra professional, you can temper your chocolate. To do so, melt the chocolate in tiny (15-sec) intervals in the microwave, stirring after each interval. Use a food thermometer to check that the chocolate temperature does not go above 90 degrees. Just keep heating gradually and stirring until it reaches the correct temperature and all the chocolate is melted. Using this precise method will ensure your chocolate doesn't melt when handled and stays glossy and shiny.
Recommended Products
As an Amazon Associate and member of other affiliate programs, I earn from qualifying purchases.


Nutrition Information:
Yield:
9Serving Size:
1Amount Per Serving: Calories: 188Total Fat: 7gSaturated Fat: 4gUnsaturated Fat: 3gCholesterol: 14mgSodium: 53mgCarbohydrates: 27gFiber: 2gSugar: 22gProtein: 5g