Tart, bubbly, and full of probiotic goodness, milk kefir is the perfect gut friendly beverage. It’s also really easy to make and is perfect for adding to smoothies, blending with fruit, or pouring over cereal.
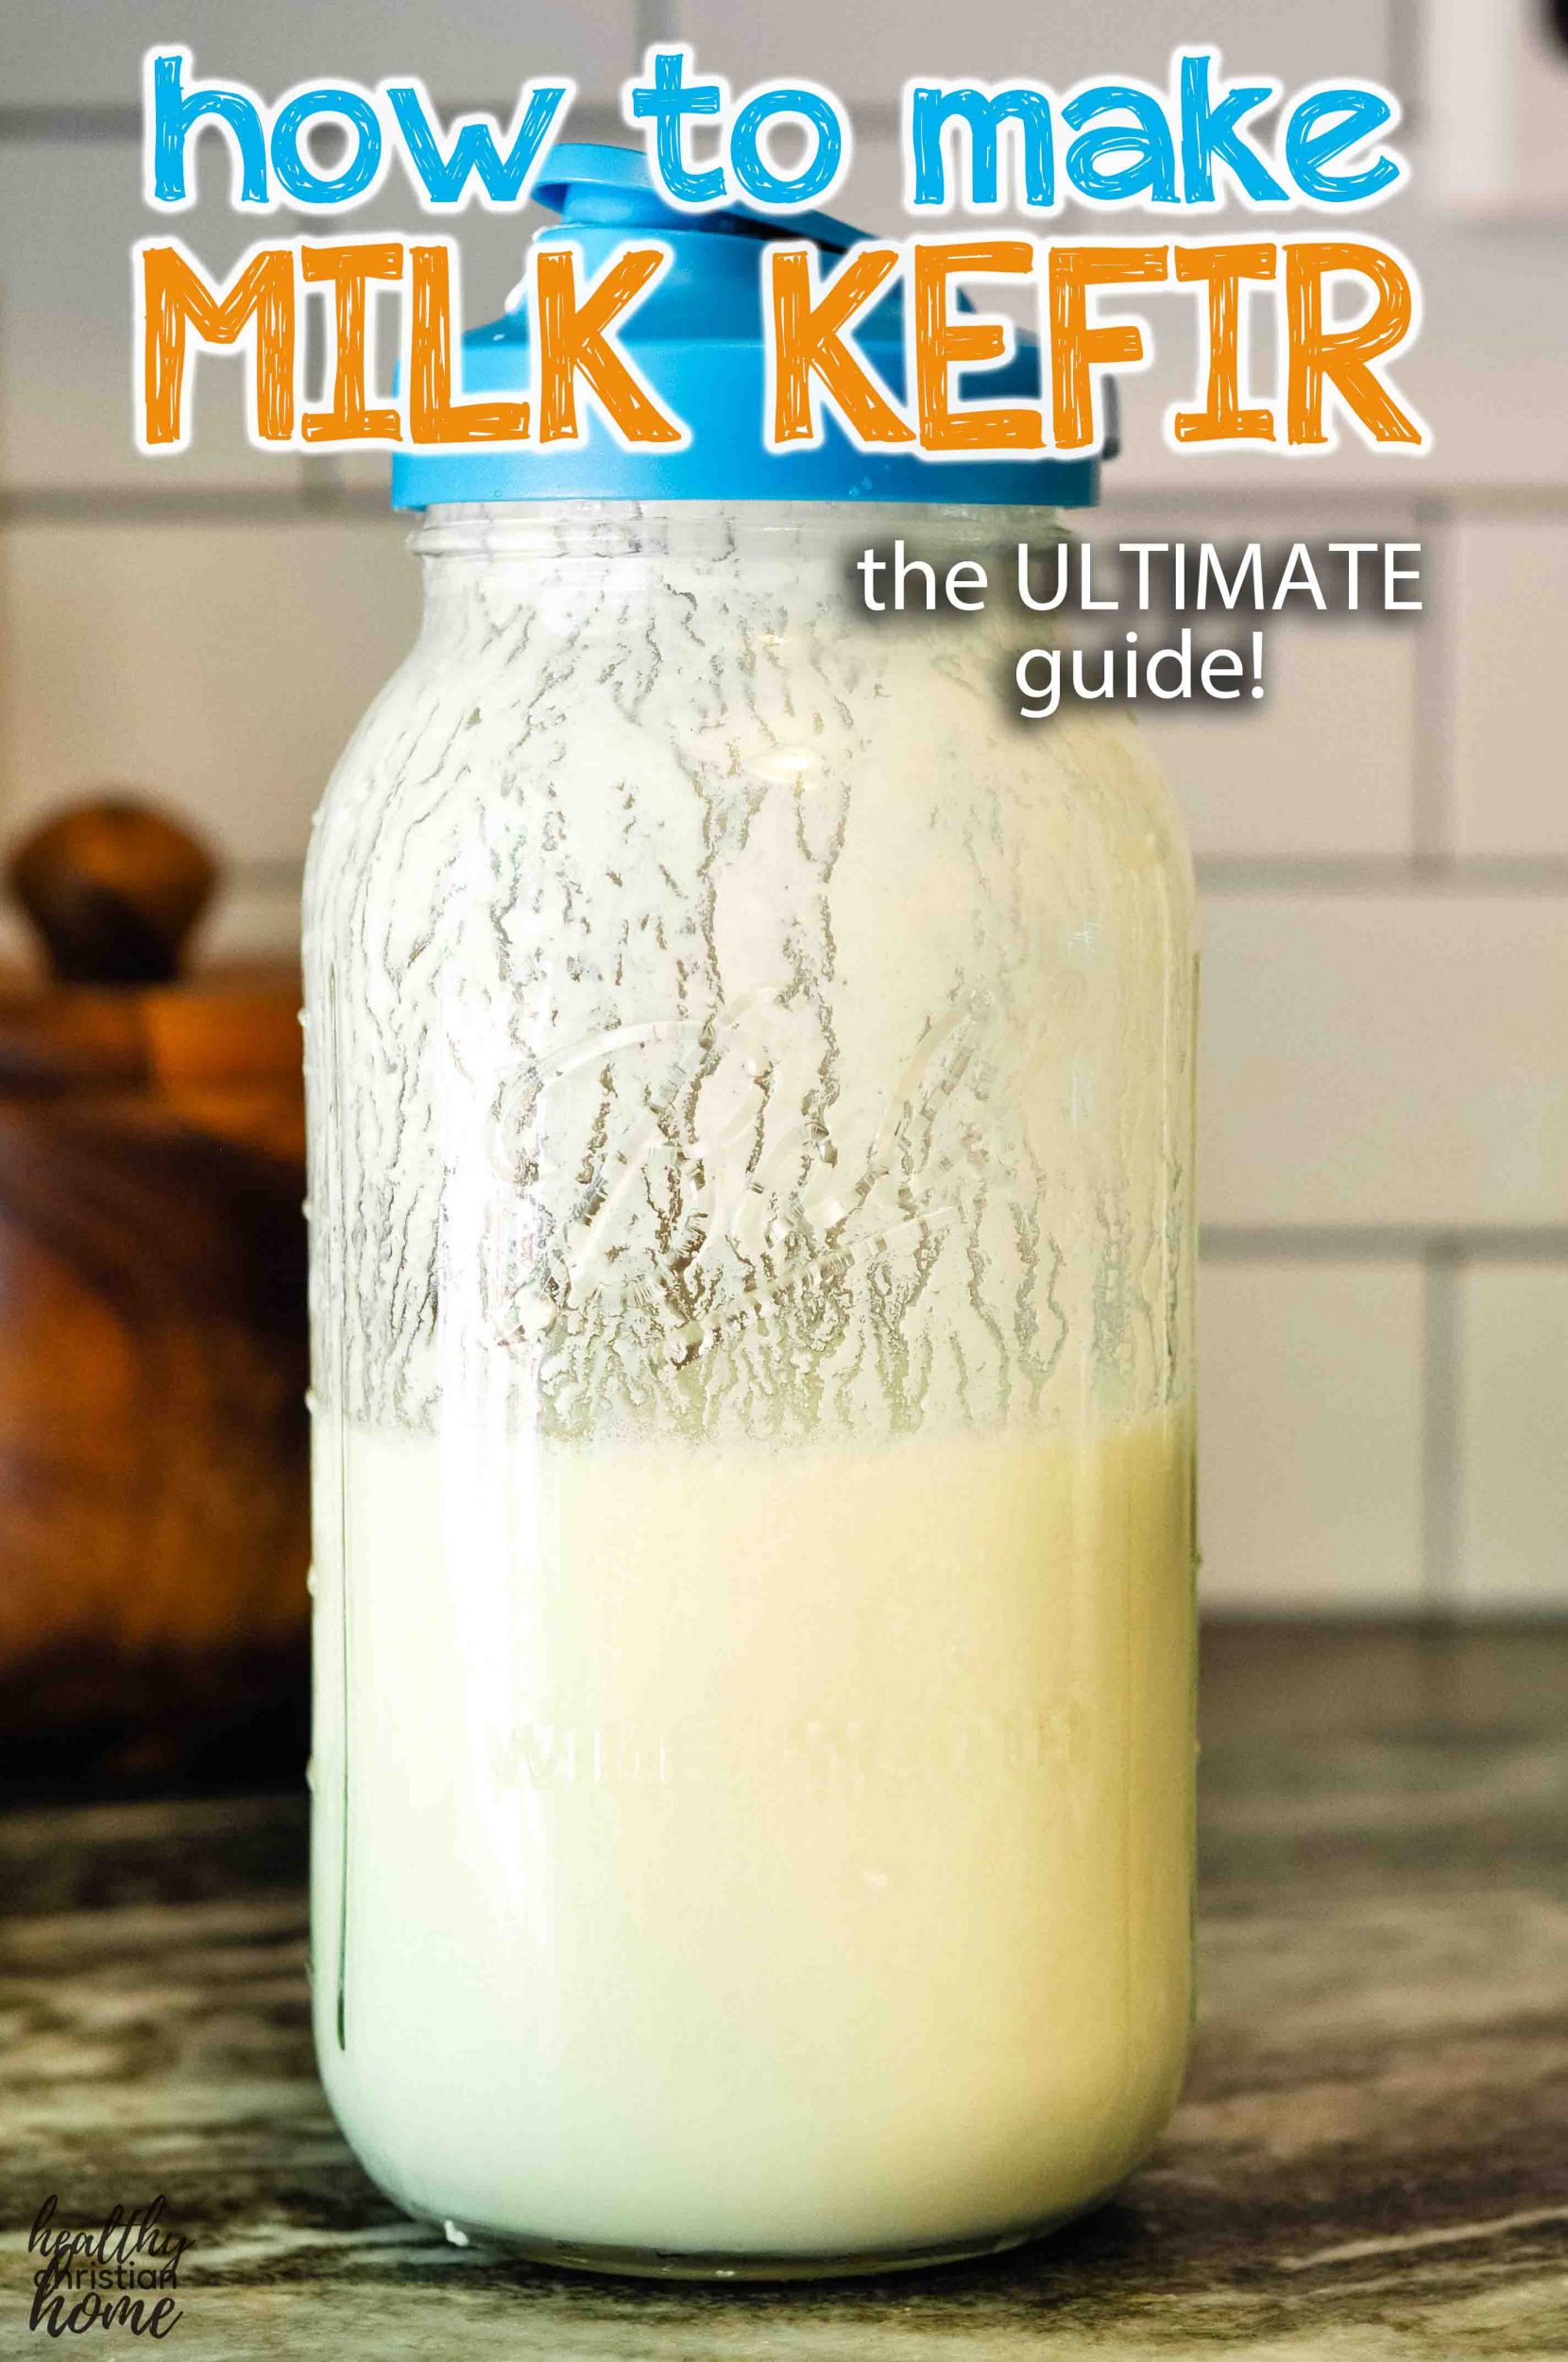
I LOVE using kefir in various recipes and especially our daily smoothies. It’s my favorite ferment! Such a fun way to get in lots of yummy probiotics for gut health.
Fermented foods are a key aspect of the Wise Traditions diet we loosely follow.
Although I’ve been using kefir for a while, I haven’t yet written a basic how-to make kefir post with lots of helpful tips and tricks – until today! I wanted to make sure that I was well-versed in all things kefir and how to troubleshoot before I wrote this. Today, I’m finally posting everything I’ve learned.
This post has turned into an all-out guide with everything you need to know about how to make kefir, keep your kefir grains healthy, and answer all of your kefir-related questions. Let’s get started!
What is kefir? (kefir vs. yogurt)
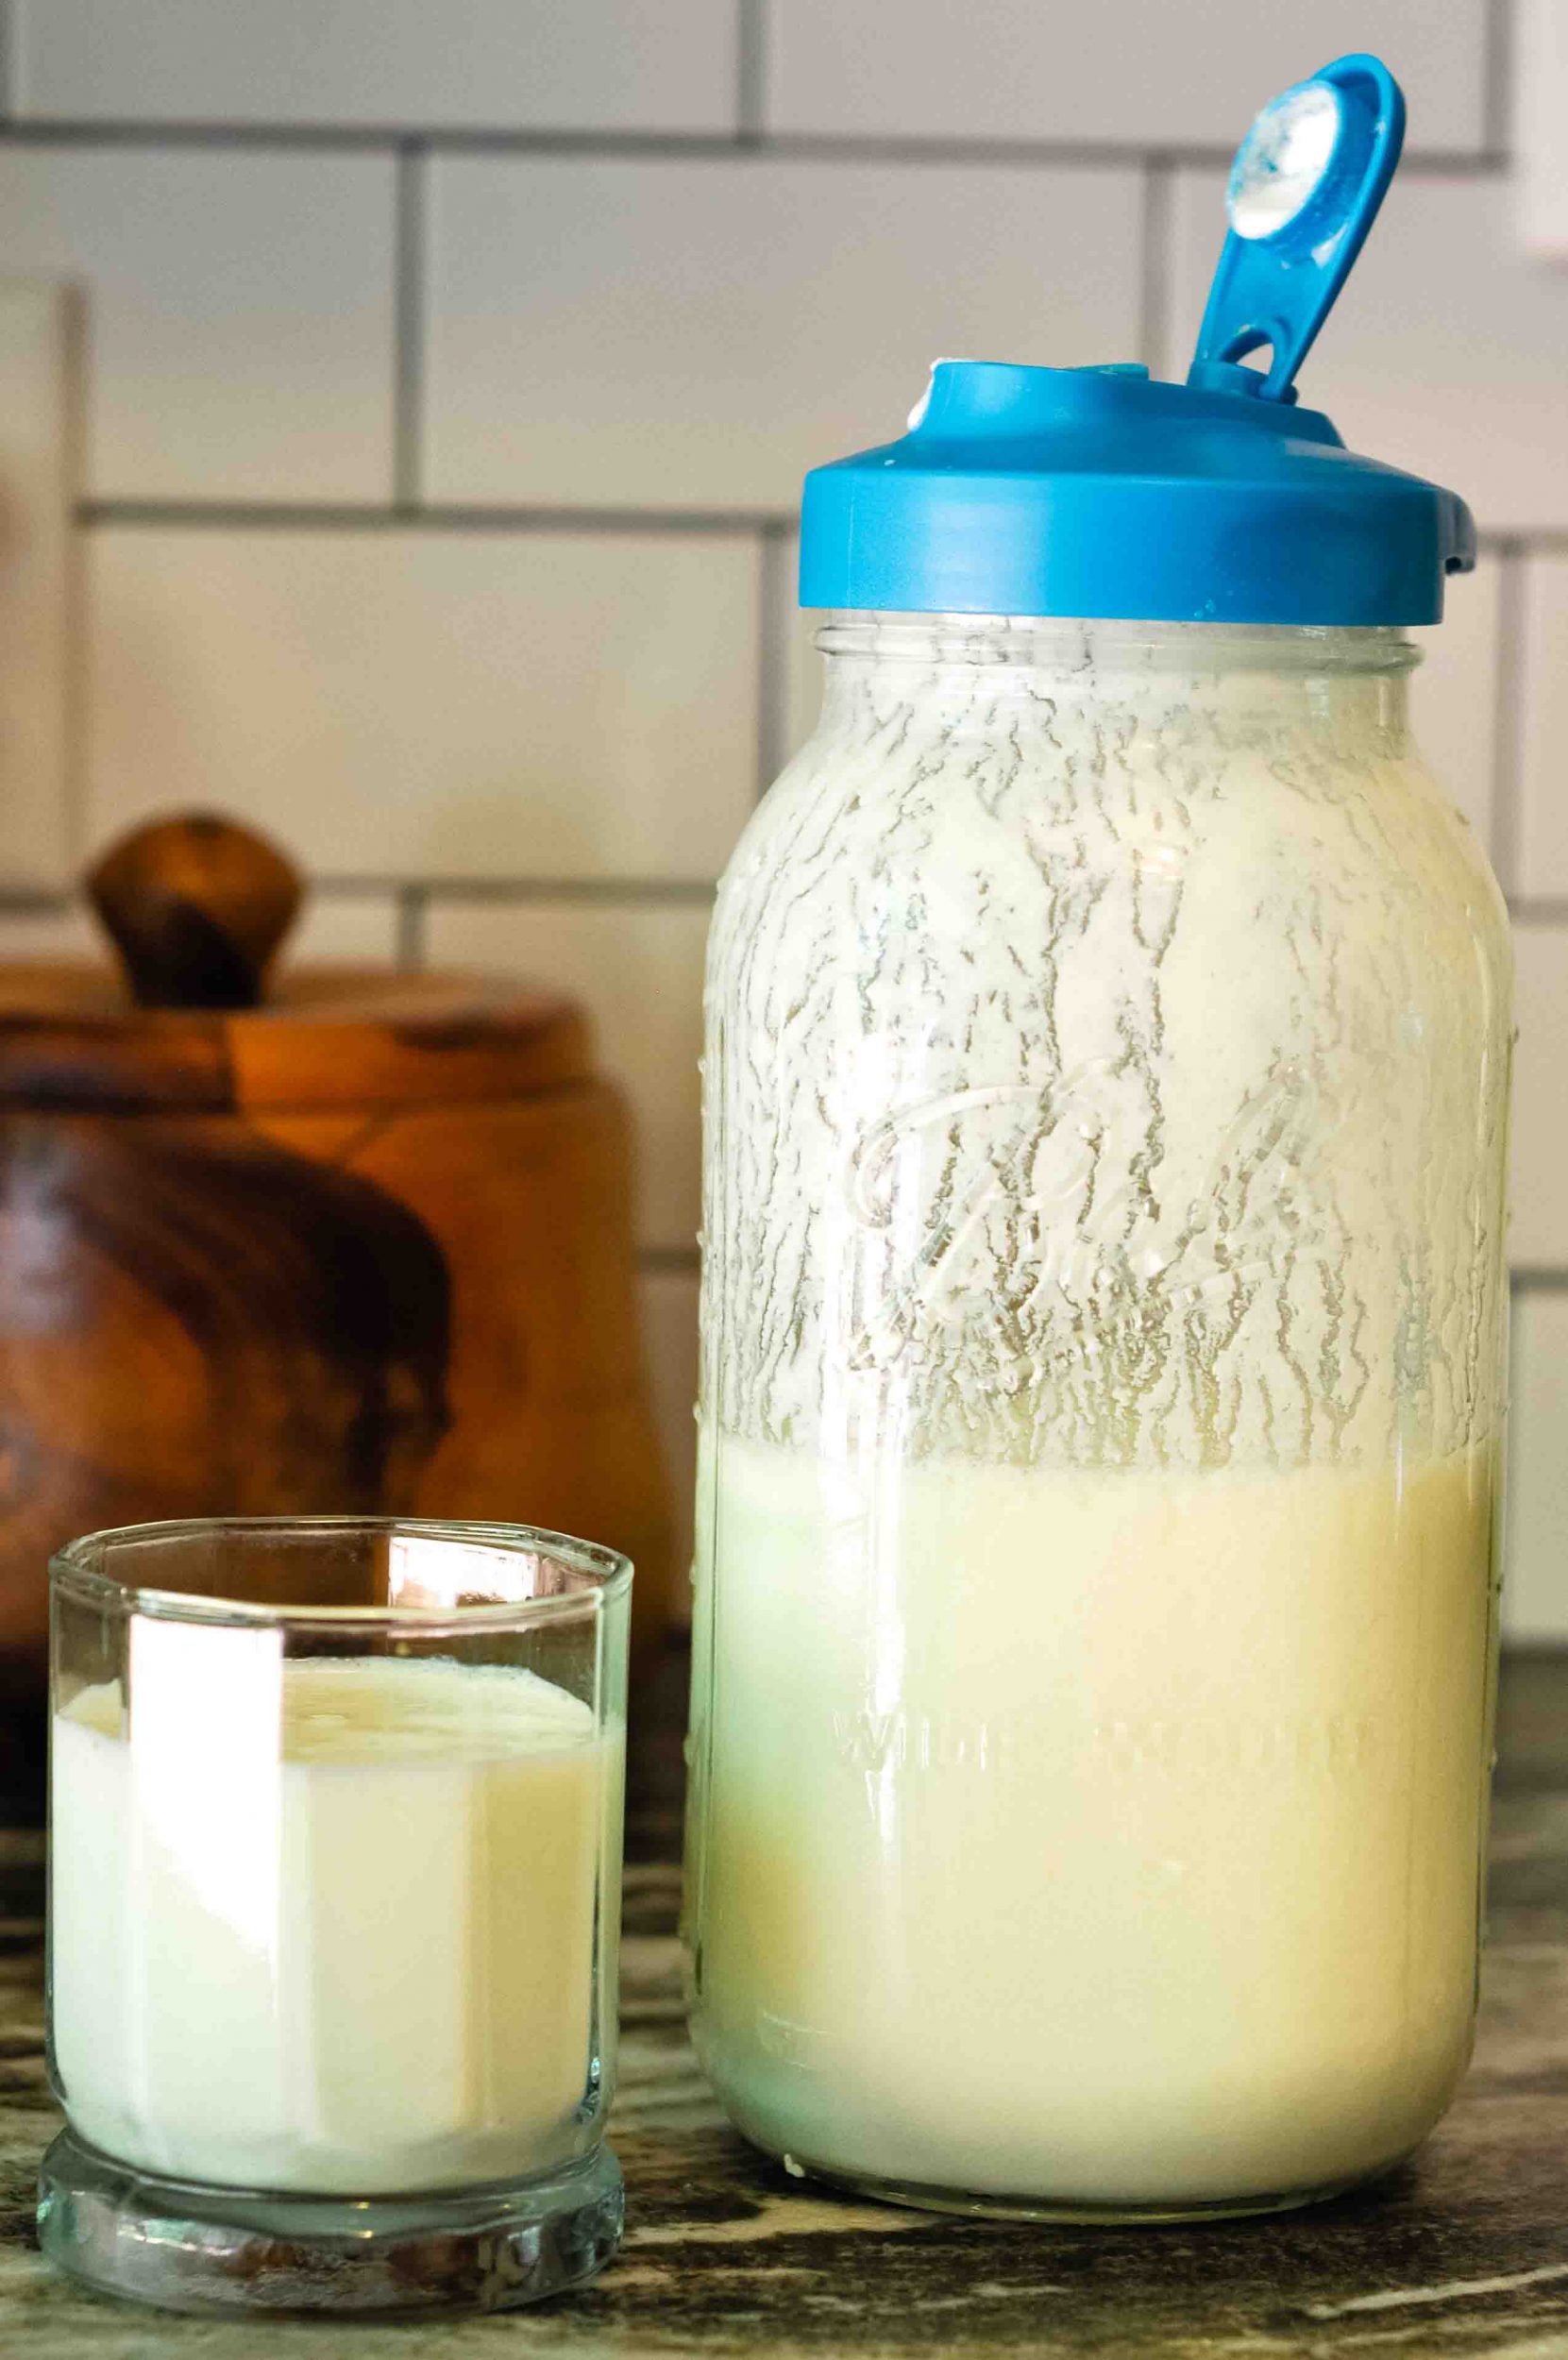
Kefir is a fermented/cultured dairy drink that has been made traditionally for centuries. It’s similar to yogurt, and has a more pourable consistency. It is also known to have even more probiotics than yogurt.
Kefir is made by using kefir grains to ferment milk. Kefir is much easier to make than yogurt, too. According to the Nourishing Traditions blog, “Kefir grains are a wonderful way to culture raw milk because they are not temperature sensitive—for yogurt and other cultures, the milk needs to be heated and kept warm for the culture to work. Not so for kefir, which can be cultured at room temperature.”
Traditional kefir was made by putting the kefir grains in goatskin bags with raw milk; the bags were hung near a doorway and knocked by anyone passing through to help keep the milk and kefir grains well mixed.
– Nourishing Traditions, Sally Fallon Morrell
Benefits of milk kefir (kefir nutrition)
Best known for its probiotic benefits, kefir outshines other cultured dairy products in a big way. According to Healthline, “Kefir may contain up to 61 different microorganisms, making it a much more potent source of probiotics than many other fermented dairy products.”
Kefir is also a rich source of calcium and B vitamins, plus antibacterial properties, and can help improve digestion.
Kefir is also great because it can often be tolerated by those who are lactose intolerant. This is because the beneficial bacteria help to break down the lactose sugars in the milk, producing lactic acid.
What are kefir grains, and where do I get them?
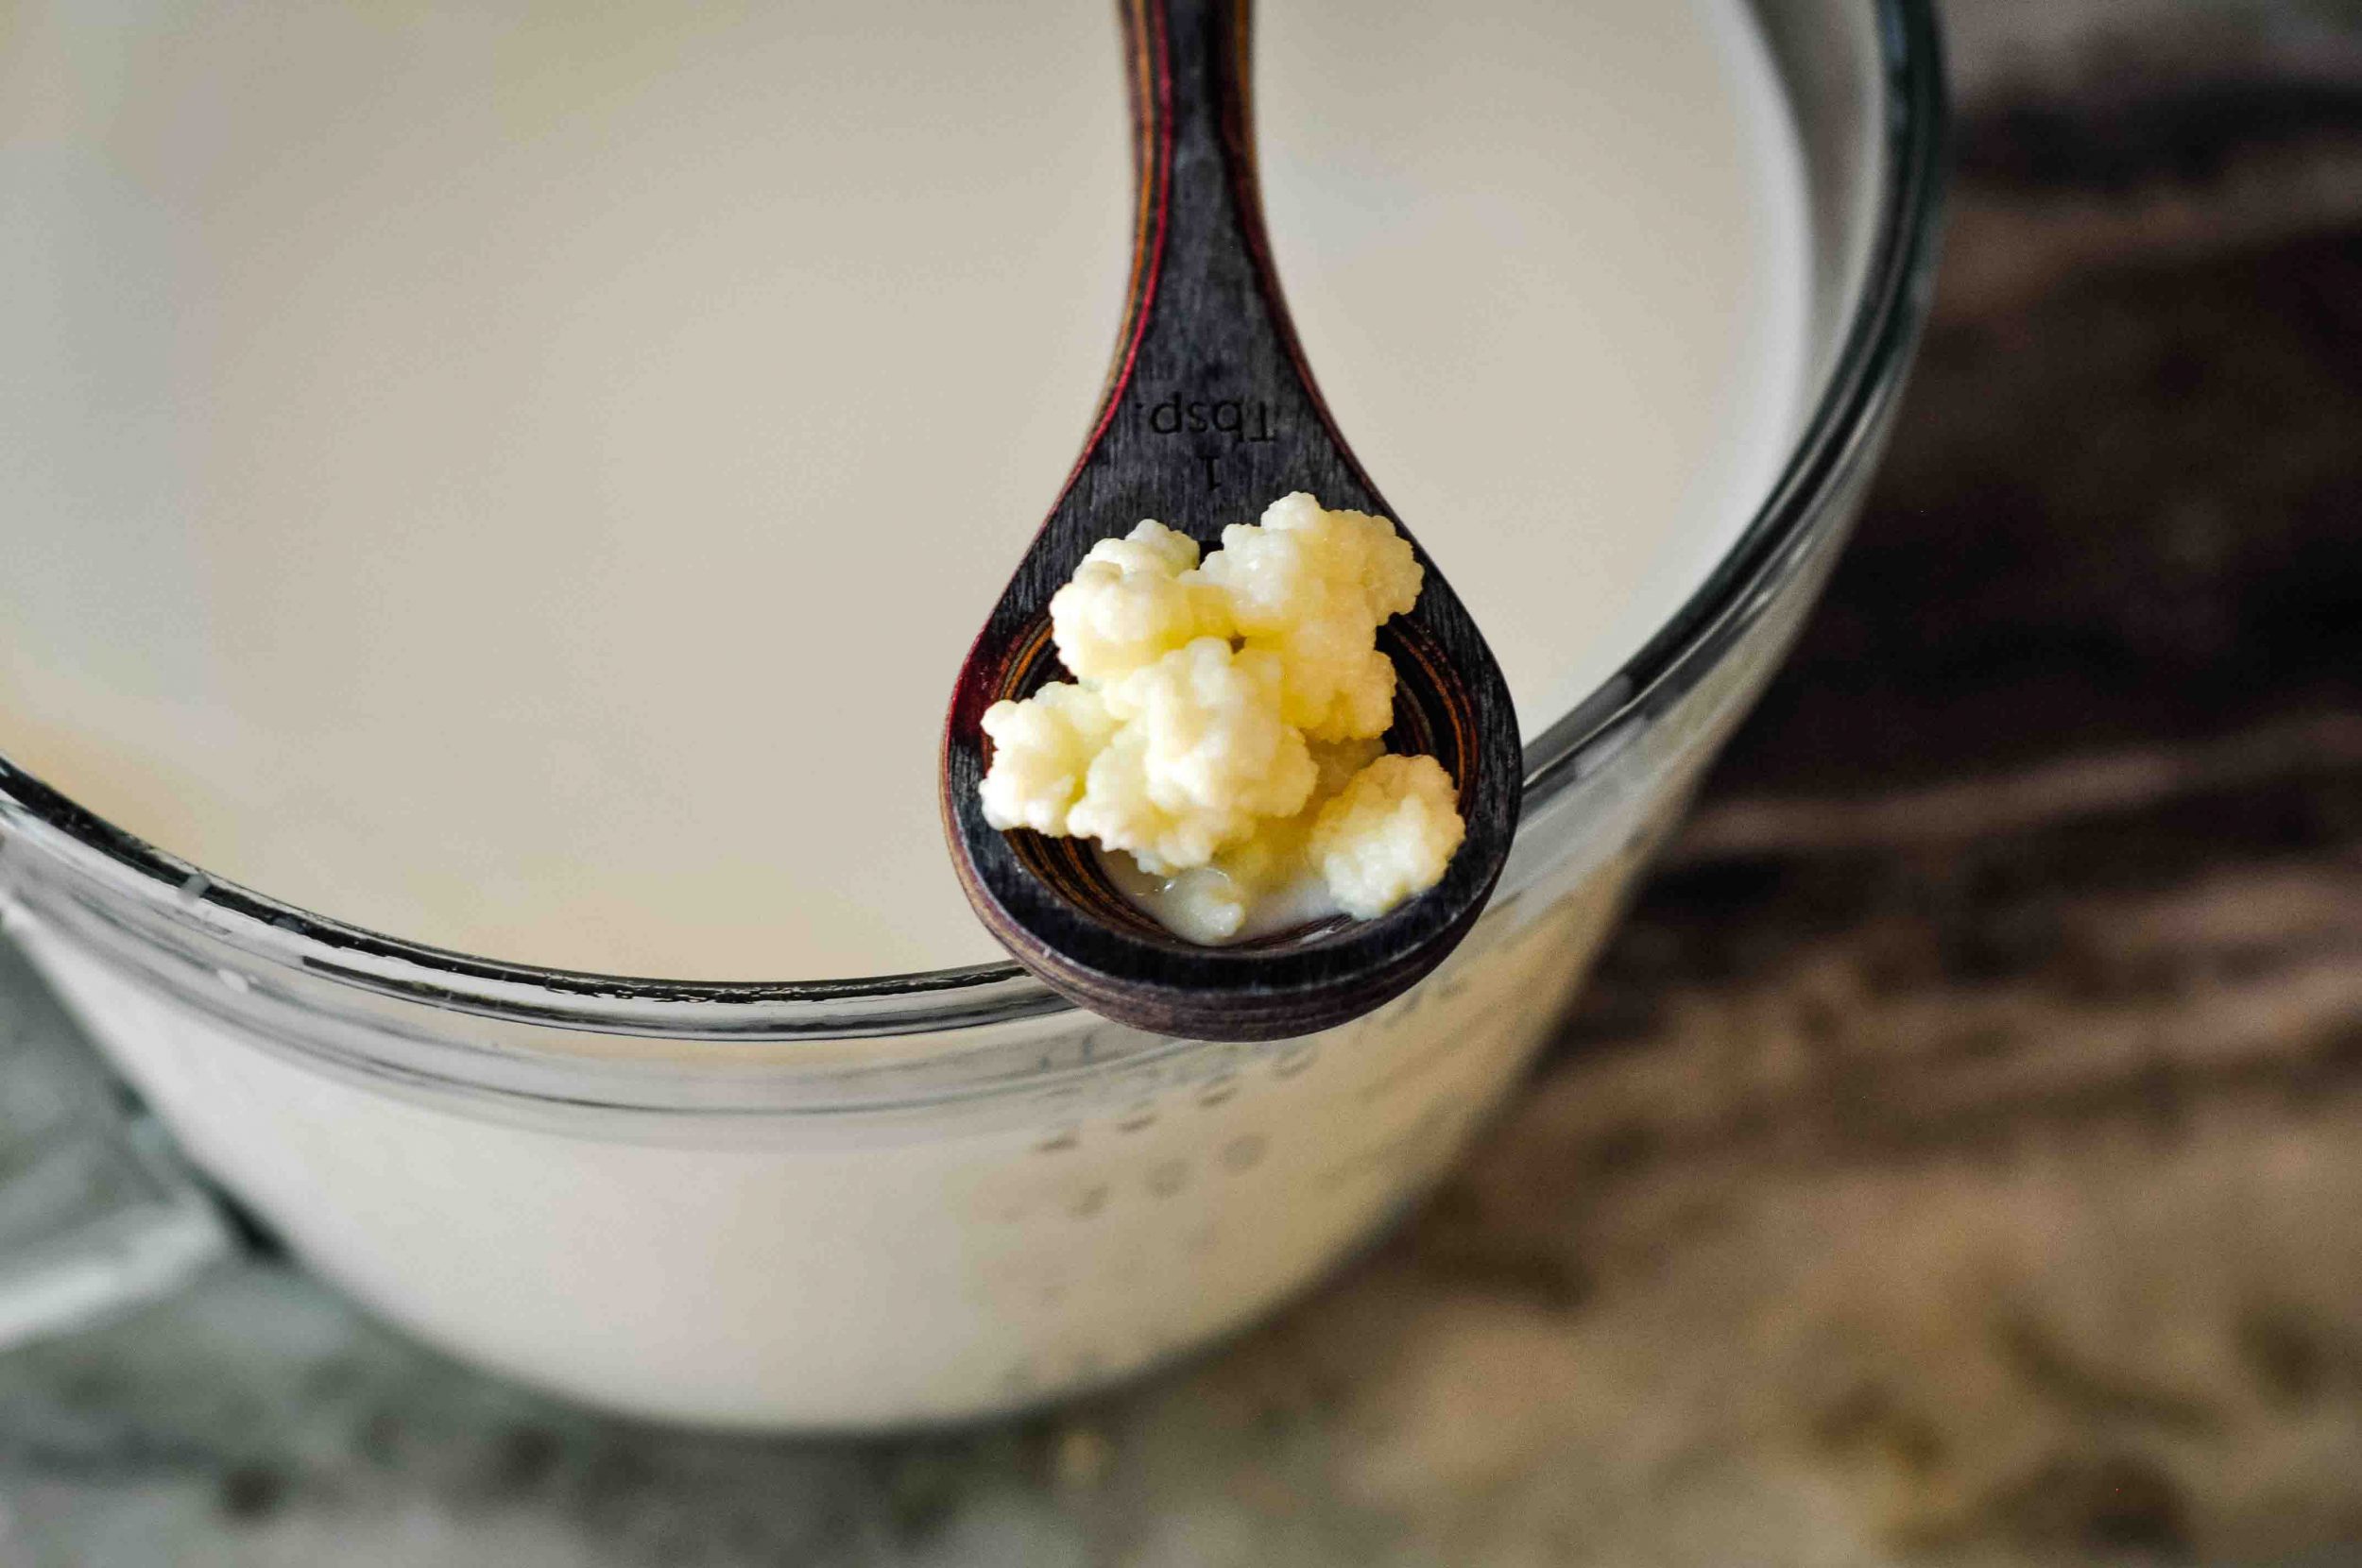
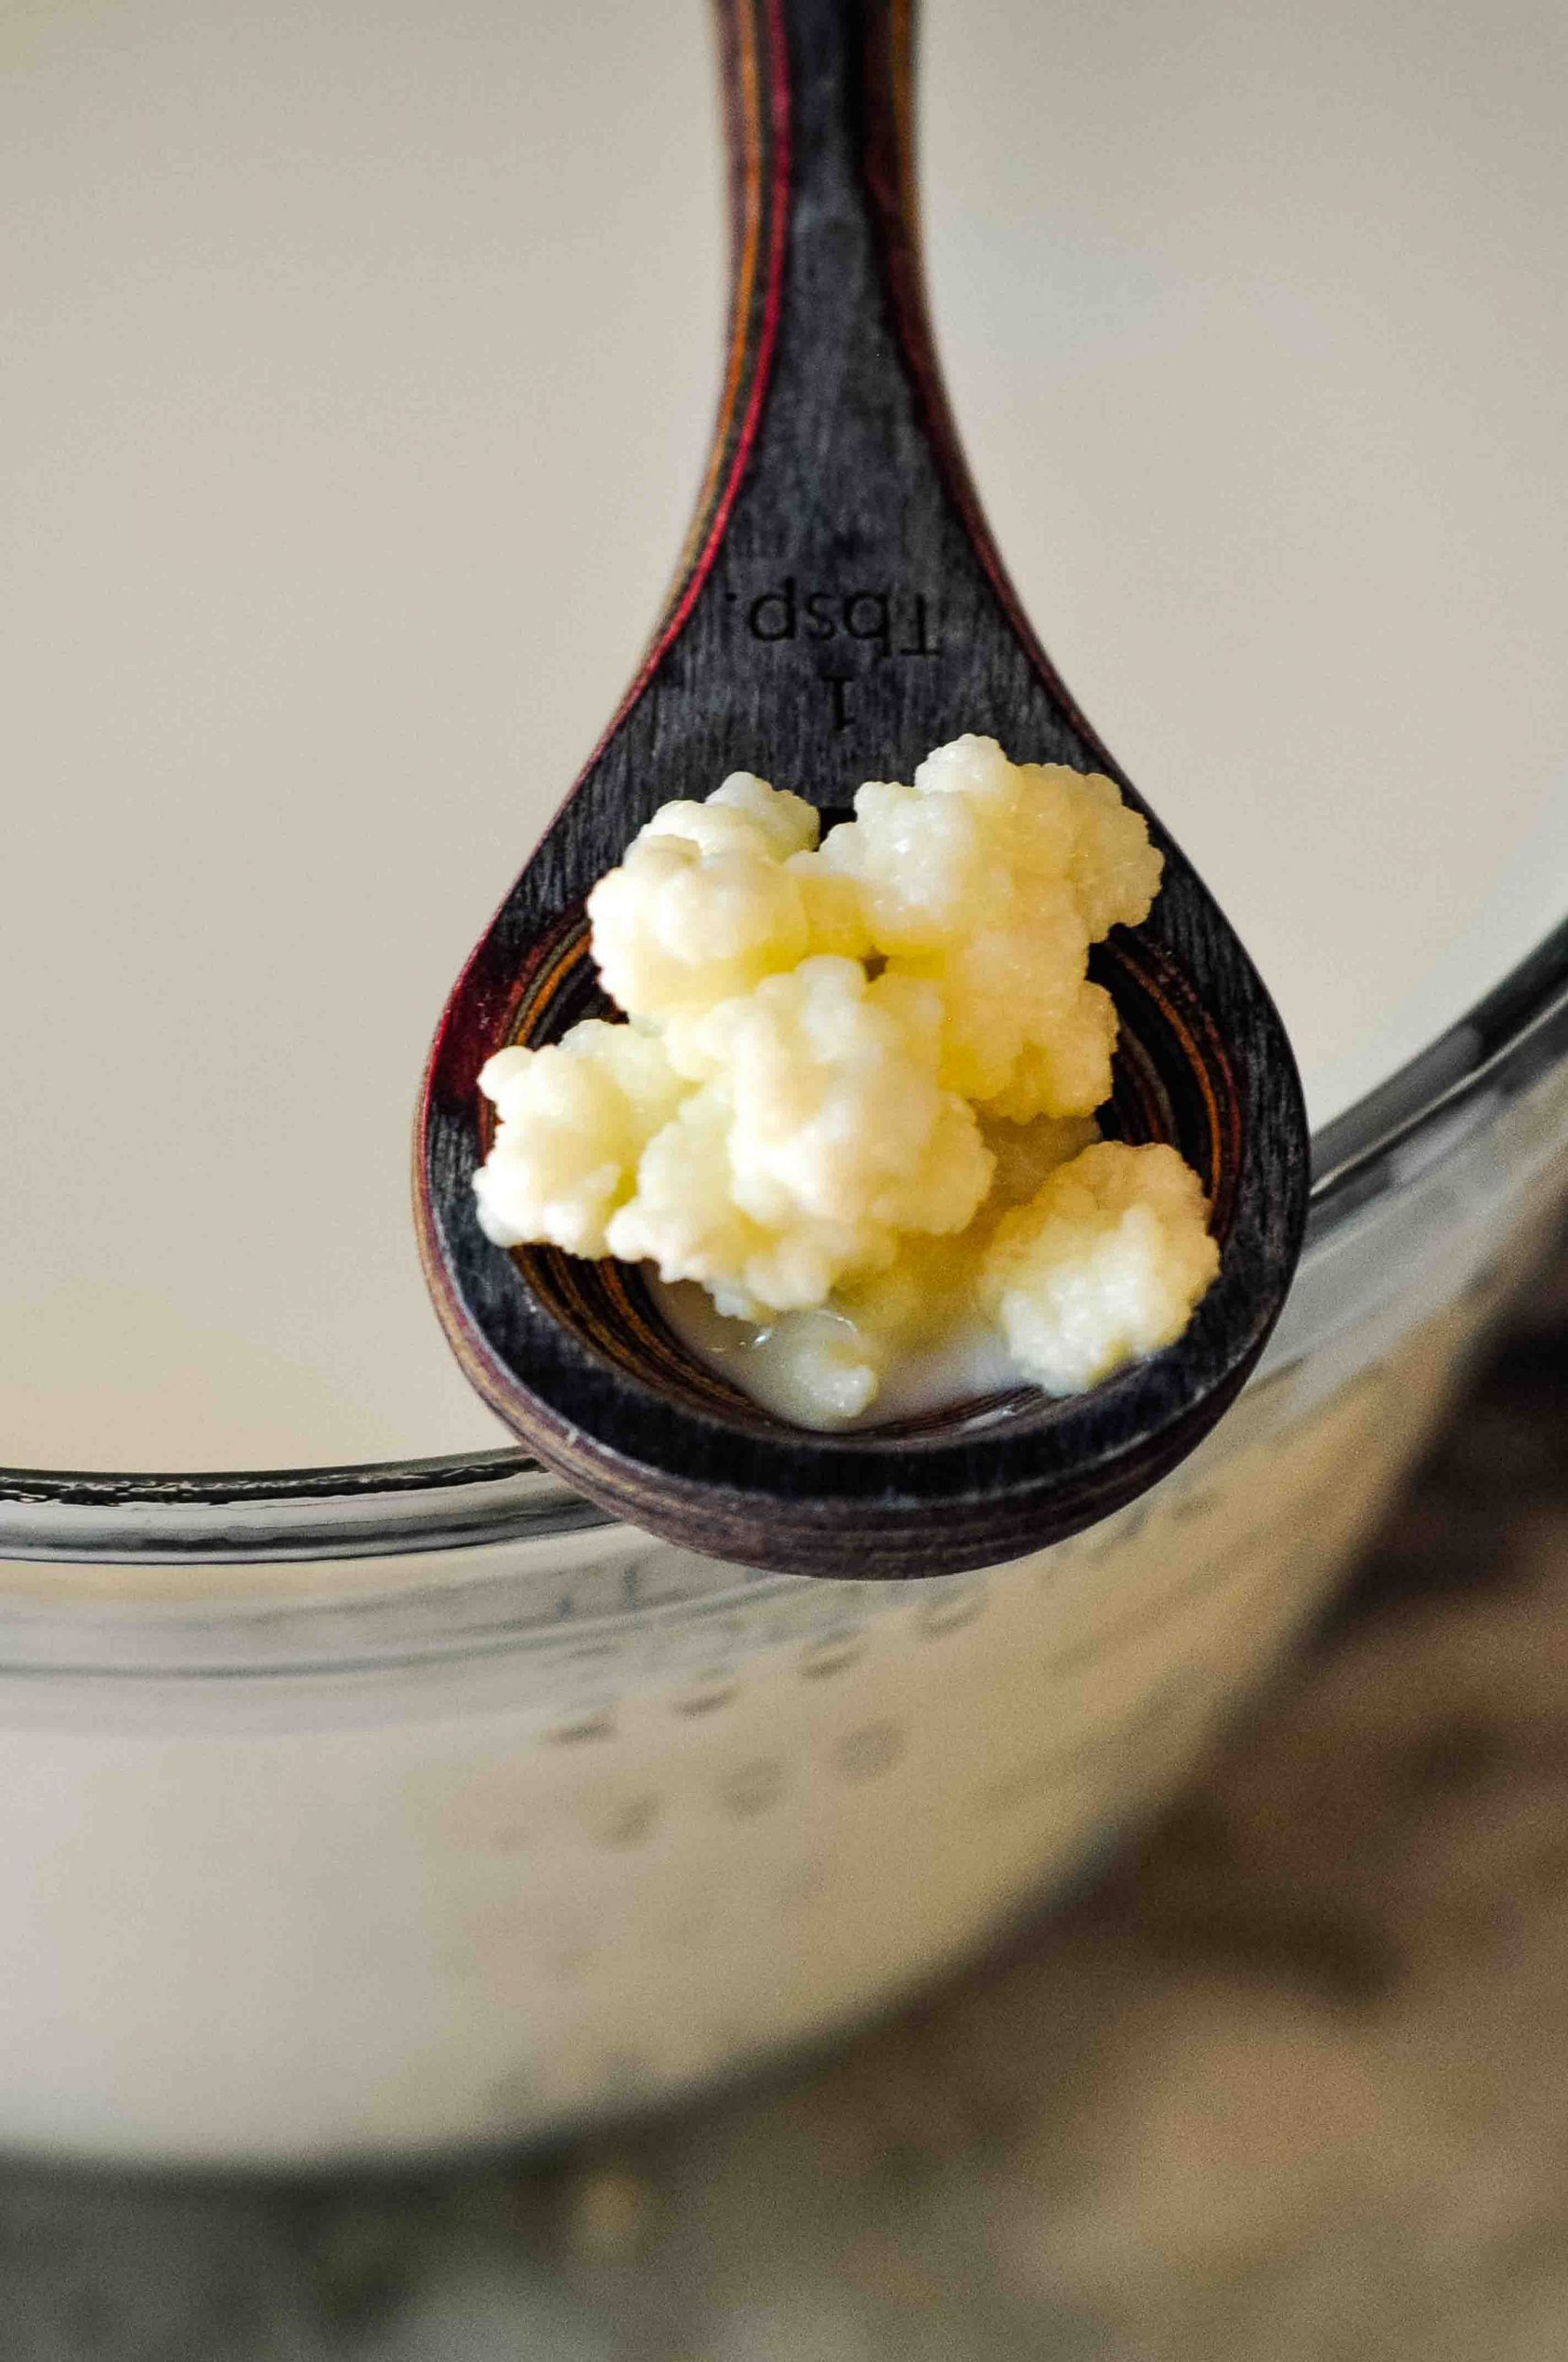
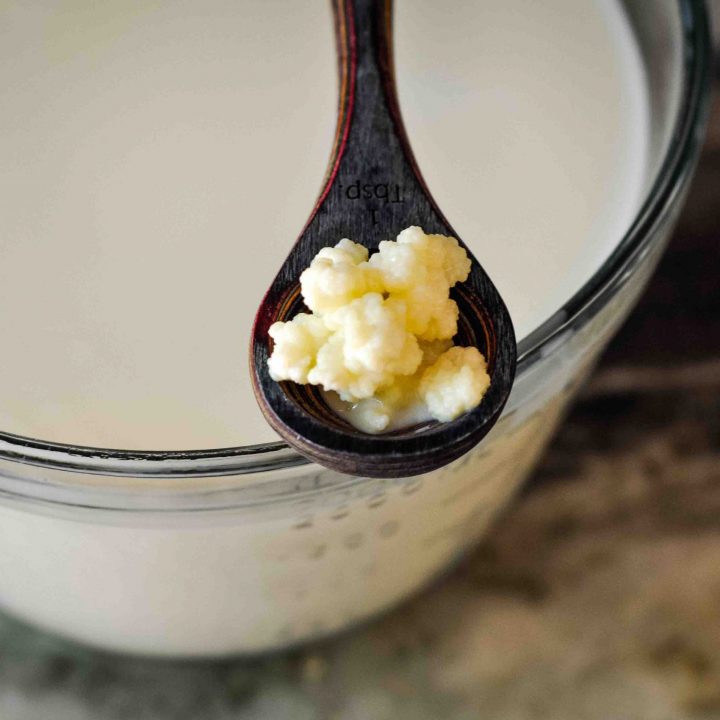
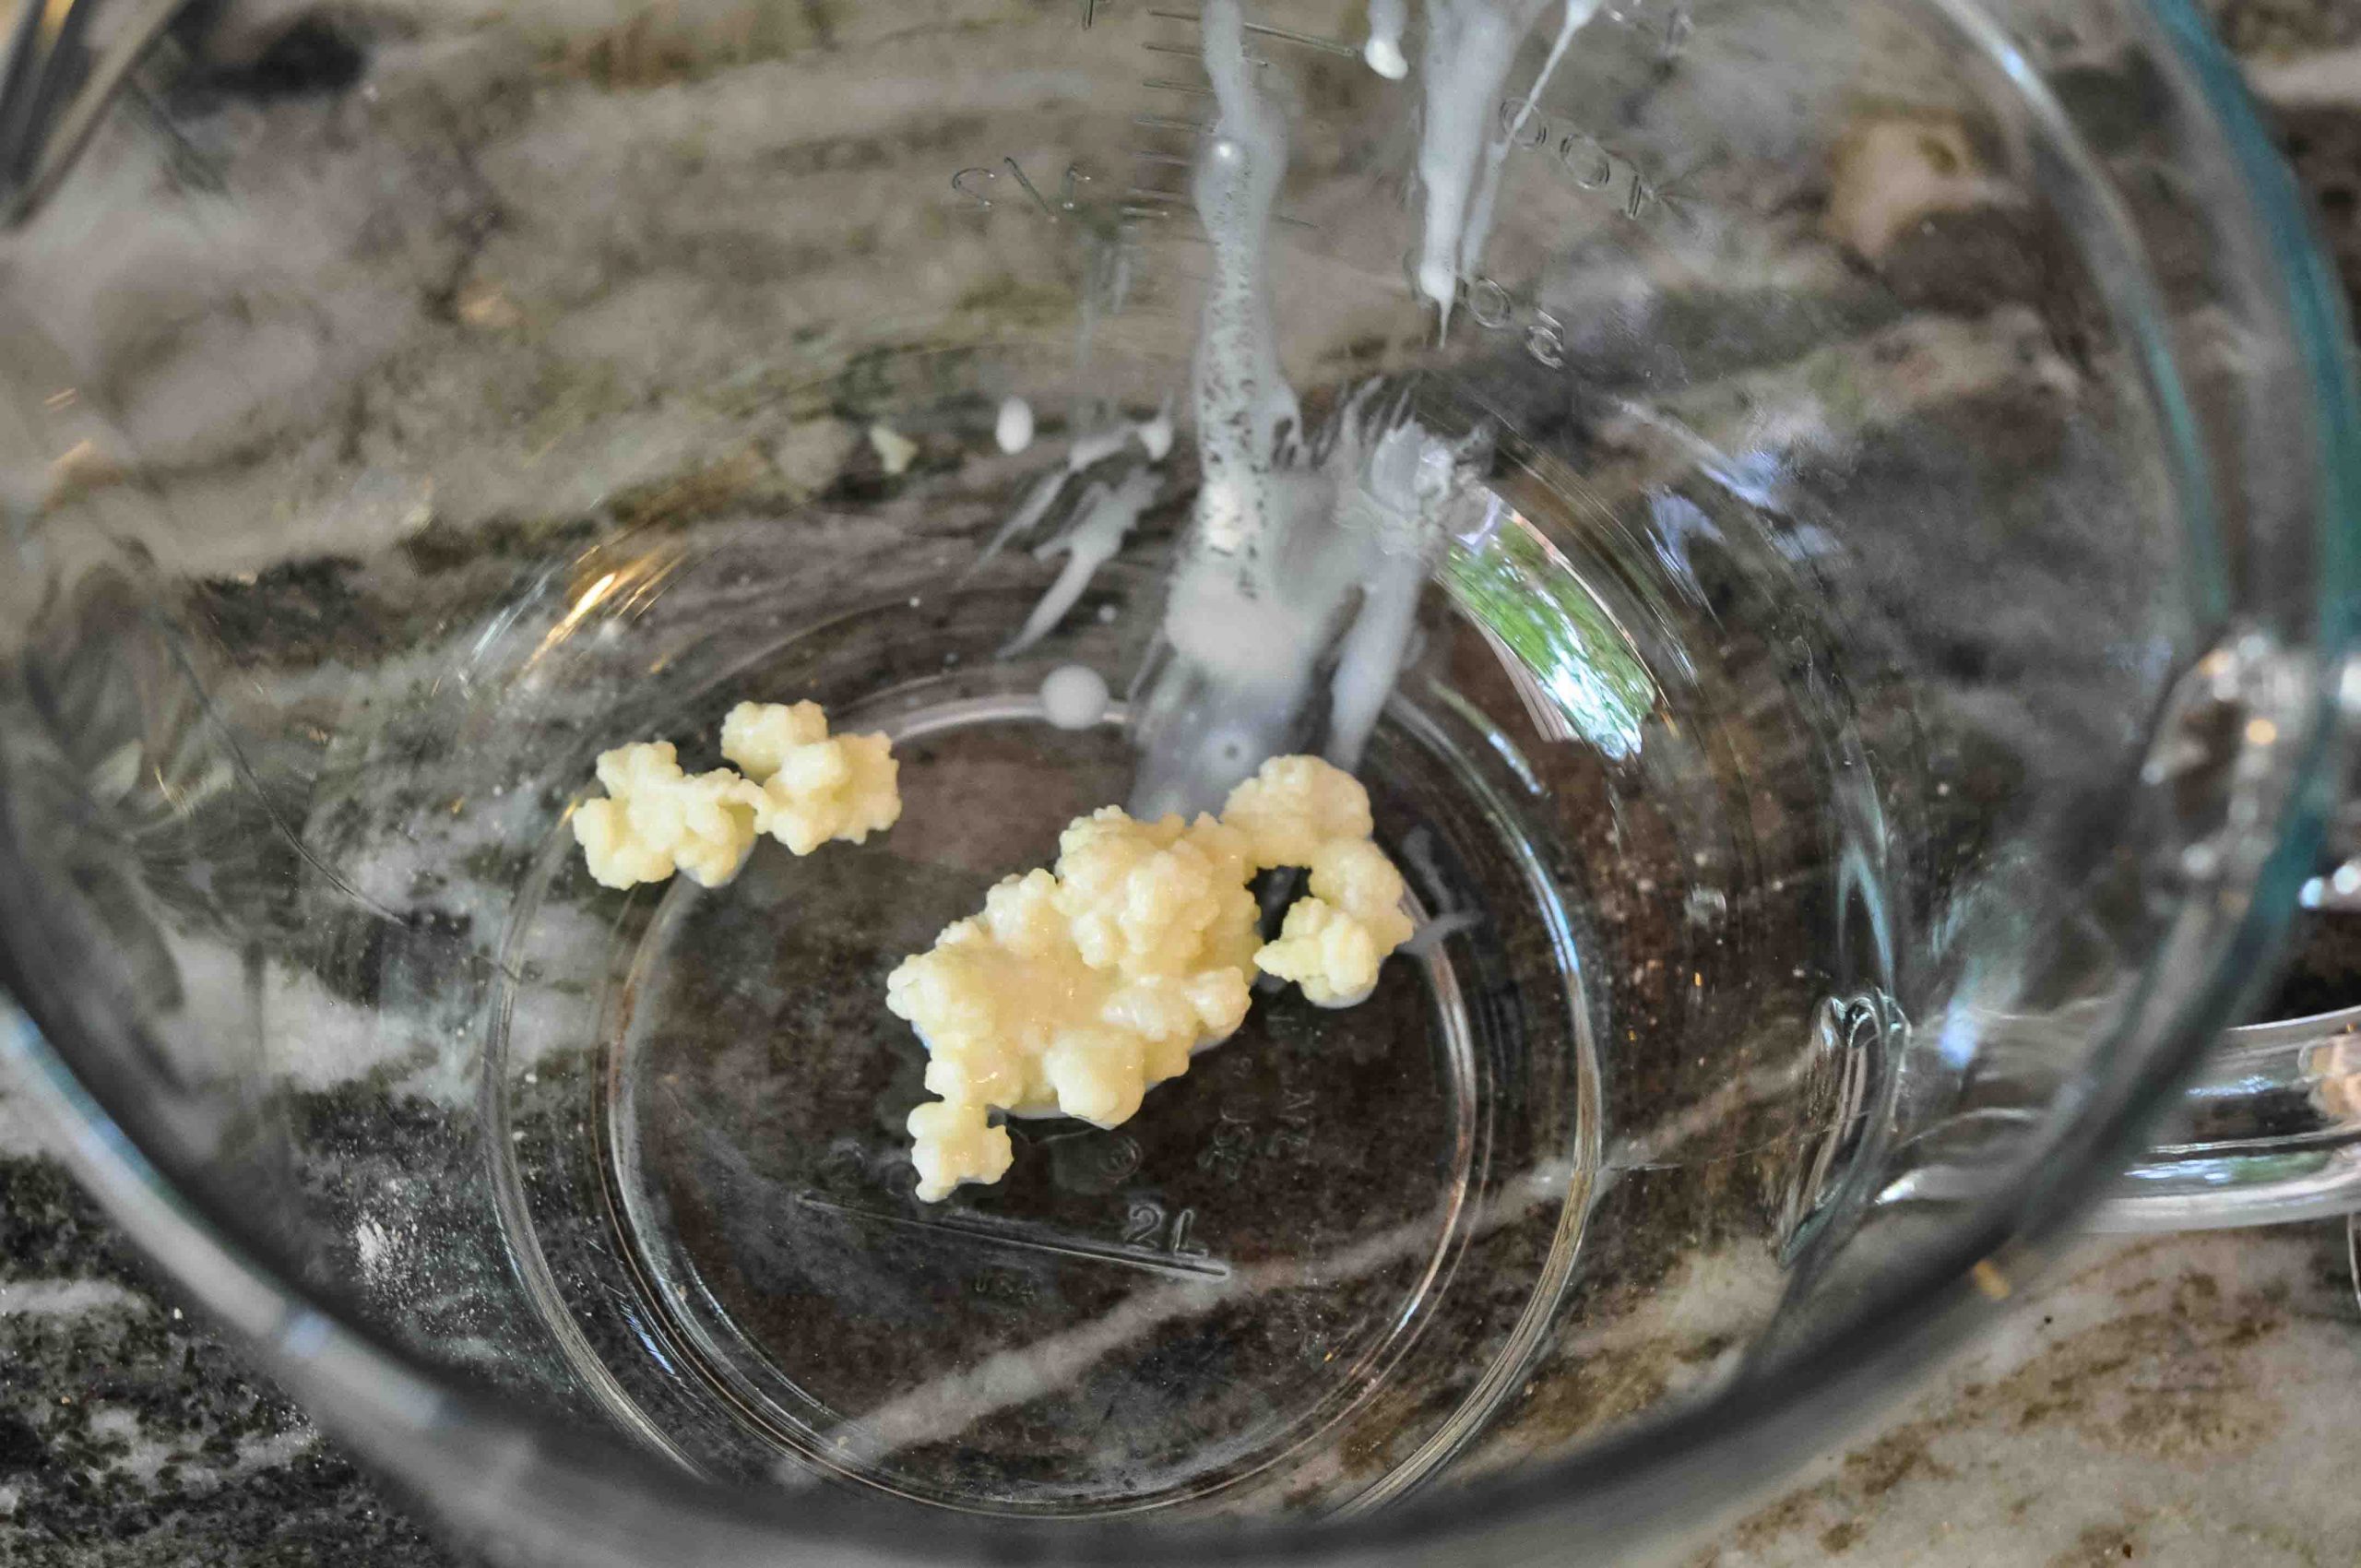
Kefir grains are a starter culture substance, similar to a kombucha scoby (symbiotic colony of bacteria and yeasts). They are small, bumpy gelatinous clusters that are shaped kind of like cauliflower.
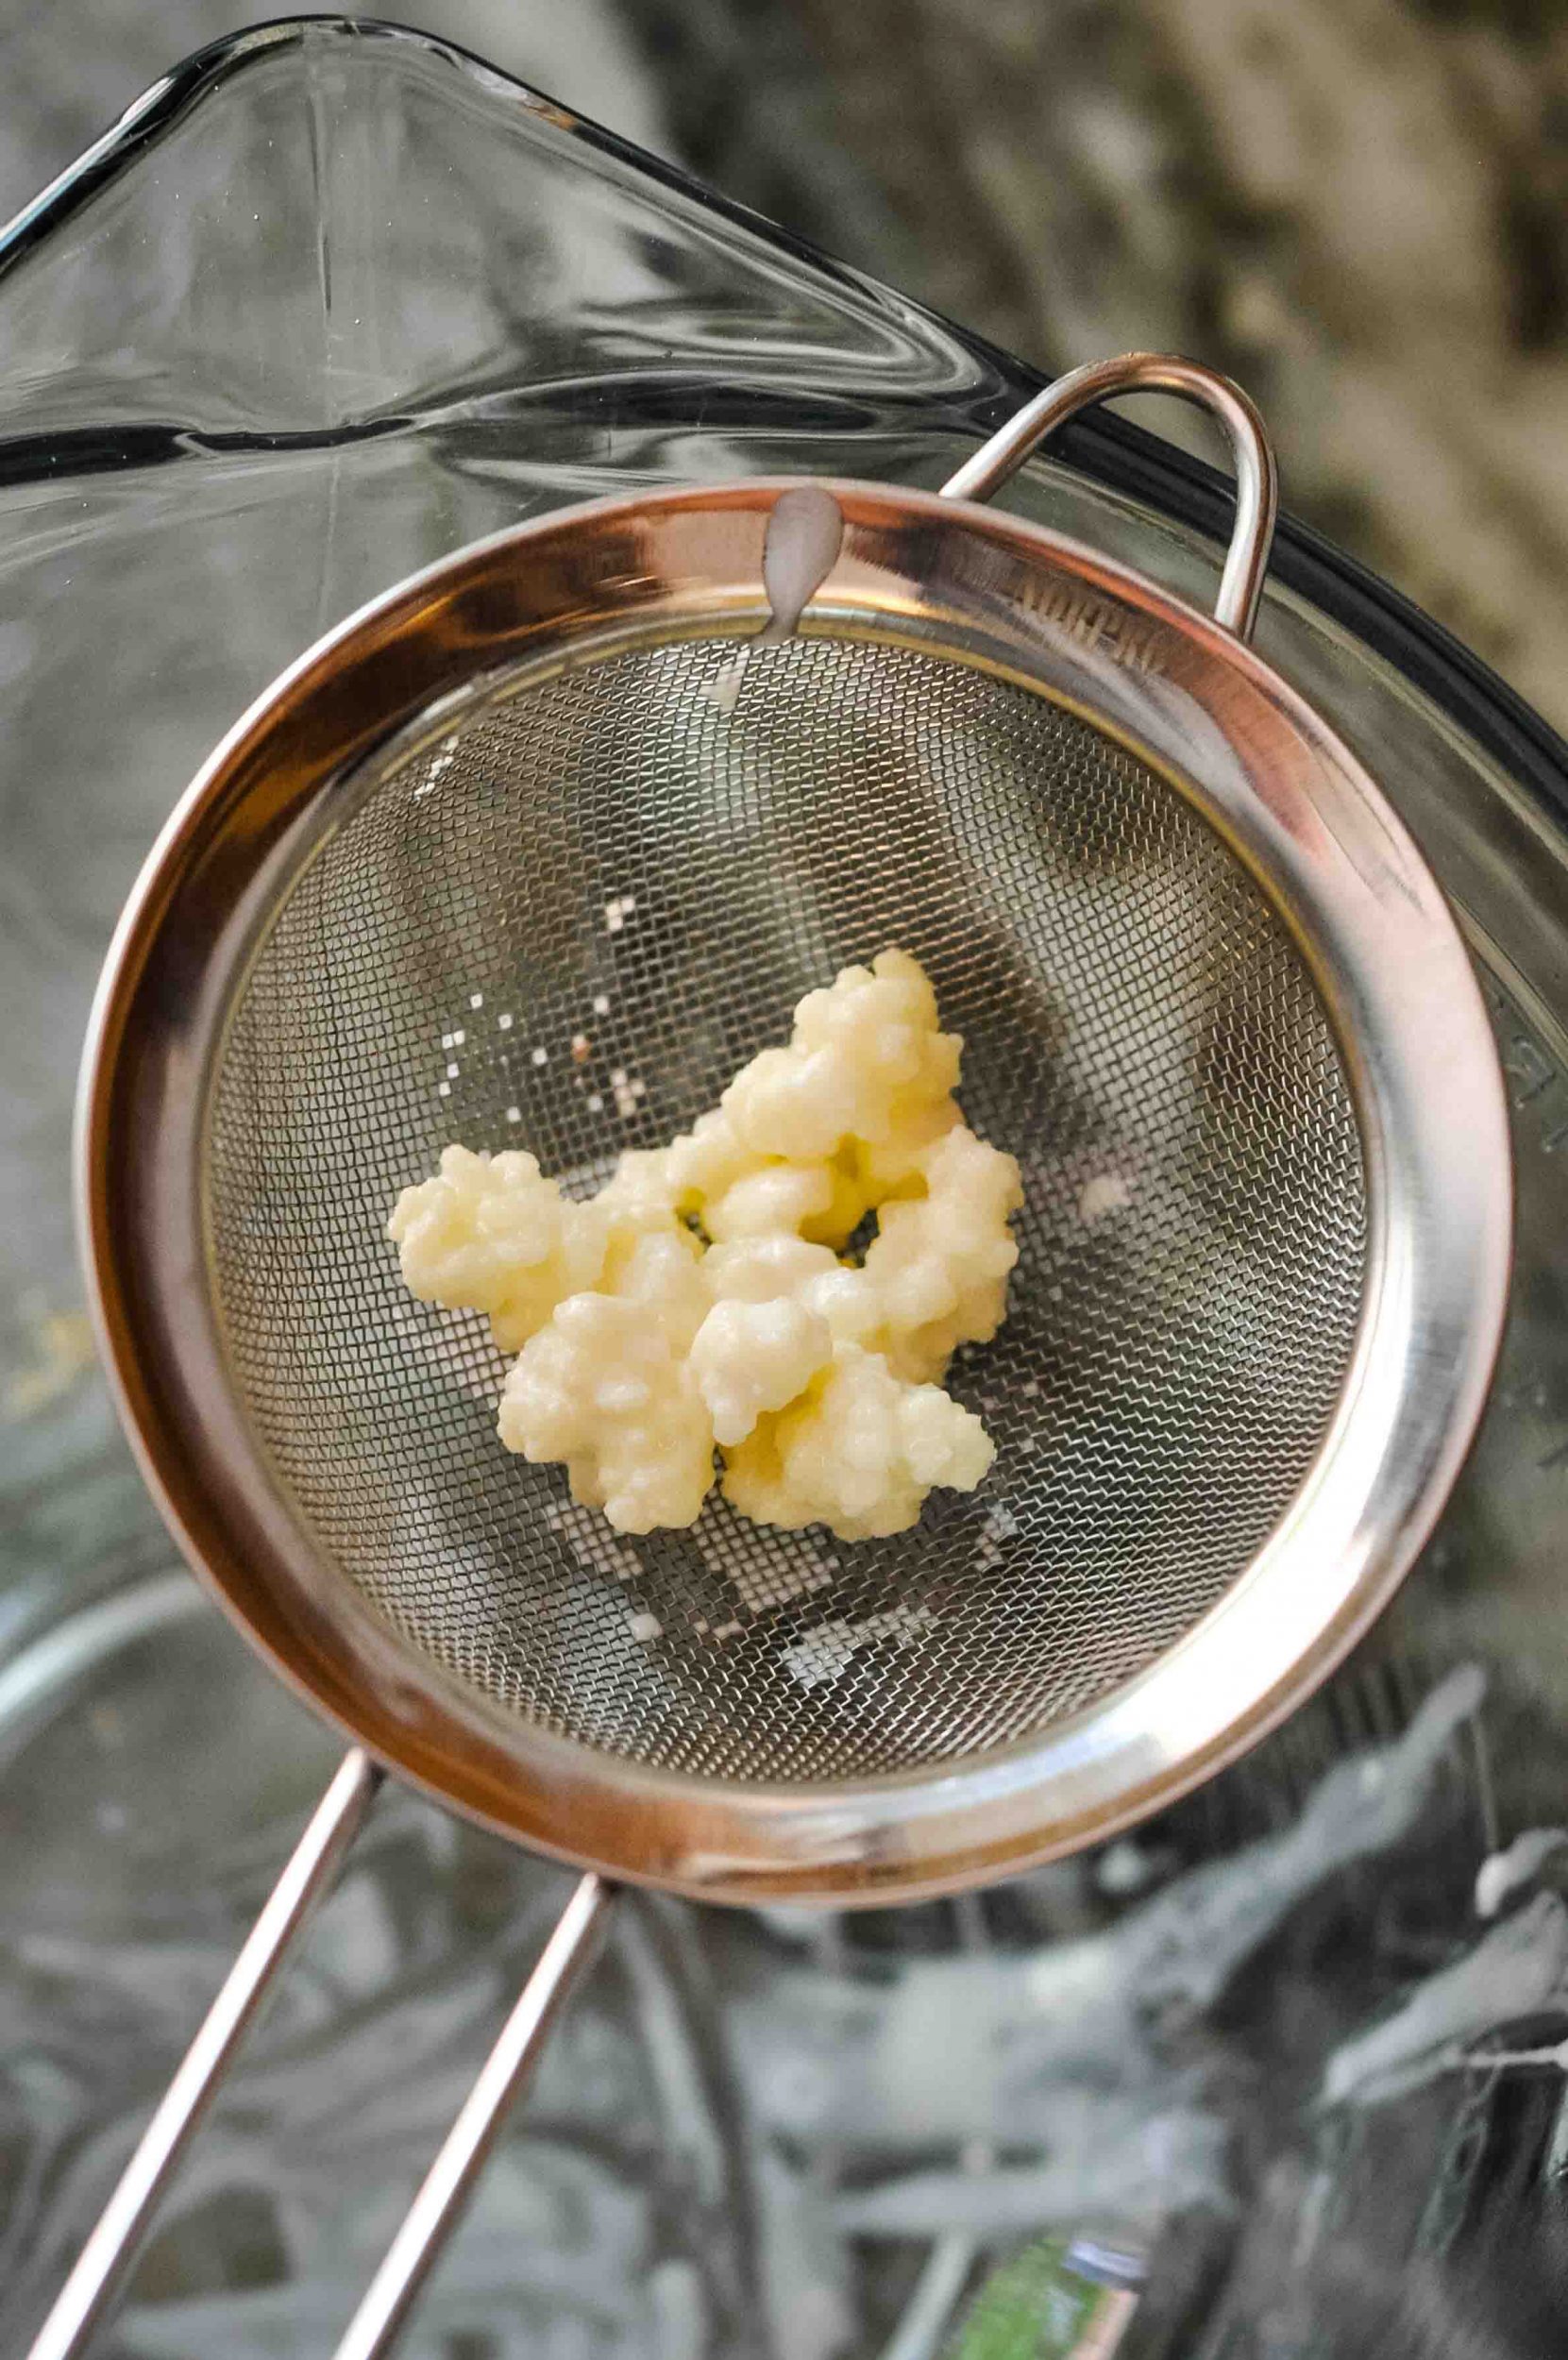
Kefir grains house all of the beneficial bacteria (mostly lactobacilli) and yeast which ferment the milk into wonderful probiotic goodness. The grains also keep your milk from spoiling while it sits out at room temperature.
All the good bacteria fights off any bad bacteria that may be present and transforms it into a wonderful health-enhancing drink.
Obtaining kefir grains takes a little bit of time, but once you have them you will never have to buy them again, as long as you continue to feed them.
You can purchase freeze dried kefir grains online, but I wouldn’t recommend them. I tried making kefir with freeze dried grains, and I could never get them to fully come to life and proliferate.
Later, I was blessed to obtain some fresh kefir grains from a friend and never looked back. They have worked wonderfully. They have also grown so much, I have been able to share them with friends and family.
If you don’t know anyone who makes kefir to obtain your grains from, I recommend getting them from Donna Schwenk’s Cultured Food Life. The person I got my grains from bought his from Donna.
They are shipped to you fresh, not freeze dried, so they will be much easier to use and keep alive.
What type of milk should I use to make kefir?
Use whole dairy milk to make the best batch of kefir. You may use cow, sheep, or goat milk. In any case, the most important point is to make sure your milk is not ultra high temperature (UHT) pasteurized.
This is often the case with organic milk, since manufacturers are trying to ensure it stays fresh longer. But if your milk is UHT pasteurized, there is virtually no good bacteria left in it, so it will not culture into kefir.
For best results, use raw cow’s milk from a farm that uses clean farming practices. You can also use regular pasteurized whole milk from the grocery store that’s not UHT pasteurized. Here’s an example of what I buy in the photo below.
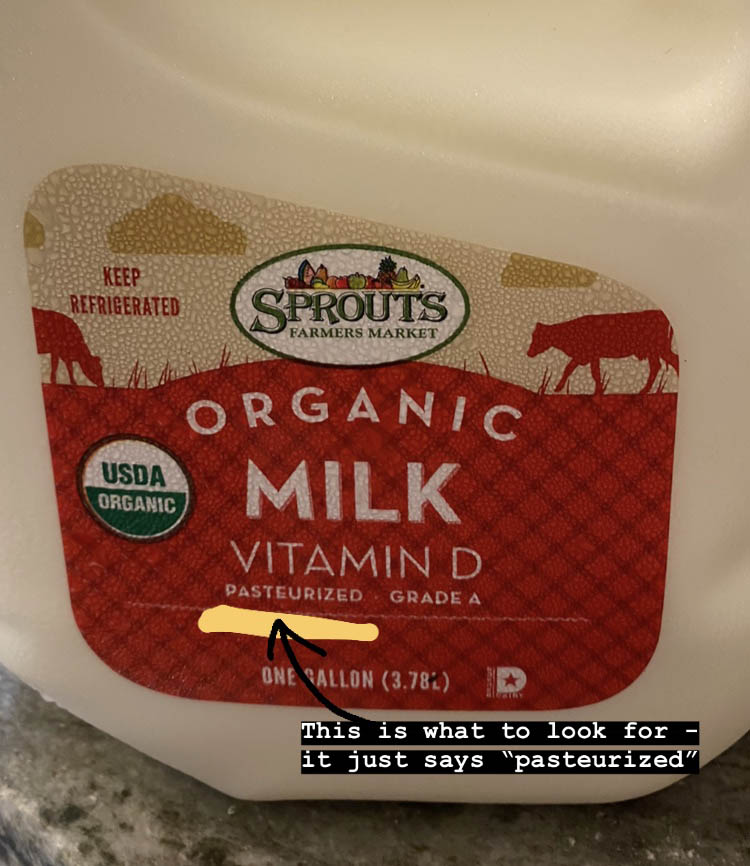
It can be difficult to find organic milk that is not UHT pasteurized, but I found some at my local Sprouts & Publix.
Kefir-Making Equipment
You don’t need a lot of equipment to make kefir at home, but you will need the following:
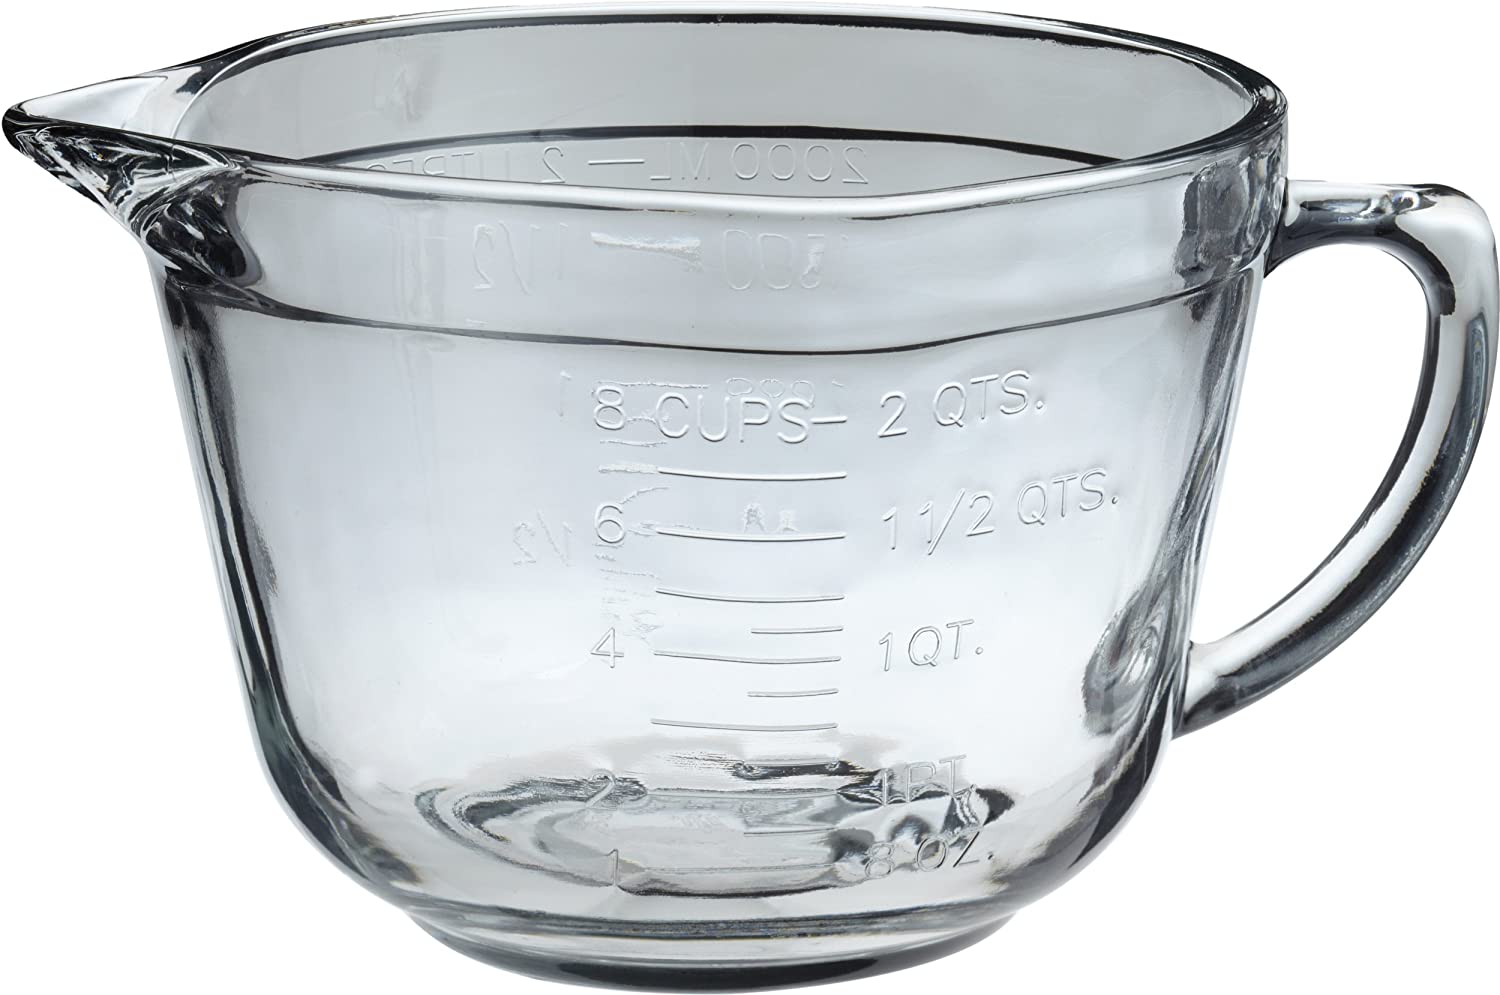
- A large glass bowl or jar (I prefer this Anchor batter bowl)
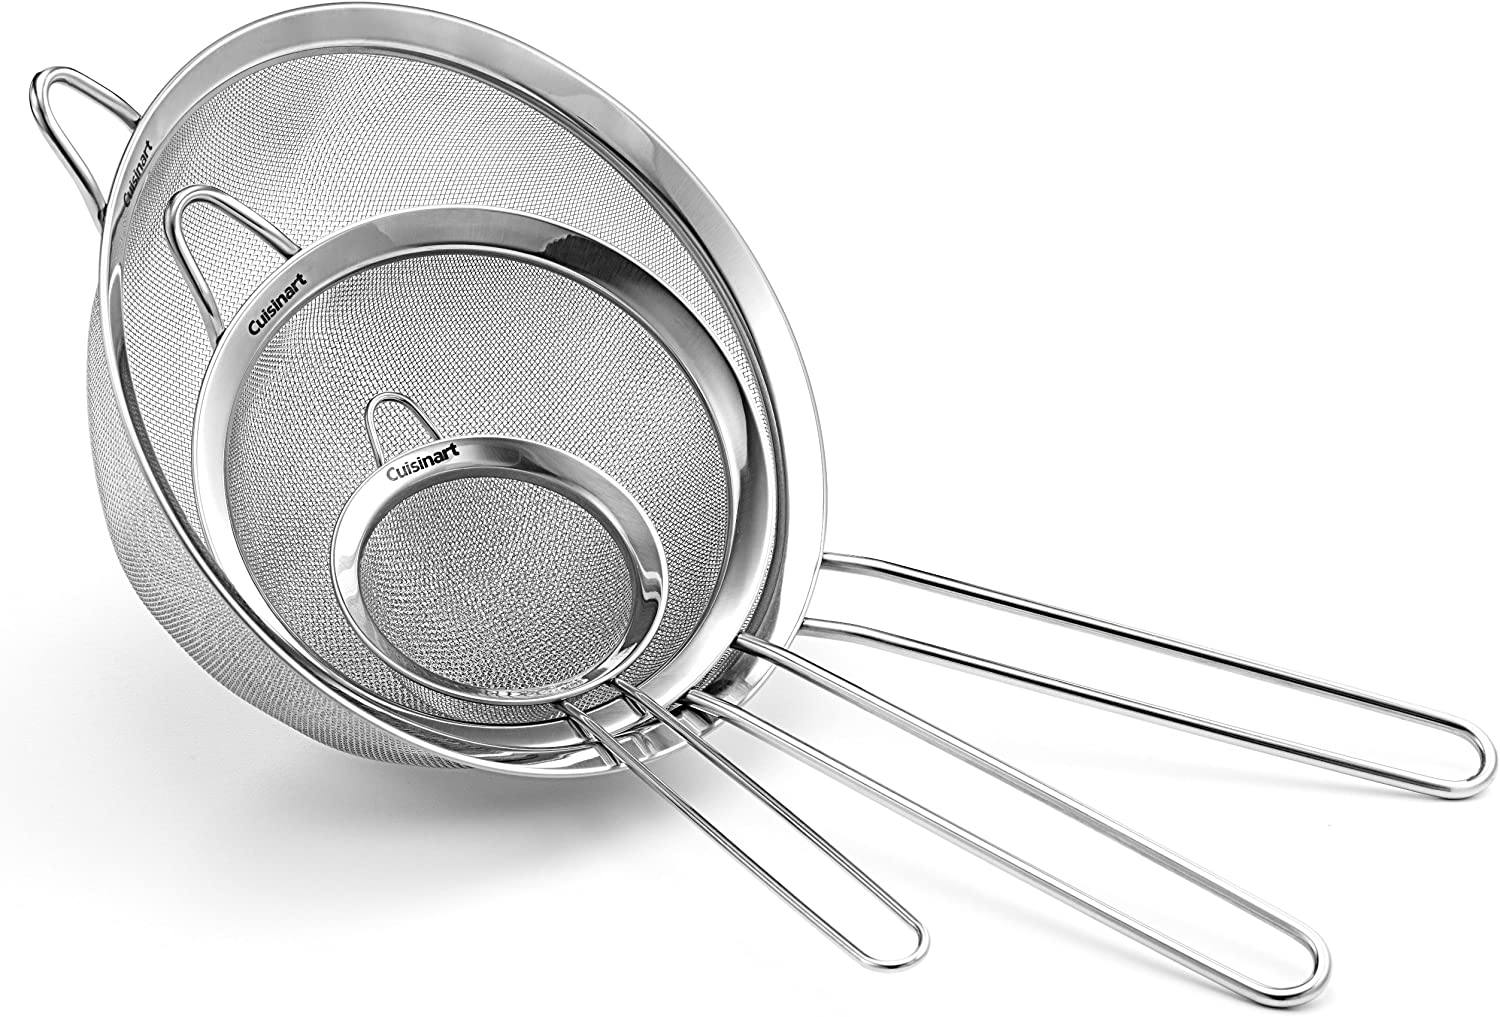
- A strainer
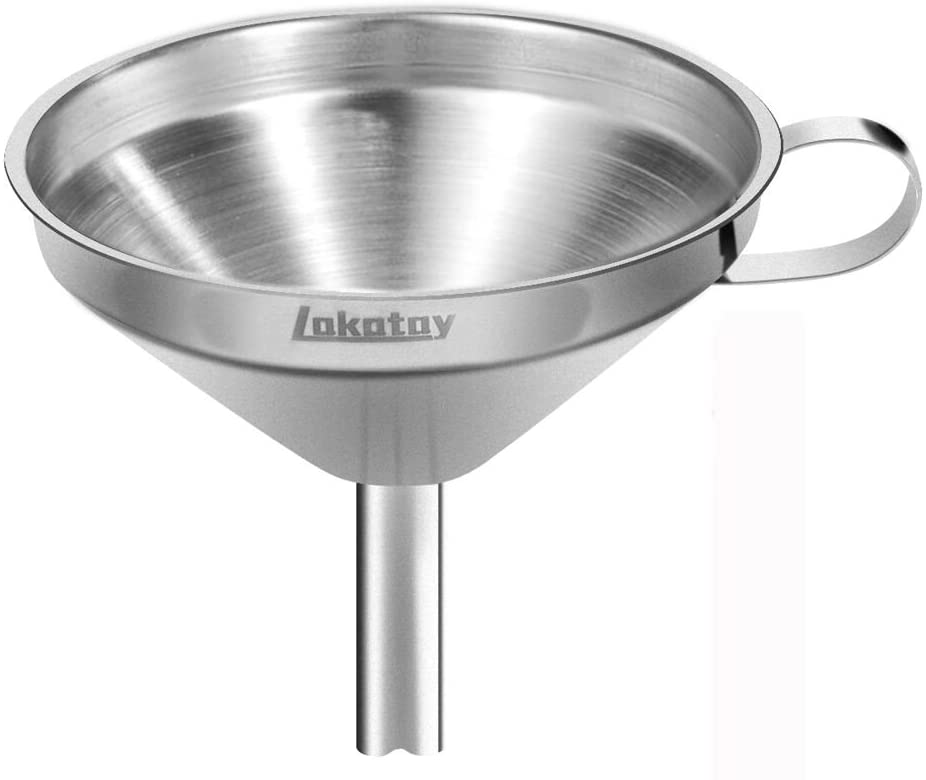
- Large funnel
- Thin cotton cloth
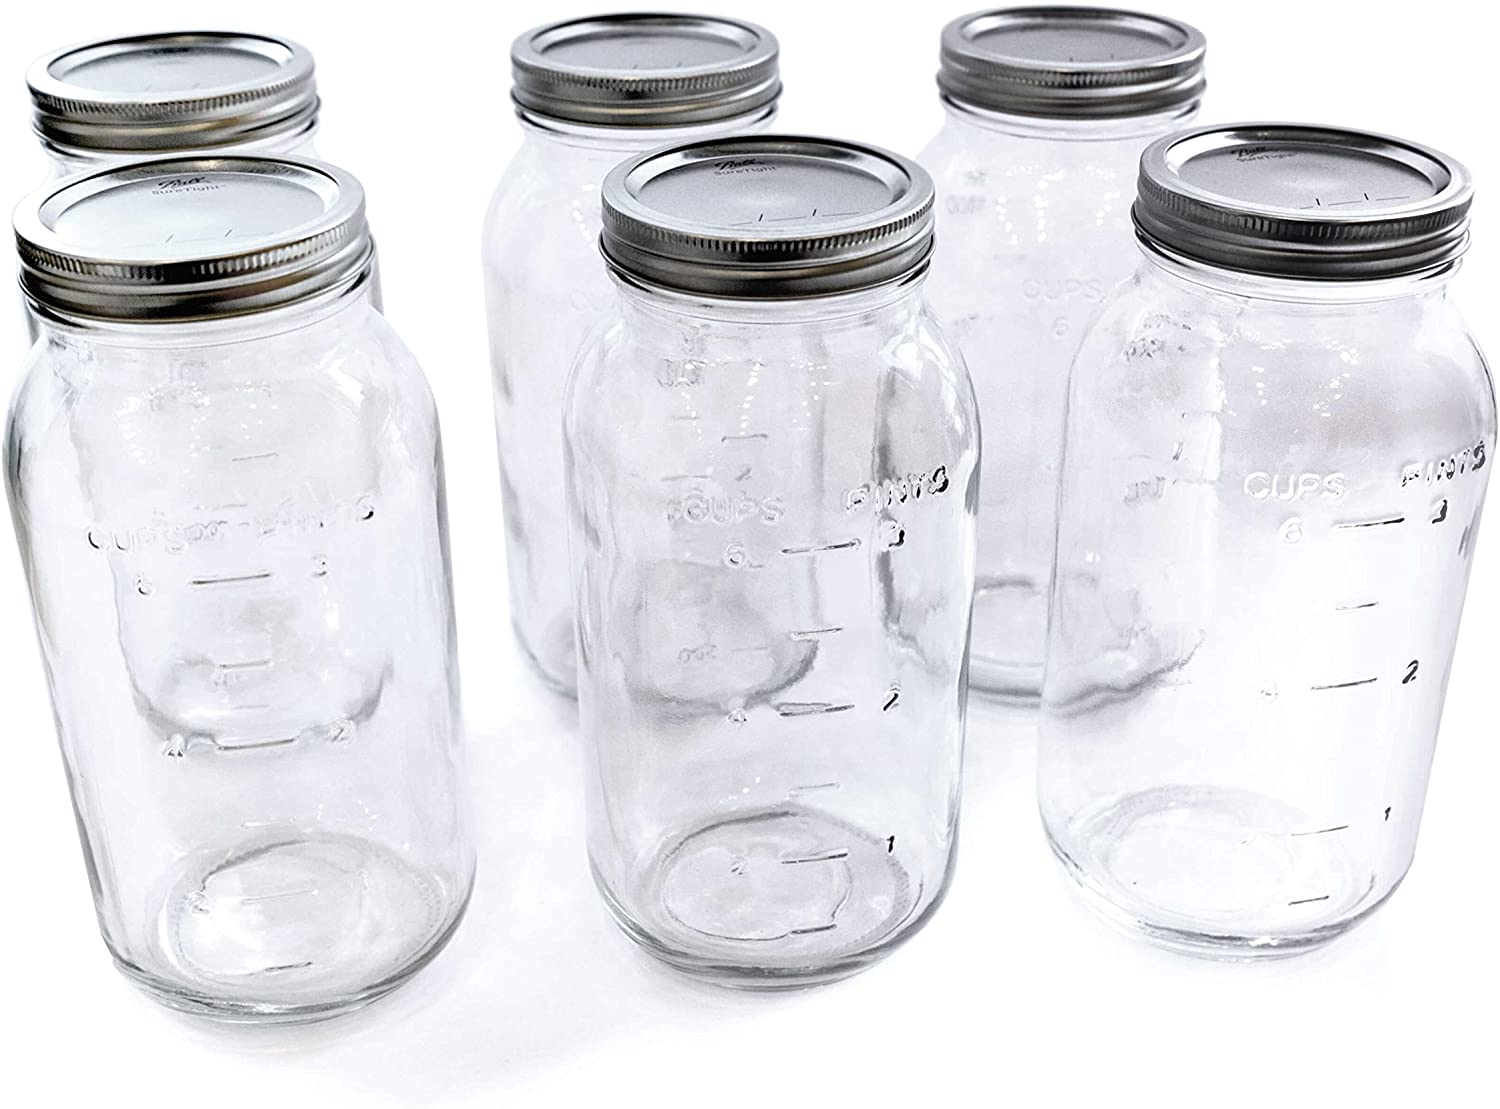
- Mason jars to store your kefir and grains
How to Make Milk Kefir, Step by Step
Once you have obtained your kefir grains and they are activated and ready to use, add 1 to 2 tablespoons of grains for each half gallon of milk you want to ferment.
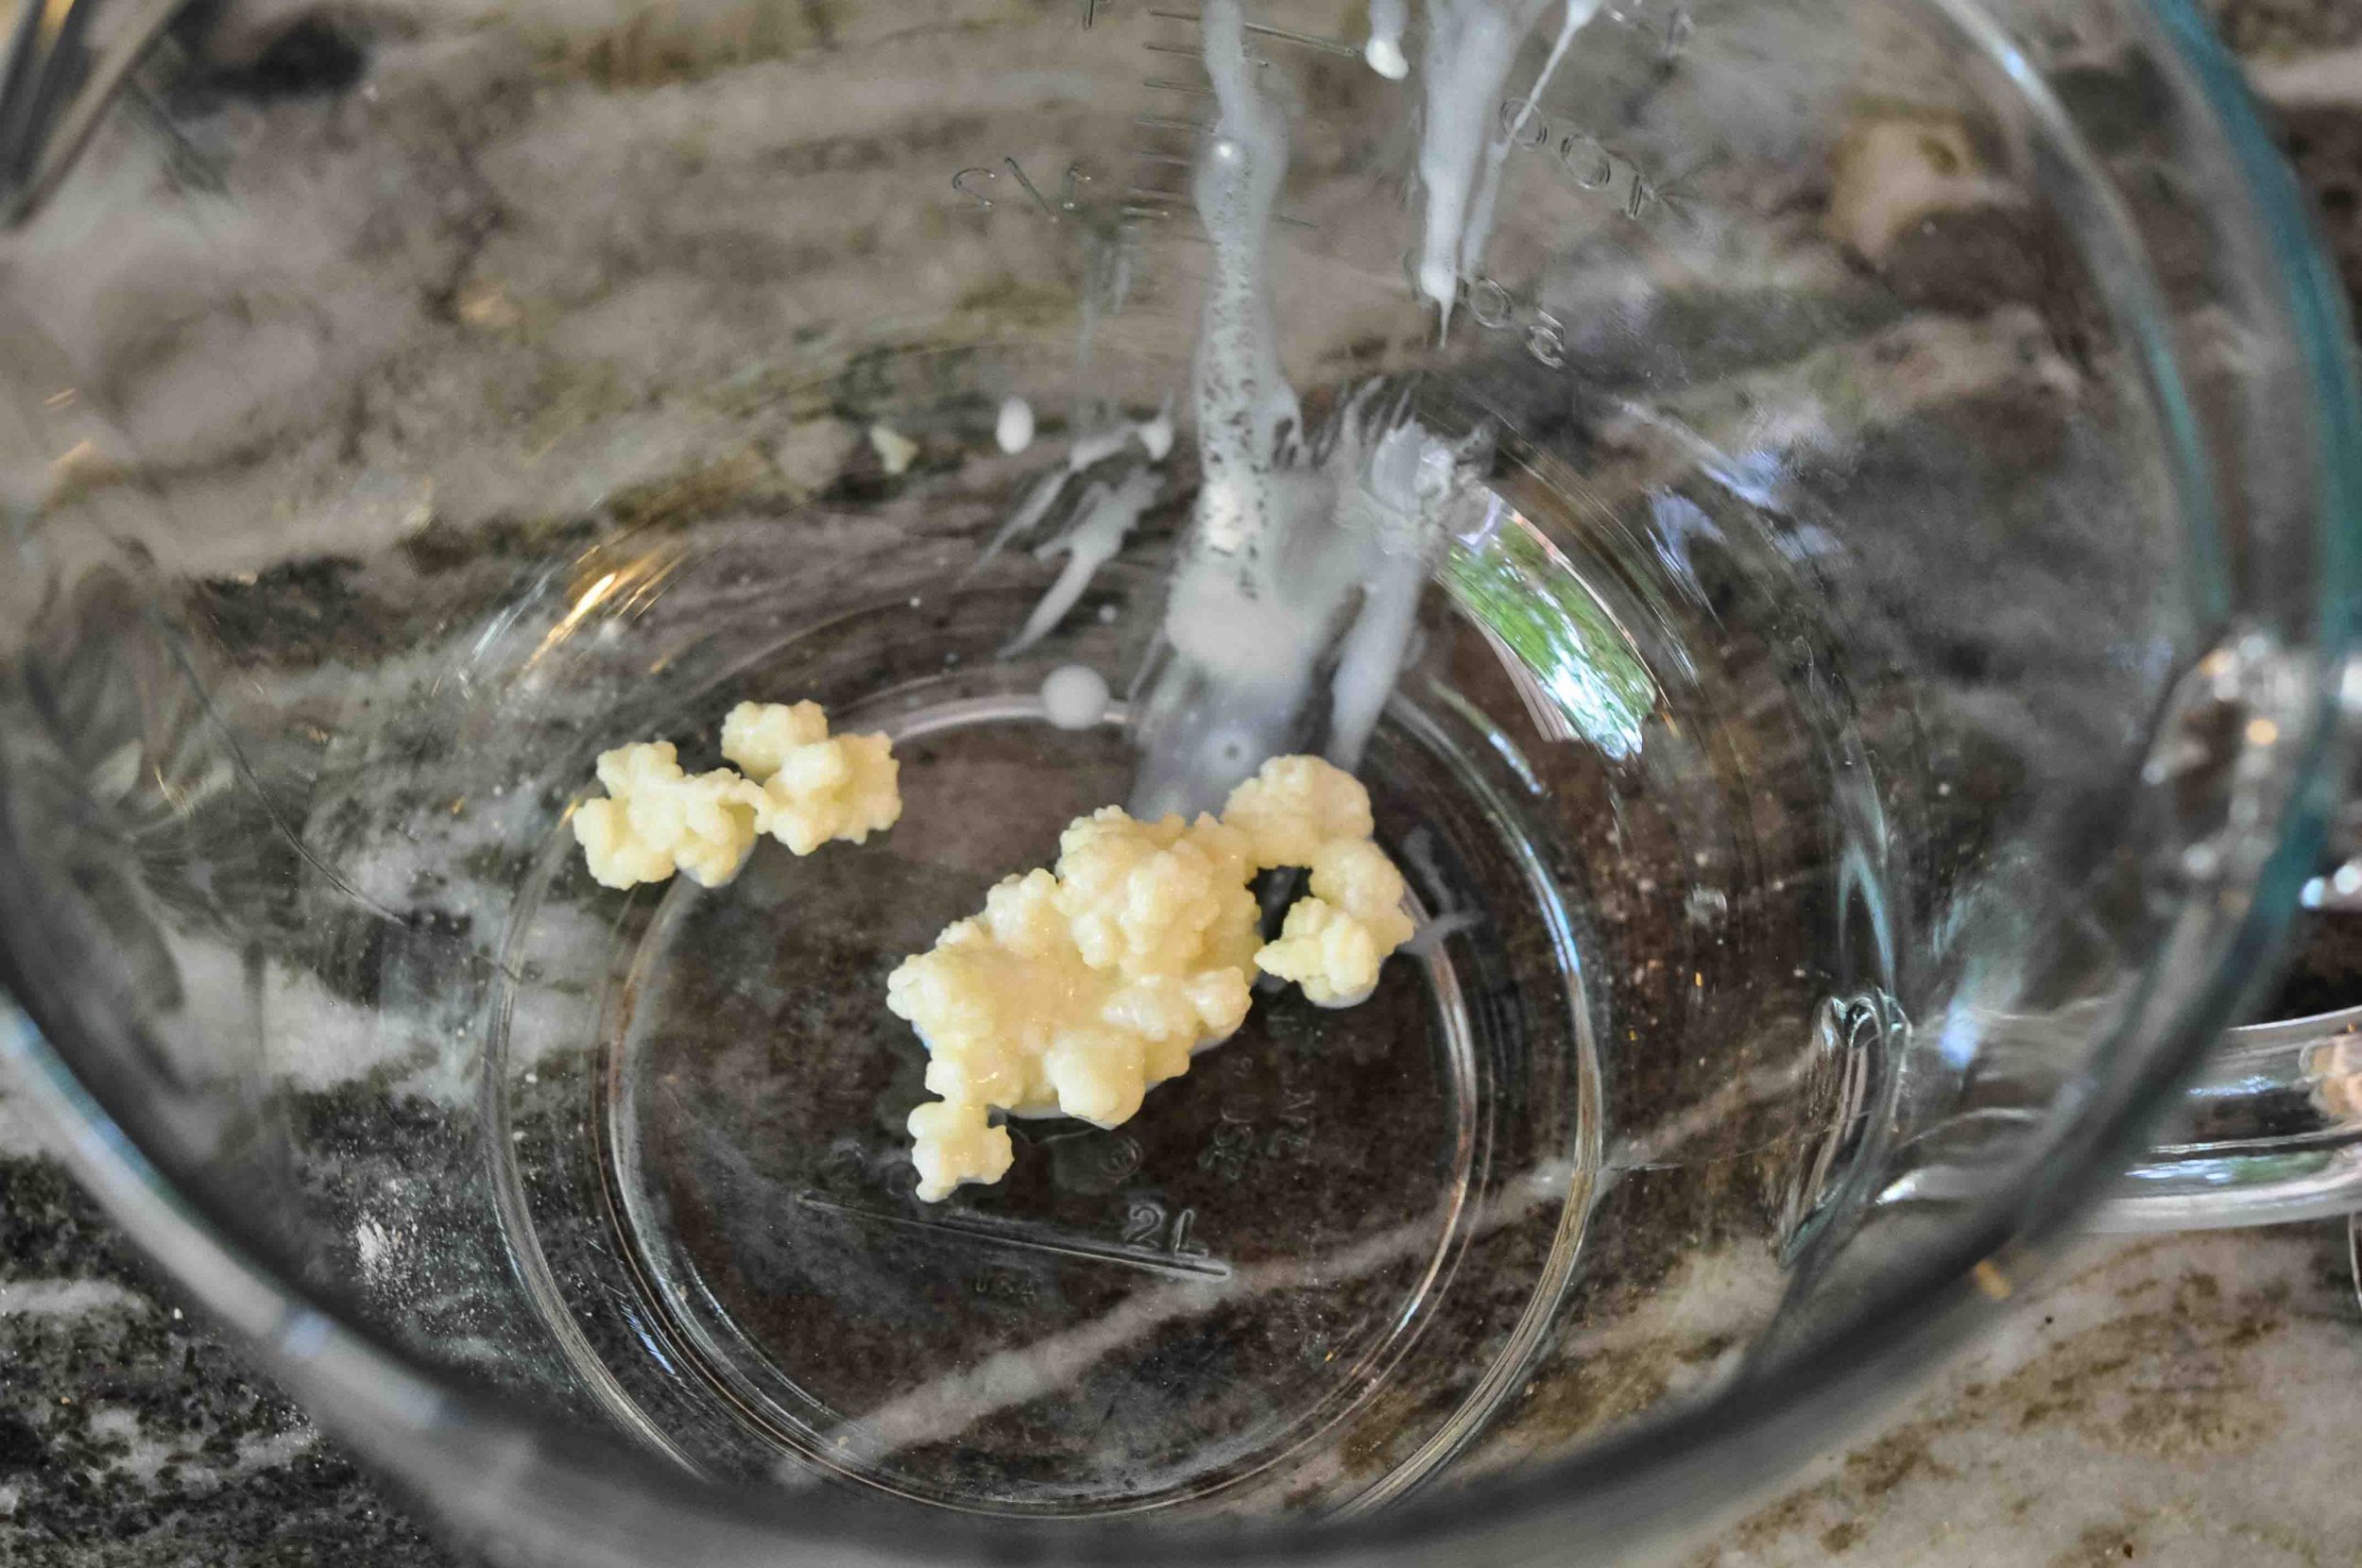
I usually make a half gallon at a time and keep it in the fridge for making smoothies throughout the week. I really like using this glass batter bowl for kefir making, since it holds around 1/2 gallon of liquid. Alternatively, you can make a smaller amount in a quart size mason jar and only use about 2 tsp. of kefir grains.
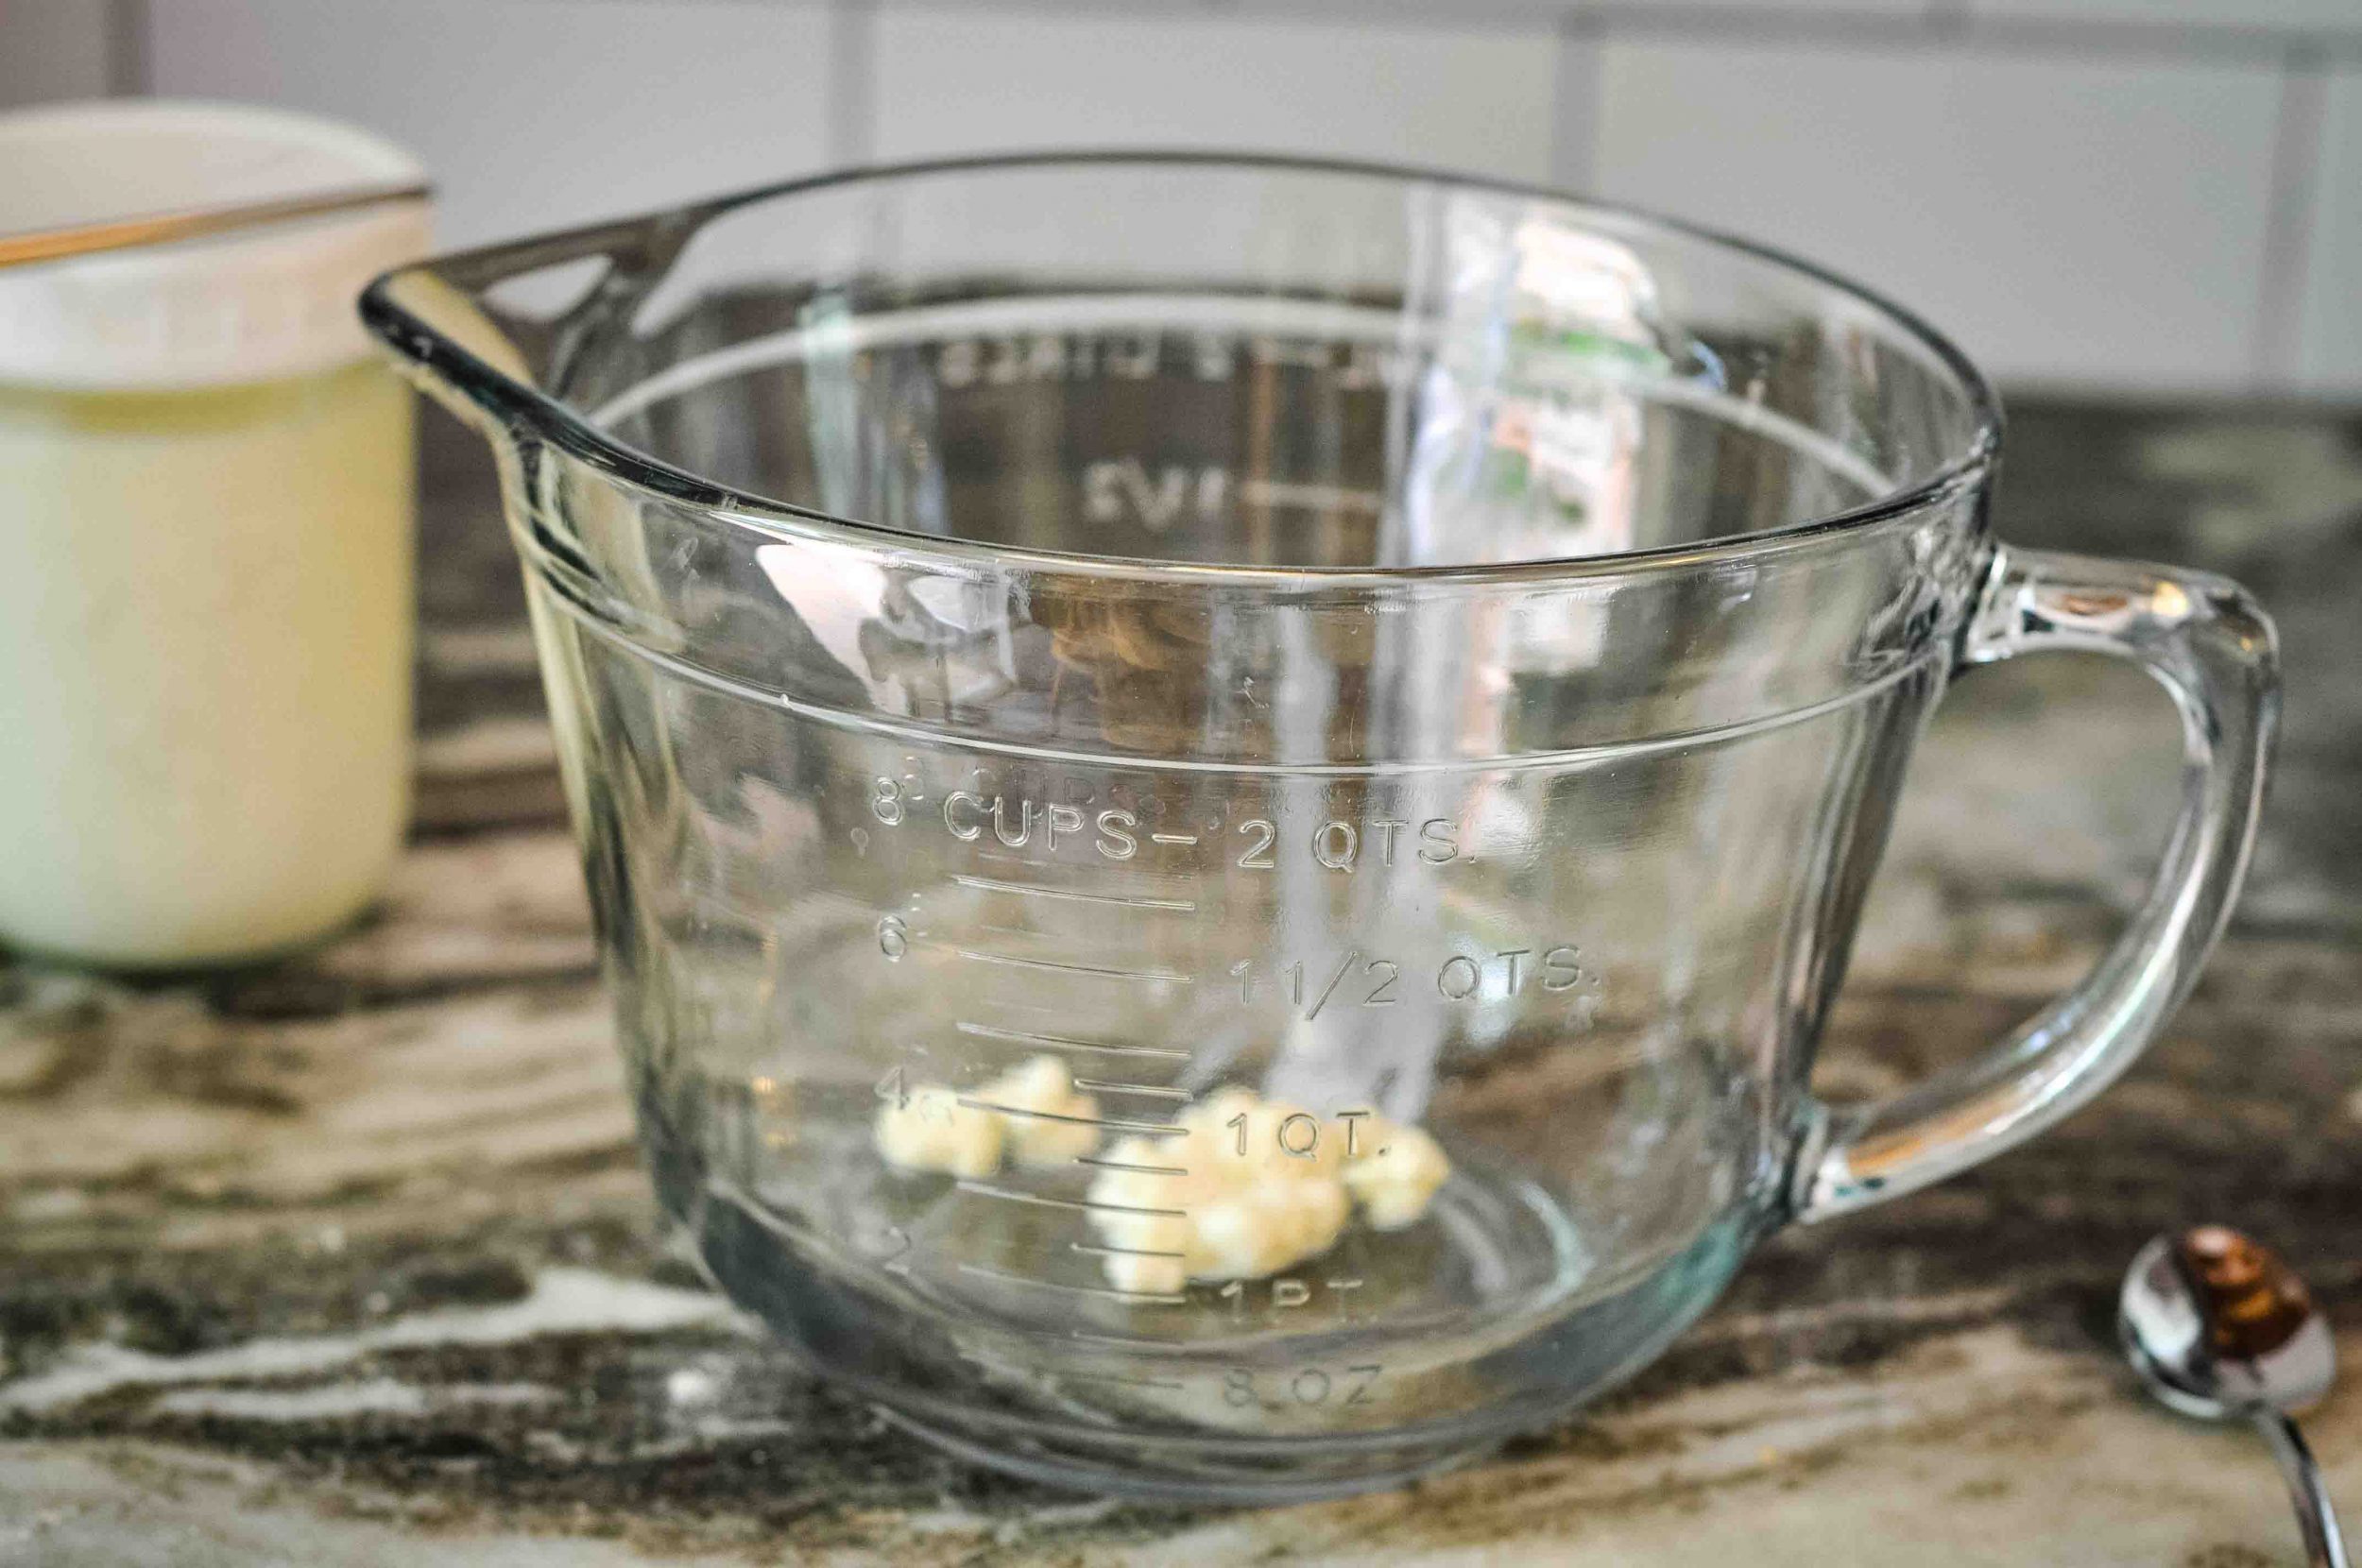
The basic rule of thumb is, the more grains you use, the quicker your kefir will ferment. But if you use too many, your grains will not have enough food and they will start to die off.
If you use too few grains, your kefir will take a lot longer to ferment. So you want to use just the right amount. Experiment with your grains and see what works for you.
After adding your kefir grains to a large glass vessel, add in your milk and stir lightly.
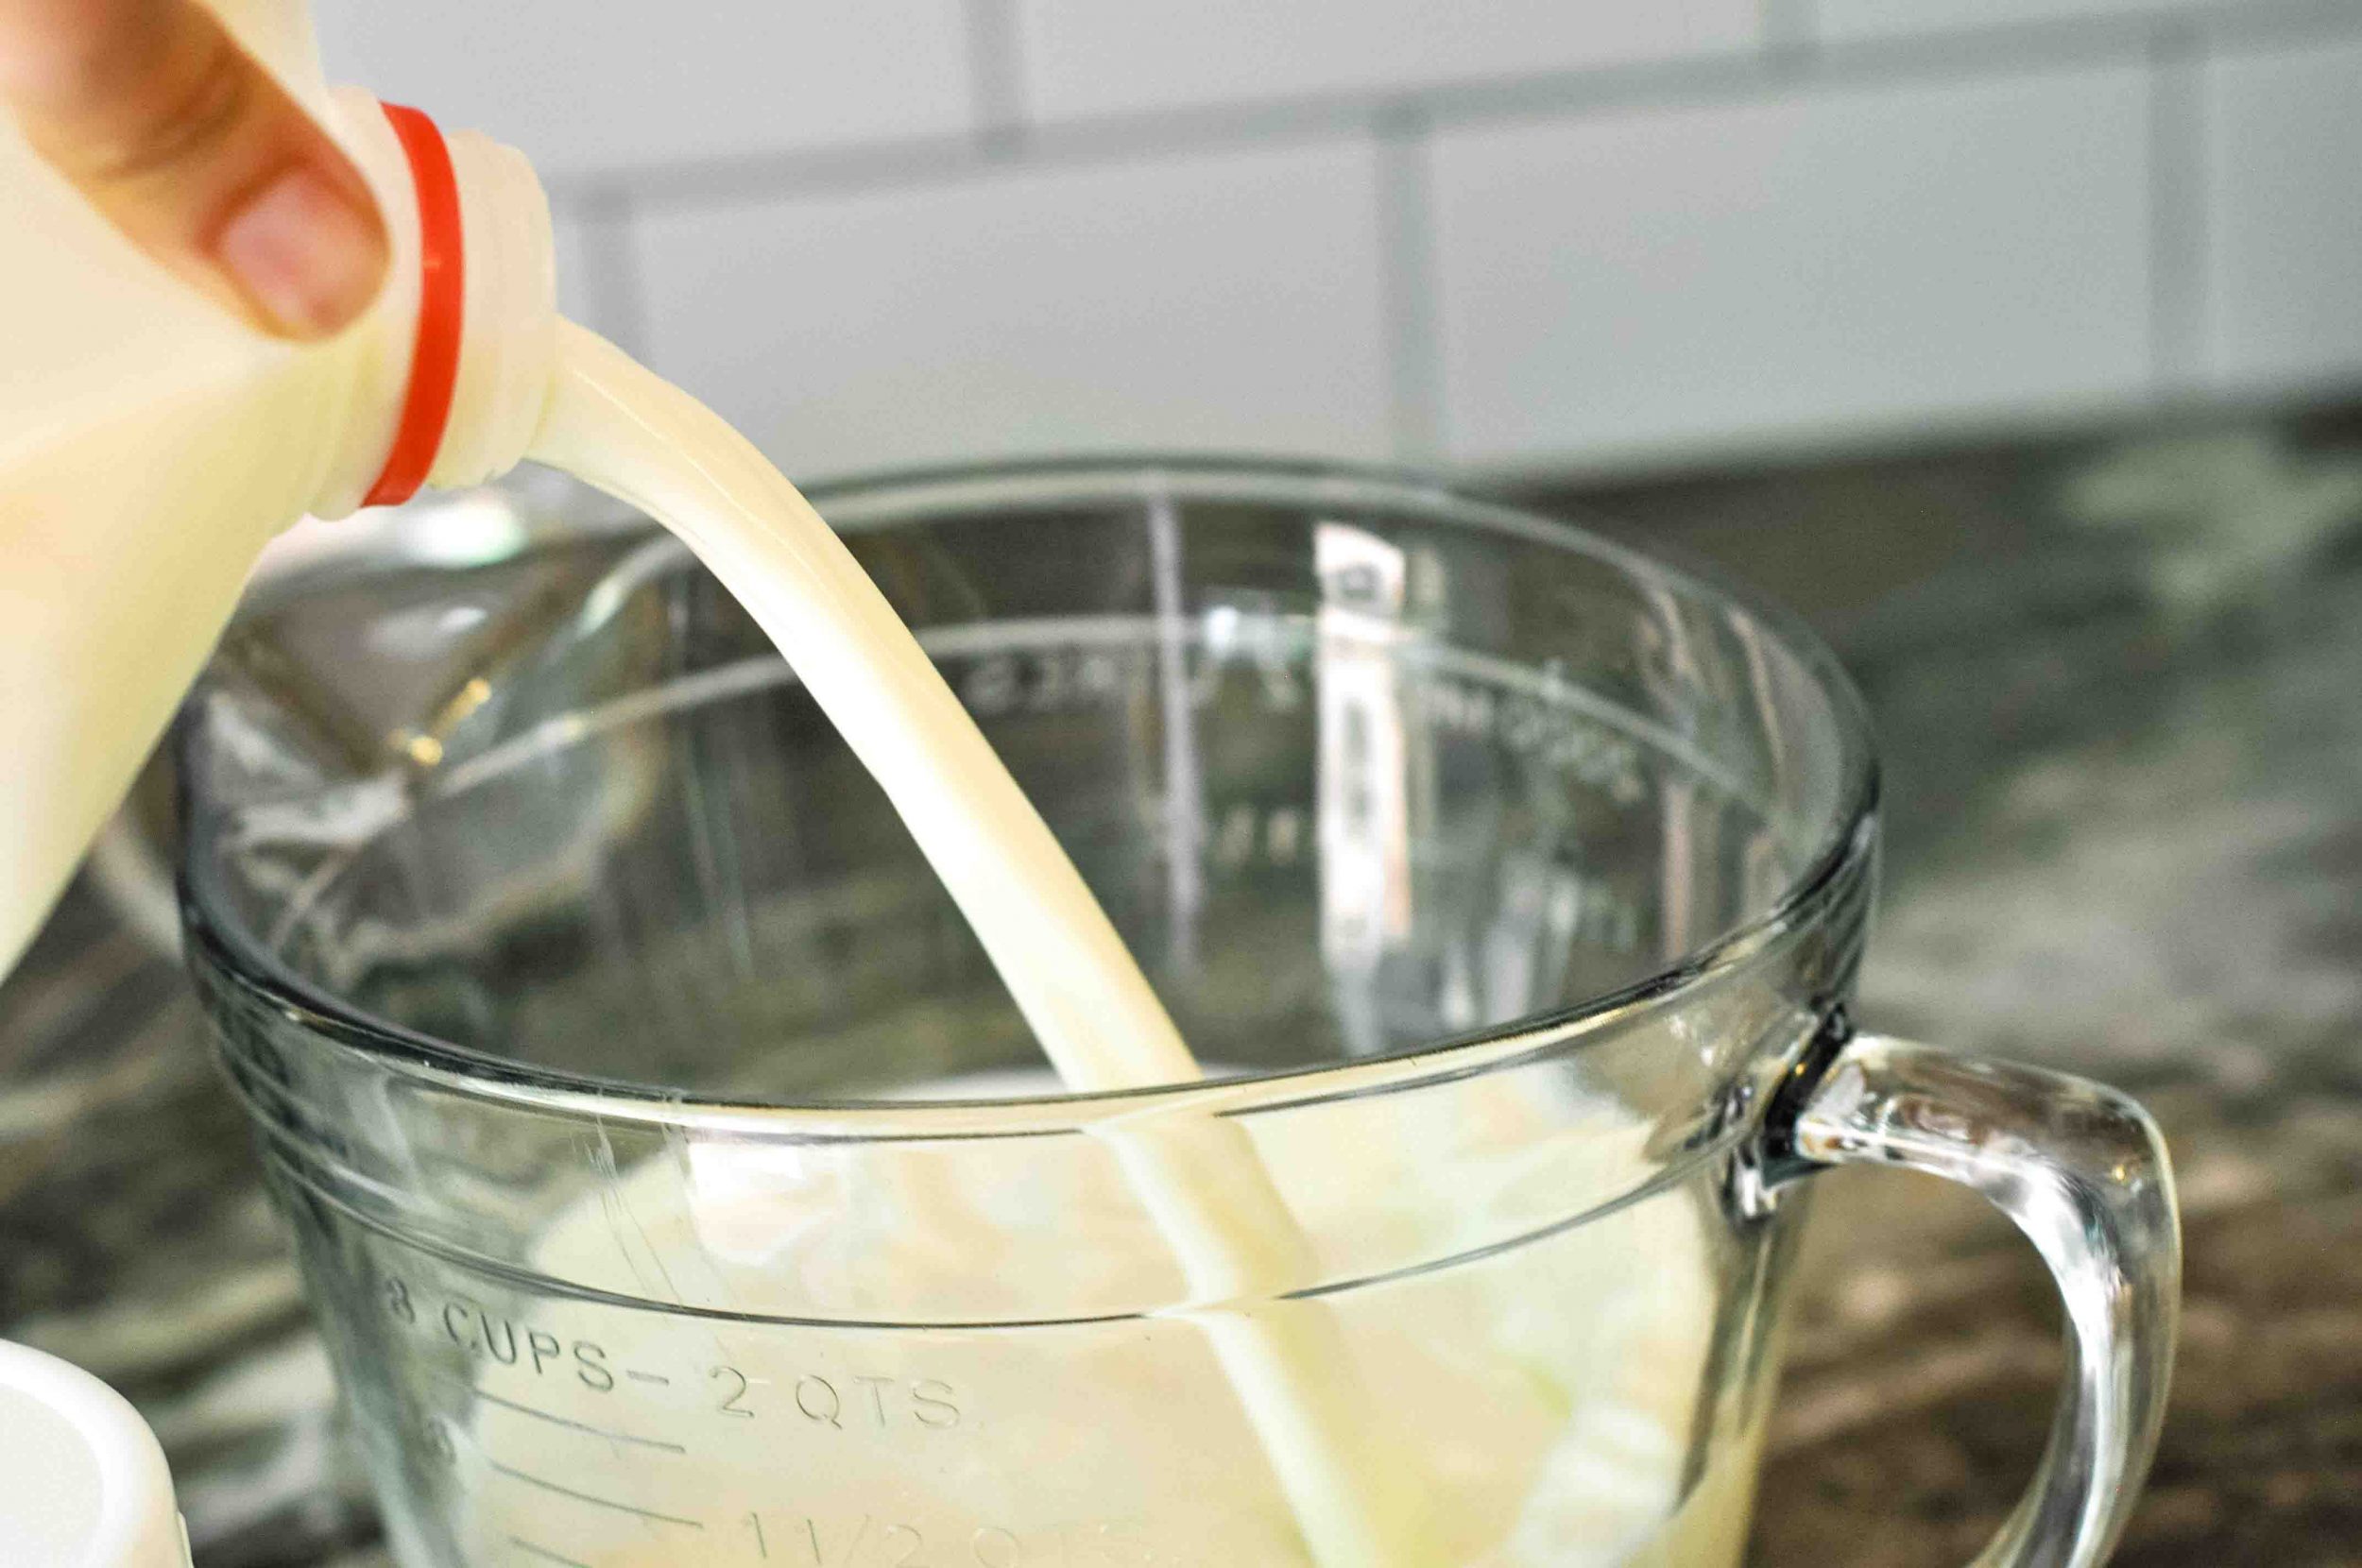
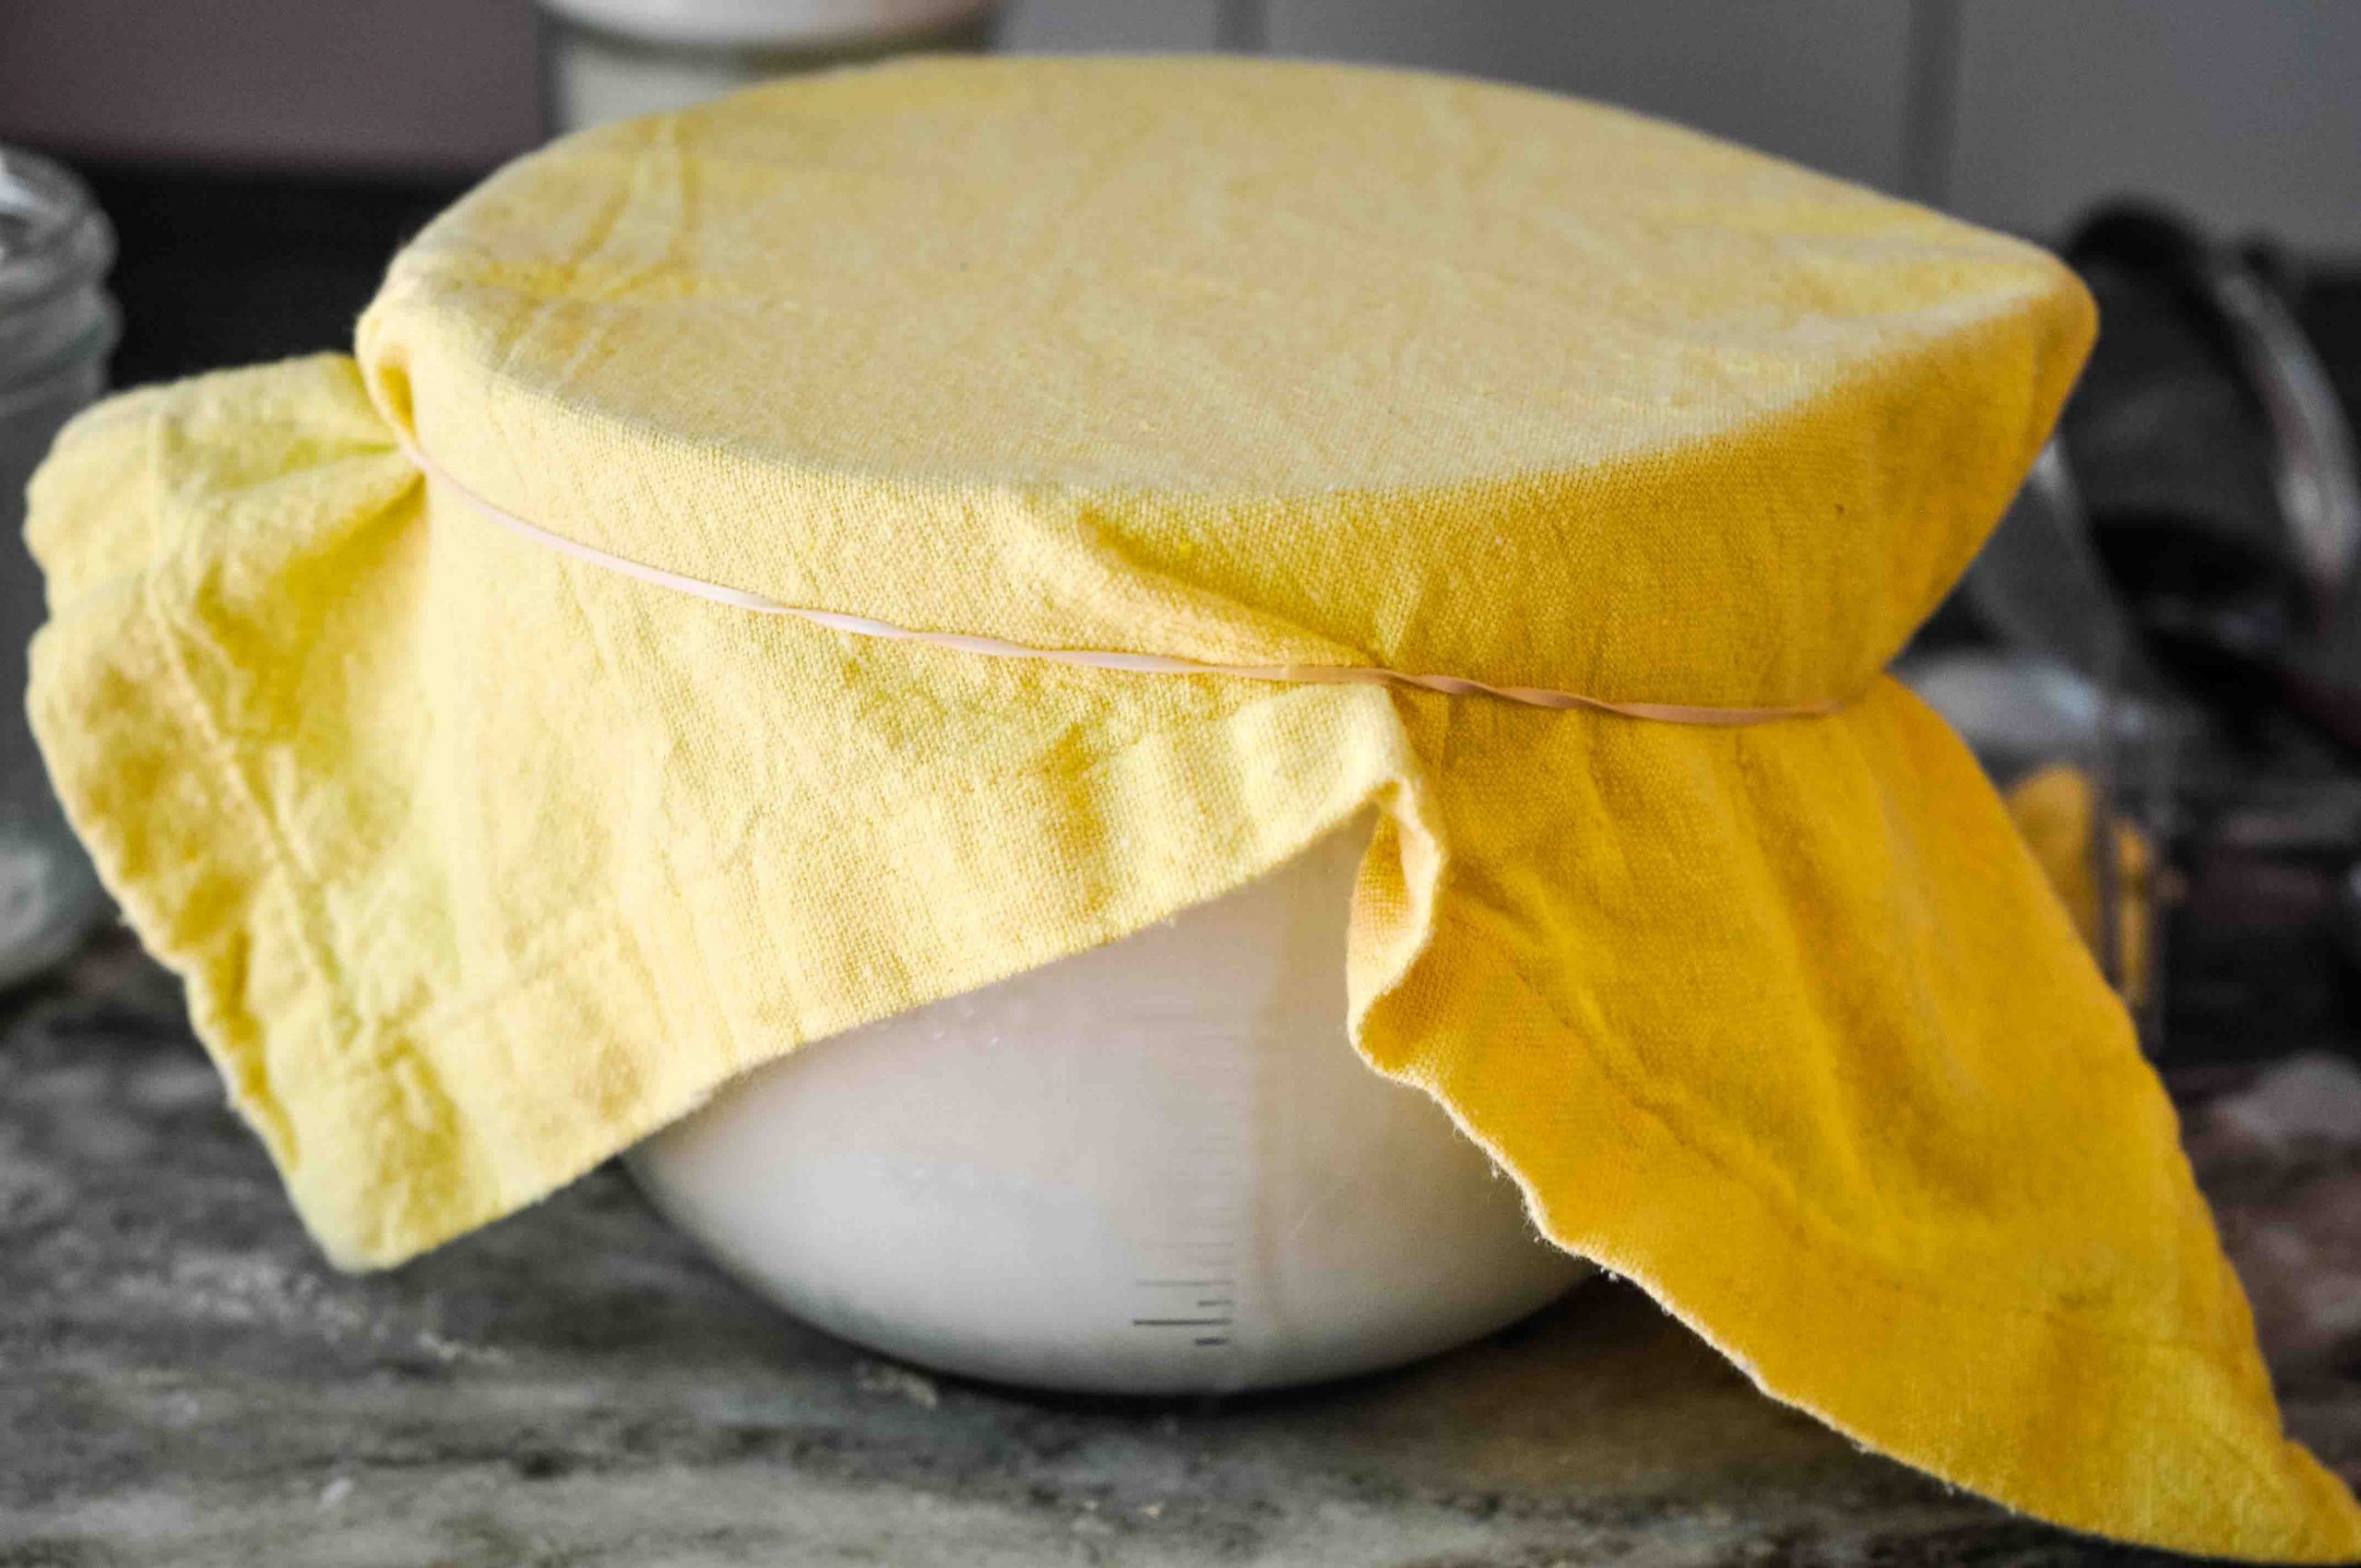
Cover with a cotton cloth or tea towel and secure with a rubber band.
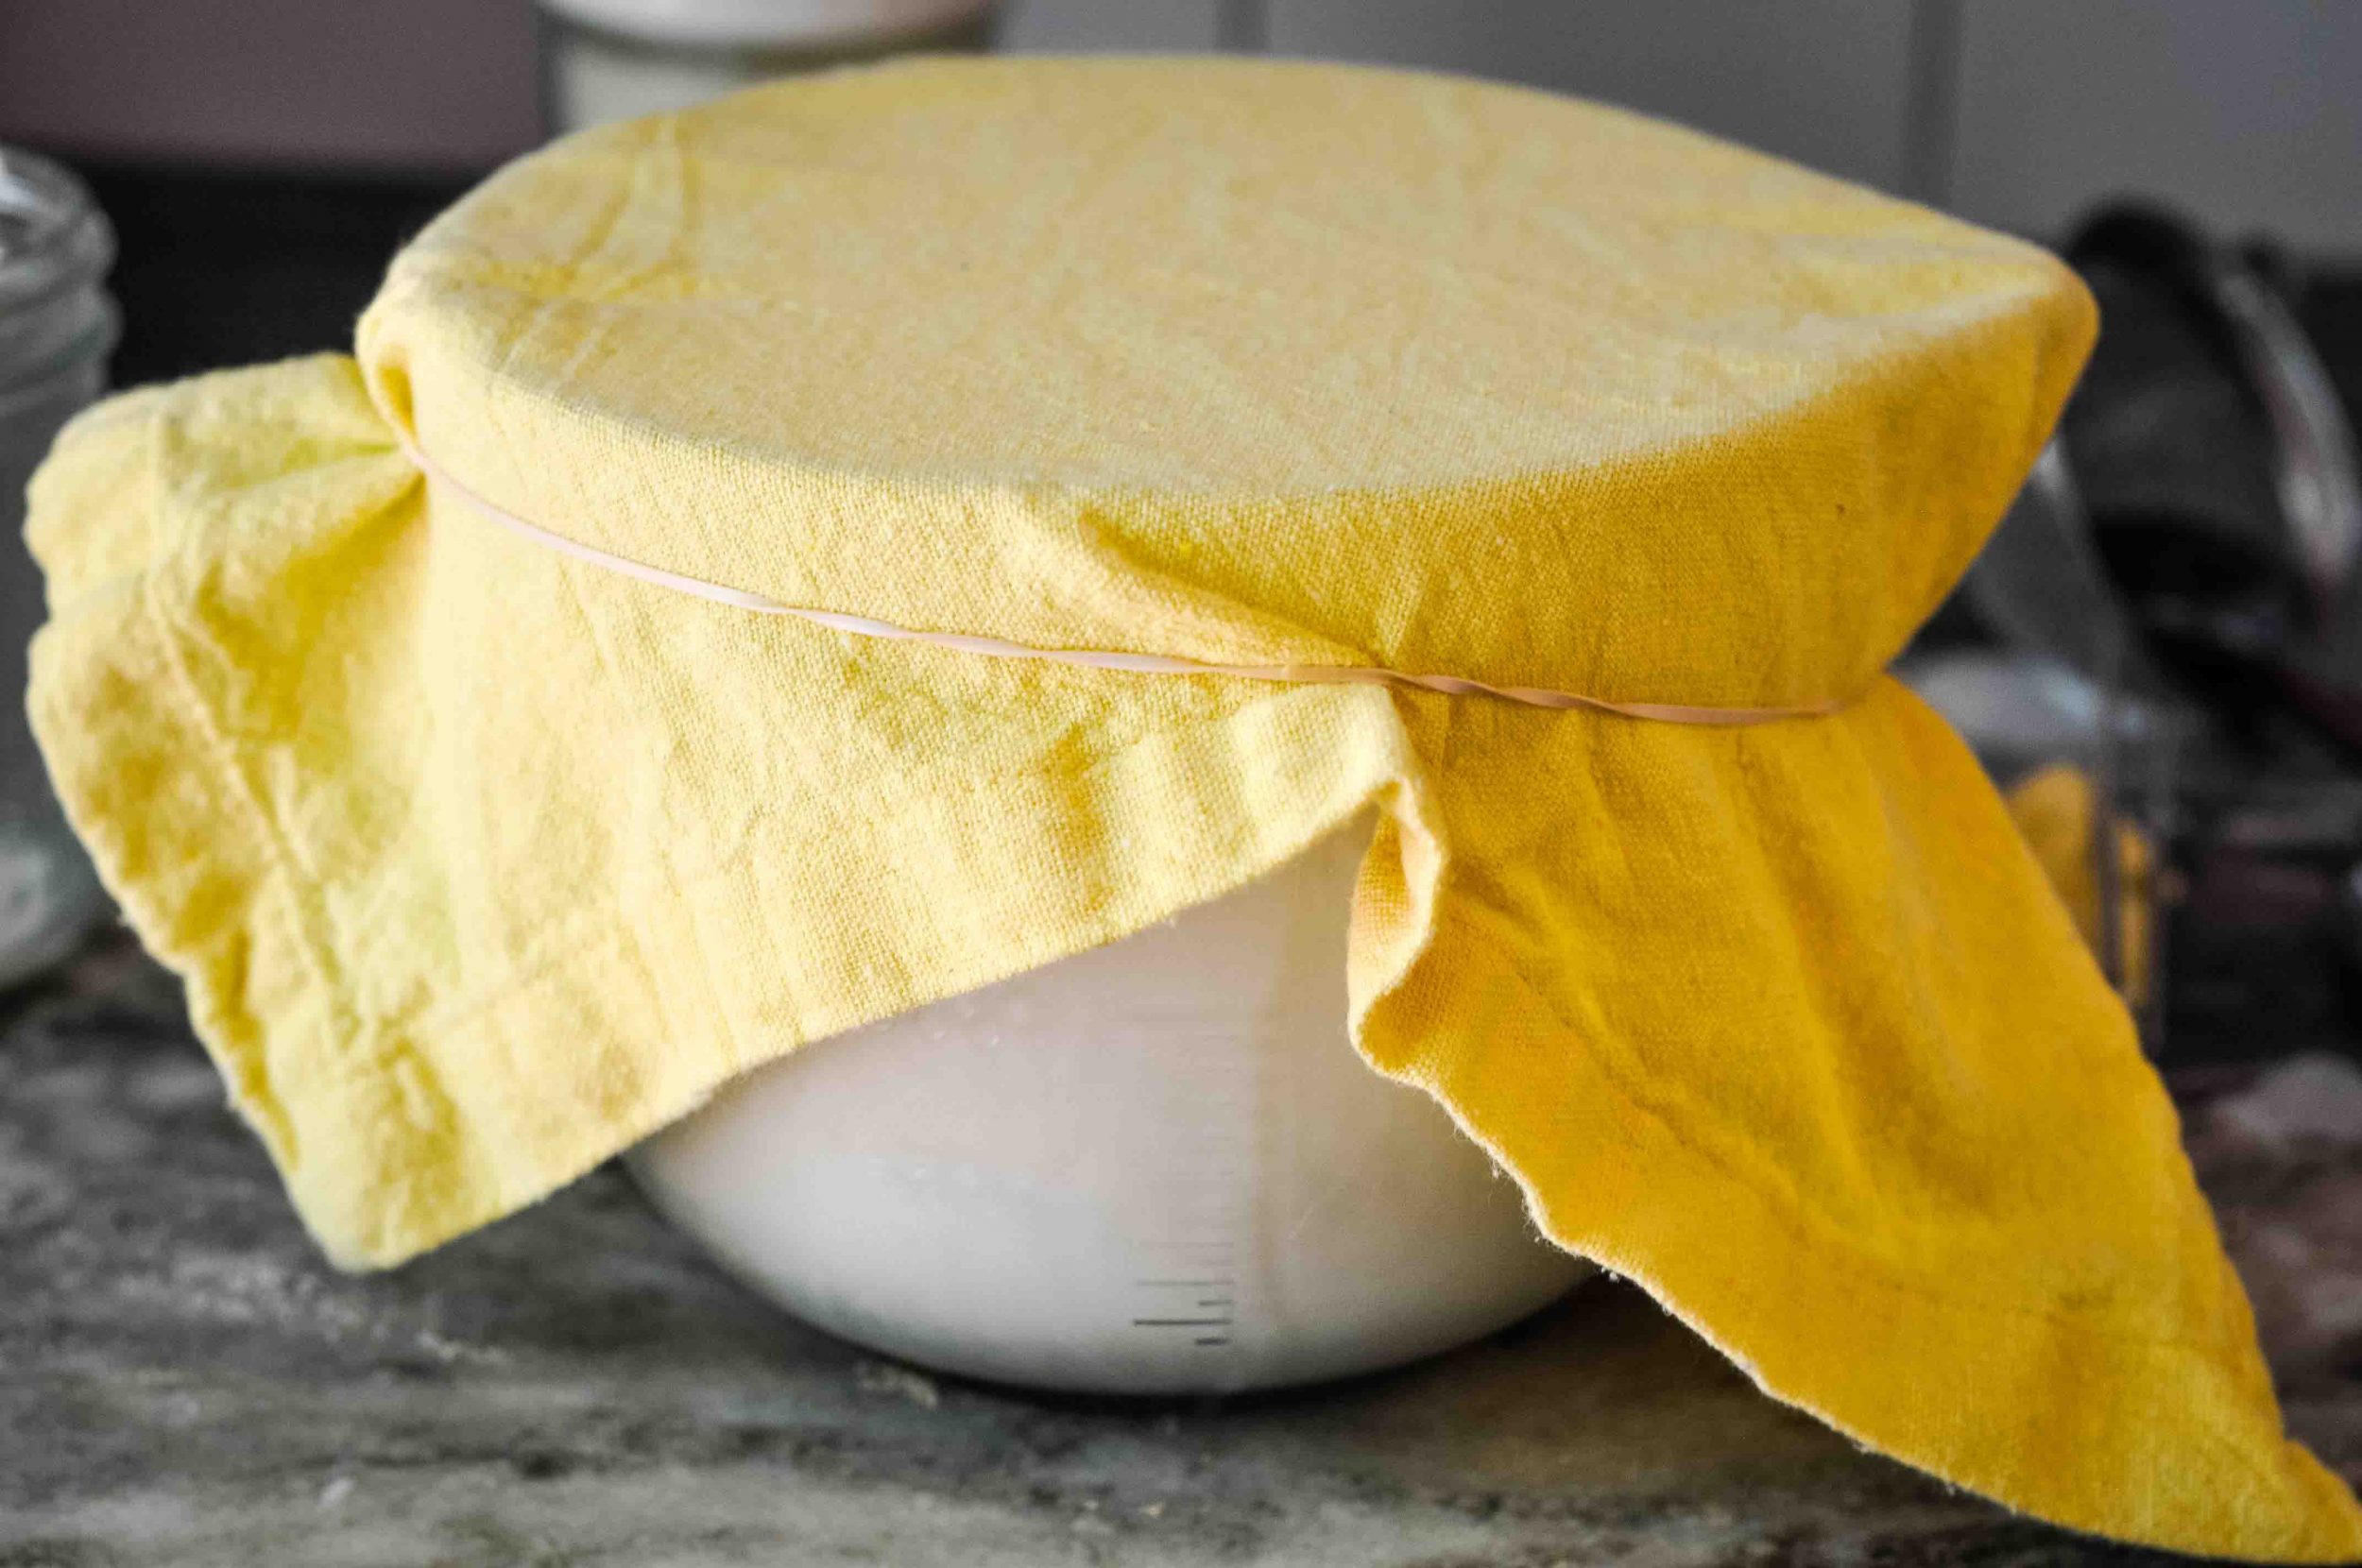
Allow your kefir to sit out at room temperature (65-82 degrees F) and ferment for 18 to 48 hours. You may stir it occasionally to aid the fermentation process, or just leave it alone. It’s completely up to you. Check your kefir periodically to see if it is ready.
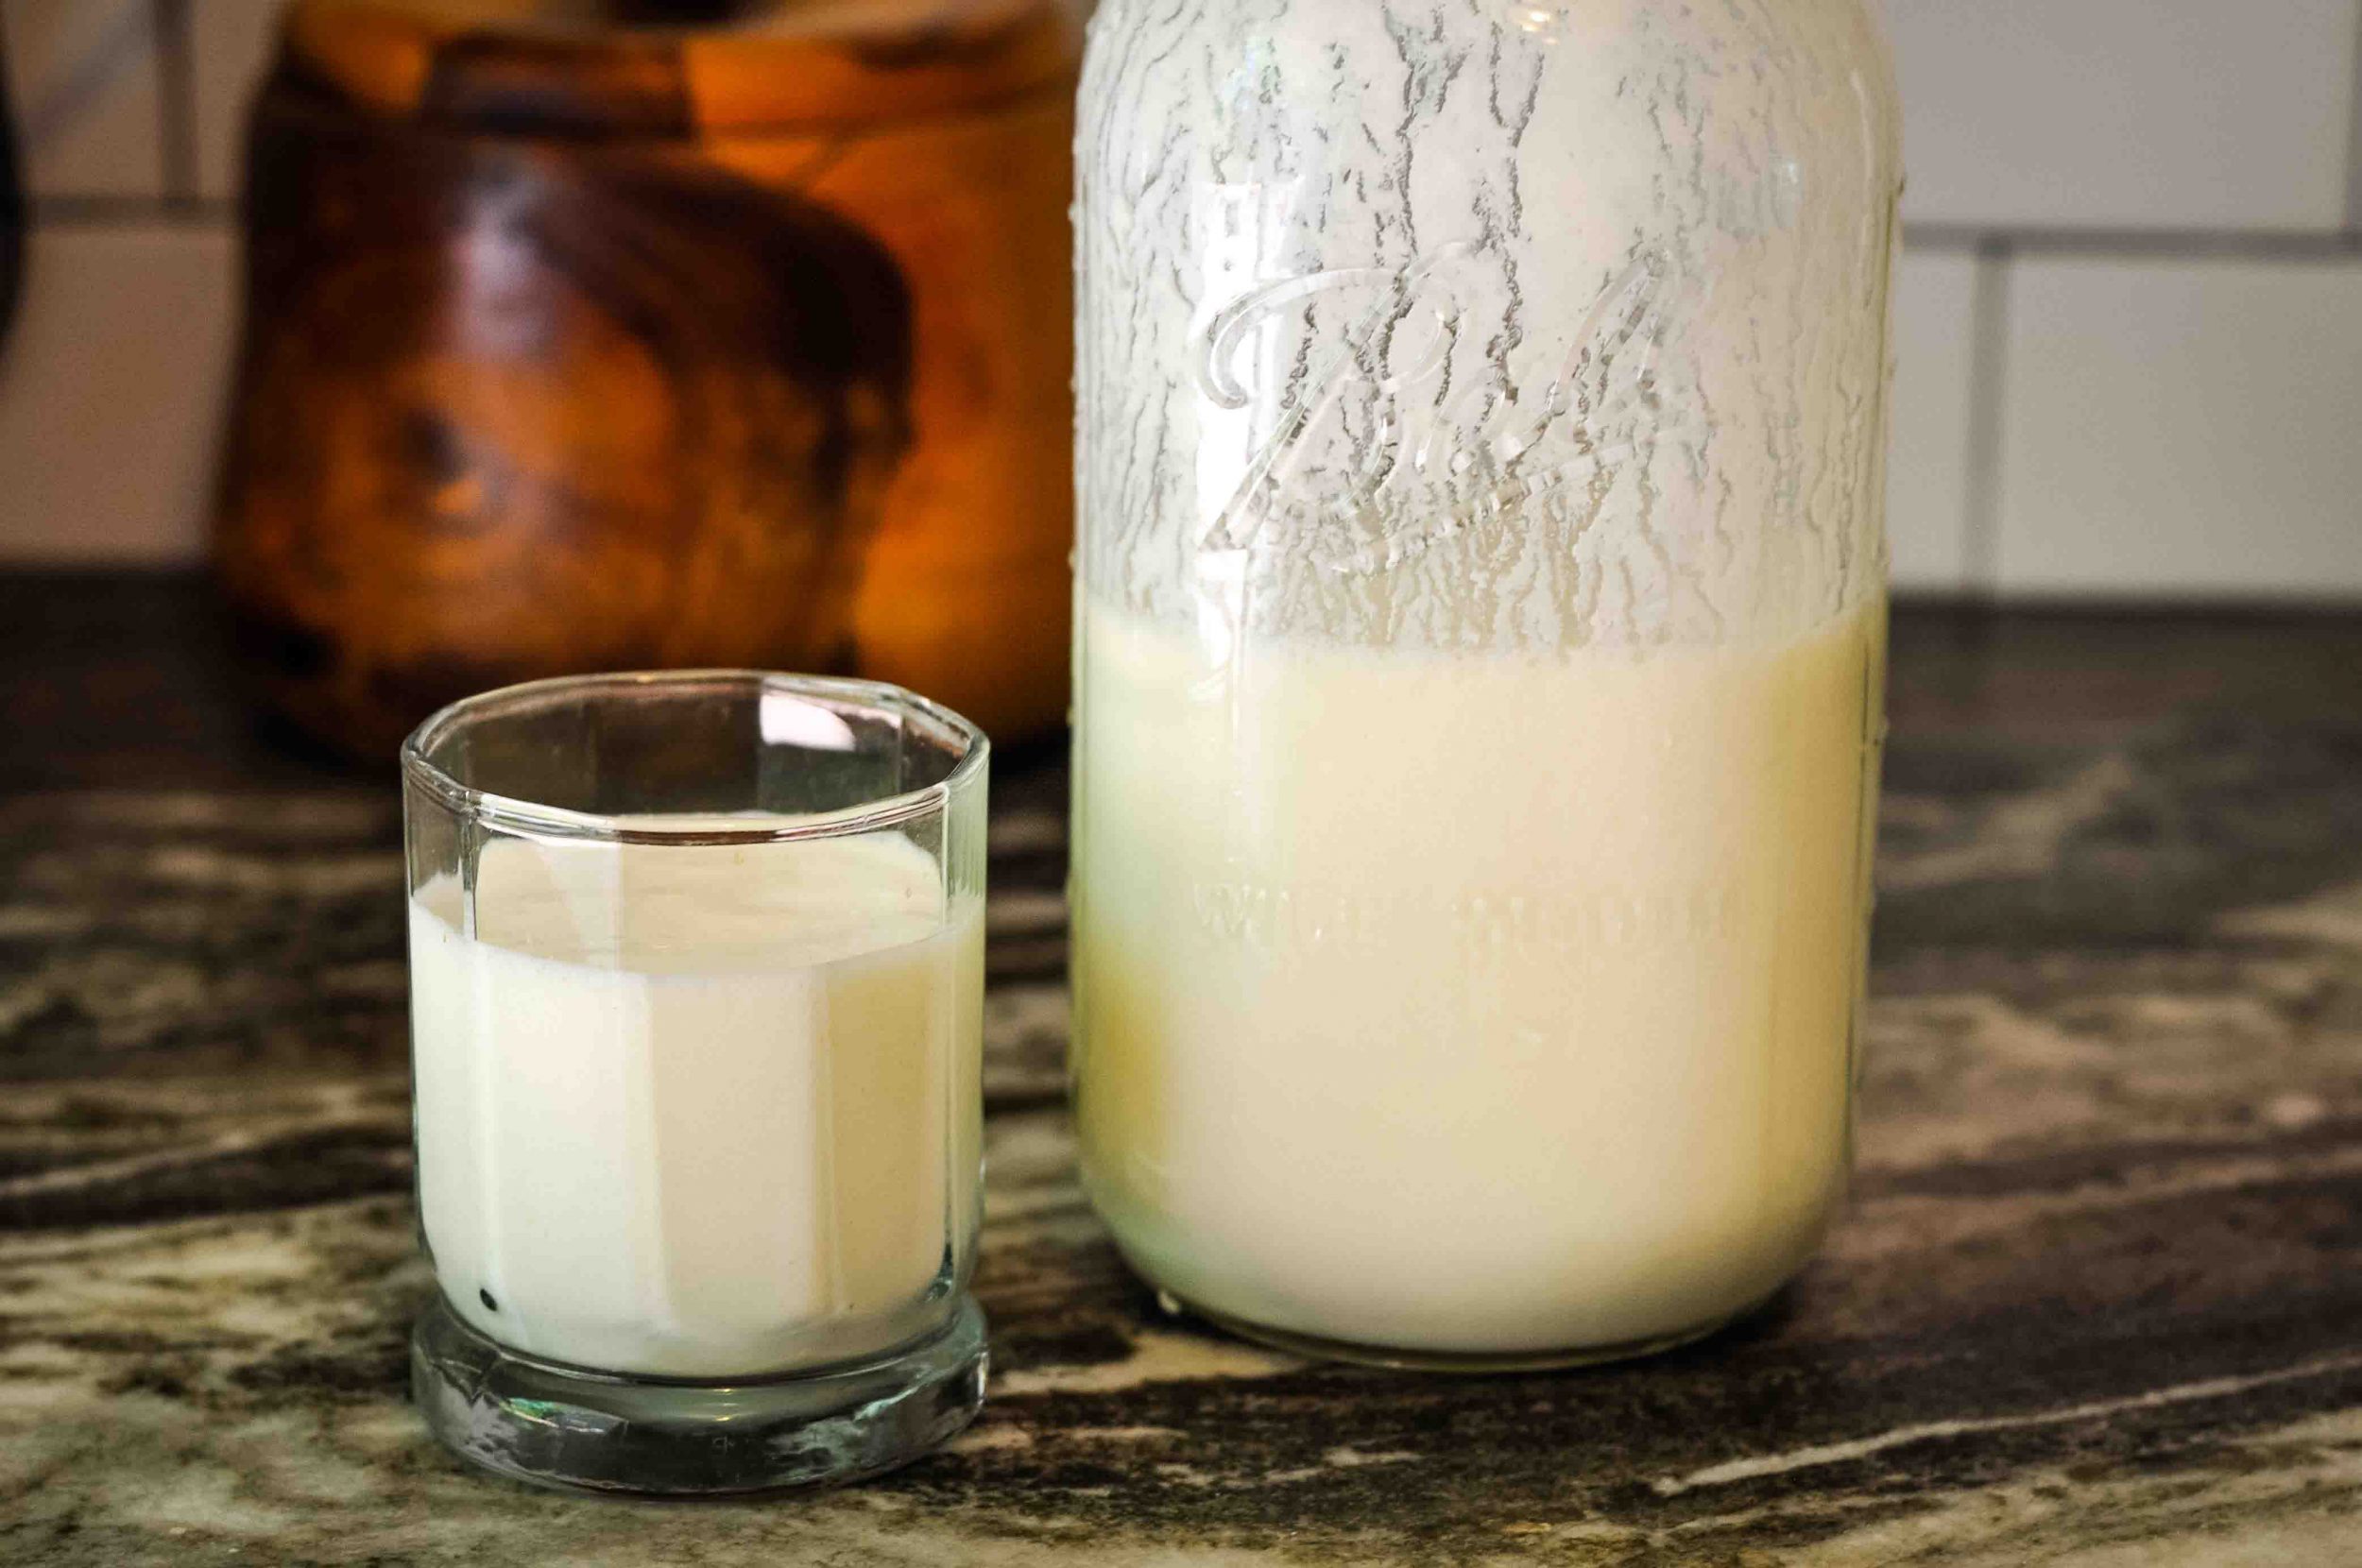
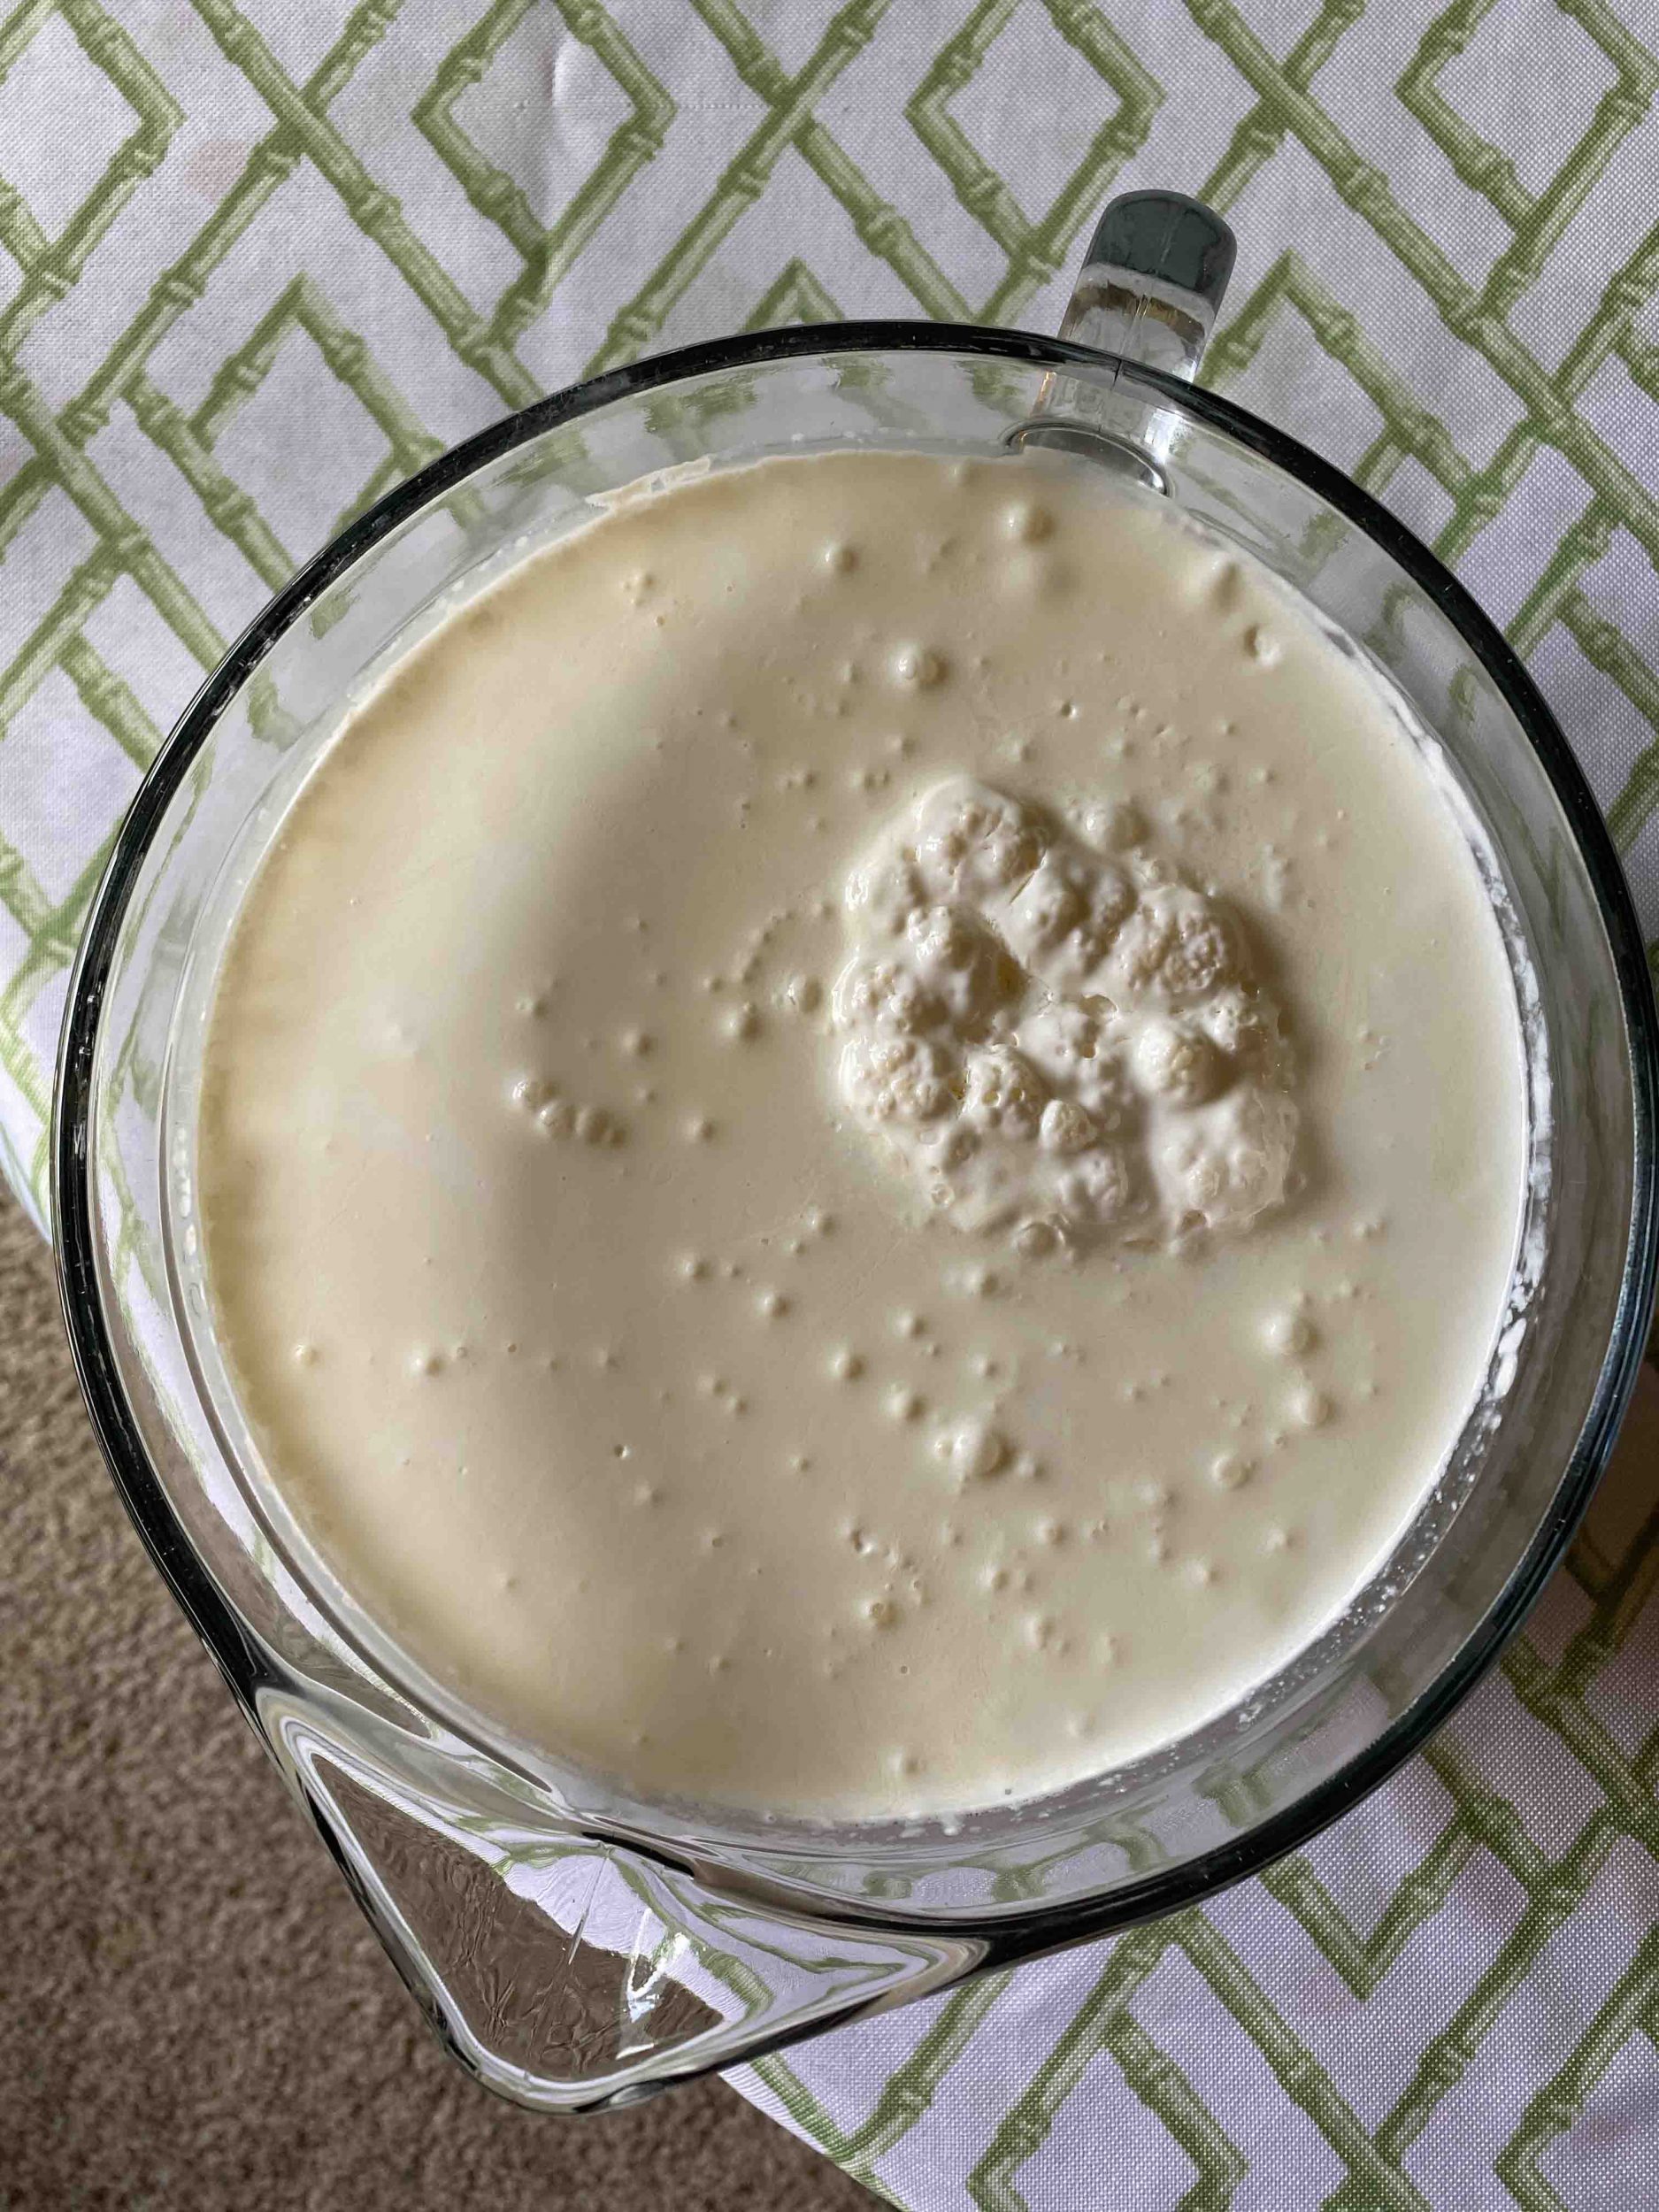
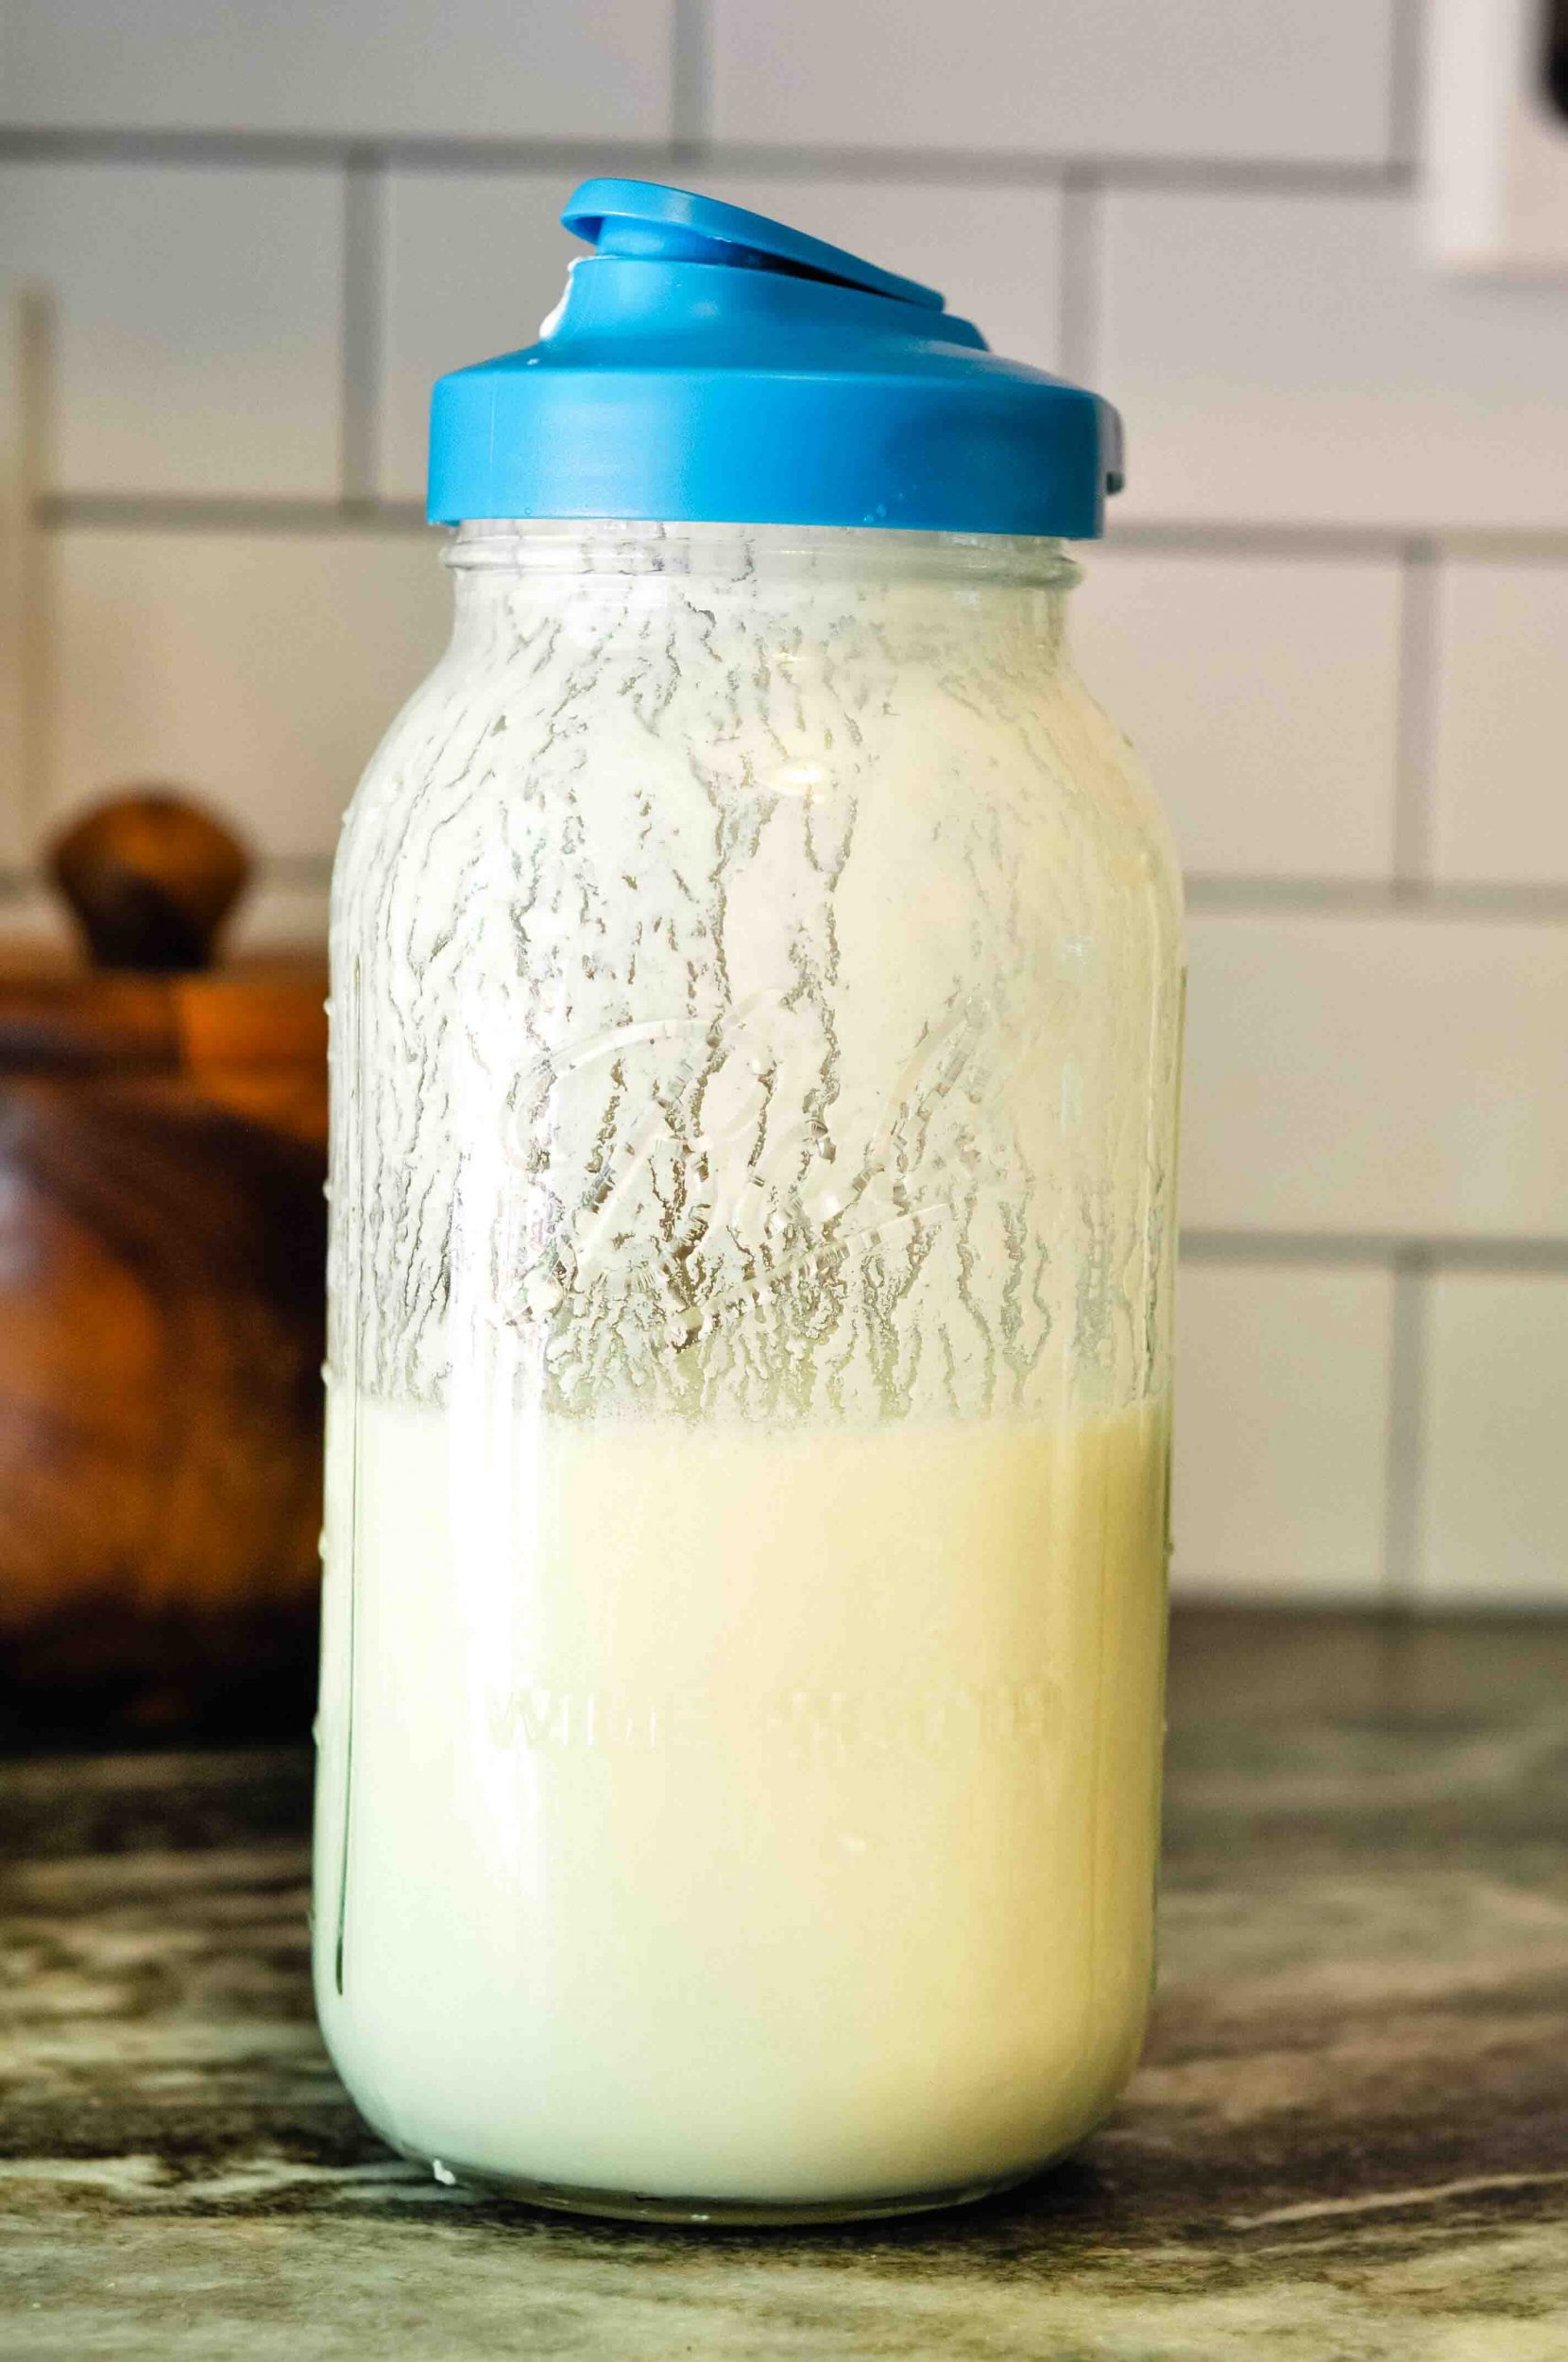
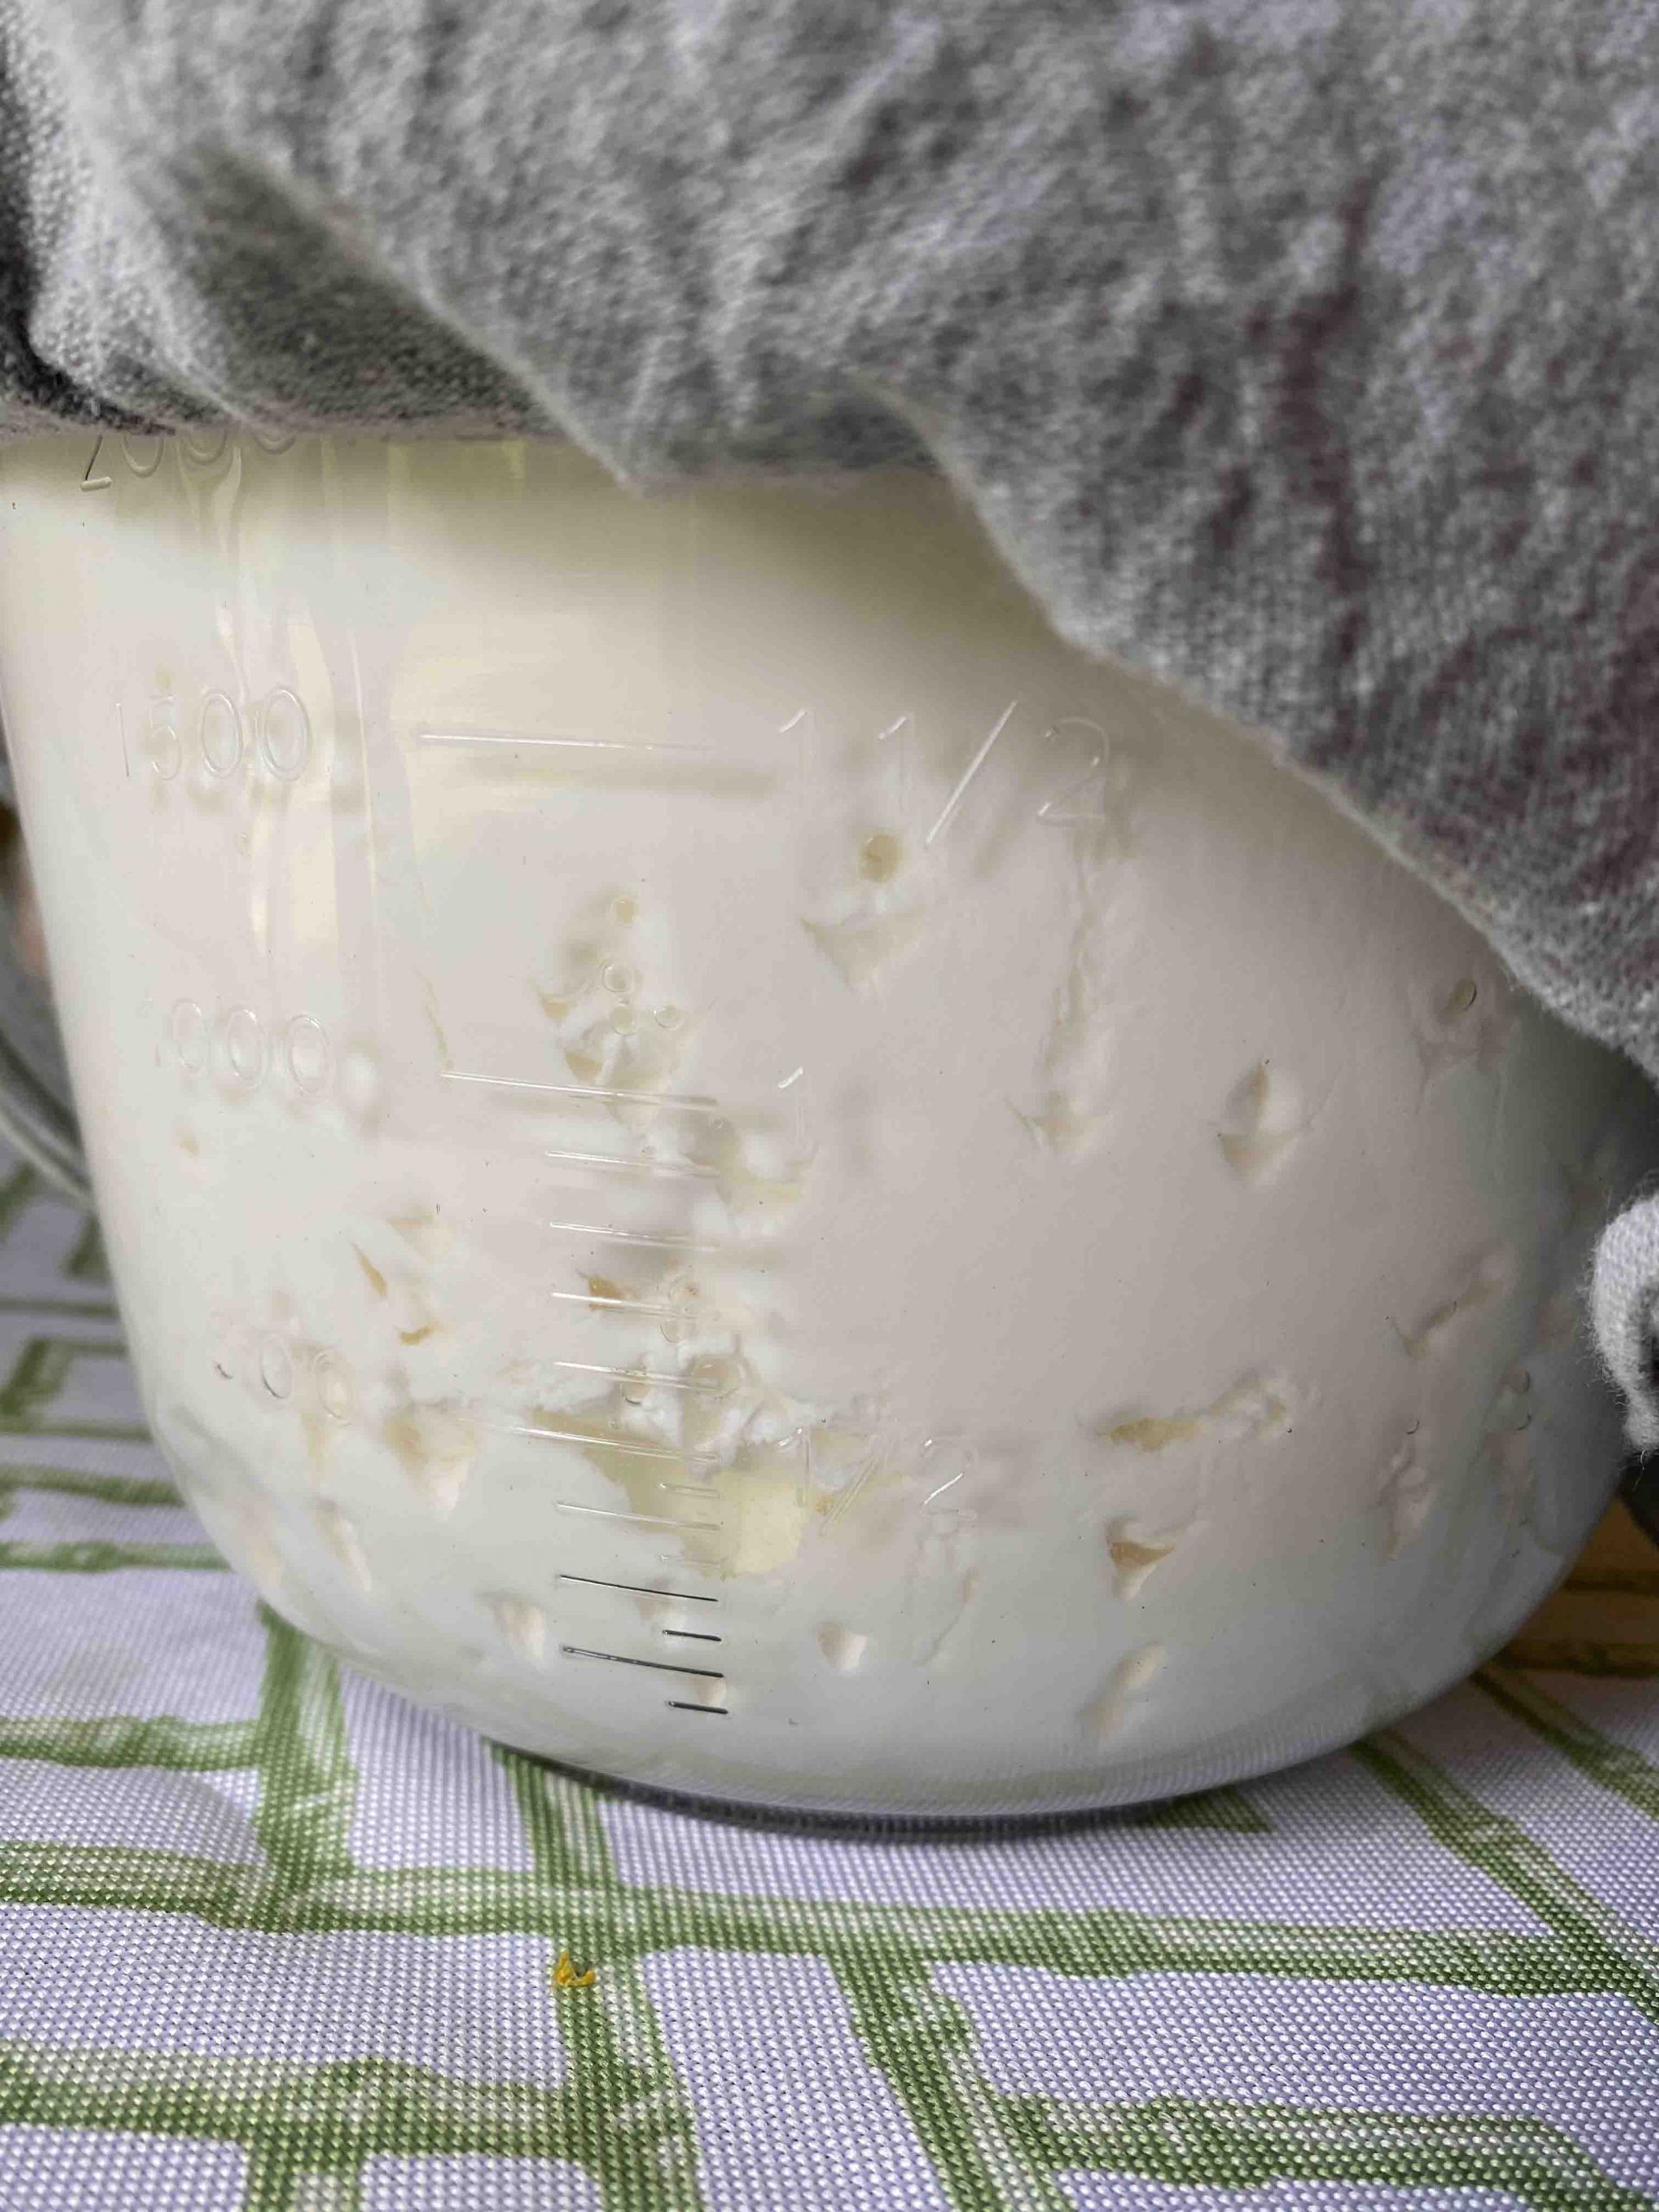
The telltale sign for when kefir is ready is that it will have small bubbles on the sides and become slightly gelatinous instead of totally liquid. That is why I like to use glass so I can see what is happening.
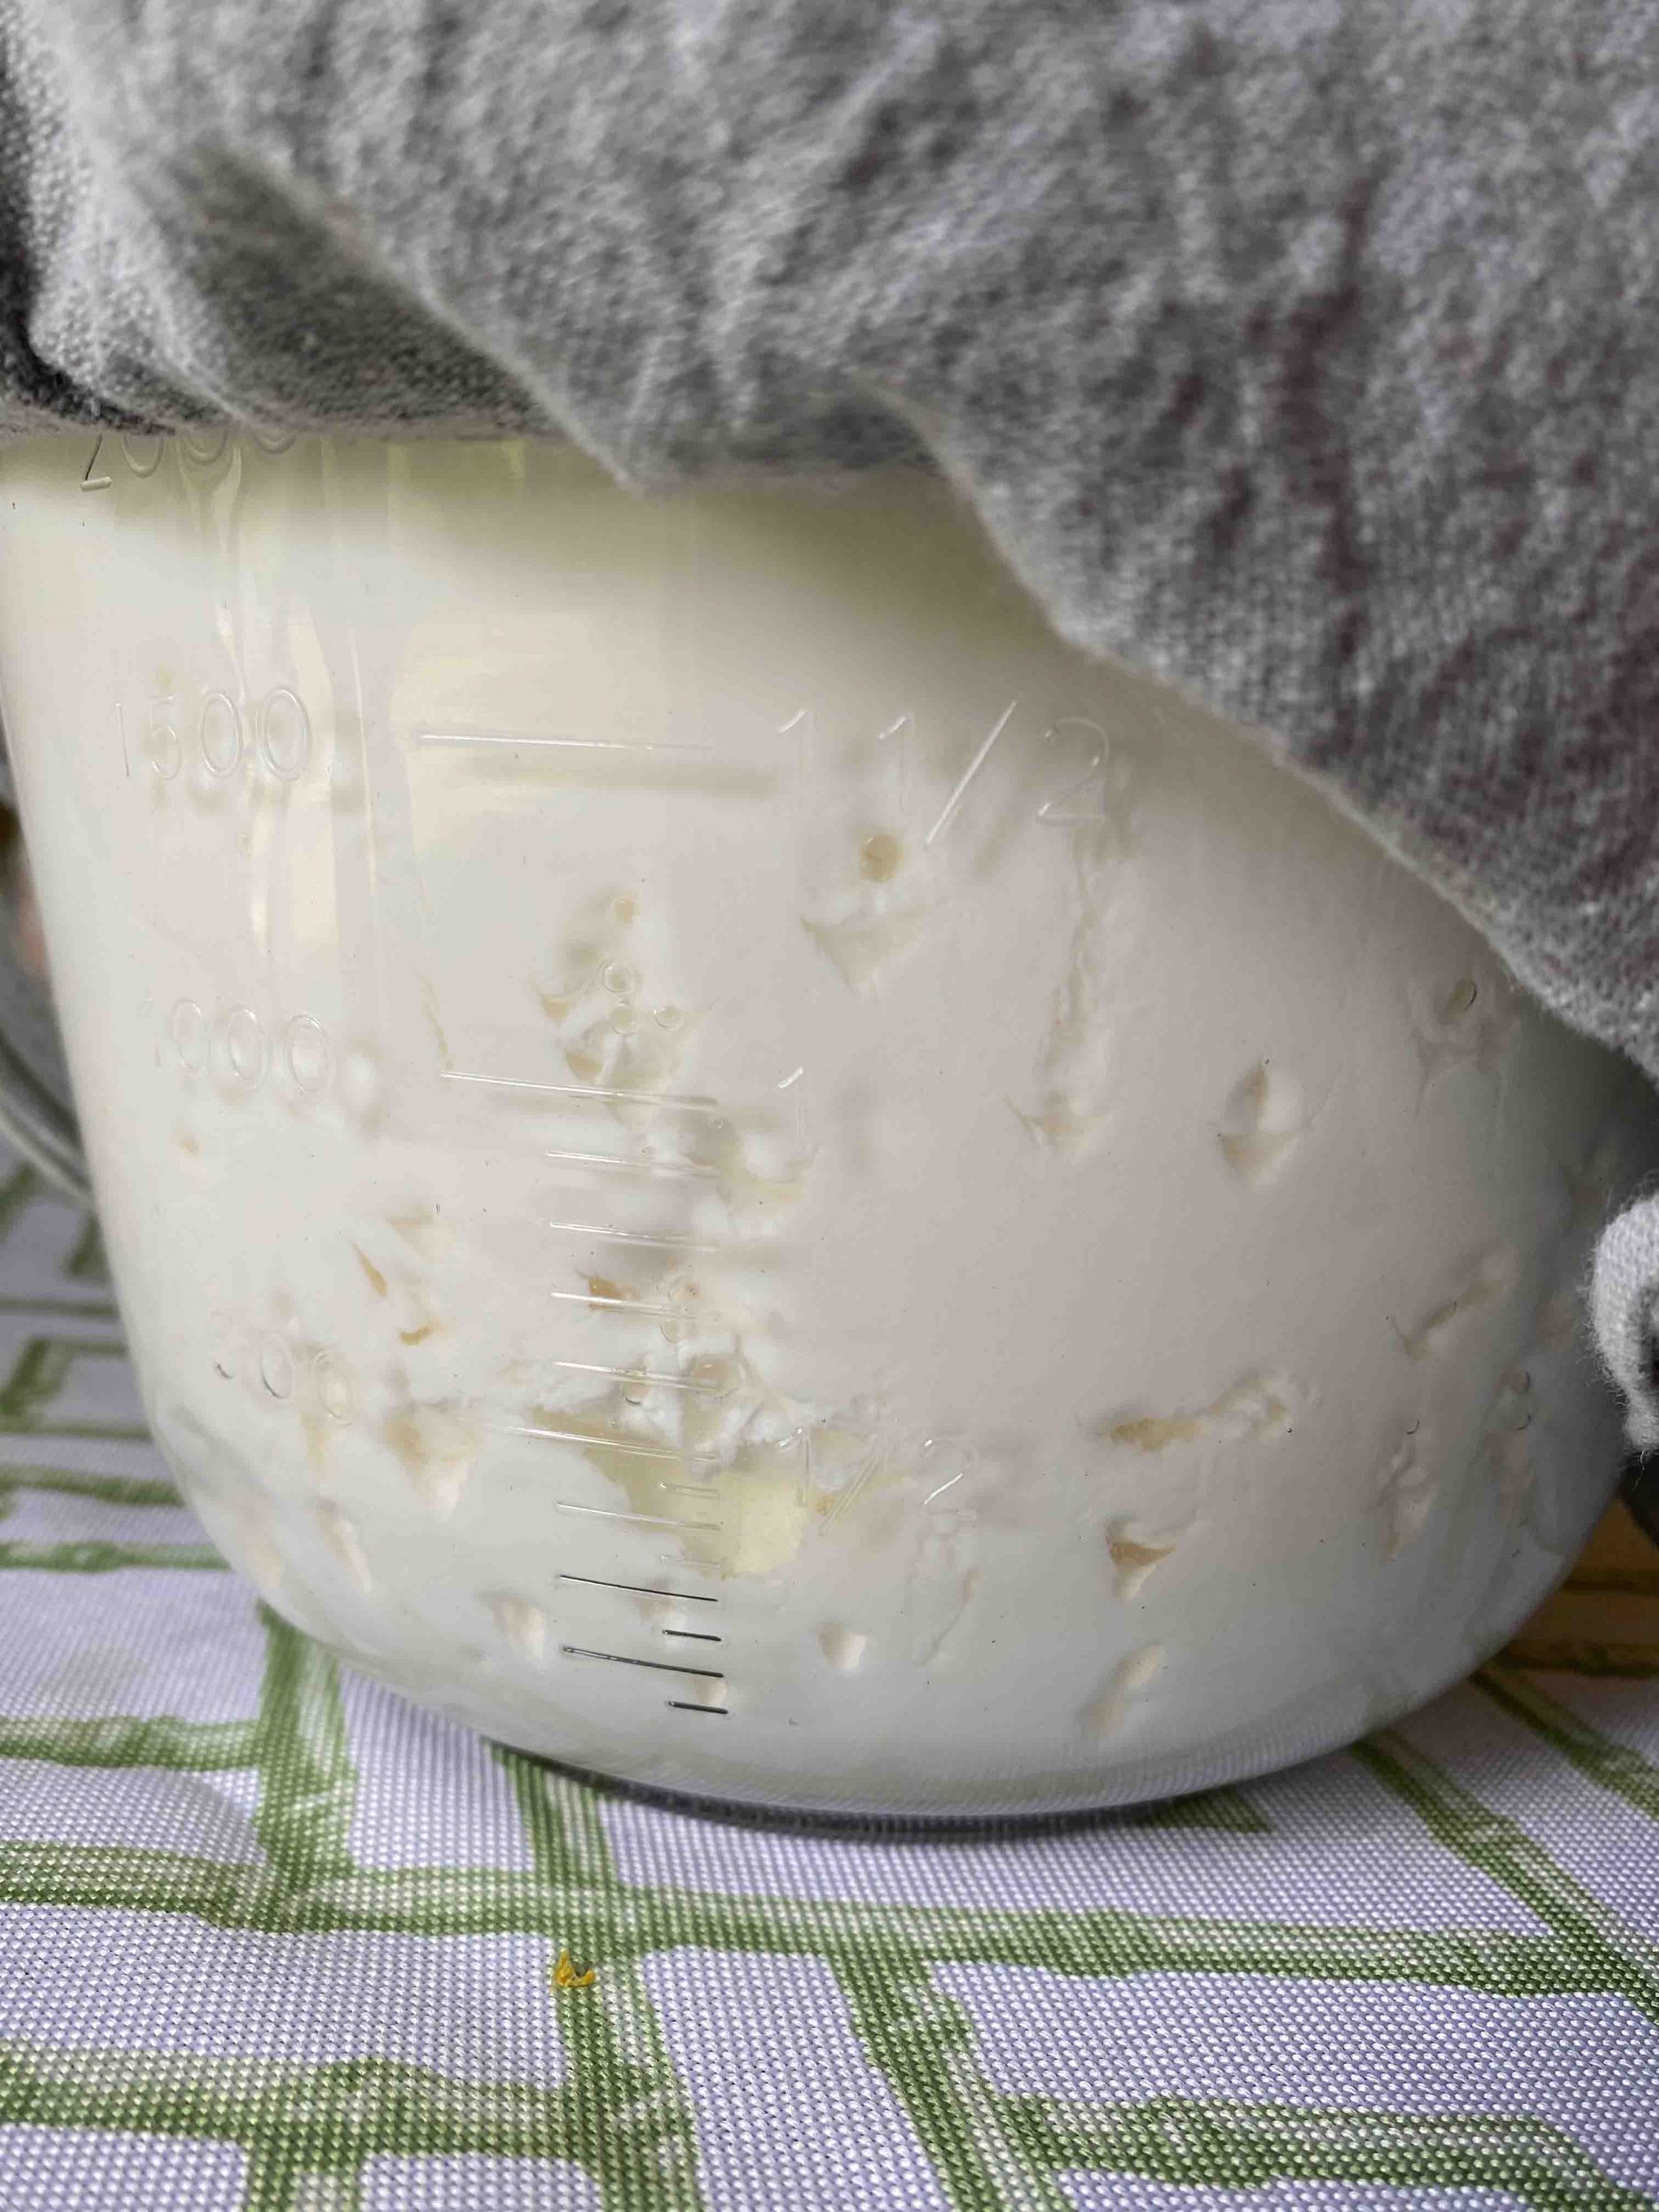
The warmer your room is, the quicker your kefir will ferment. It will take longer in the wintertime than it does in the summertime.
Your kefir is ready when you see small bubbles on the surface, it is slightly thick, and has a sour & tangy, yet fresh & pleasant taste. It even feels a bit effervescent on your tongue. The kefir grains usually float to the top of the surface, too.
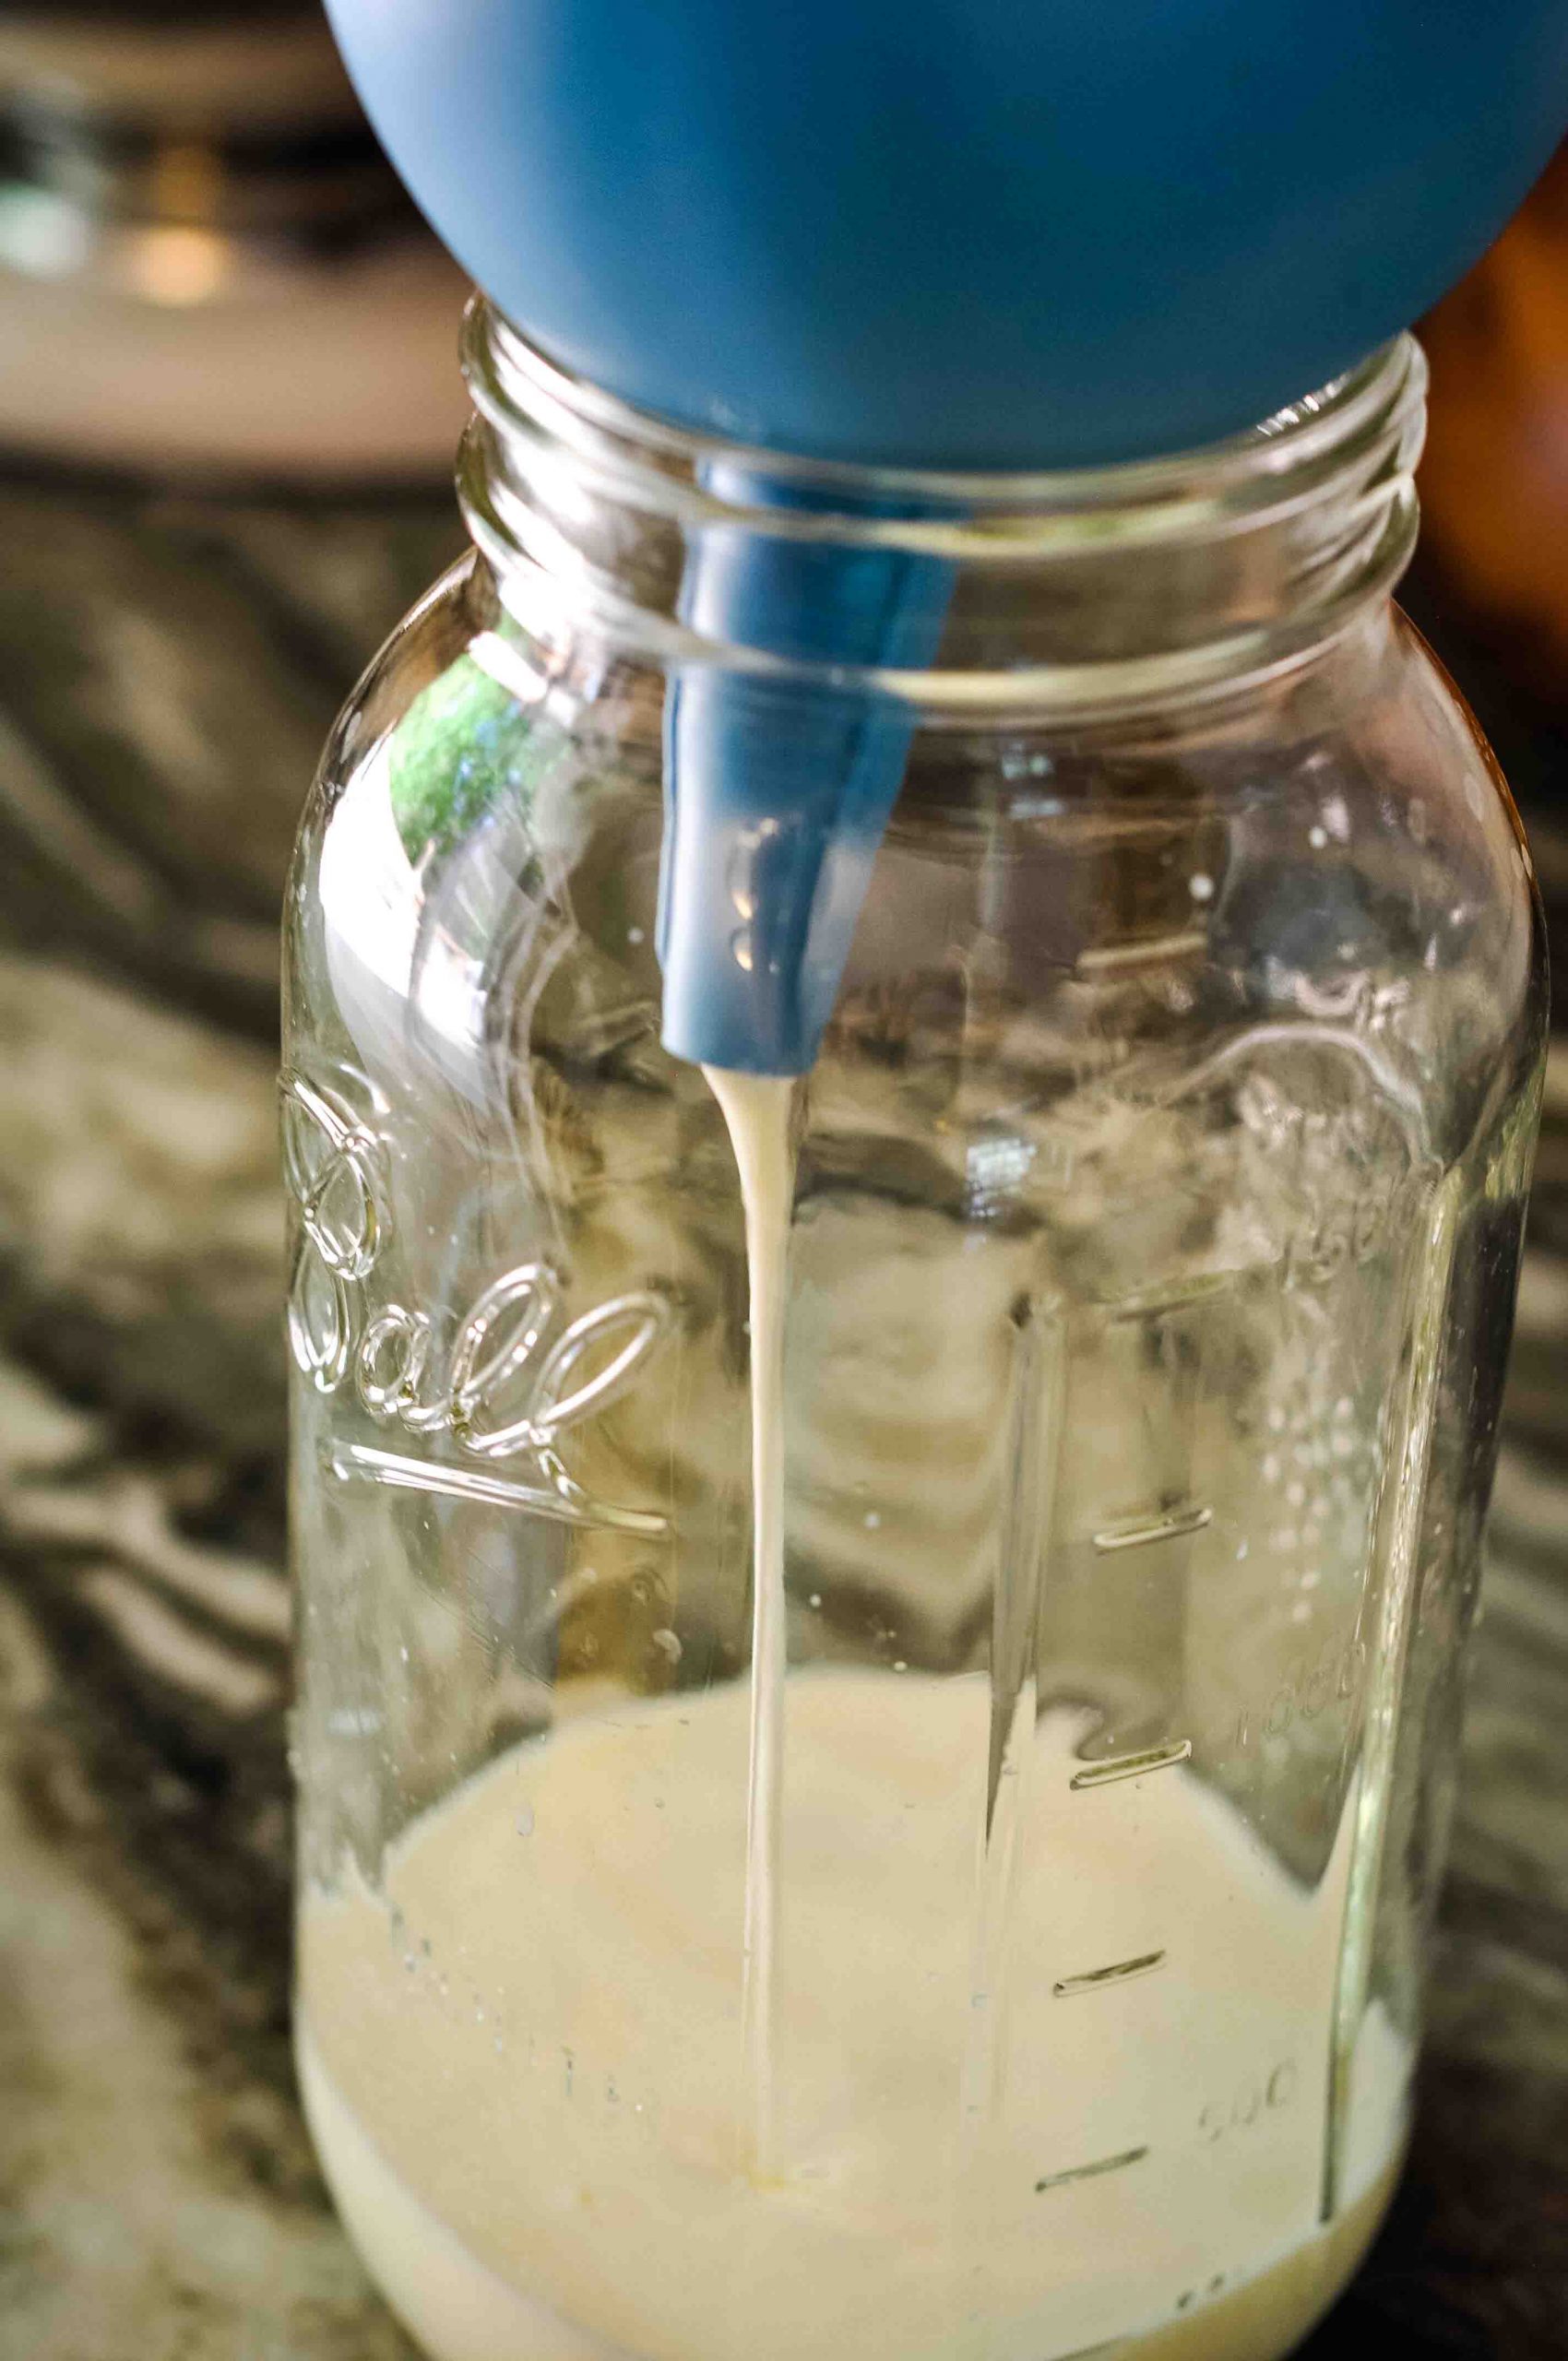
Now it’s time to strain. Place a funnel in a large clean jar with a strainer on top of the funnel. Pour your kefir through the strainer slowly.
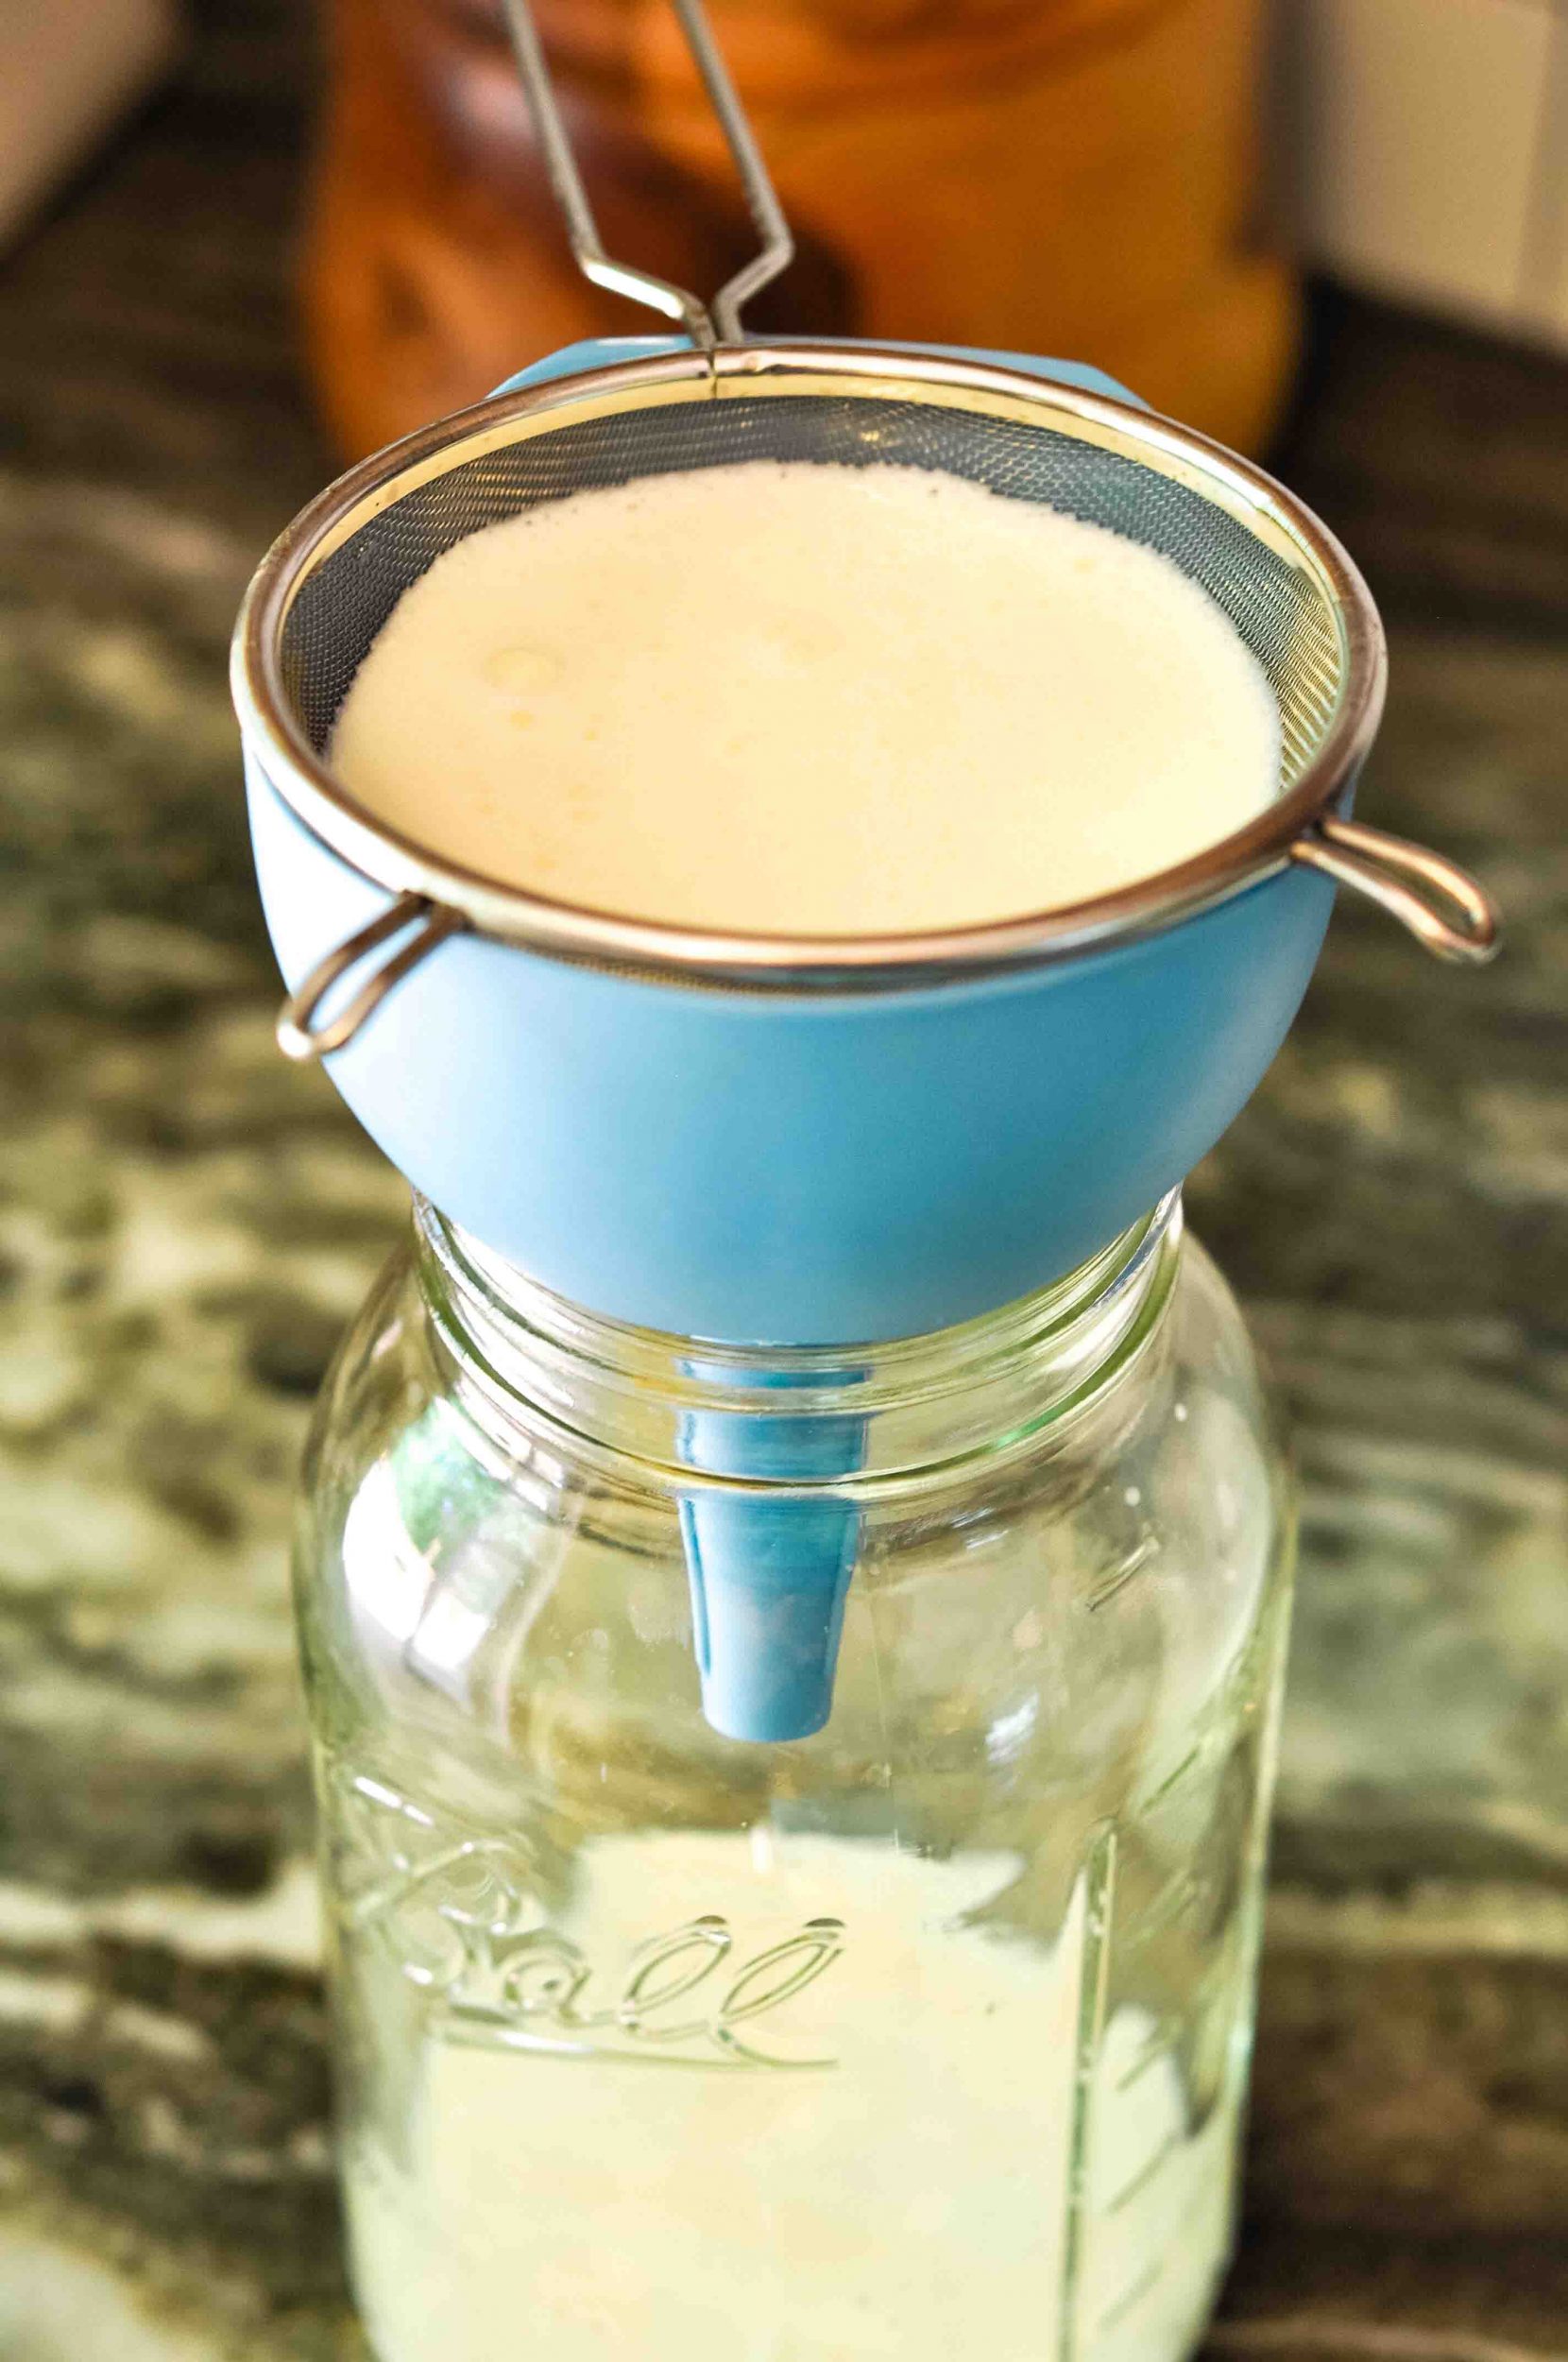
I like using a ladle to scoop the kefir from my vessel into the strainer. You may need to use a spoon to stir the kefir and press it through the strainer as you go.
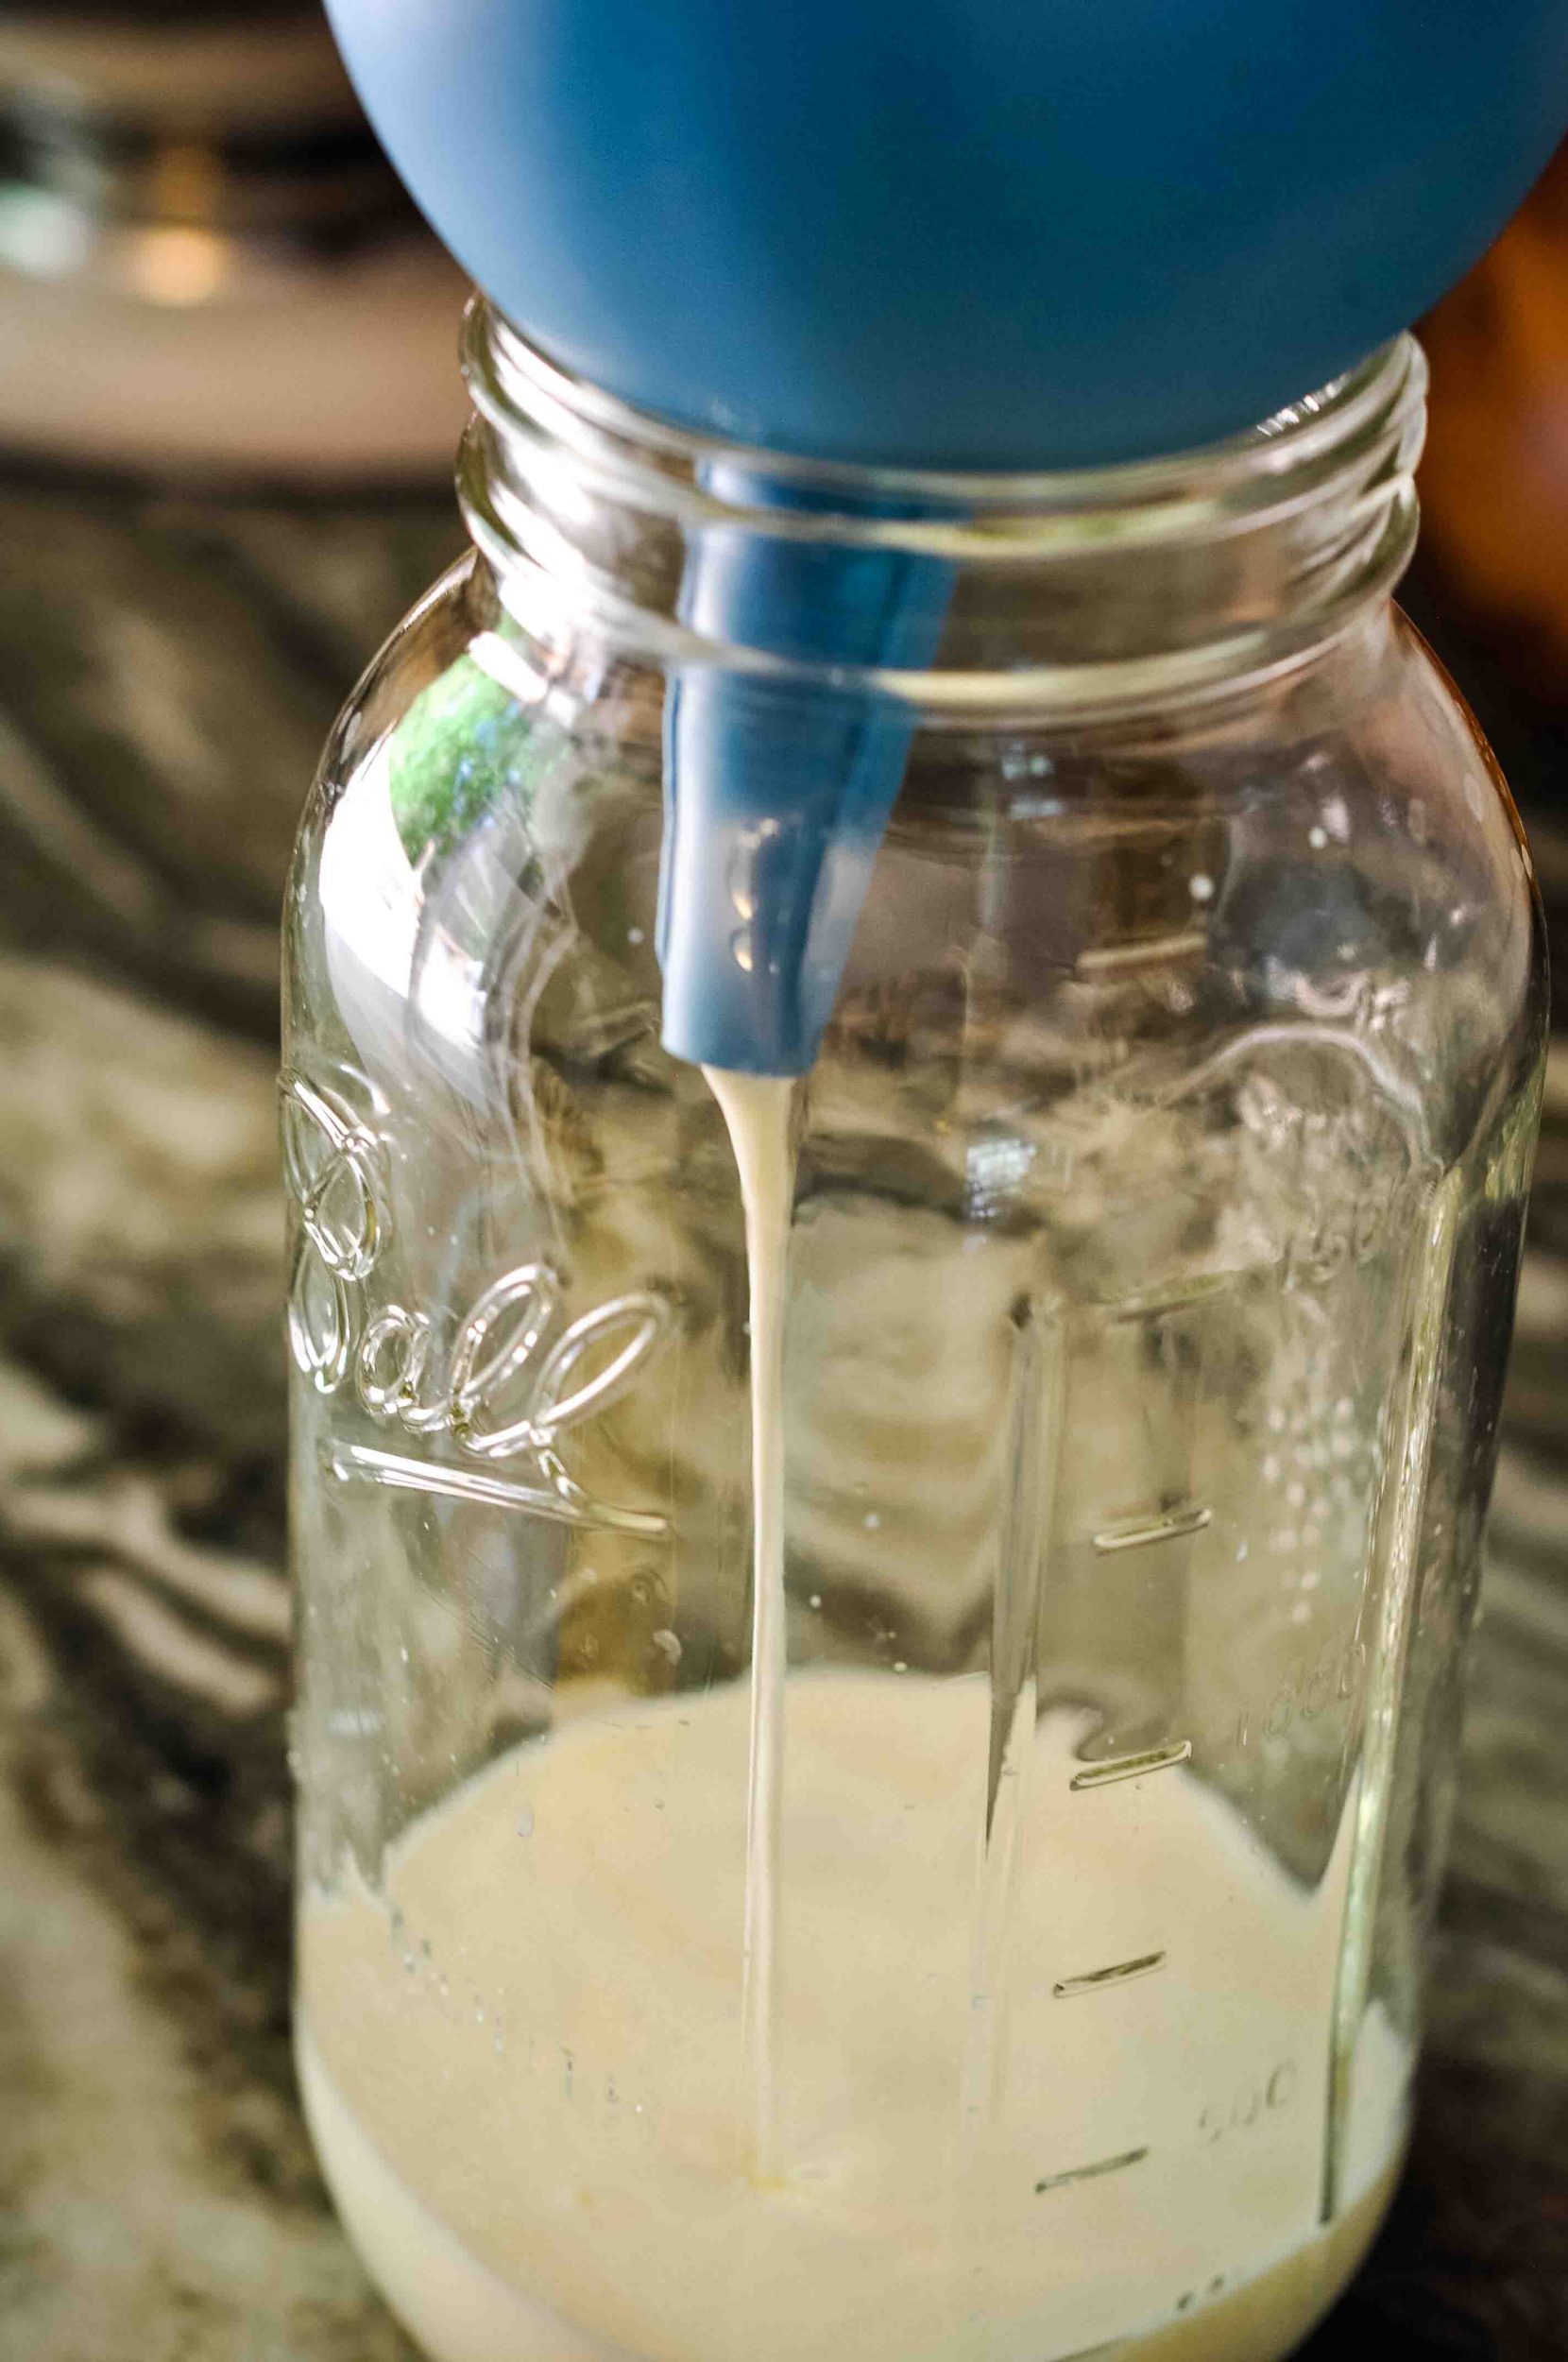
Since it is thick, kefir has a tendency to clog the mesh strainer unless you stir it as you strain. Remember to keep the grains in the strainer to store for later!
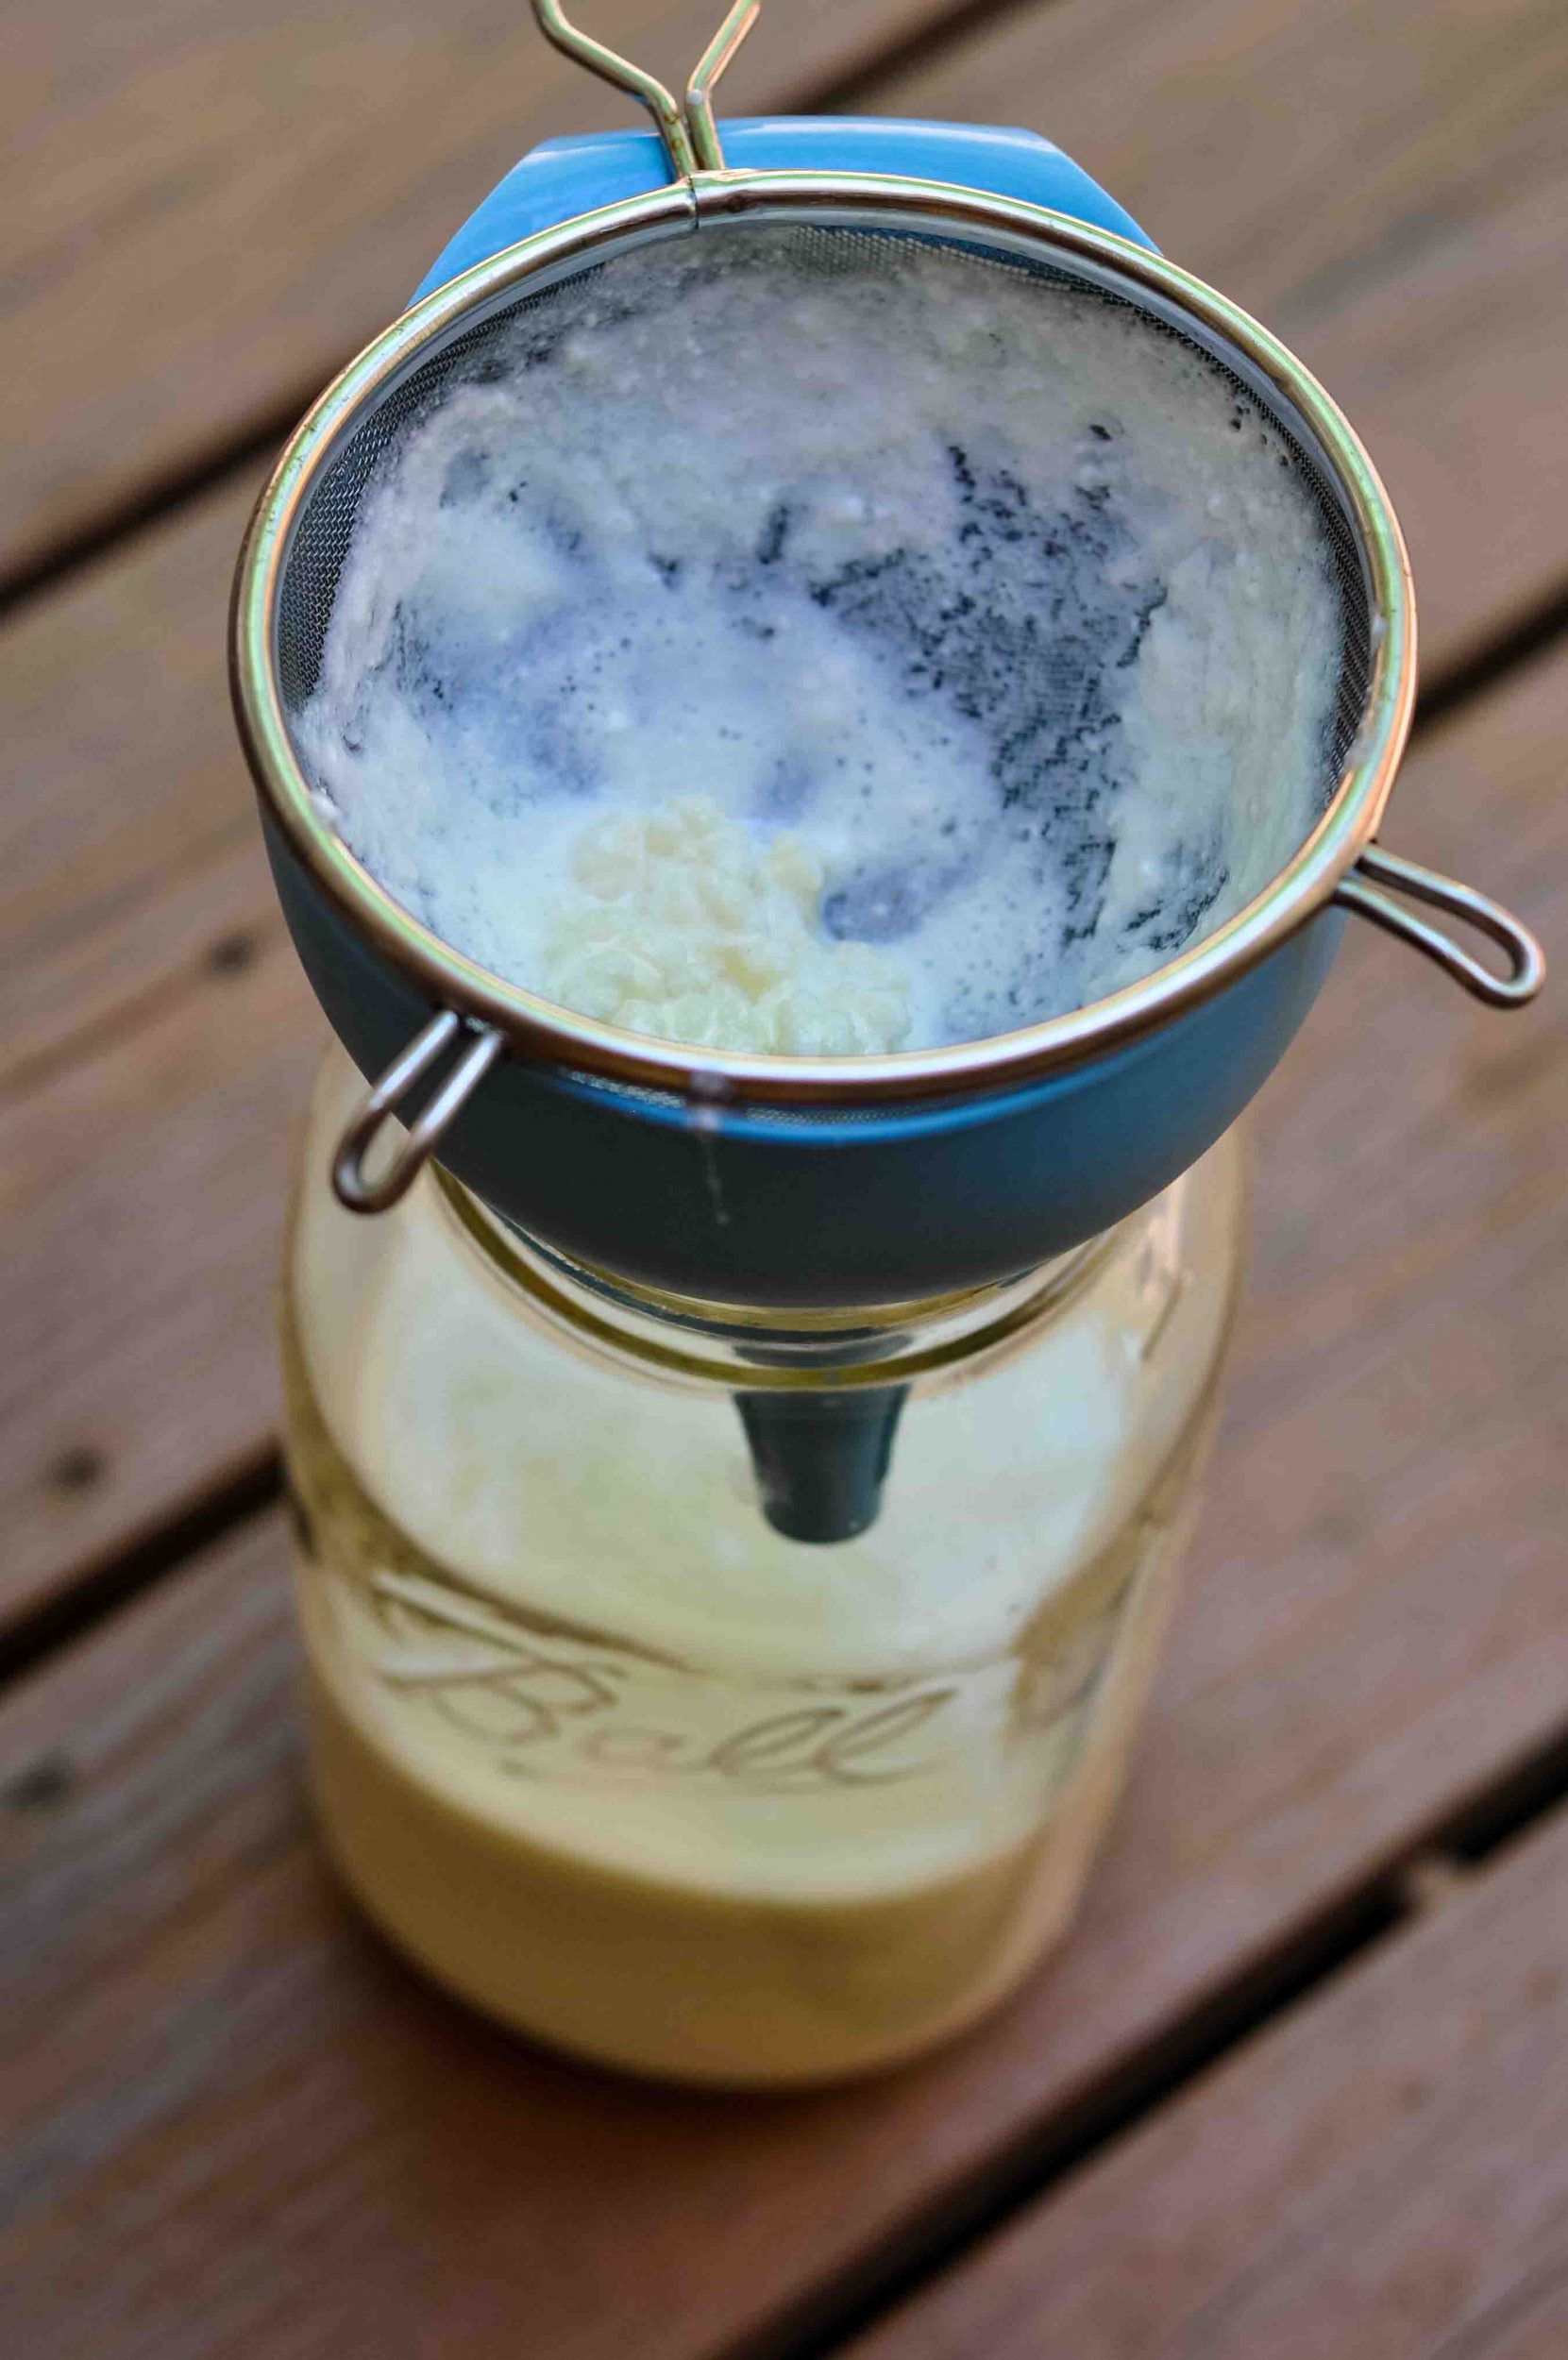
Transfer your kefir grains to a fresh jar of 8-12 ounces milk to use later, unless you want to make another batch right away. Your kefir grains will stay fresh in the fridge for up to two weeks.
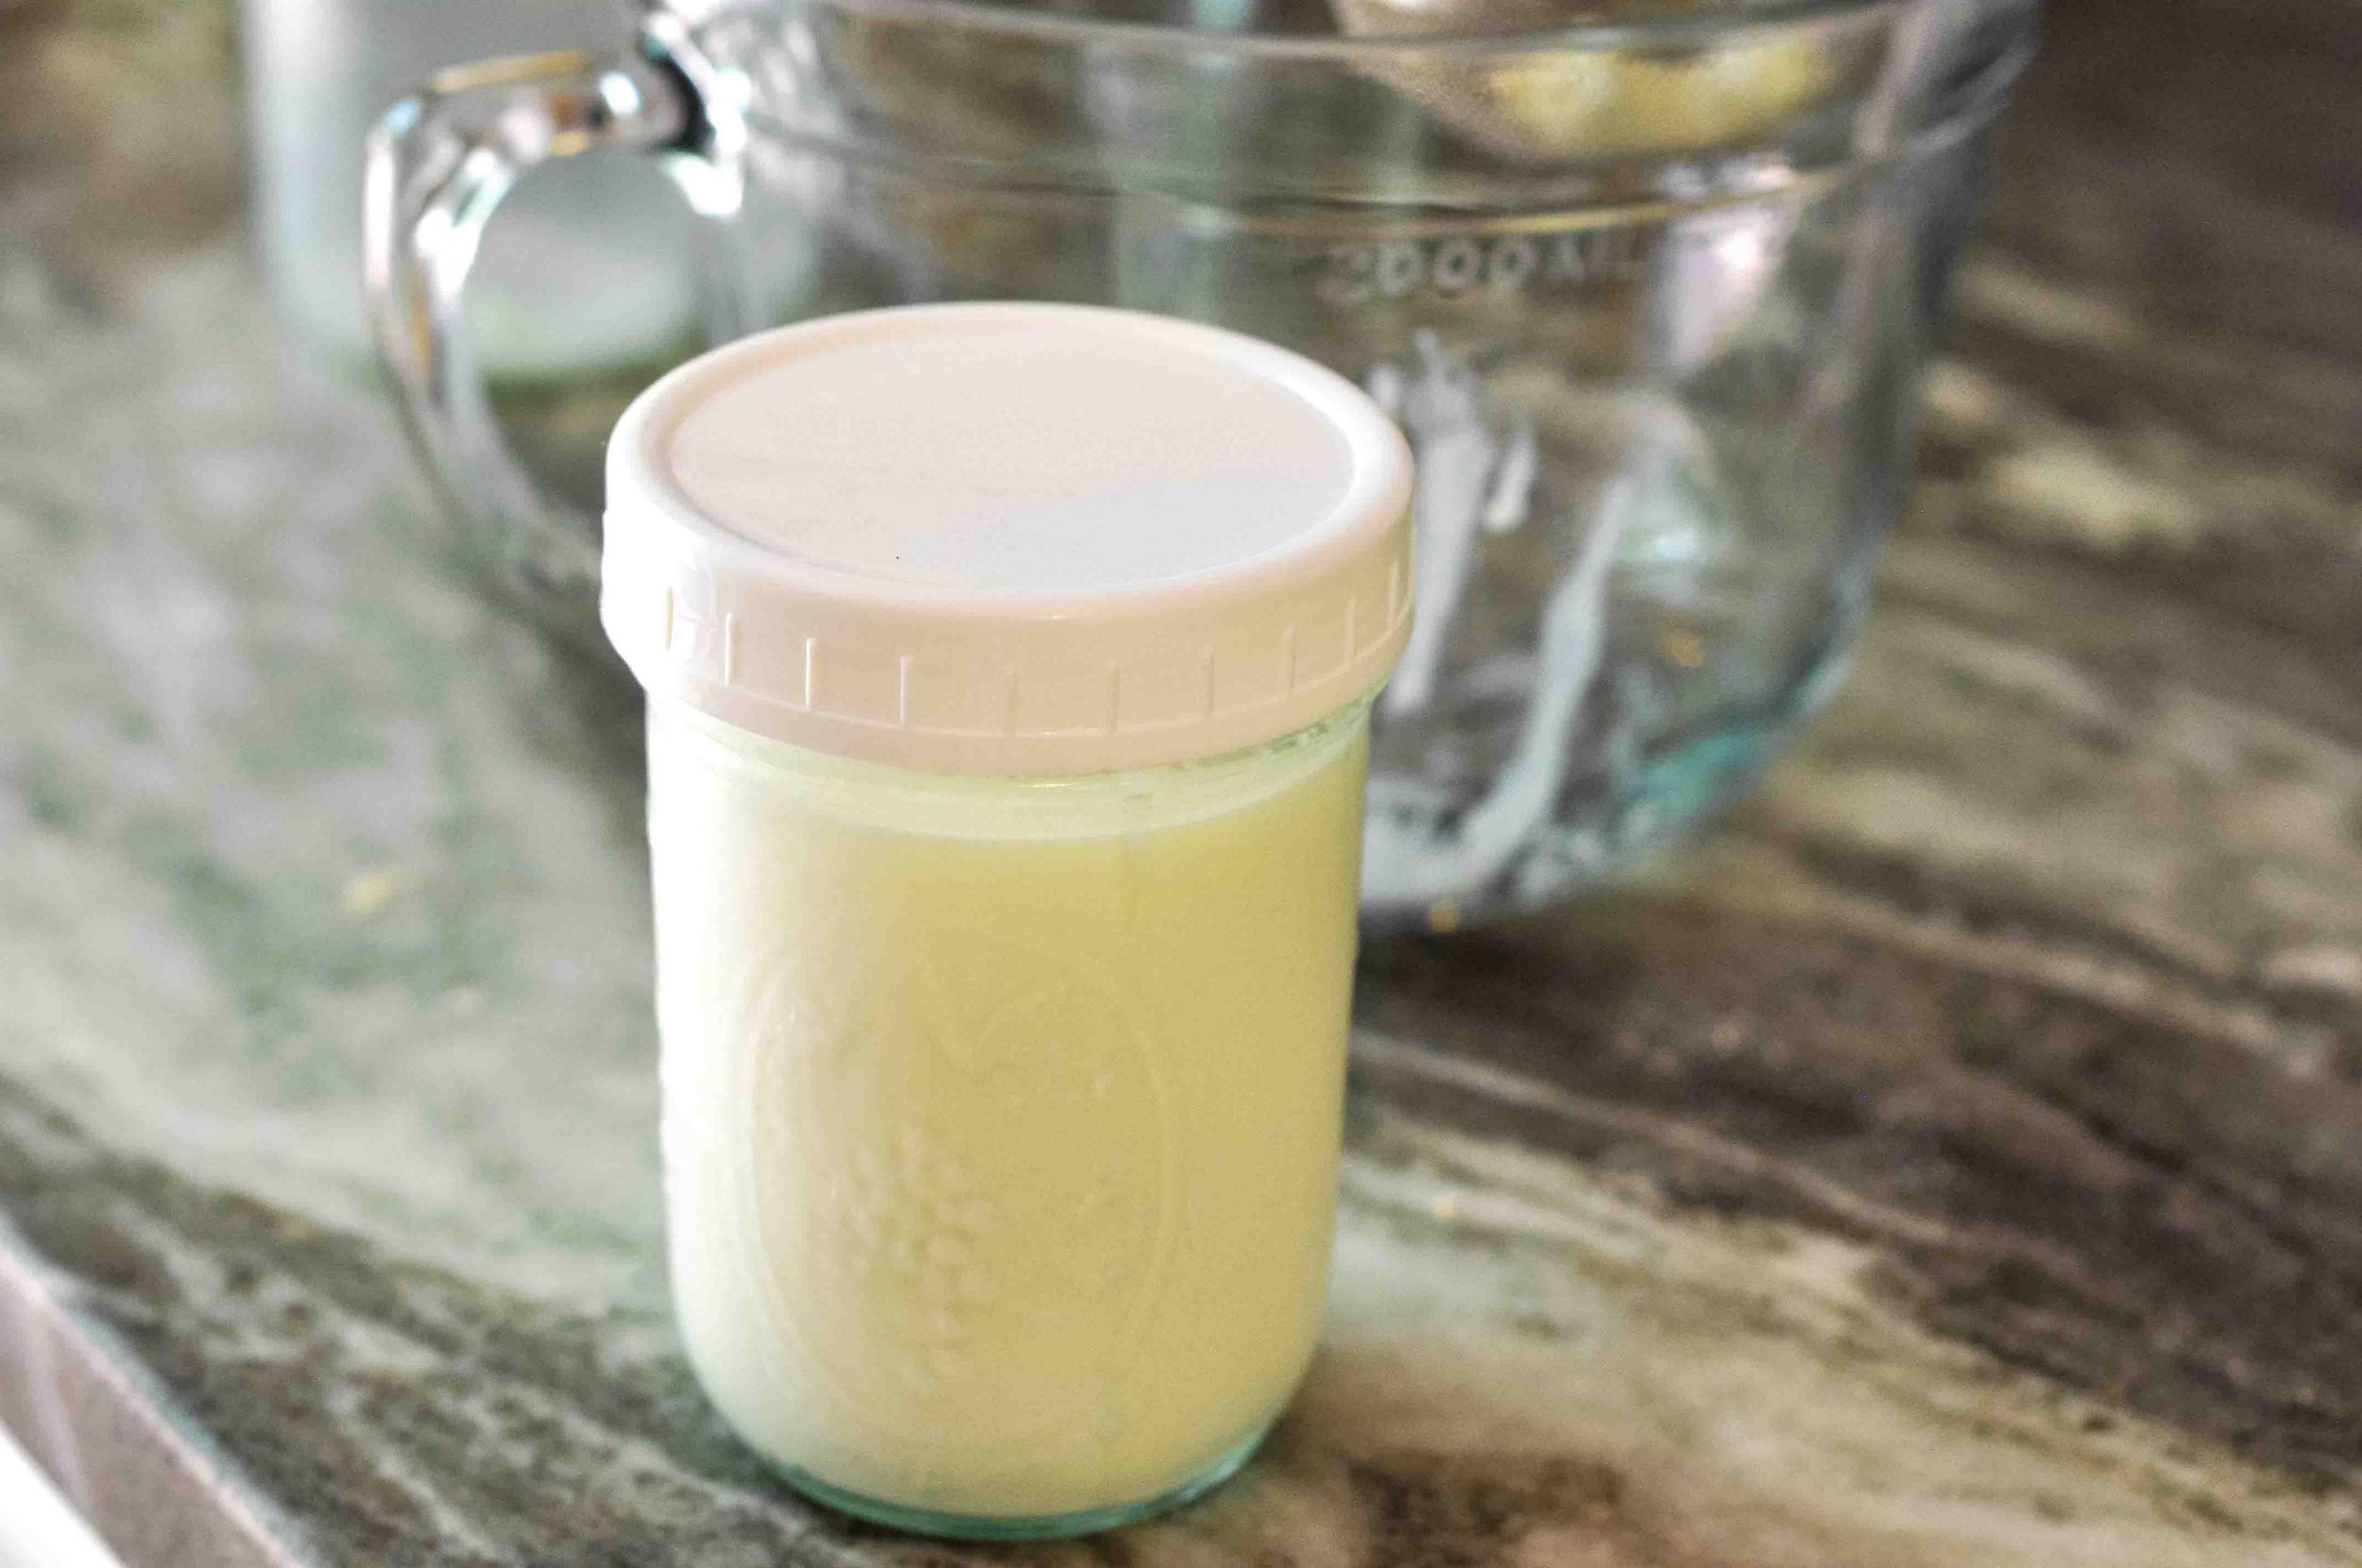
You need to feed them at least every two weeks to keep them happy and fed so they don’t start to die off.
Tip: I like to use the milk that I store my kefir grains in for baking projects later. No waste!
Leave a star rating and comment how your recipe turned out! And, snap a photo and tag @healthychristianhome on Instagram so I can see the yummy-ness.
PIN IT!
Homemade Milk Kefir
Tart, bubbly, and full of probiotic goodness, milk kefir is the perfect gut friendly beverage. It's also really easy to make and is perfect for adding to smoothies, blending with fruit, or pouring over cereal.
Ingredients
- 1-2 Tbsp. milk kefir grains
- 1/2 gallon whole milk
Instructions
1. In a large non-metal pitcher or bowl, add 1-2 tablespoons kefir grains and ½ gallon milk. (Or to make a smaller amount, add 1 tsp. grains per cup of milk).
2. Stir lightly and cover with a cloth secured with a rubber band.
3. Allow to sit and ferment at room temperature for 18-48 hours until thickened and slight bubbles begin to form (I like using glass containers so I can see bubbles on the sides.)
4. The amount of time your kefir takes to thicken depends on the temperature of the room as well as how many kefir grains you use & how strong they are. When your kefir starts to get thick and gelatinous, you know it is ready. The texture should be like a pourable yogurt, the consistency of a thick gravy.
4. Using a strainer, pour the finished kefir into another container for storage. Strain out the grains and store them to use later. I like using a funnel with a strainer on top to make straining easy.
5. Refrigerate kefir and use within 10 days.
Notes
* TYPE OF MILK TO USE:
If using organic milk, make sure it is not UHT (ultra high temp) pasteurized. This kills all the beneficial enzymes and bacteria in the milk to the point that the kefir will be unsuccessful. Regular pasteurized whole milk is fine. Publix and Sprouts have organic whole milk that is regular pasteurized (not UHT).
** KEFIR GRAINS STORAGE:
You can either put the grains into another container of milk to make more kefir, or store them for later. To store, place grains in a 8 oz. jar of milk and store in the fridge for up to 2 weeks. The grains need to be fed by making kefir every couple of weeks at least to keep them active.
As you continue to make kefir, the grains will multiply and you will end up with more than you need. You can either give them away to friends or discard them.
*** KEFIR TROUBLESHOOTING:
If you find your milk is separating during fermentation with curds at the top and clear whey at the bottom, your kefir might be over-fermented. This is fine; just stir it all back together and use.
You want to avoid over-fermenting too often. This will weaken the kefir grains, since over fermenting means they are running out of food. You may need to use fewer grains for shorten fermentation time.
Recommended Products
As an Amazon Associate and member of other affiliate programs, I earn from qualifying purchases.
Nutrition Information:
Yield:
8Serving Size:
1Amount Per Serving: Calories: 150Total Fat: 8gSaturated Fat: 5gTrans Fat: 0gUnsaturated Fat: 2gCholesterol: 24mgSodium: 112mgCarbohydrates: 12gFiber: 0gSugar: 12gProtein: 8g
Ways to use kefir
It’s fun to get creative with using your kefir! Here are some great ways to use it:
- Kefir fruit smoothie – We love adding kefir to our daily fruit smoothie. You can use it with any smoothie combo you prefer. We really love this Blueberry Ginger Kefir Smoothie!
- Yogurt replacement – Use kefir anywhere you would normally use yogurt. It’s great mixed with berries or granola, or even poured over cereal.
- Kefir popsicles – Mix kefir with honey and fruit, pour into popsicle molds, and freeze. The perfect kid-friendly probiotic snack!
- Frozen kefir bark – this is a cool, fun, festive warm weather treat!
- Buttermilk replacement – You can use kefir in place of buttermilk, even in baked goods (keep in mind that heating kefir destroys some of its probiotic goodness).
- Stirred into sauces – why not add kefir into homemade creamy dressings like ranch?
- Add to mashed potatoes or deviled egg filling
- Use as a dressing for fruit salad
- Blend with fruit to make flavored kefir
- Drink it plain, or with some honey stirred in
Kefir FAQ’s
Is it safe to make kefir at home?
Yes, kefir is very safe to make at home, as long as you are using milk from a clean source and using clean kitchen equipment. The beneficial bacteria and yeasts present in the kefir grains will keep any bad bacteria at bay (it even has antibacterial properties). It truly is an incredible food!
Can you make kefir from kefir?
Perhaps. You might be able to use some pre-made kefir as a starter, add fresh milk, and ferment. You may be able to make a batch or two this way, but then again, it may not work. And it definitely won’t work over the long term.
It also won’t be as safe because you won’t have the same quantity of beneficial bacteria and organisms which are present in kefir grains. To make kefir on a continual basis, make sure to get some of your own kefir grains as explained above.
How many kefir grains should I use per batch?
This is a question I had when I first started making my own kefir. The answer is, it depends. Depending on the strength of your grains, you may need to use more or less. For example, if you are finding that your kefir ferments super quickly (18 hours or less), you may be using too many grains.
A good rule of thumb is to use 1 teaspoon of grains per cup of milk. This equates to 1-2 tablespoons of grains per half gallon of milk, as per the recipe above.
I like this explanation from Yemoos Nourishing Cultures, “The traditional way to make kefir is to find the balanced ratio of grains to milk (+ temperature of the room) that will create a ferment that is just ready at 24 hours. This produces the optimal flavor and consistency, and the grains seem to thrive off this schedule.”
Can I use metal equipment to make kefir?
Some sources say not to use any metal equipment while making kefir. This is because metal can react with the kefir grains over the long term and affect them in a negative way.
However, it is fine to use metal briefly during the straining or stirring process. But for storage and long fermentation, you want to use glass or food-grade plastic instead.
What is the cost difference between store bought and homemade kefir?
A 32 oz. carton of kefir costs around $2.78, which equates to 8.7 cents per ounce. In contrast, half a gallon of homemade kefir is based on the price of whatever milk you buy. Since I buy organic whole milk at $5.99 per gallon (128 oz.), that means my homemade kefir costs only 4.6 cents per ounce. That’s half the price of store bought!
It would be even cheaper if I used regular, non-organic whole milk. Homemade is also better because store bought kefir often has sweeteners and additives.
How can I make kefir taste better?
Kefir definitely has a tangy, sour flavor, similar to buttermilk. It is an acquired taste, and some people love drinking it plain.
But most of the time, people sweeten it with honey or use it in smoothies with lots of fruit. You can also use it to make kefir ice cream or popsicles! Doing a second fermentation on your kefir also mellows the taste.
What is kefir second fermentation?
Kefir “second fermentation” is when you ferment the kefir a second time after removing the grains to mellow the flavor (make it less sour) and add other flavors to the kefir if desired.
Most people add fruits for the milk sugars to feed on and flavor the kefir. You can also add spices, tea bags, etc. The possibilities are endless!
If you do a second fermentation, be sure to remove the grains, add your flavorings, cover loosely and allow to sit out for 12-24 hours to ferment. Here’s a detailed post on how to do a second fermentation.
How do I grow kefir grains?
Your kefir grains will grow all by themselves as you make multiple batches of kefir. Over time, you will notice your ball of kefir grains getting larger and larger.
You do not need to use more than the recommended amount of grains in each batch of kefir, or it may cause your kefir to ferment too quickly. If you have too many kefir grains, you can give them away to friends, try feeding them to your pets, or just toss them.
My Kefir is separating into curds & whey, what should I do?
This happened to me a lot when I first started making kefir. Separation is natural, and is a result of fermenting a bit too long or using too many grains in your batch. Just keep an eye on the kefir periodically to make sure you don’t over ferment.
If you’re on Instagram, share a photo of your recipe and tag @healthychristianhome so I can give your post some love! Follow Healthy Christian Home on Facebook and Pinterest too for more healthy delicious recipes!
Have you ever tried kefir? What’s your favorite fermented food?
PIN IT!



Thank you for this great information. I especially liked learning about the second fermentation and can’t wait to experiment.
Yay! Have fun with the 2nd fermentation
I was nervous to try this but you made it so easy !! I think I over fermented the first time but it’s still ok in a smoothie 🙂
Questions … Can I use the grains too often? … Or should they have a rest period between batches? Any other ideas for how to use the leftover “grain storage” milk? I don’t bake often and it doesn’t seem quite tangy enough to use in buttermilk biscuits …
No, you can’t make kefir too often and the grains don’t need breaks. A lot of people make a new batch daily and it actually makes the grains stronger. You can use the storage milk for pretty much anything… I like adding it to pancakes or you could even use in a smoothie. Thanks for the comments!
We LOVE milk kefir! We’ve used it to replace yogurt and sour cream, and we love it in smoothies and popsicles! It also is a great buttermilk replacement in cornbread…
YES!! We love it for all of these things, too!
I just used kefir in cornbread as a buttermilk replacement and we enjoyed it! I was curious about a few picky details 1) could I use 2% milk? 2)would the kefir have the same expiration date as the original milk? (I know some of the bacteria is being “eaten” so maybe this is a silly question)
Glad you liked it in the cornbread! I guess you could use 2%, I just always use whole so I don’t have any experience with that. Kefir in my experience usually lasts longer than the original expiration date on the milk, since culturing foods preserves them for longer with the beneficial bacteria.
Can you do a second culture after you have refrigerated the first culture? Or does it need to be room temperature after removing the Kefir grains. Thanks for the information you provided We are heading out for a week, and I didn’t know what to do about the kefir grains while we were gone. Love my Kefir milk!
You can simply put your grains in a jar of milk in the fridge and store them that way until you get home. I wasn’t sure what you meant about the first/second culture. Hope this helps!
UHT milk makes great kefir. I’ve used raw, regular pasteurized and UHT (ultra-pasteurized) and all work fine. You will get great, thick kefir absolutely with UHT. The grains need lactose to culture and will make UHT a healthy, probiotic kefir for use.