
Easy Elderberry Syrup
This elderberry syrup is quick and easy, has the best flavor, and you only need a few ingredients. Make this every autumn and stock your fridge & freezer to keep it on hand for cold and flu season.
Elderberry syrup is in high demand during cold and flu season for its possible immune boosting qualities. To save money, making it yourself is the best option.
All you need is dried elderberries, water, honey, and a strainer to have fresh elderberry syrup for you and your family. It takes less than an hour, and most of the process is hands-off.
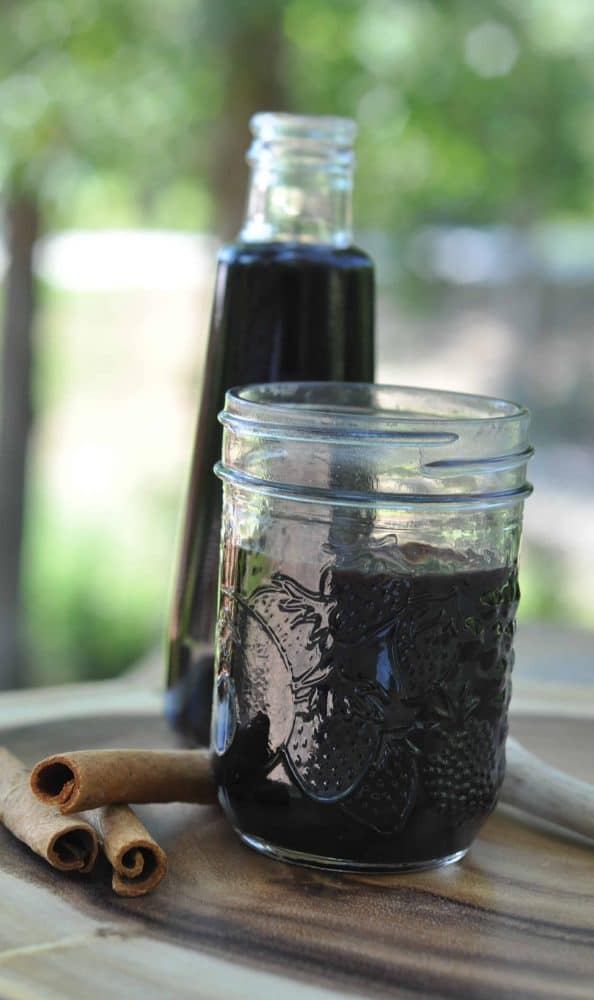
How I started making elderberry syrup
A couple years ago, as my toddler was hacking and coughing away (with one of the many colds toddlers seem to get), I remember my in-laws saying, “You have to get him some elderberry syrup.”
At the time, I had absolutely no idea what this was. But of course, we went on an elderberry syrup hunt and found a brand called Sambucol. We found the syrup for around $10 for a small bottle at the local drugstore.
It seemed to help him get over his cough more quickly, but boy, we rationed that tiny bottle!
I have to admit, I was a little skeptical of whether the elderberry syrup was actually shortening the cold, or if it was just a coincidence. So, I did a little research.
According to Wellness Mama, “Elderberries naturally contain A, B, and C and stimulate the immune system. Israeli researchers found that the complex sugars in elderberries support the immune system in fighting cold and flu.”
Then I came across this PubMed NCBI randomized study. Here’s what happened in the trial:
Patients received 15 ml of elderberry or placebo syrup four times a day for 5 days, and recorded their symptoms using a visual analogue scale. Symptoms were relieved on average 4 days earlier and use of rescue medication was significantly less in those receiving elderberry extract compared with placebo. Elderberry extract seems to offer an efficient, safe and cost-effective treatment for influenza.
Wow.
So there is actual scientific evidence to support that this syrup actually works! And if it doesn’t completely eliminate symptoms, it at least shortens them.
Of course, “an ounce of prevention is worth a pound of cure,” as the old adage goes. As I write this post, my husband and son both have a cold so I am taking the elderberry syrup along with them to prevent getting sick myself.
More Elderberry Recipes to Try:
Homemade Elderberry Syrup Benefits
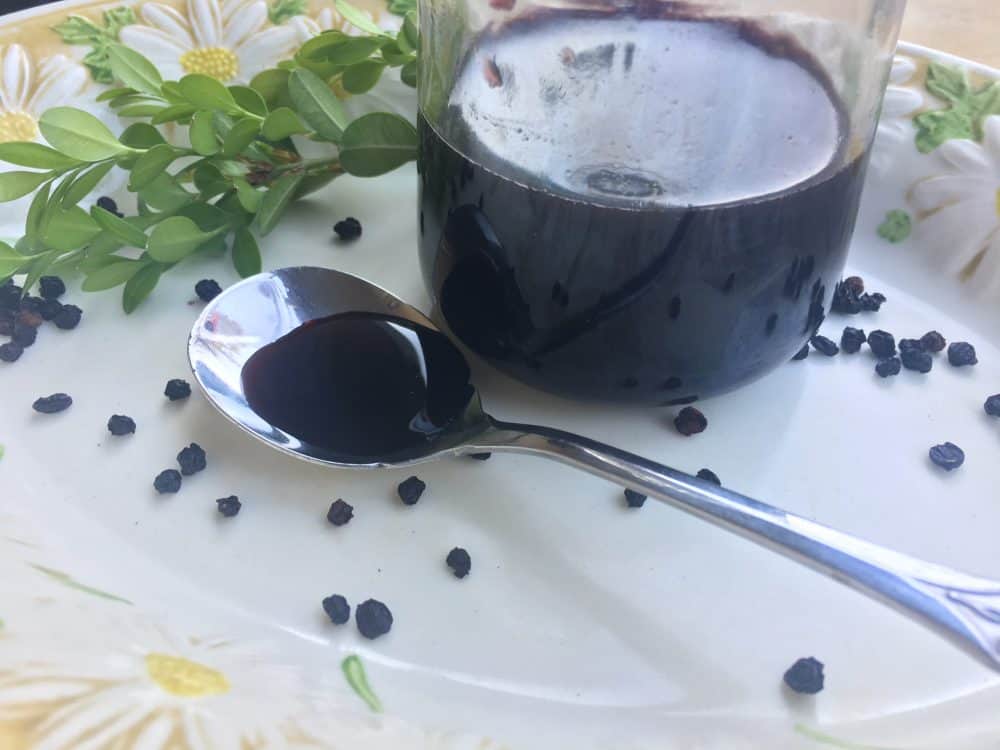
Store-bought simpler, sure, but there are some hefty benefits to making it yourself:
- It’s Easy. I had heard of people making elderberry syrup, but I thought it might be a complicated process so I never tried. That is, until my natural remedy-loving friend Tonya suggested we make some together. Having someone to work with made the process a lot more fun and less overwhelming. As I quickly discovered, the process of making elderberry syrup is actually extremely easy! Kind of like making tea on a larger scale.
- It’s Frugal. Taking elderberry syrup frequently is not really doable if you are using store bought. That stuff is pricey. But the savings of making your own is substantial! Sambucol is $10 for a 4 ounce bottle ($2.50 per ounce). We made 32 ounces of homemade syrup for approximately $10 ($6 for dried elderberries, $4 for honey). The price per ounce is only $0.40! That’s a savings of 84%!
- It’s Delicious. This stuff is sooooo tasty y’all, and I’m not exaggerating. My 3 year old literally begs me for more syrup. It’s always nice when an effective natural remedy actually tastes good, too – it ensures you’ll actually follow through with the remedy. (Dosage instructions are in the recipe card. You don’t want to take too much at once.)
One word of caution before using elderberries: “Be sure to only use what is commonly called black elderberry (Sambucus nigra), as other members of the family can be toxic. Do not eat raw elderberries in any form” (according to Everyday Roots).” Good to know!
How to Make Elderberry Syrup Step-by-Step
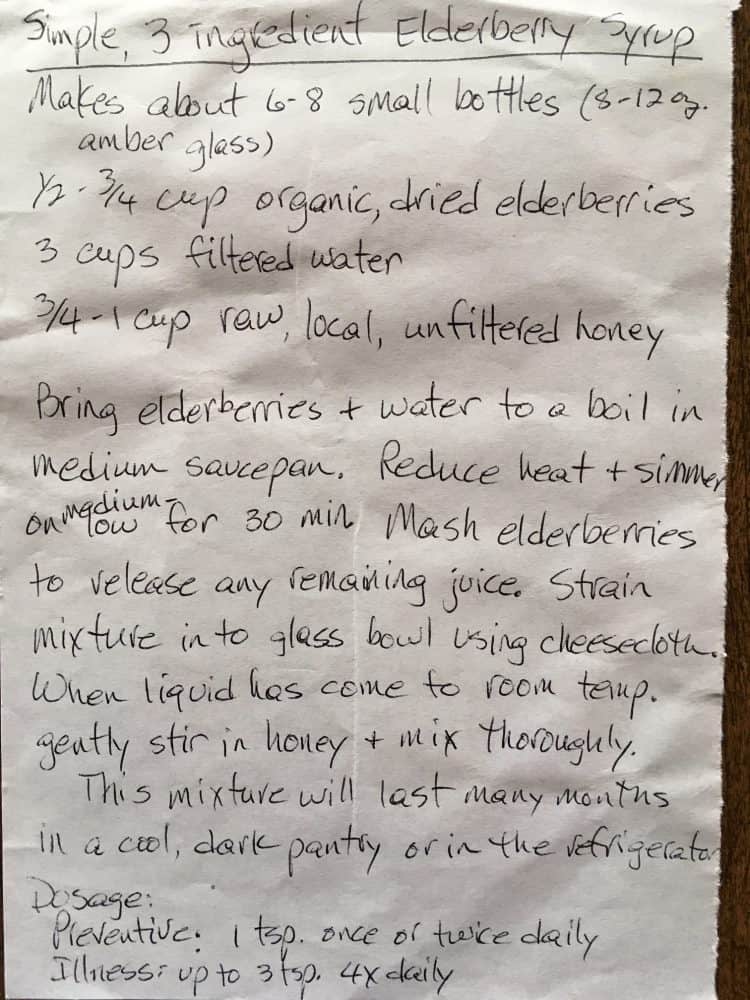
Tonya, the friend I mentioned earlier, got this recipe from her mother-in-law who studied at the California School of Herbal Studies, completing the 8-month intensive Herbal Roots program of study at CSHS.
I had to add a picture of the recipe in her handwriting, because I just think it’s cool. We actually doubled the recipe below and I’m glad we did – Tonya and I each got 4 small jars of syrup for our families.
For an even quicker method, check out my Instant Pot Elderberry Syrup.
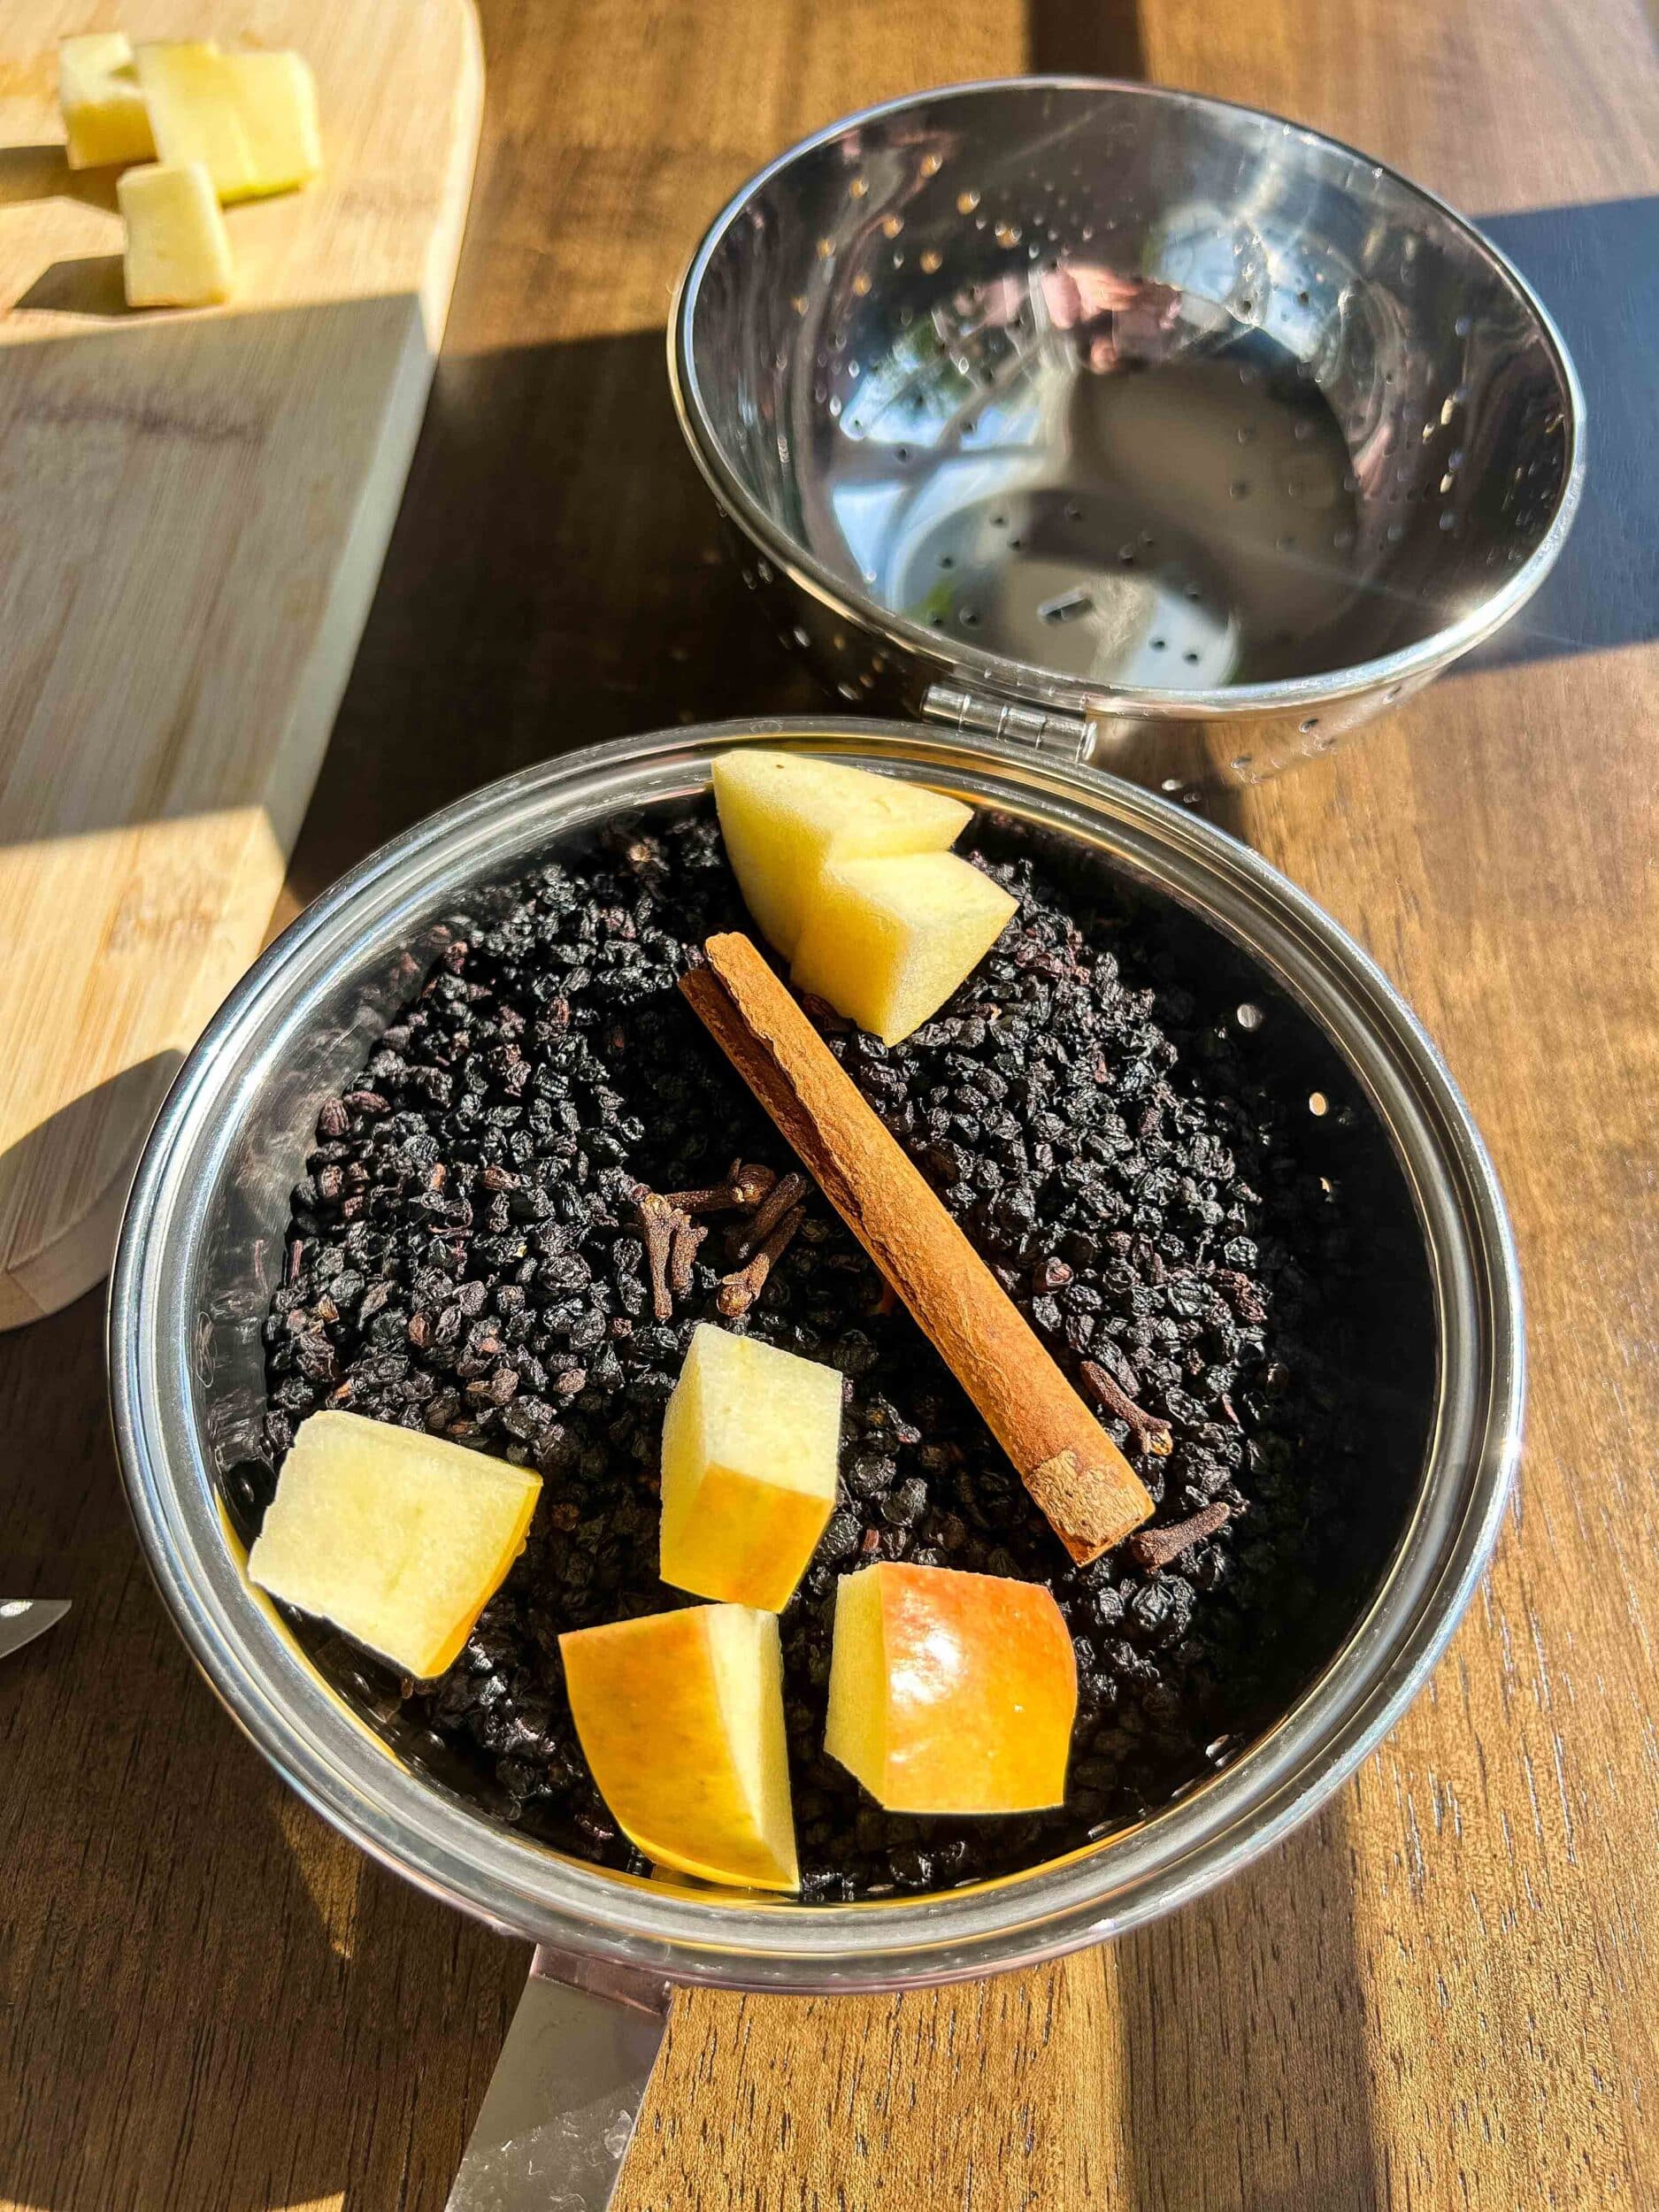
For additional benefits, sometimes I add a cinnamon stick, a few cloves, and a chopped apple while it’s simmering. Totally optional but adds a nice flavor, too. But all you really need is elderberries, water, and honey!
(Note: the printable recipe card is at the bottom of the post)
First, measure 1 1/2 cups of dried elderberries and spices (if using) into a medium size pot. (Get whole, organic dried elderberries here.)
Add 6 cups of filtered water and bring to a boil. Stir well. Reduce heat to medium low and allow to simmer for approximately 30 minutes with the lid OFF. Allowing the liquid to evaporate is necessary to eliminate any cyanide-like substances that may be present in the elderberries.
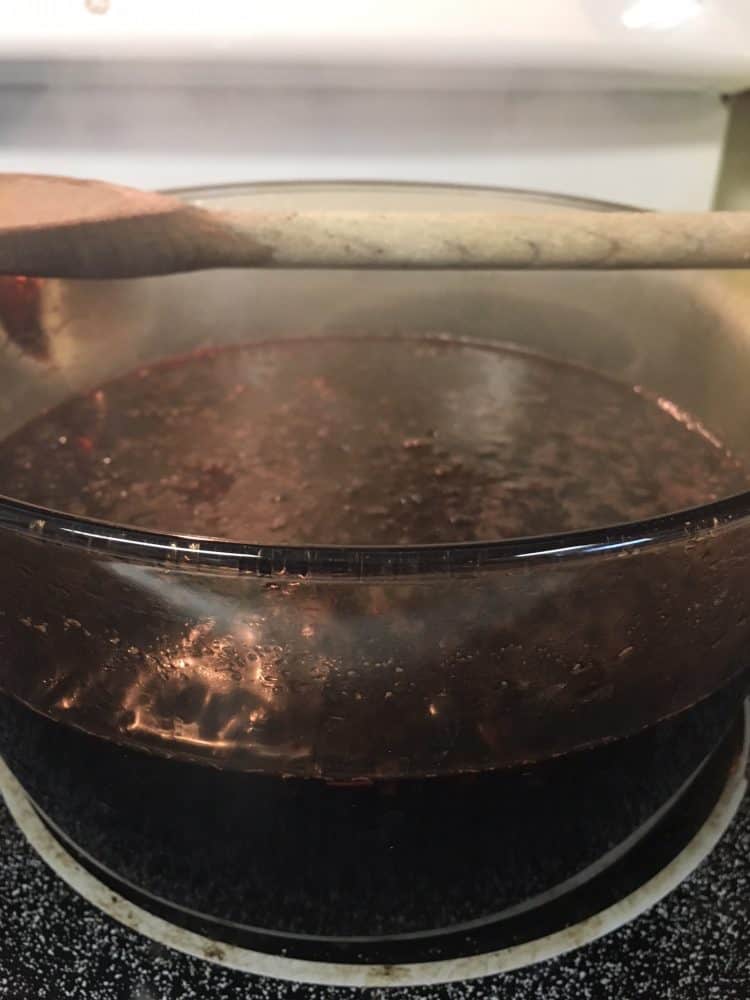
After simmering the berries, we used a potato masher (like this) to get all the remaining juice out. Allow to cool, then strain through a cheesecloth into a large bowl.
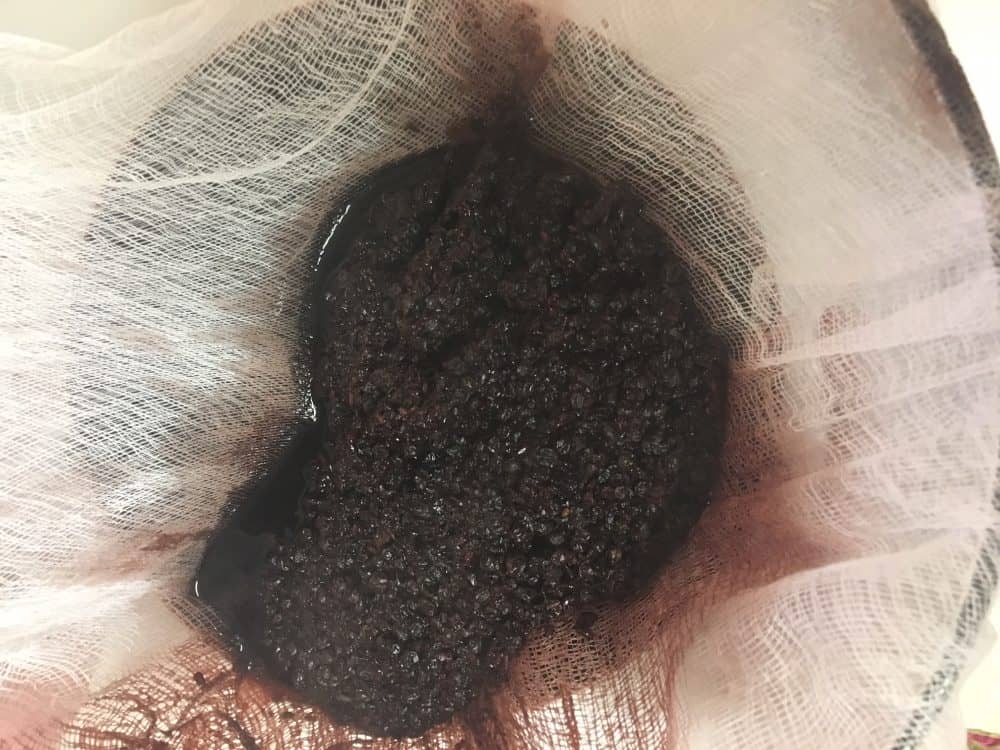
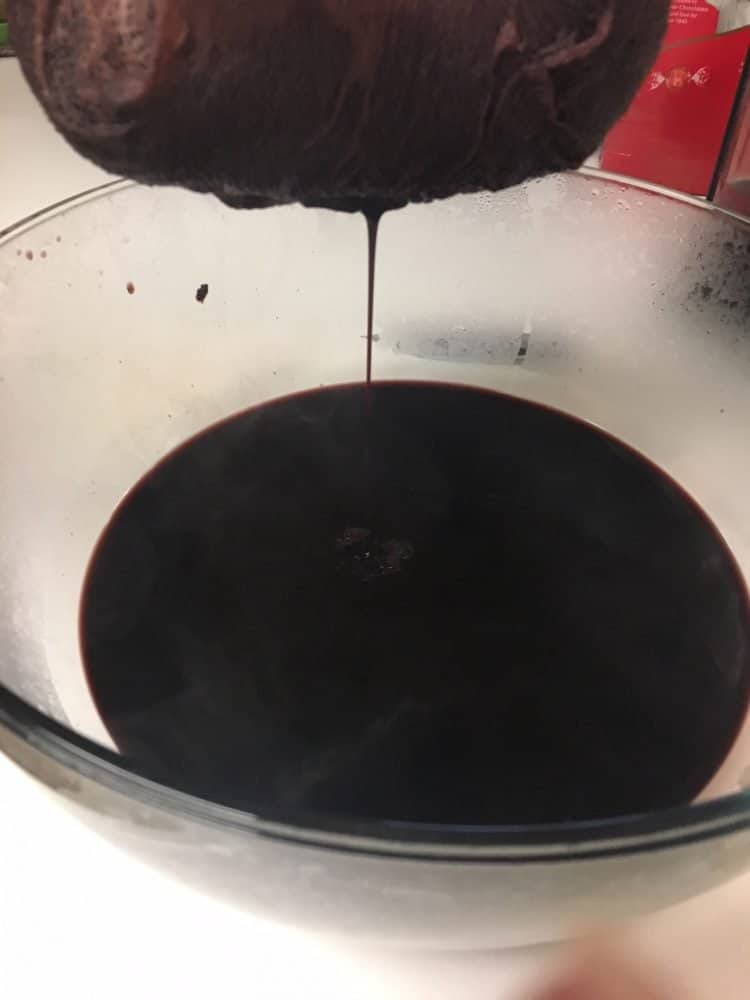
Squeeze the cheesecloth really well to make sure you get out all the elderberry goodness! Alternatively, you could use a mesh strainer. I was really blessed that my husband found this giant tea infuser ball at the thrift store. It’s been perfect for elderberry syrup and makes the process so easy!
Next, add raw honey and stir well. The recipe actually calls for 2 cups, but we only used 1 1/4 cups and it was still extremely sweet. Sweeten to your personal taste.
UPDATE 6/22/19: If you’re wondering how to thicken elderberry syrup, there is now a tutorial on the blog that’s super popular! It uses an arrowroot powder slurry to thicken and is very easy to make. You can even use it as an elderberry pancake syrup recipe! Just use 1 tbsp. mixed in with your favorite maple syrup.
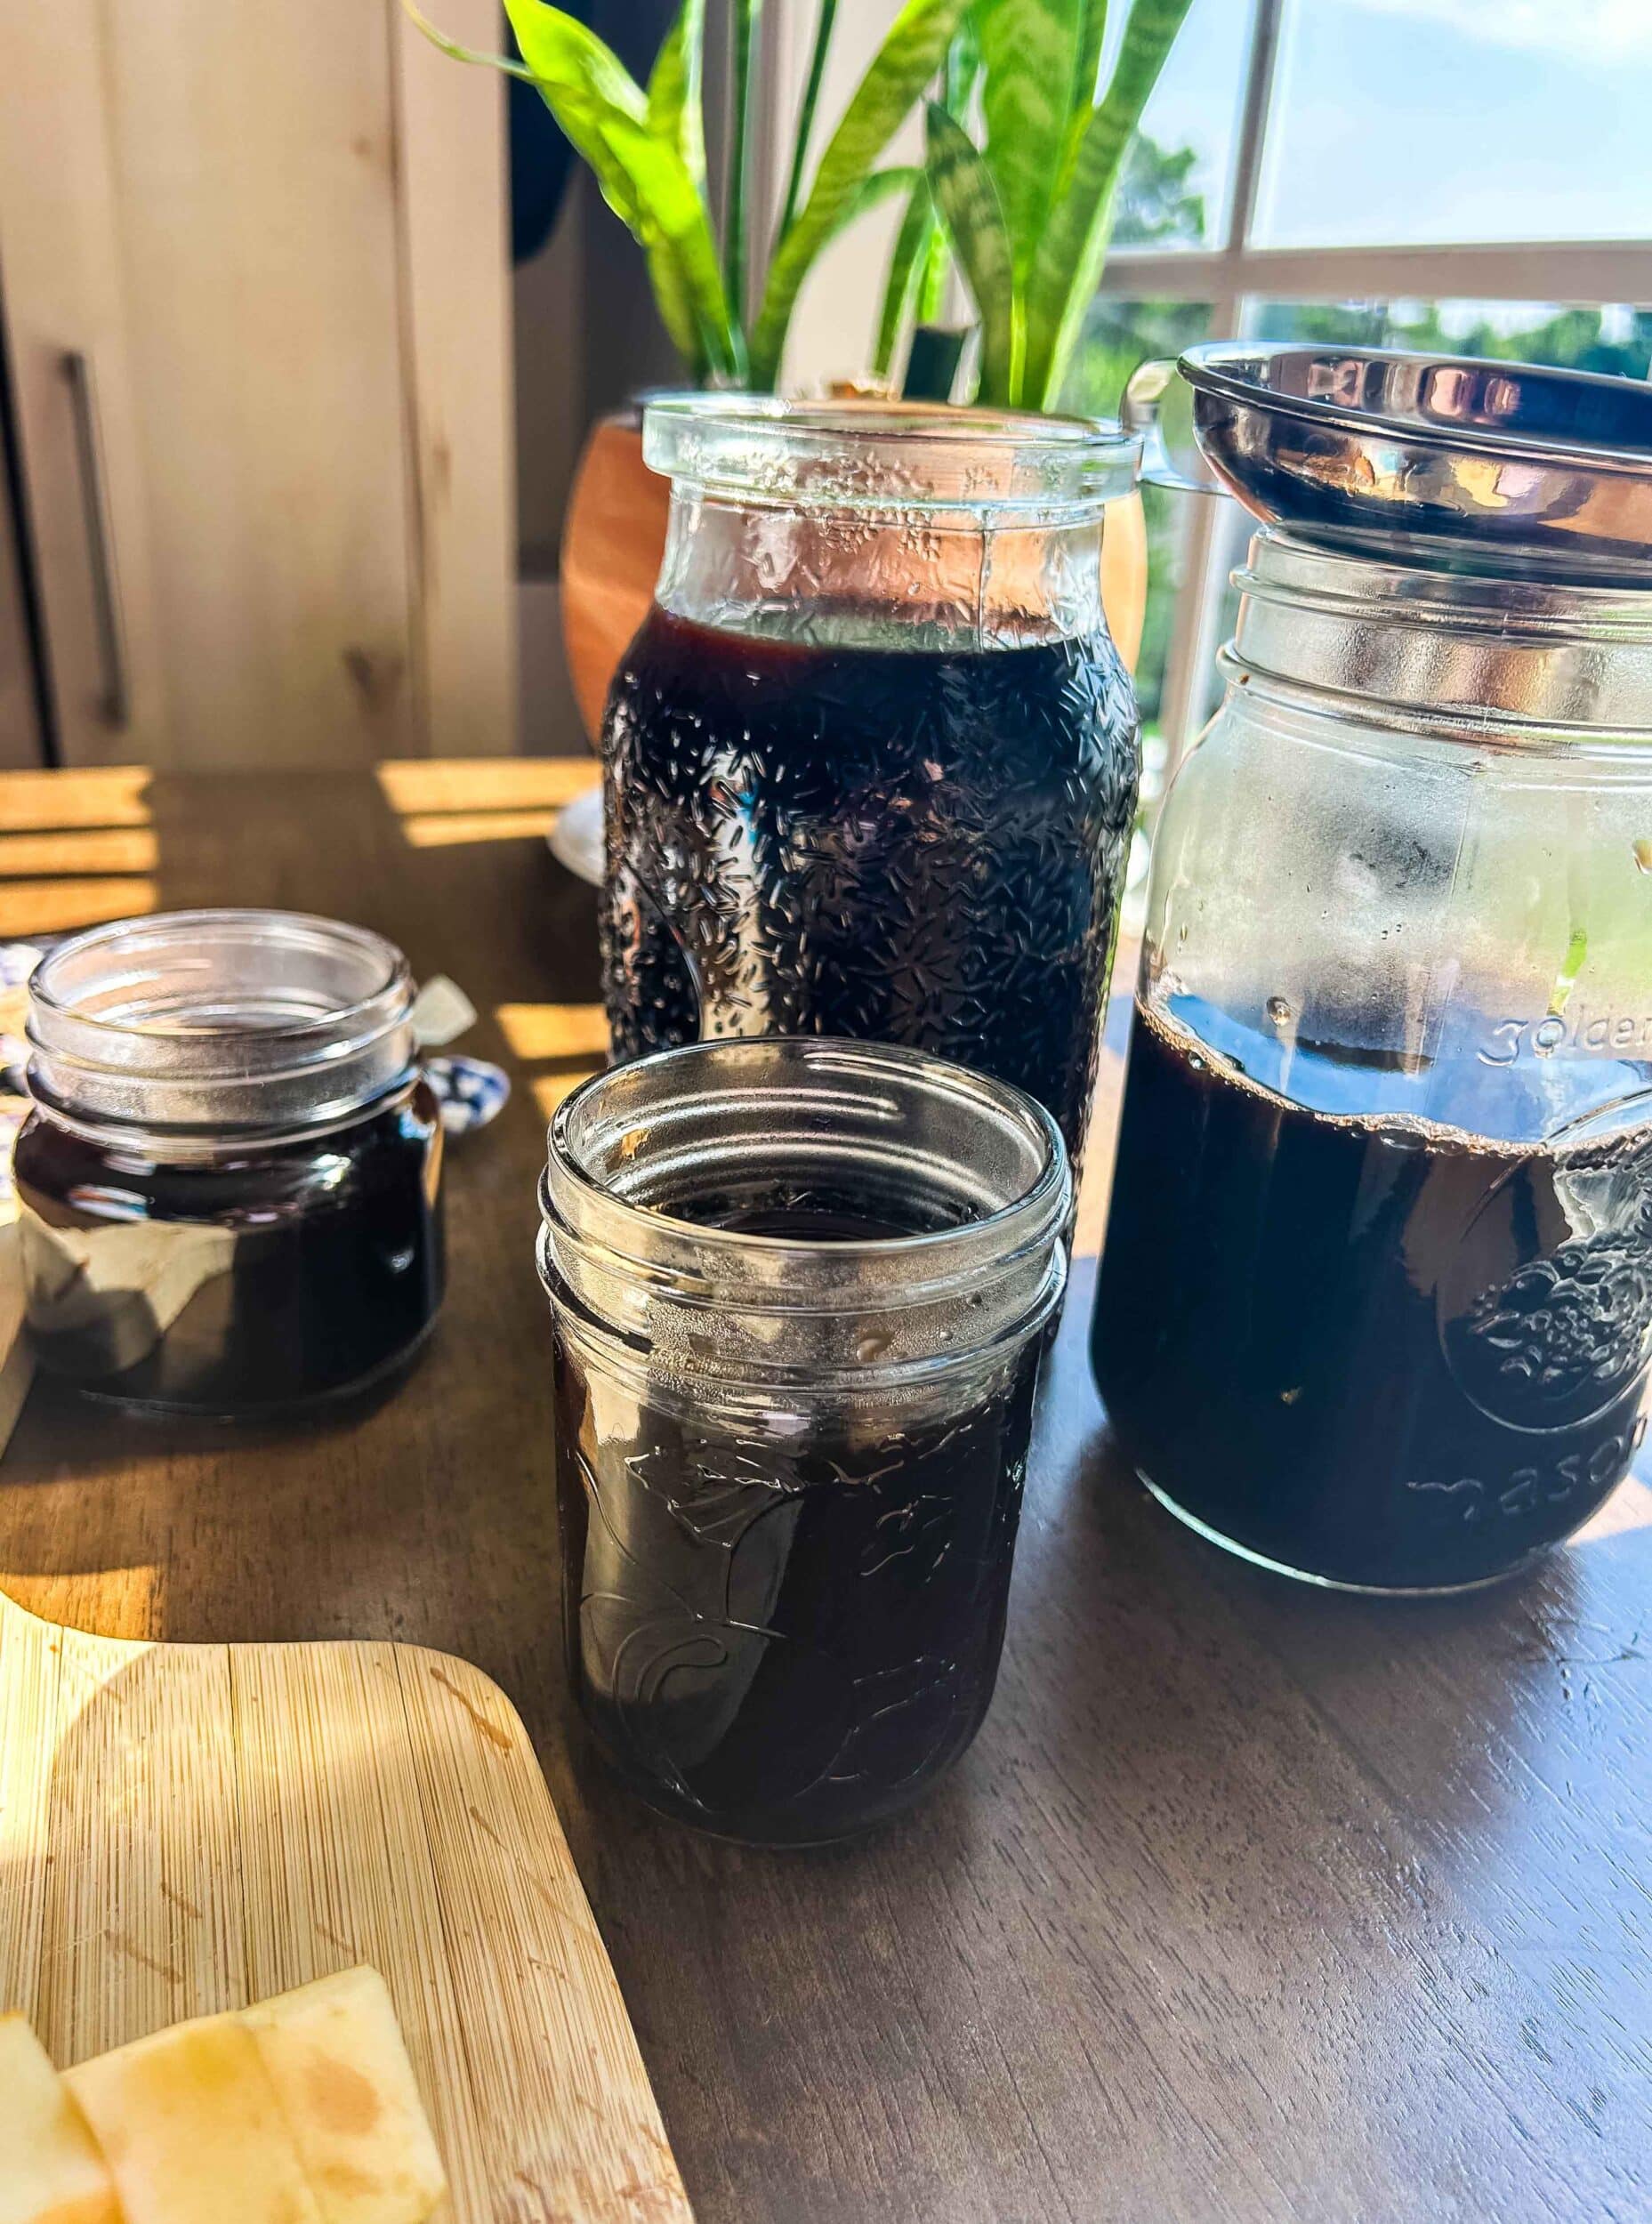
Finally, divide your elderberry syrup into small jars and enjoy! It keeps for several months in the fridge, and remaining jars can be stored in the freezer until ready to use. These are great for gifting, too.
What’s the dosage information for elderberry syrup?
Preventative: 1 teaspoon 1 or 2 times daily
For Illness: 1-3 teaspoons up to 4 times daily
For example, a great way to incorporate this into daily life would be to take one teaspoon per day during cold and flu season. If you start noticing symptoms, triple the dose. Use a smaller dose for kids and a larger dose for adults.
How long does elderberry syrup stay fresh?
It keeps for several months in the fridge, and remaining jars can be stored in the freezer until ready to use. It can be kept frozen for up to 6 months.
How long do dried elderberries last?
Dried elderberries keep in the pantry for up to one year. If you have excess elderberries you won’t use in the current season, make extra syrup and sell it! Lots of people are willing to buy this, especially during flu season. Sambucol and dried elderberries sometimes get sold out during peak season, so if you are making it yourself, you can help your friends and get a little extra cash.

Simple, 3-Ingredient Elderberry Syrup
All you need is dried elderberries, water, honey, and a strainer to have fresh elderberry syrup for you and your family! It takes less than an hour, and most of the process is hands-off. Try this easy recipe to keep your family healthy this year.
Ingredients
- 1 1/2 cups dried elderberries
- 6 cups filtered water
- 1-2 cups honey, (to taste)
- Cinnamon stick, clove, chopped apple (optional)
Instructions
Combine dried elderberries plus spices (if using) and water in a medium sized pot.
Bring to a boil and stir; reduce heat to medium low and simmer for 30 minutes with NO LID, stirring occasionally.
Allow to cool. Using a potato masher, mash berries well.
Strain through a mesh strainer or cheesecloth into a large bowl.
Add honey and stir well. Divide into small jars and freeze or refrigerate. Keeps 2 months in the fridge, up to a year in the freezer.
Dosage: For prevention, 1 teaspoon 1 or 2 times daily. For illness, 1-3 teaspoons up to 4 times daily. Use a smaller dose for kids and a larger dose for adults.
Notes
Honey should not be used for infants younger than 12 months of age.
Nutrition Information:
Yield:
64Serving Size:
Amount Per Serving: Calories: 3Total Fat: 0gUnsaturated Fat: 0gSodium: 1mgCarbohydrates: 1gFiber: 1gSugar: 0gProtein: 0g
Now it’s your turn! Grab some dried elderberries and raw honey and make this yourself! It’s so quick and easy. Let me know how it goes for you in the comments, or if you have any tips to add.

Is there a recipe that doesn’t need refrigeration?
Not to my knowledge. Since it doesn’t have any preservatives, I would refrigerate. You might be able to find a different recipe to leave on the shelf on Pinterest or something. 🙂 (Sorry for the delayed response. I had a glitch on my blog and it wasn’t displaying any comments).
Not to my knowledge. Since it doesn’t have any preservatives, I would refrigerate. You might be able to find a different recipe to leave on the shelf on Pinterest or something. 🙂
Do you simmer with or without a lid? Another recipe recommended a lid because it’s sort of steeping like a tea and I definitely want to keep all that goodness IN the end result 🙂
I usually simmer without a lid, but you can do either way. Leaving the lid on basically makes it more concentrated 🙂
Can I use fresh instead of dried?
Yes, but you may need to increase the quantity a bit since dried is more concentrated.