Little Debbie Copycat Christmas Tree Cakes (no artificial flavors or dyes!)
Remember the nostalgia of unwrapping Little Debbie Christmas Tree Cakes as a kid? These Little Debbie copycat Christmas tree cakes bring back the soft vanilla cake, fluffy cream filling, and sweet white chocolate coating — only now, they’re made from scratch with real ingredients and no artificial dyes or flavors.
Why make Little Debbie Copycat Christmas Tree Cakes?
Sometimes, my kids want special seasonal treats like this at the grocery store. I want to be the fun mom, but knowing what’s inside these cakes, I have to be the healthy mom instead. Let’s take a look at some of the suspicious ingredients inside, shall we?

Store-bought Little Debbie Christmas Tree Ingredients:
Sugar, Corn Syrup, Enriched Bleached Flour (Wheat Flour, Niacin, Reduced Iron, Thiamin Mononitrate [Vitamin B1], Riboflavin [Vitamin B2], Folic Acid), Water, Palm and Palm Kernel Oil, Palm and Soybean Oils with TBHQ and Citric Acid to Protect Flavor, Dextrose, Soybean Oil. Contains 2% or Less of Each of the Following: Corn Starch, Green Sugar Crystals (Sugar, Confectioner’s Glaze, Yellow 5 Lake, Blue 1 Lake, Carnauba Wax), Dried Egg Whites, Whey (Milk), Leavening (Baking Soda, Sodium Aluminum Phosphate), Salt, Soy Lecithin, Mono- and Diglycerides, Sorbitan Monostearate, Titanium Dioxide (Color), Sorbic Acid (to Preserve Freshness), Red 40 Lake, Polysorbate 60, Natural and Artificial Flavors, Polysorbate 80, Annatto Extract (Color), Turmeric Extract (Color), Soy Flour.
Whew. That’s a long list of questionable junk in these processed snack cakes!
Not only do these Little Debbie copycat Christmas tree cakes taste better, they are MUCH better for you! Yes, they still contain plenty of sugar, but it’s a once-a-year treat. I’m also using sprinkles & icing with natural food colors from vegetables & fruits instead of artificial colors. We are avoiding the artificial chemicals, dyes, and junk!
Baking the Soft Vanilla Cake
The base of this recipe is a quality homemade vanilla cake. It’s a simple thin cake made with your choice of flour, sugar, butter, eggs, vanilla, & milk.
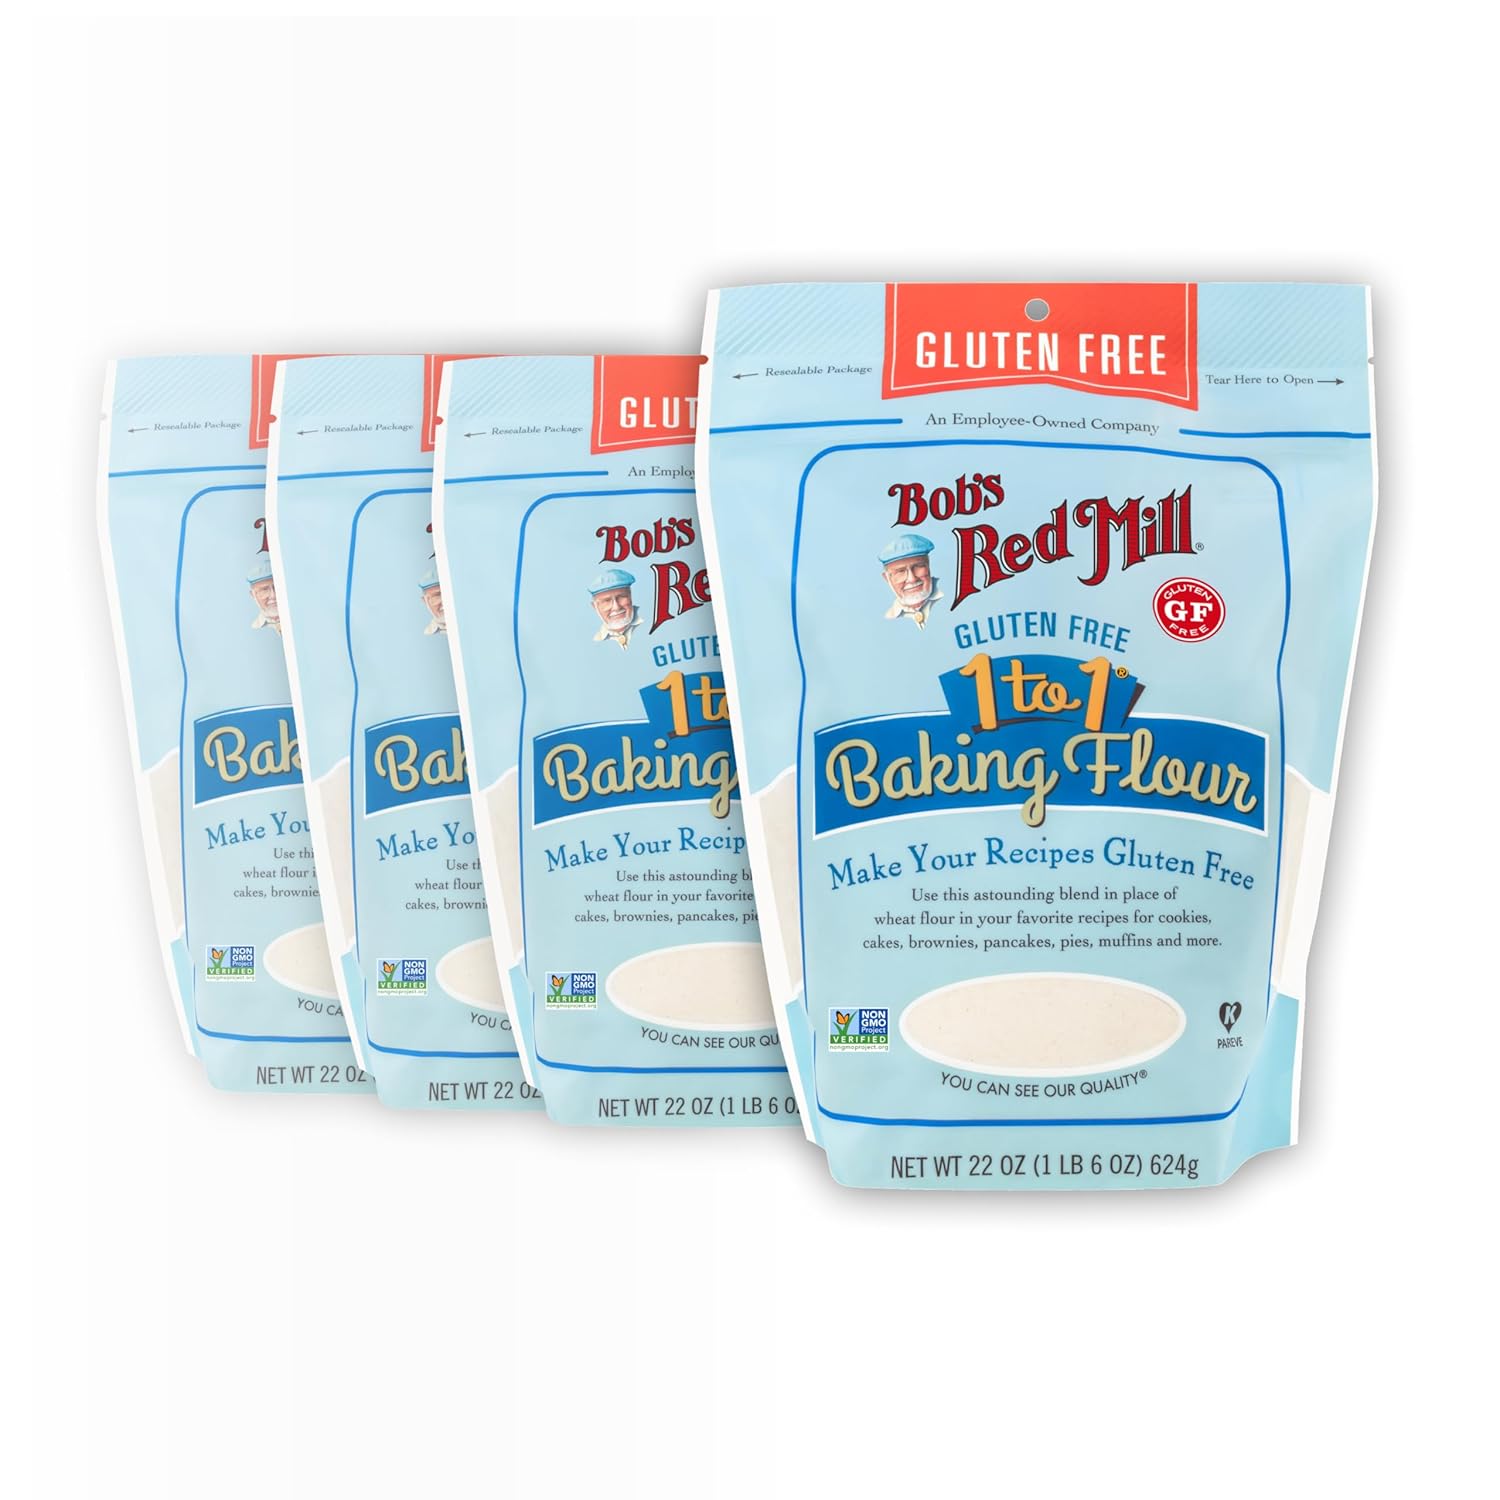
A note about the flour: Since my husband is gluten-free, I used Bob’s Red Mill 1:1 Gluten Free Baking Flour and it turned out beautifully! You could also use regular all-purpose, or try a soft cake flour like spelt. Feel free to experiment.
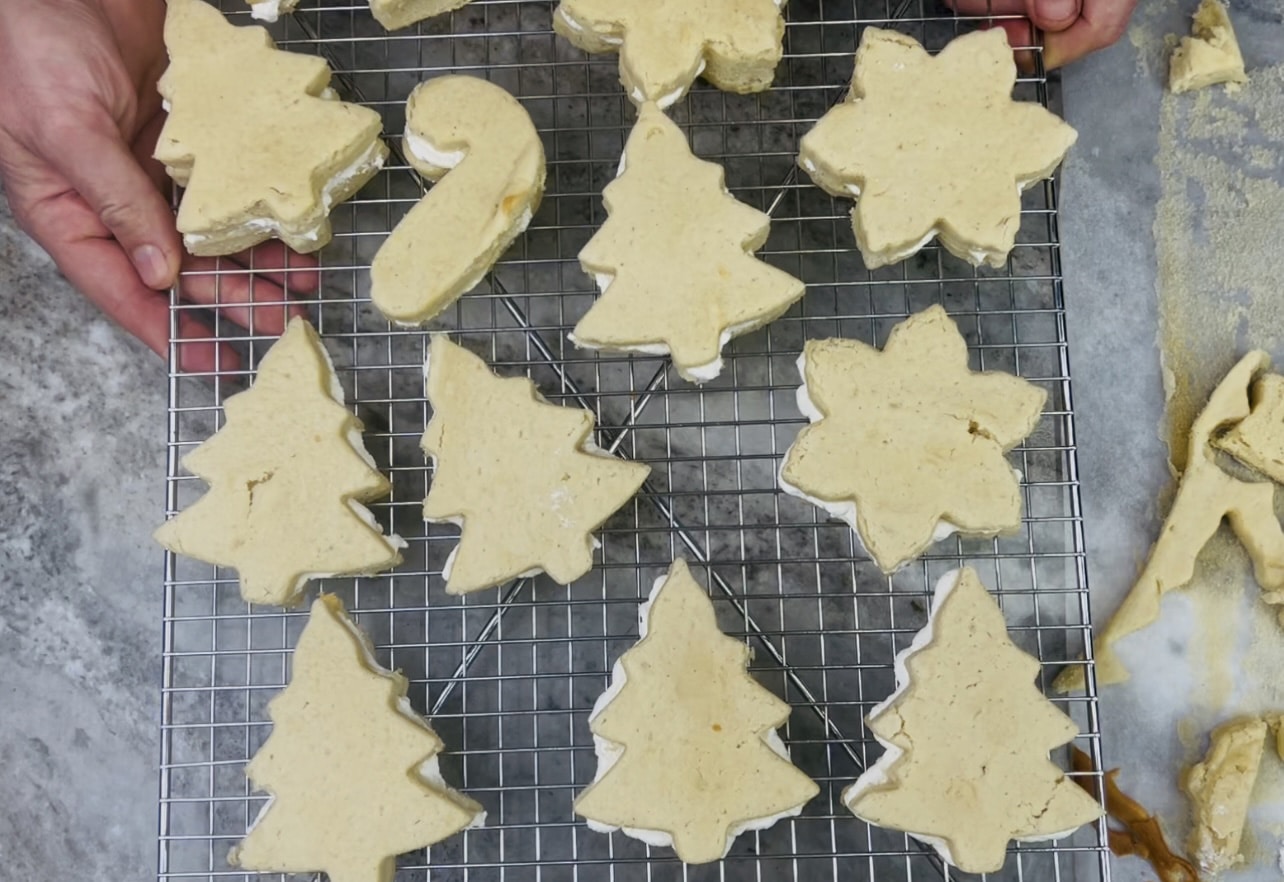
For this recipe, it’s important to make the cakes really thin so you can cut out shapes & layer them. So you’ll need 2 half-sheet pans (around 18×13″) with sides so you can spread the batter thin. I only had one half sheet pan, so baked the rest of the batter in a thin layer in a 9×13 dish.
Making the Fluffy Cream Filling
We are keeping the filling fluffy and simple here. No need to add marshmallow fluff, butter, powdered sugar or anything heavy. There is plenty of sweetness going on elsewhere, so I’m just doing a simple homemade whipped cream.
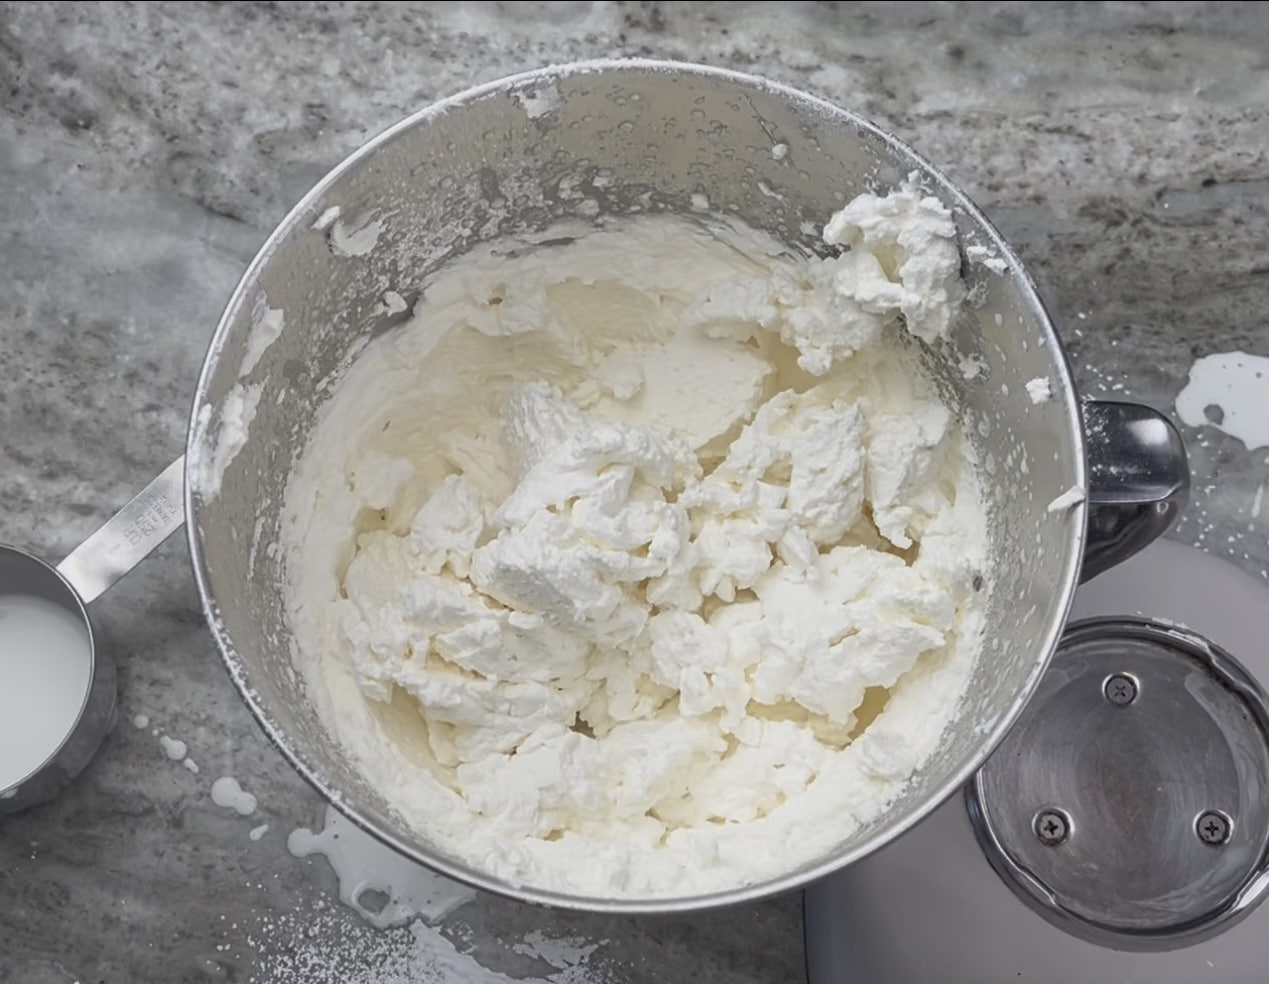
A little bit of gelatin (this is my favorite kind) helps the cream filling set up nicely, and I’m adding a little powdered sugar to sweeten, plus vanilla. If you like, you can even omit the sugar in the filling entirely.
All About the Sweet White Chocolate Coating
I decided to use white chocolate chips melted with coconut oil to thin the coating a bit. The first time I tested the recipe, I didn’t add much coconut oil, and it was a little too thick. To make it a bit thinner, I added more coconut oil which made the coating more similar to the Little Debbie cakes.
If you don’t want to use white chocolate chips, you could also use a white chocolate baking bar, or almond bark. You may need to adjust the amount of coconut oil if you do this.
I also melted the chocolate coating in a double boiler on the stove. You could also do this in a microwave safe bowl, but make sure to microwave and stir the mixture in intervals so it doesn’t burn. You may need to reheat the coating again during the dipping process if it starts to harden or get too thick.
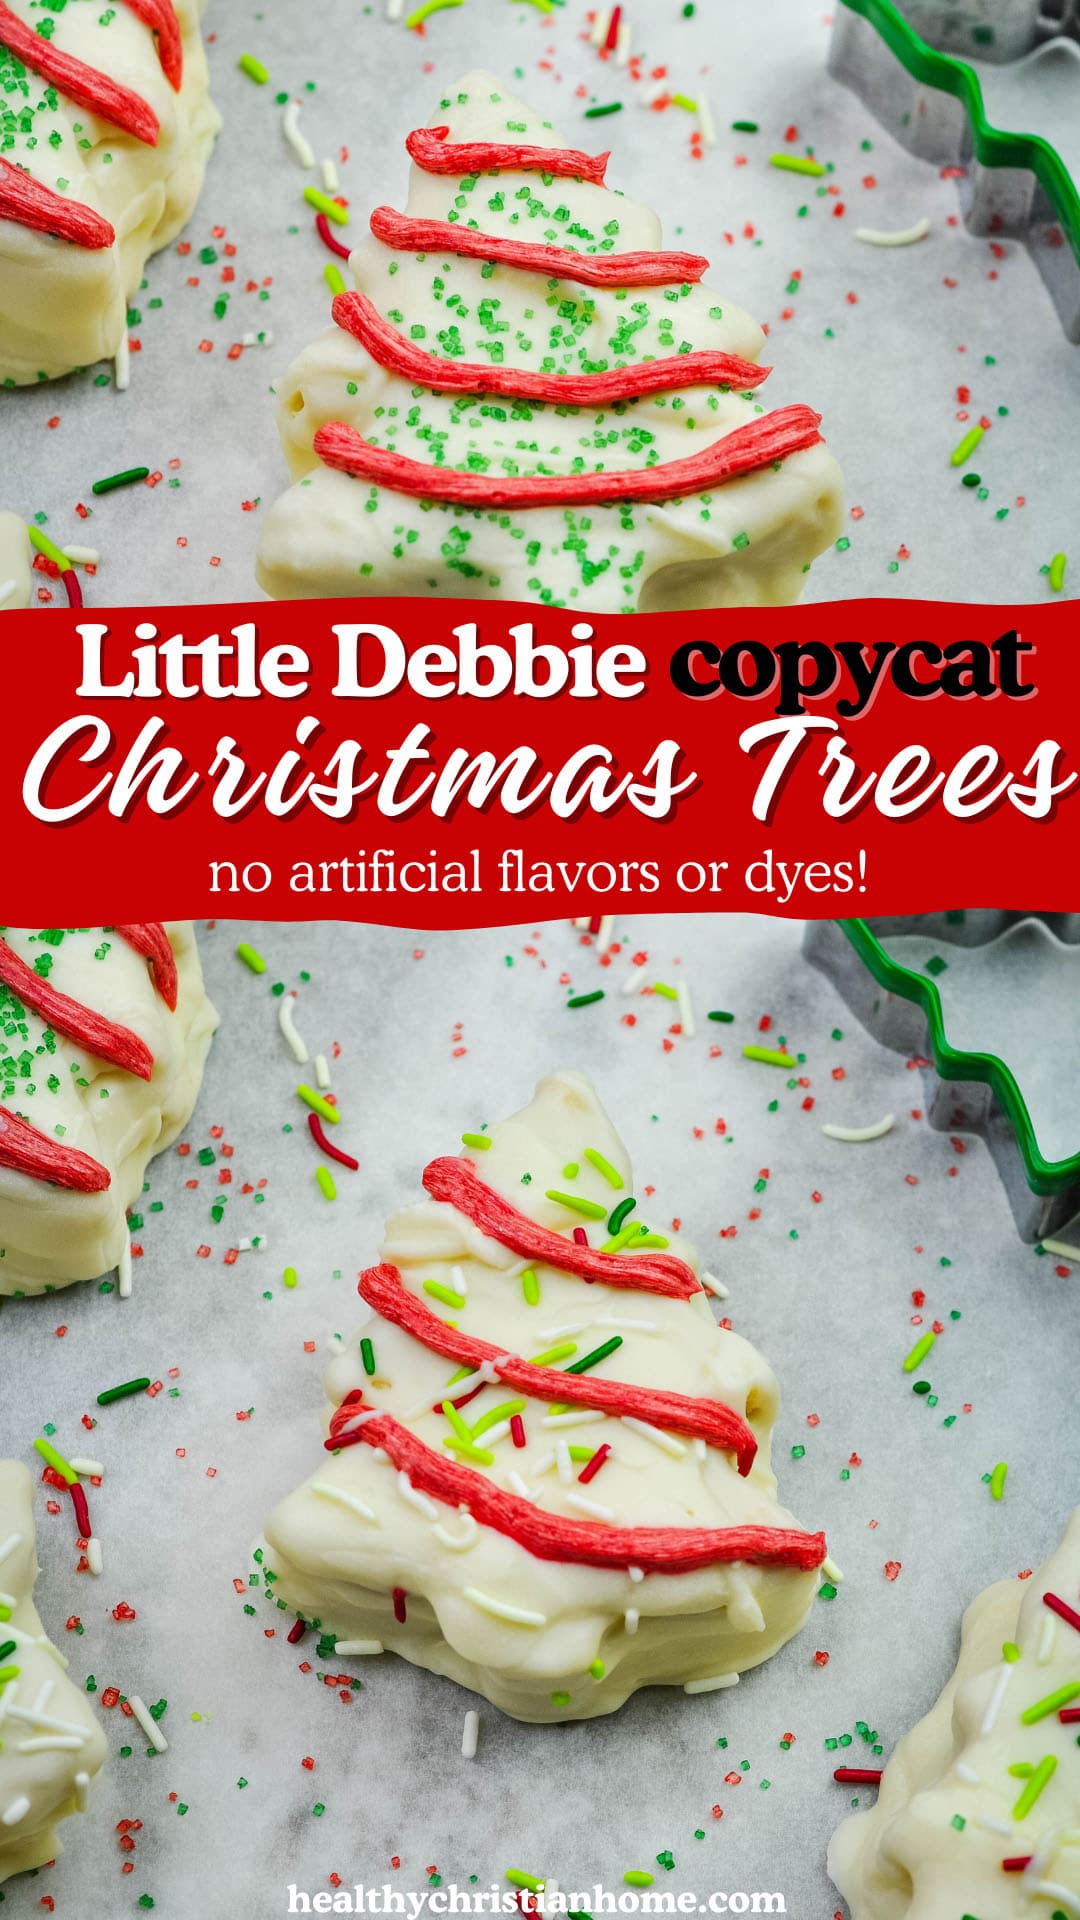
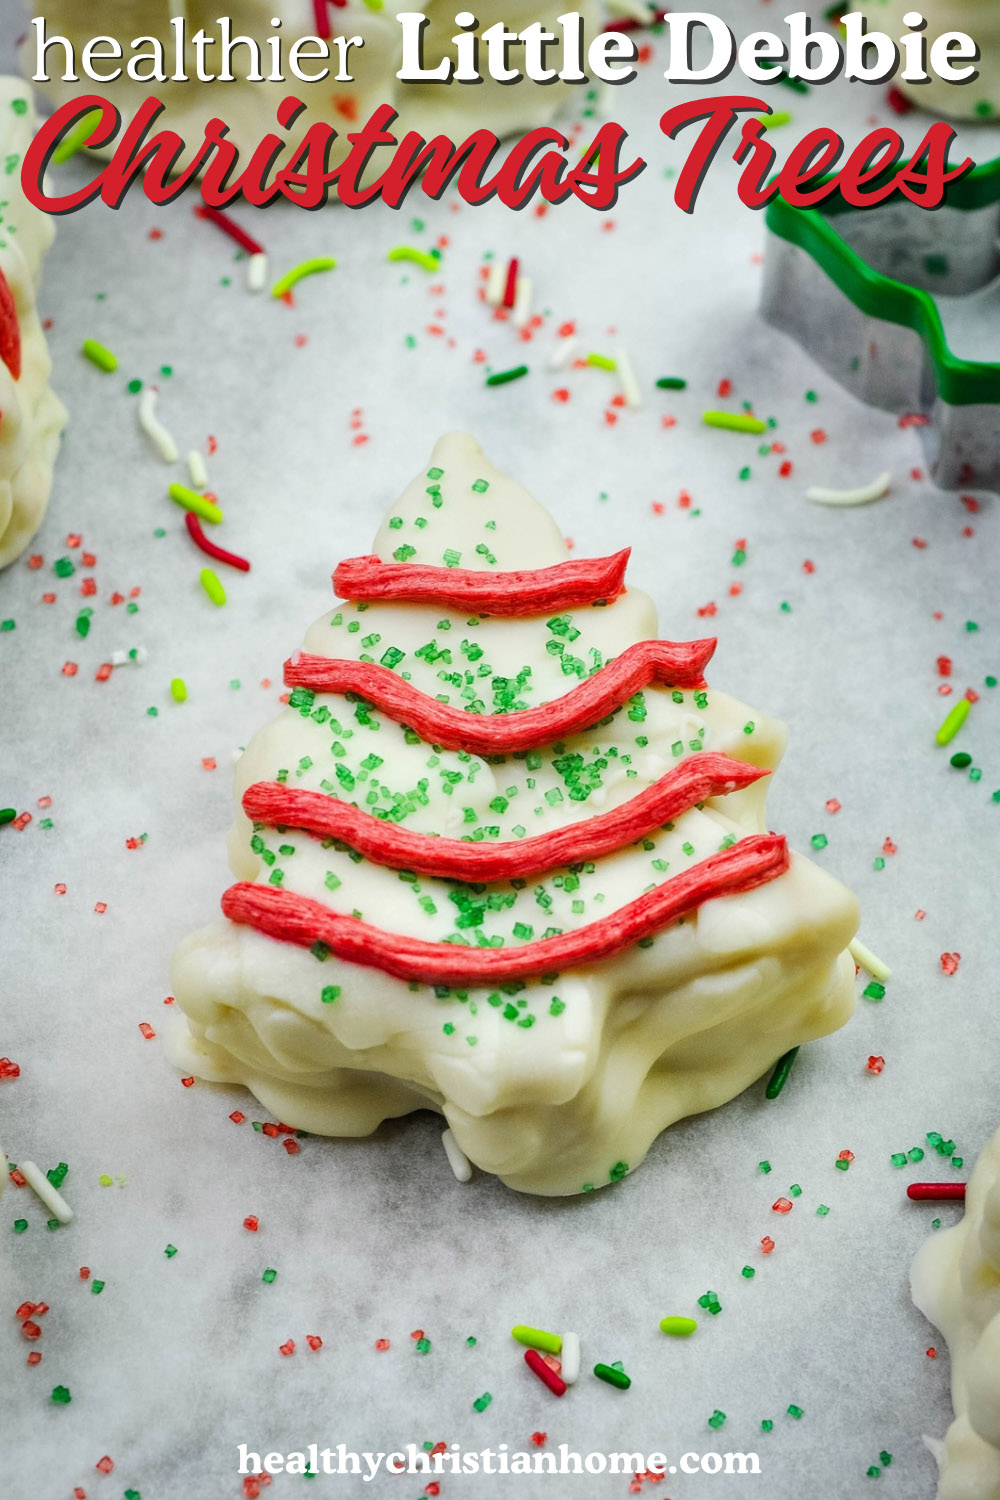
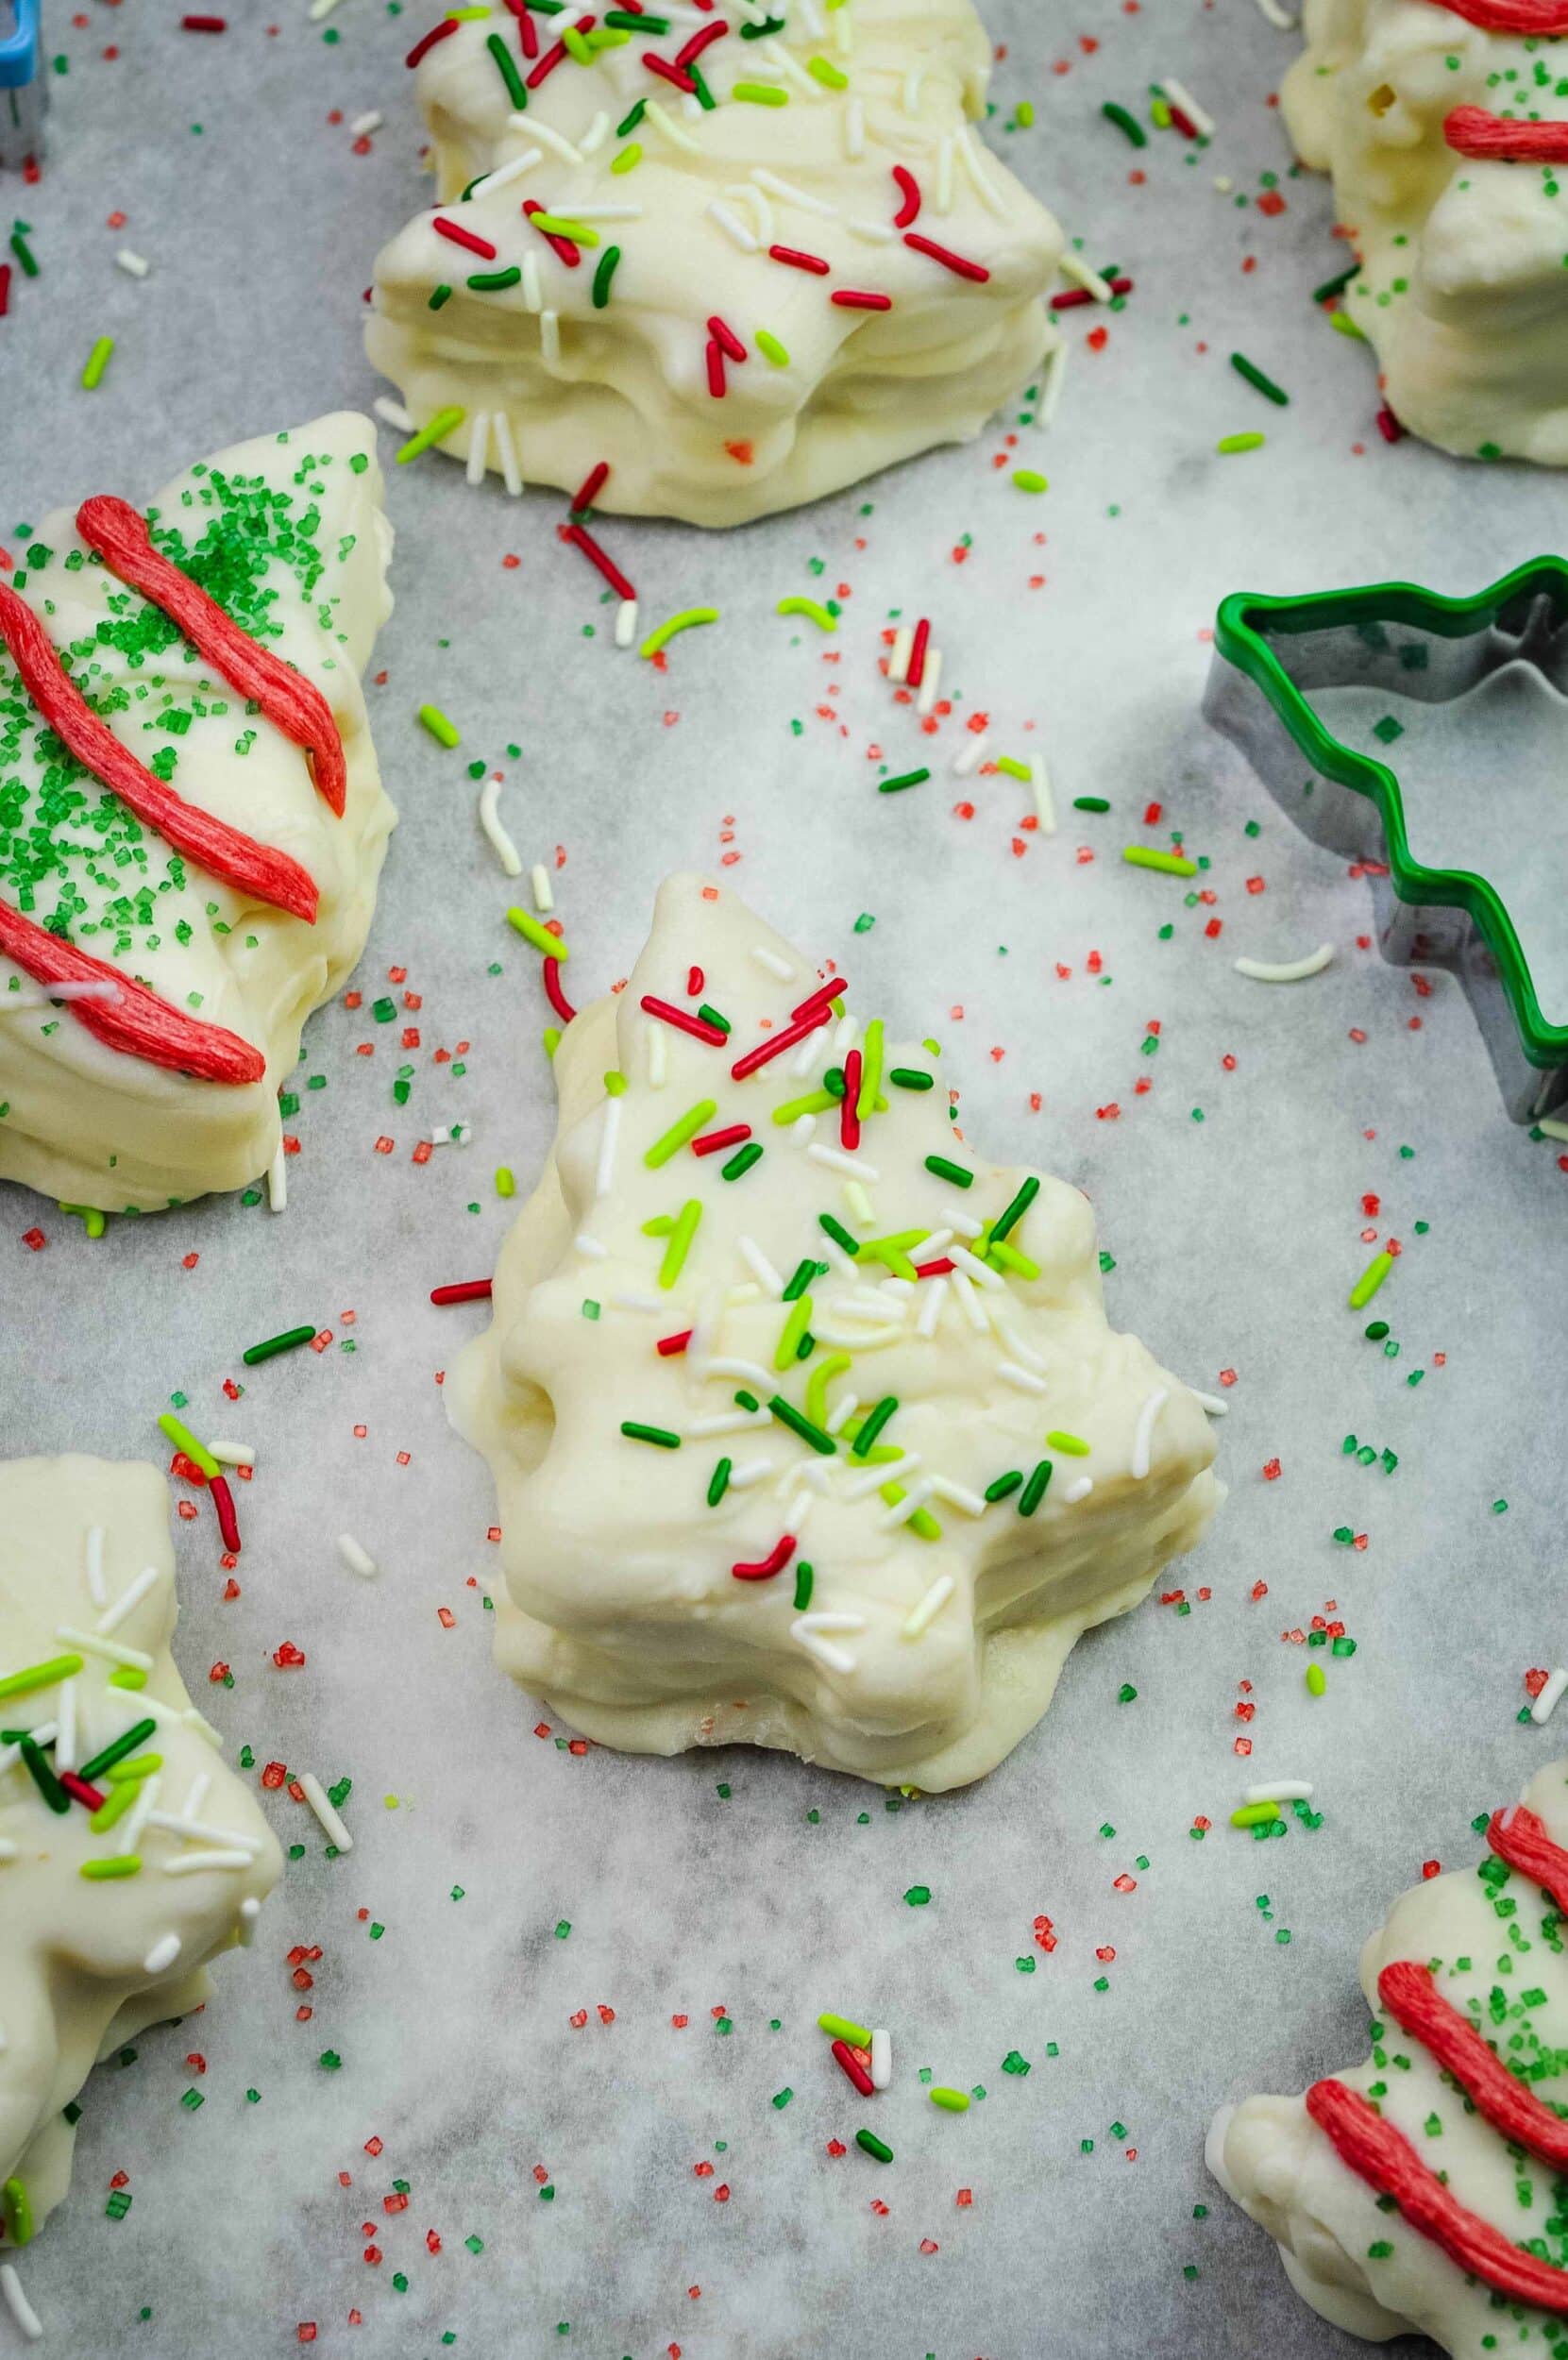
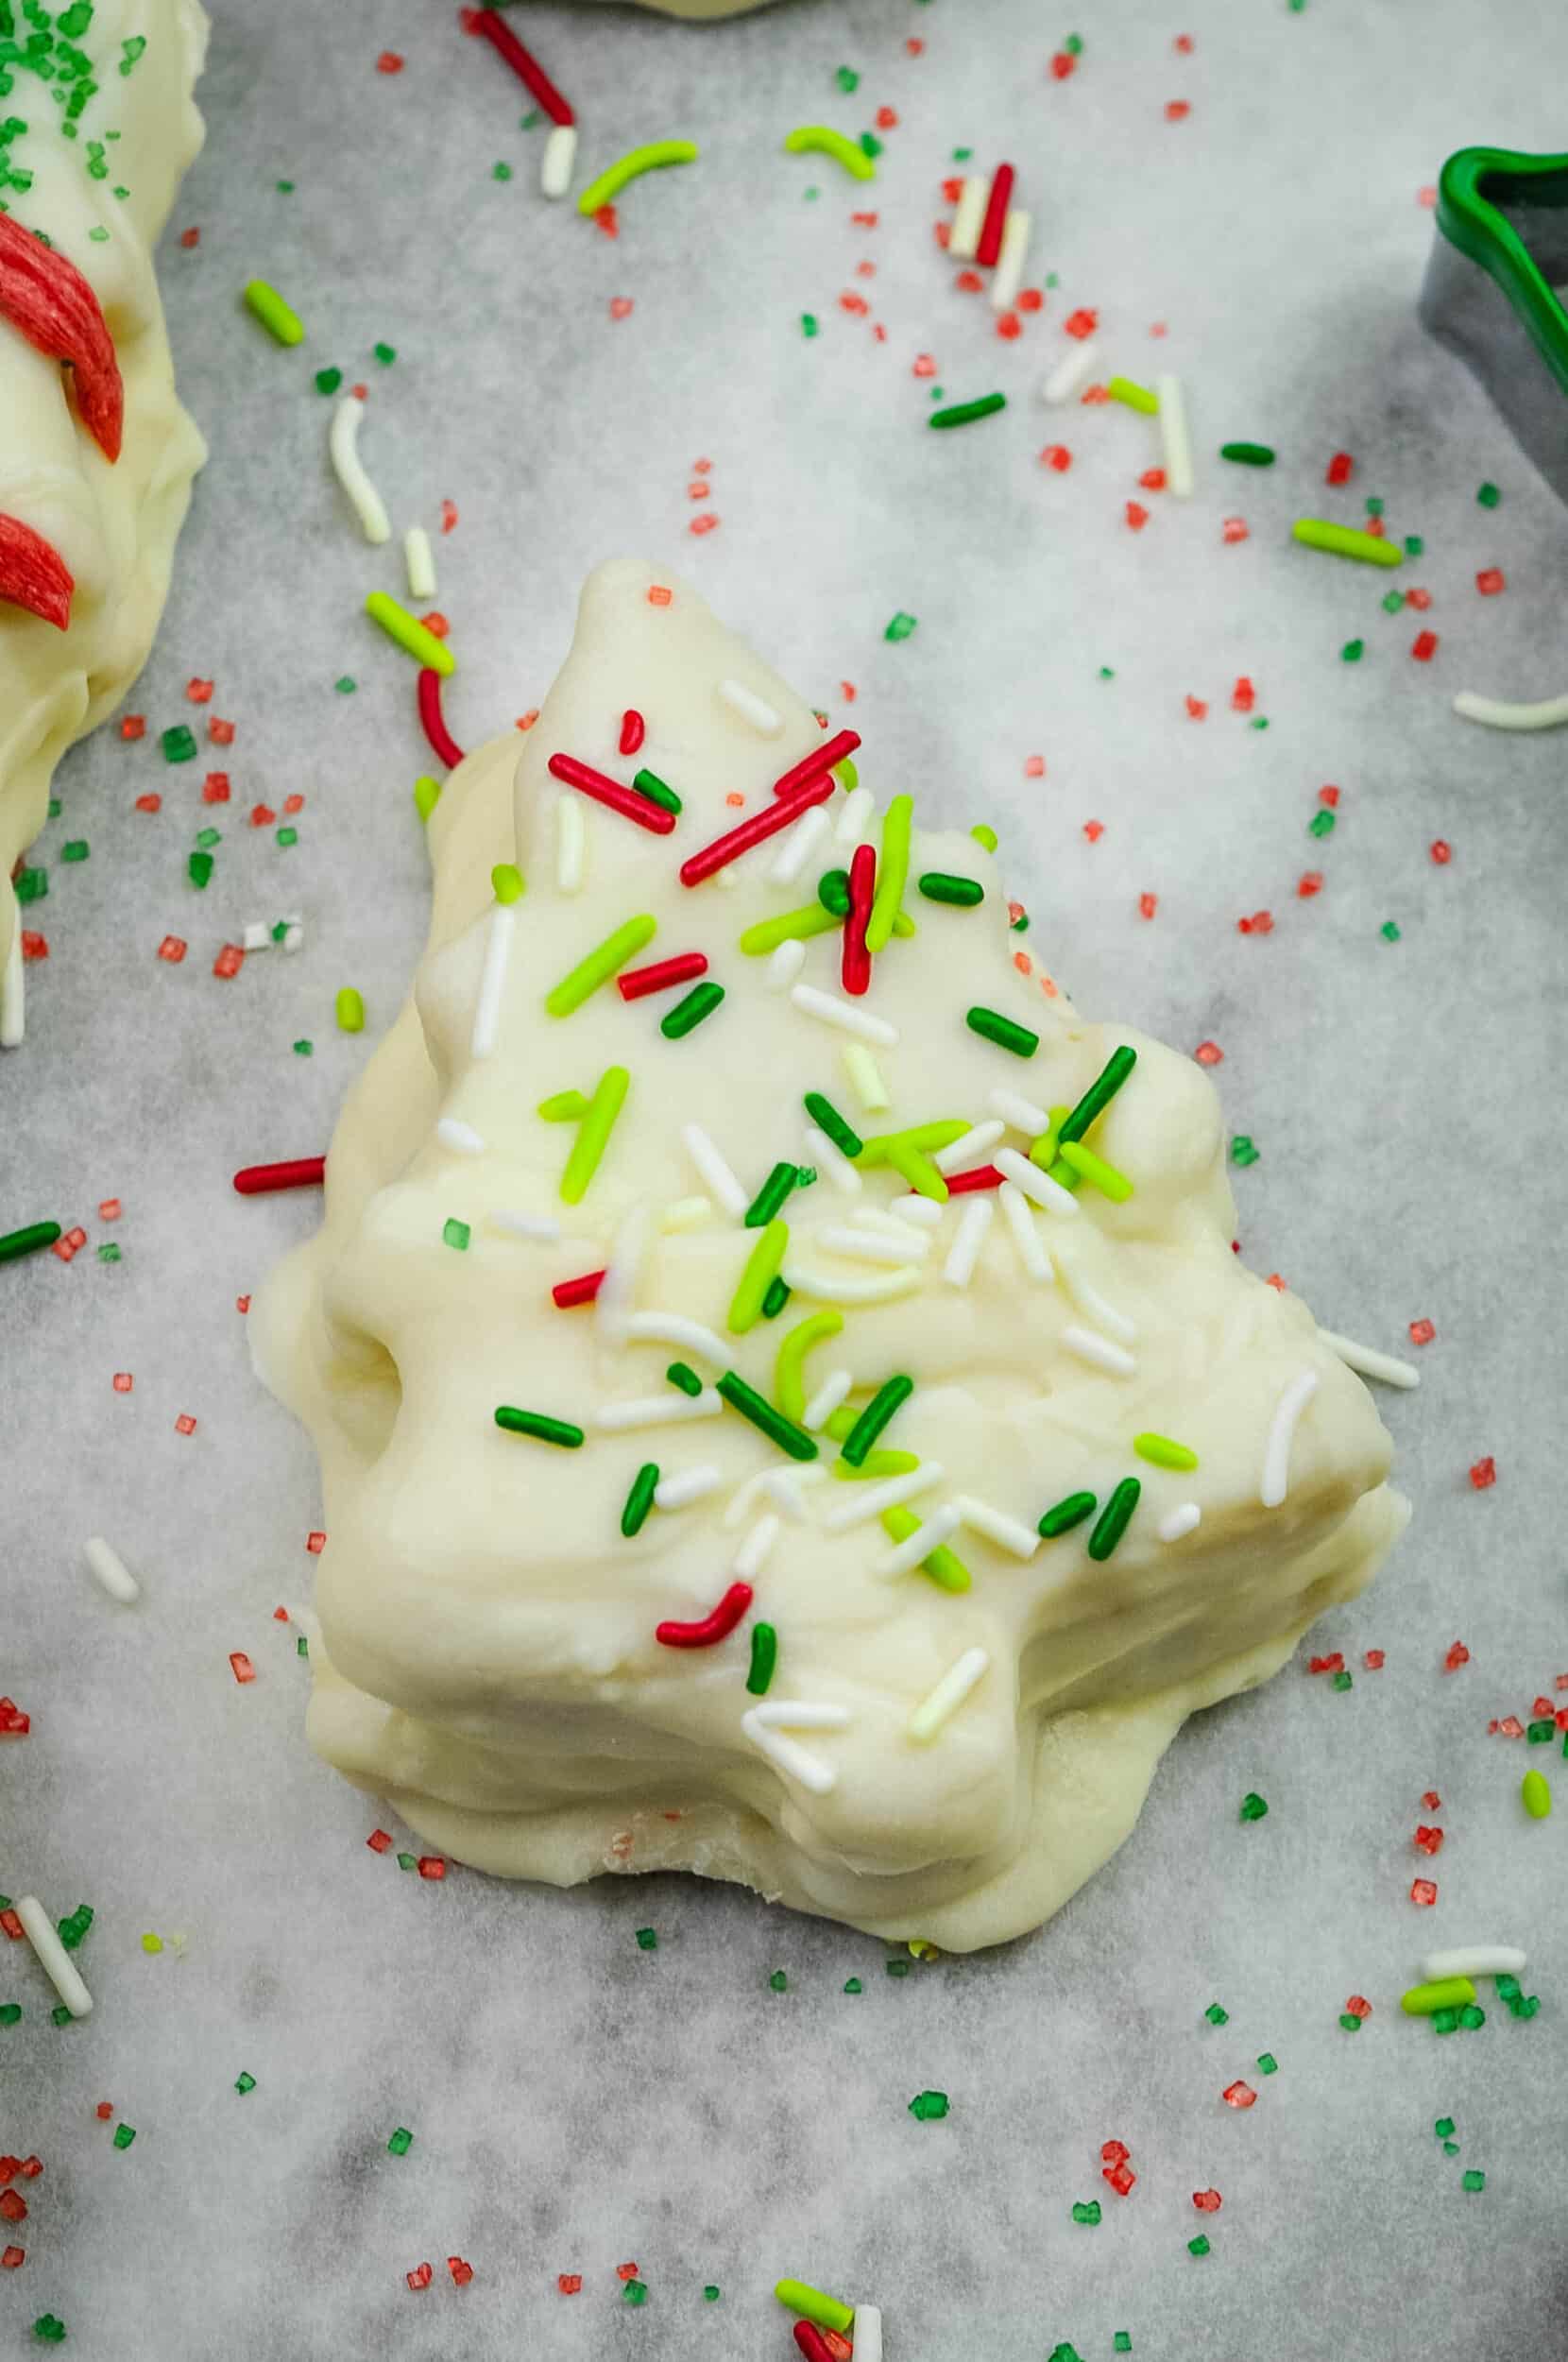
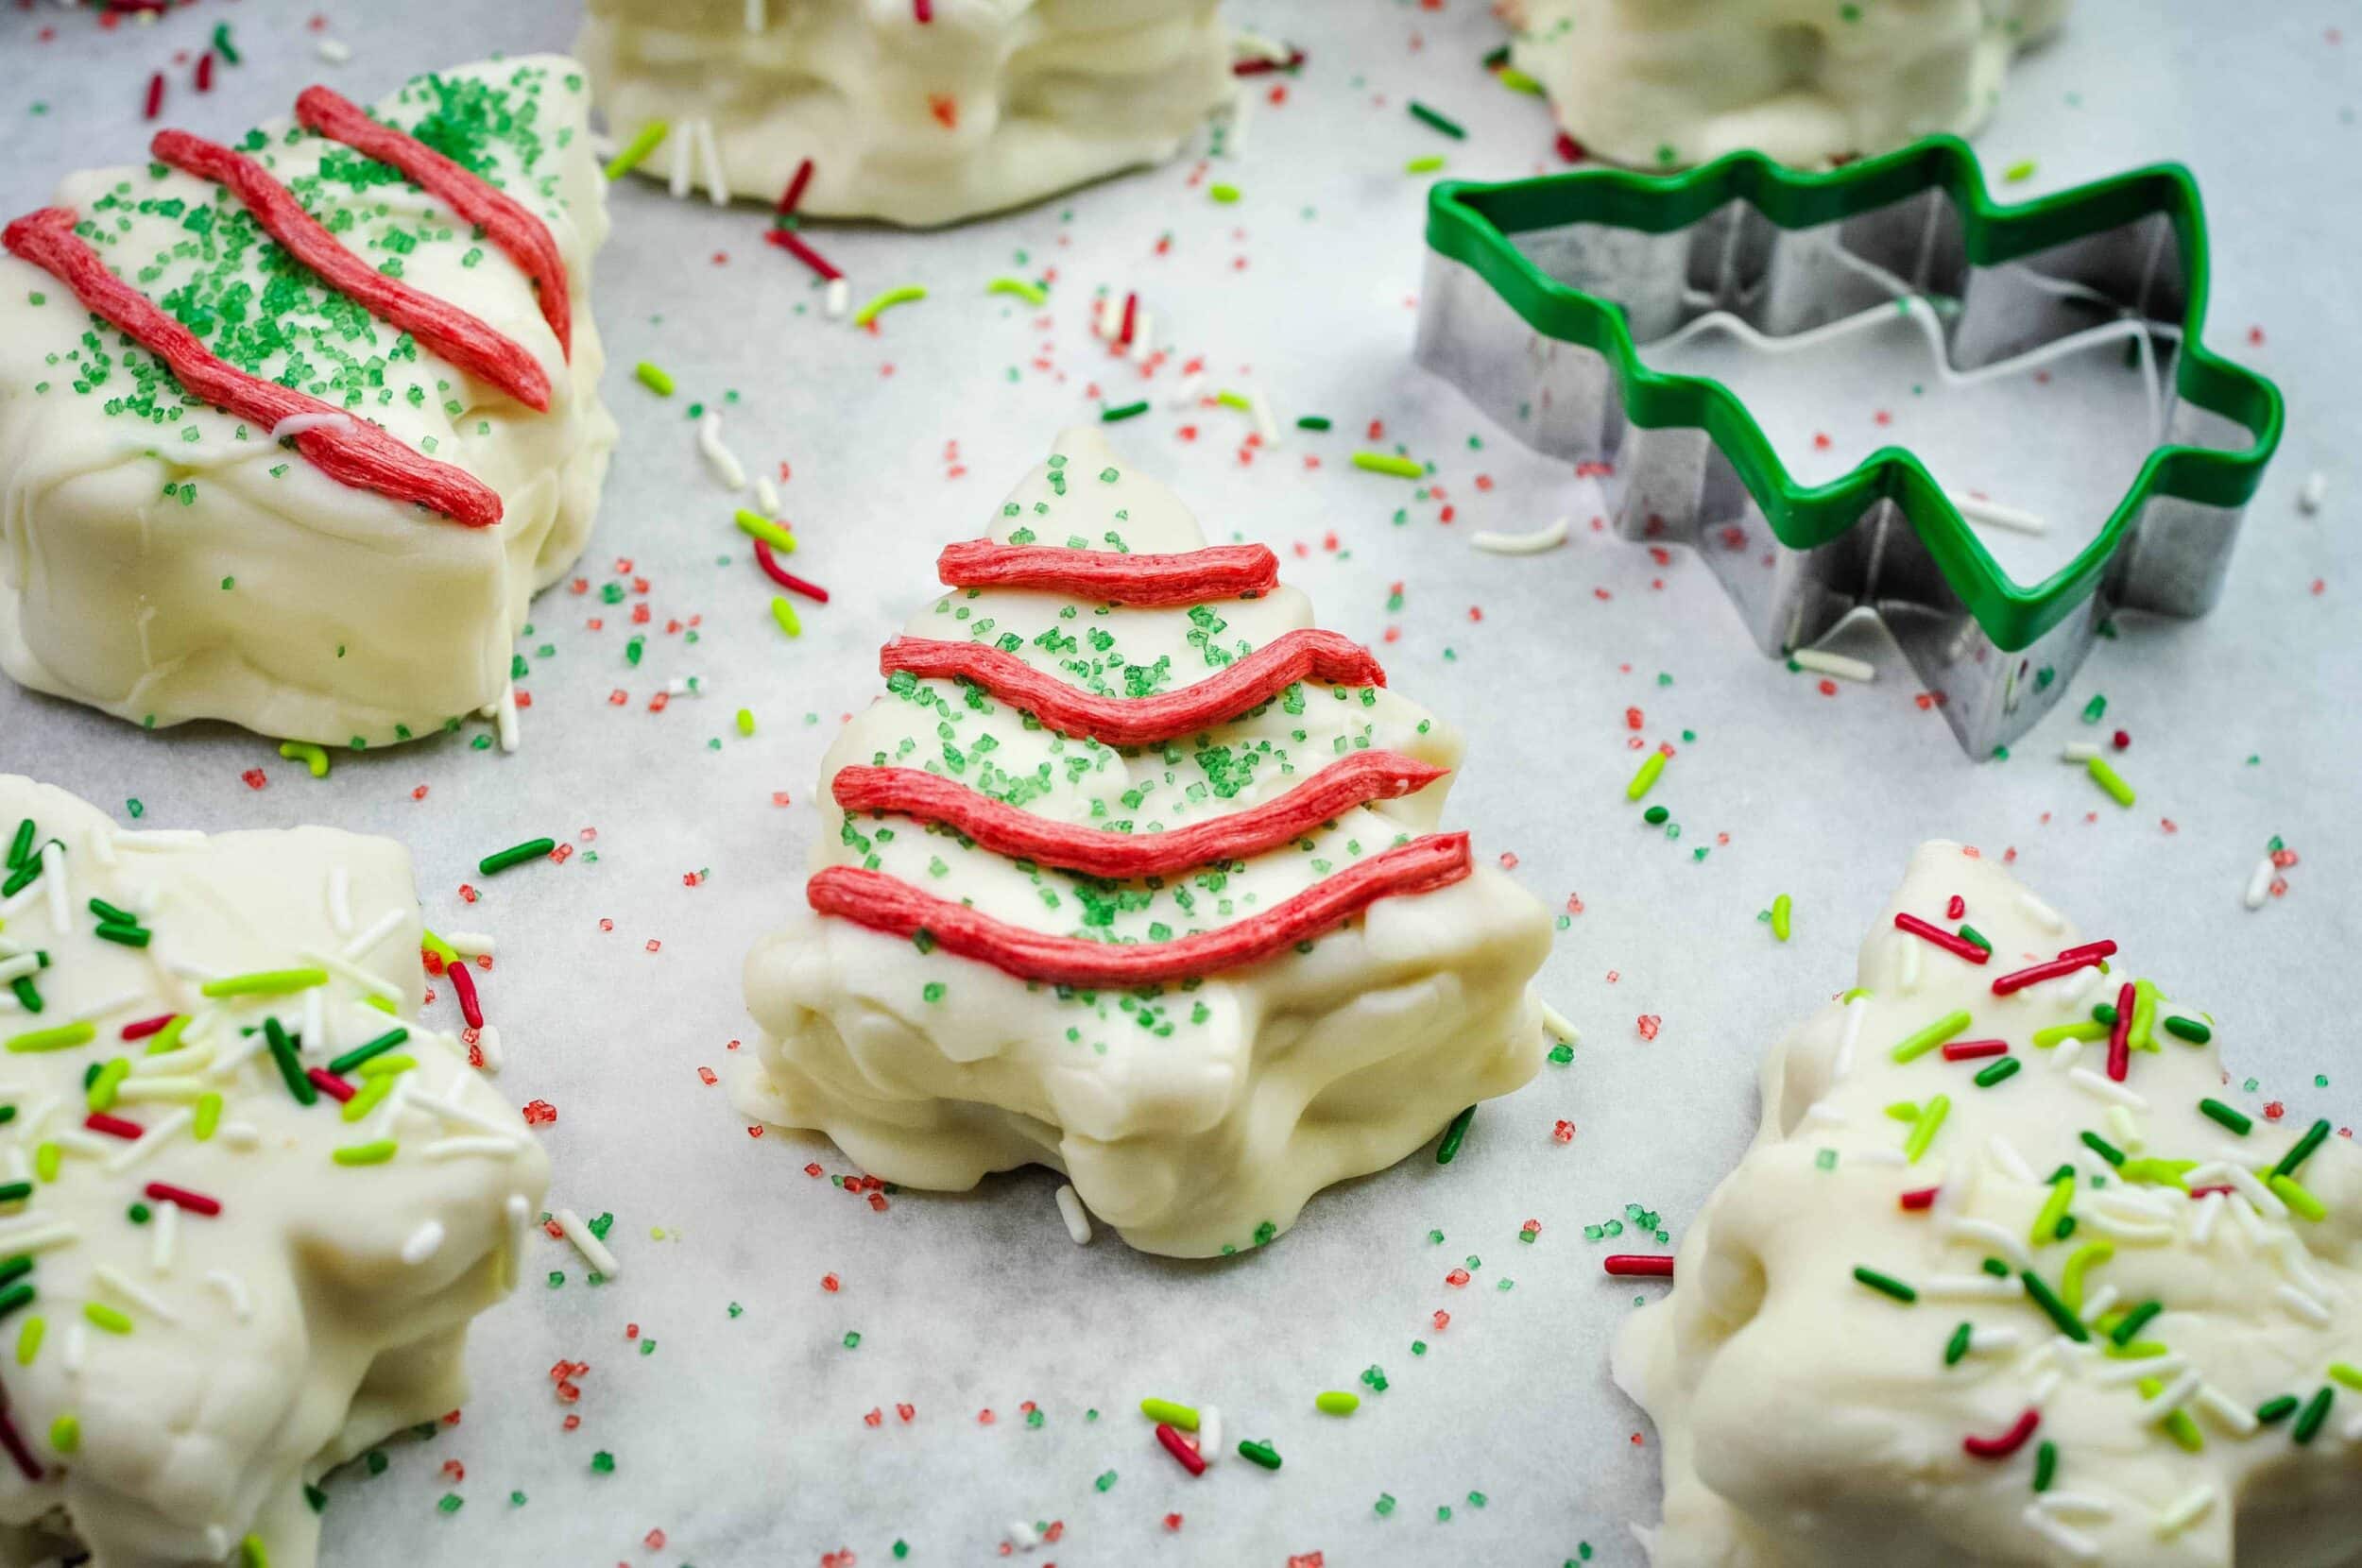
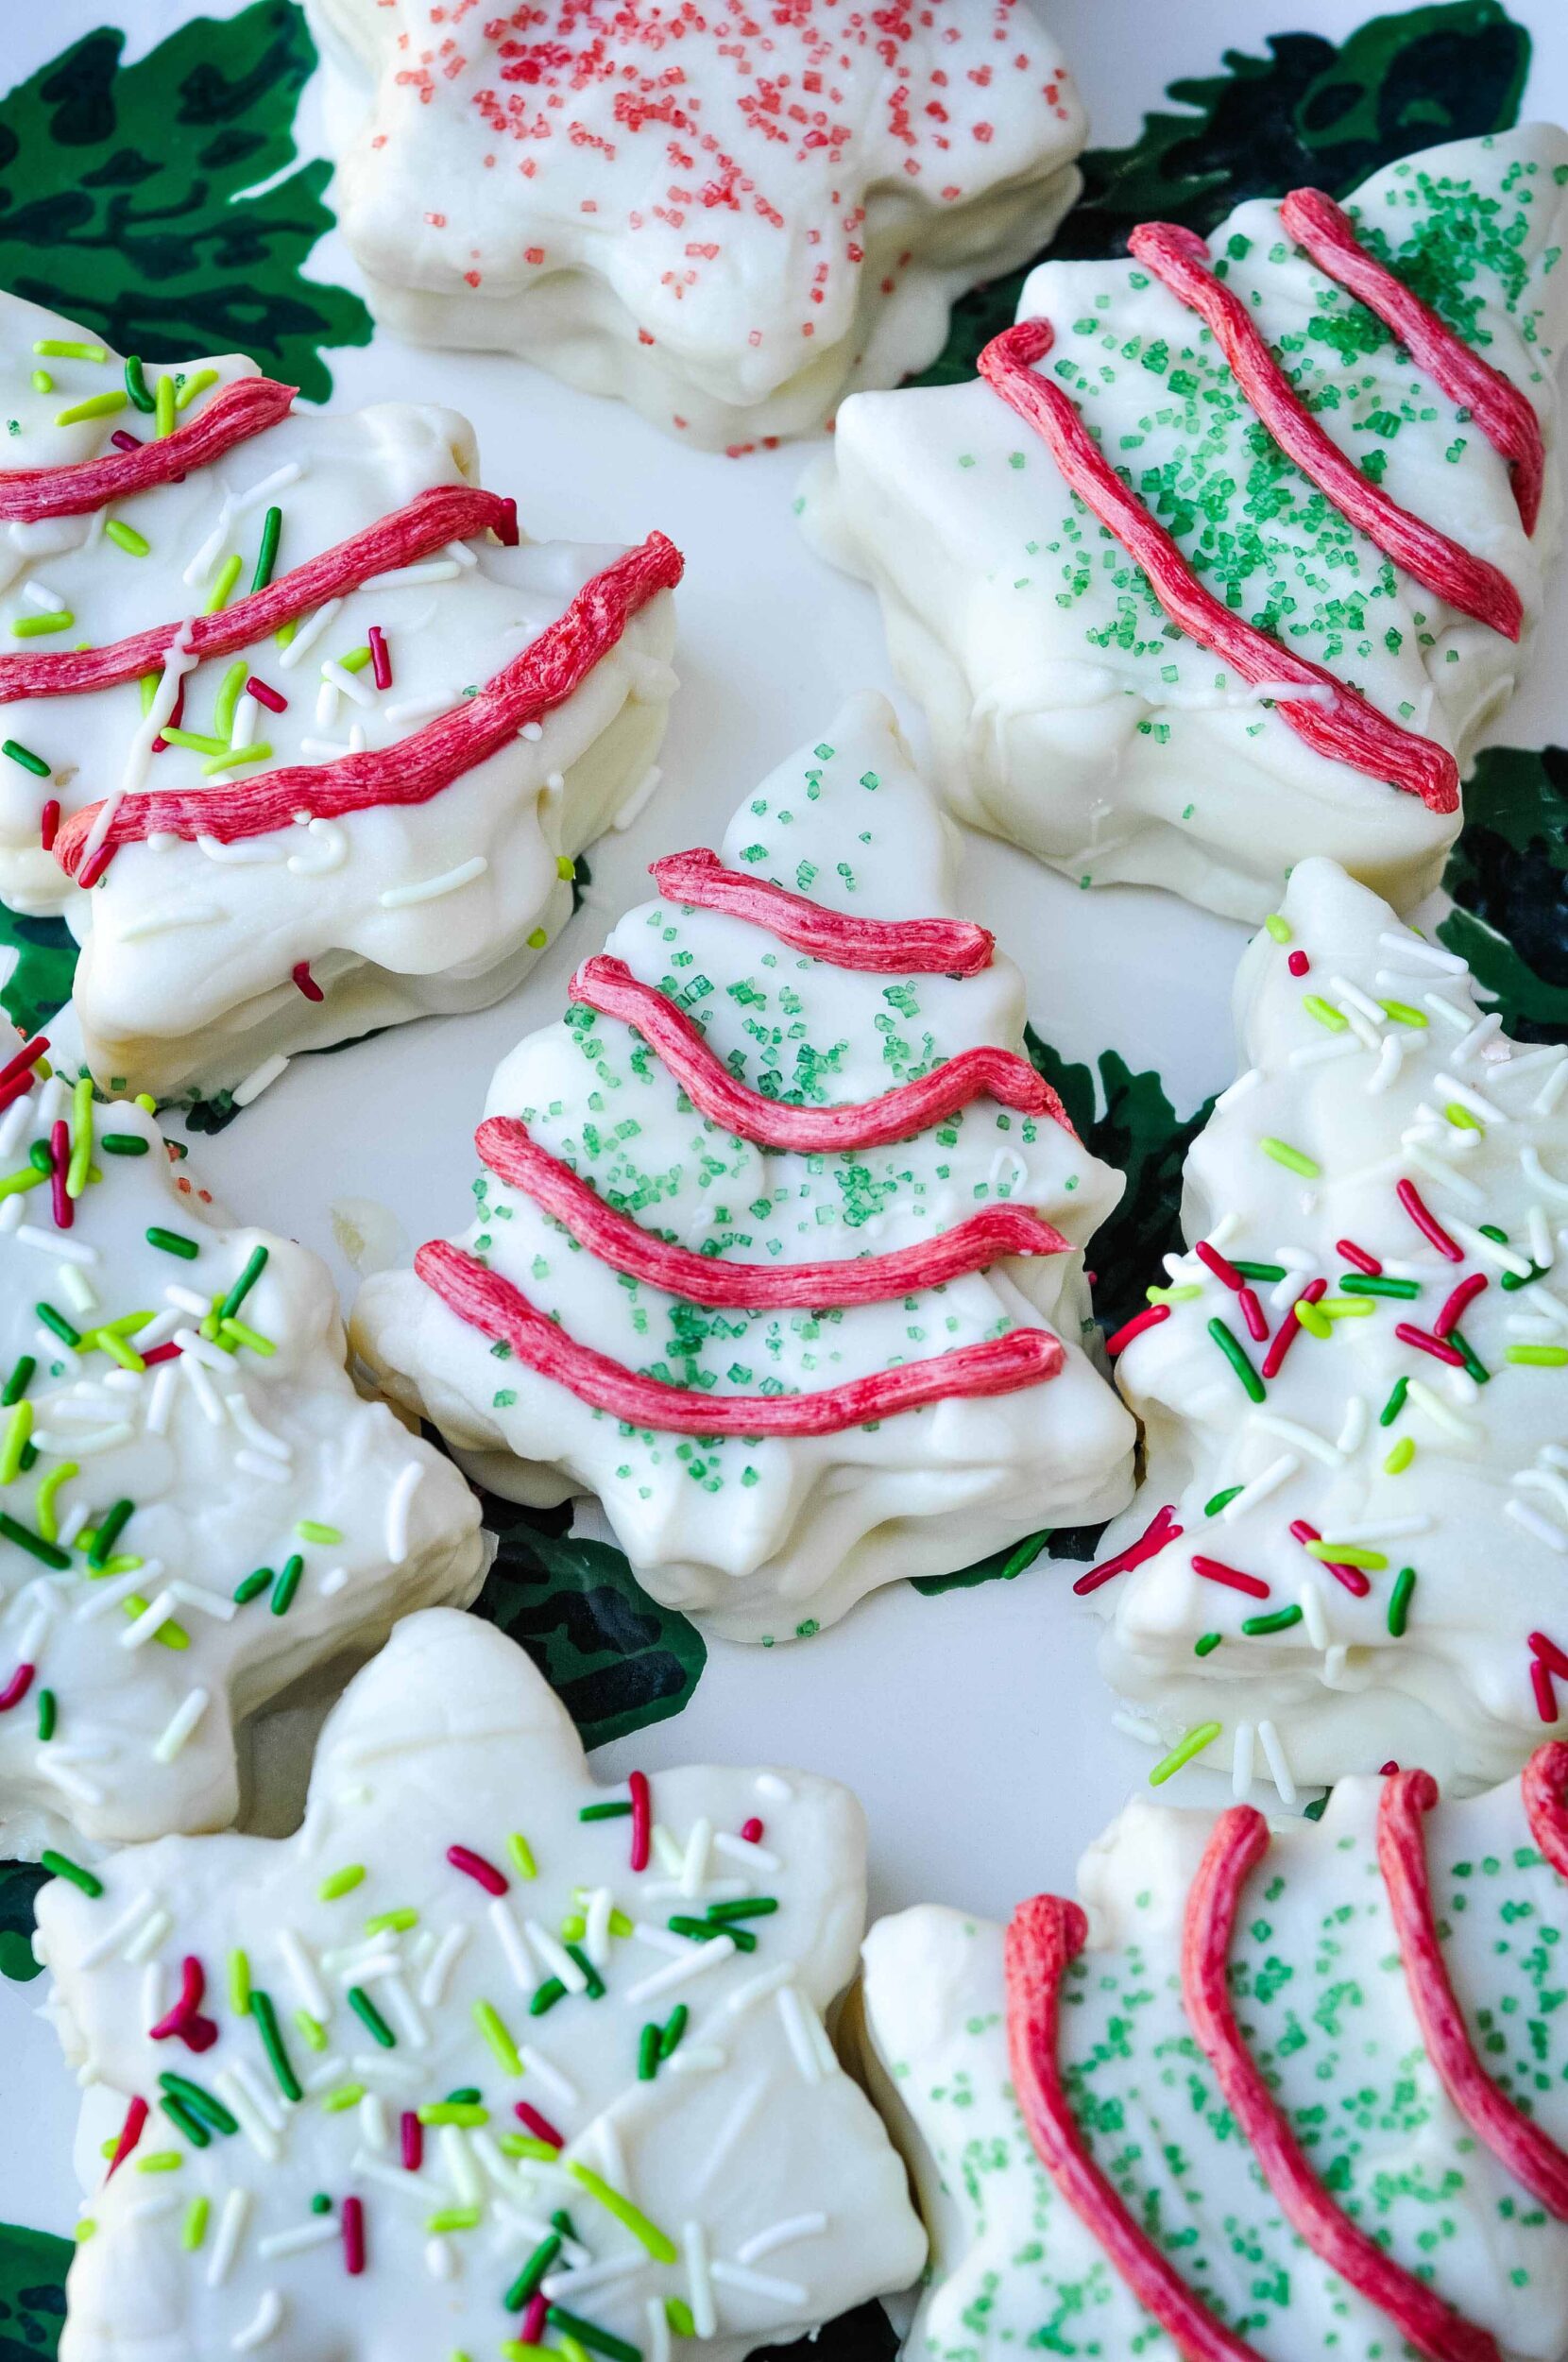
Natural Sprinkles & Frosting Tips
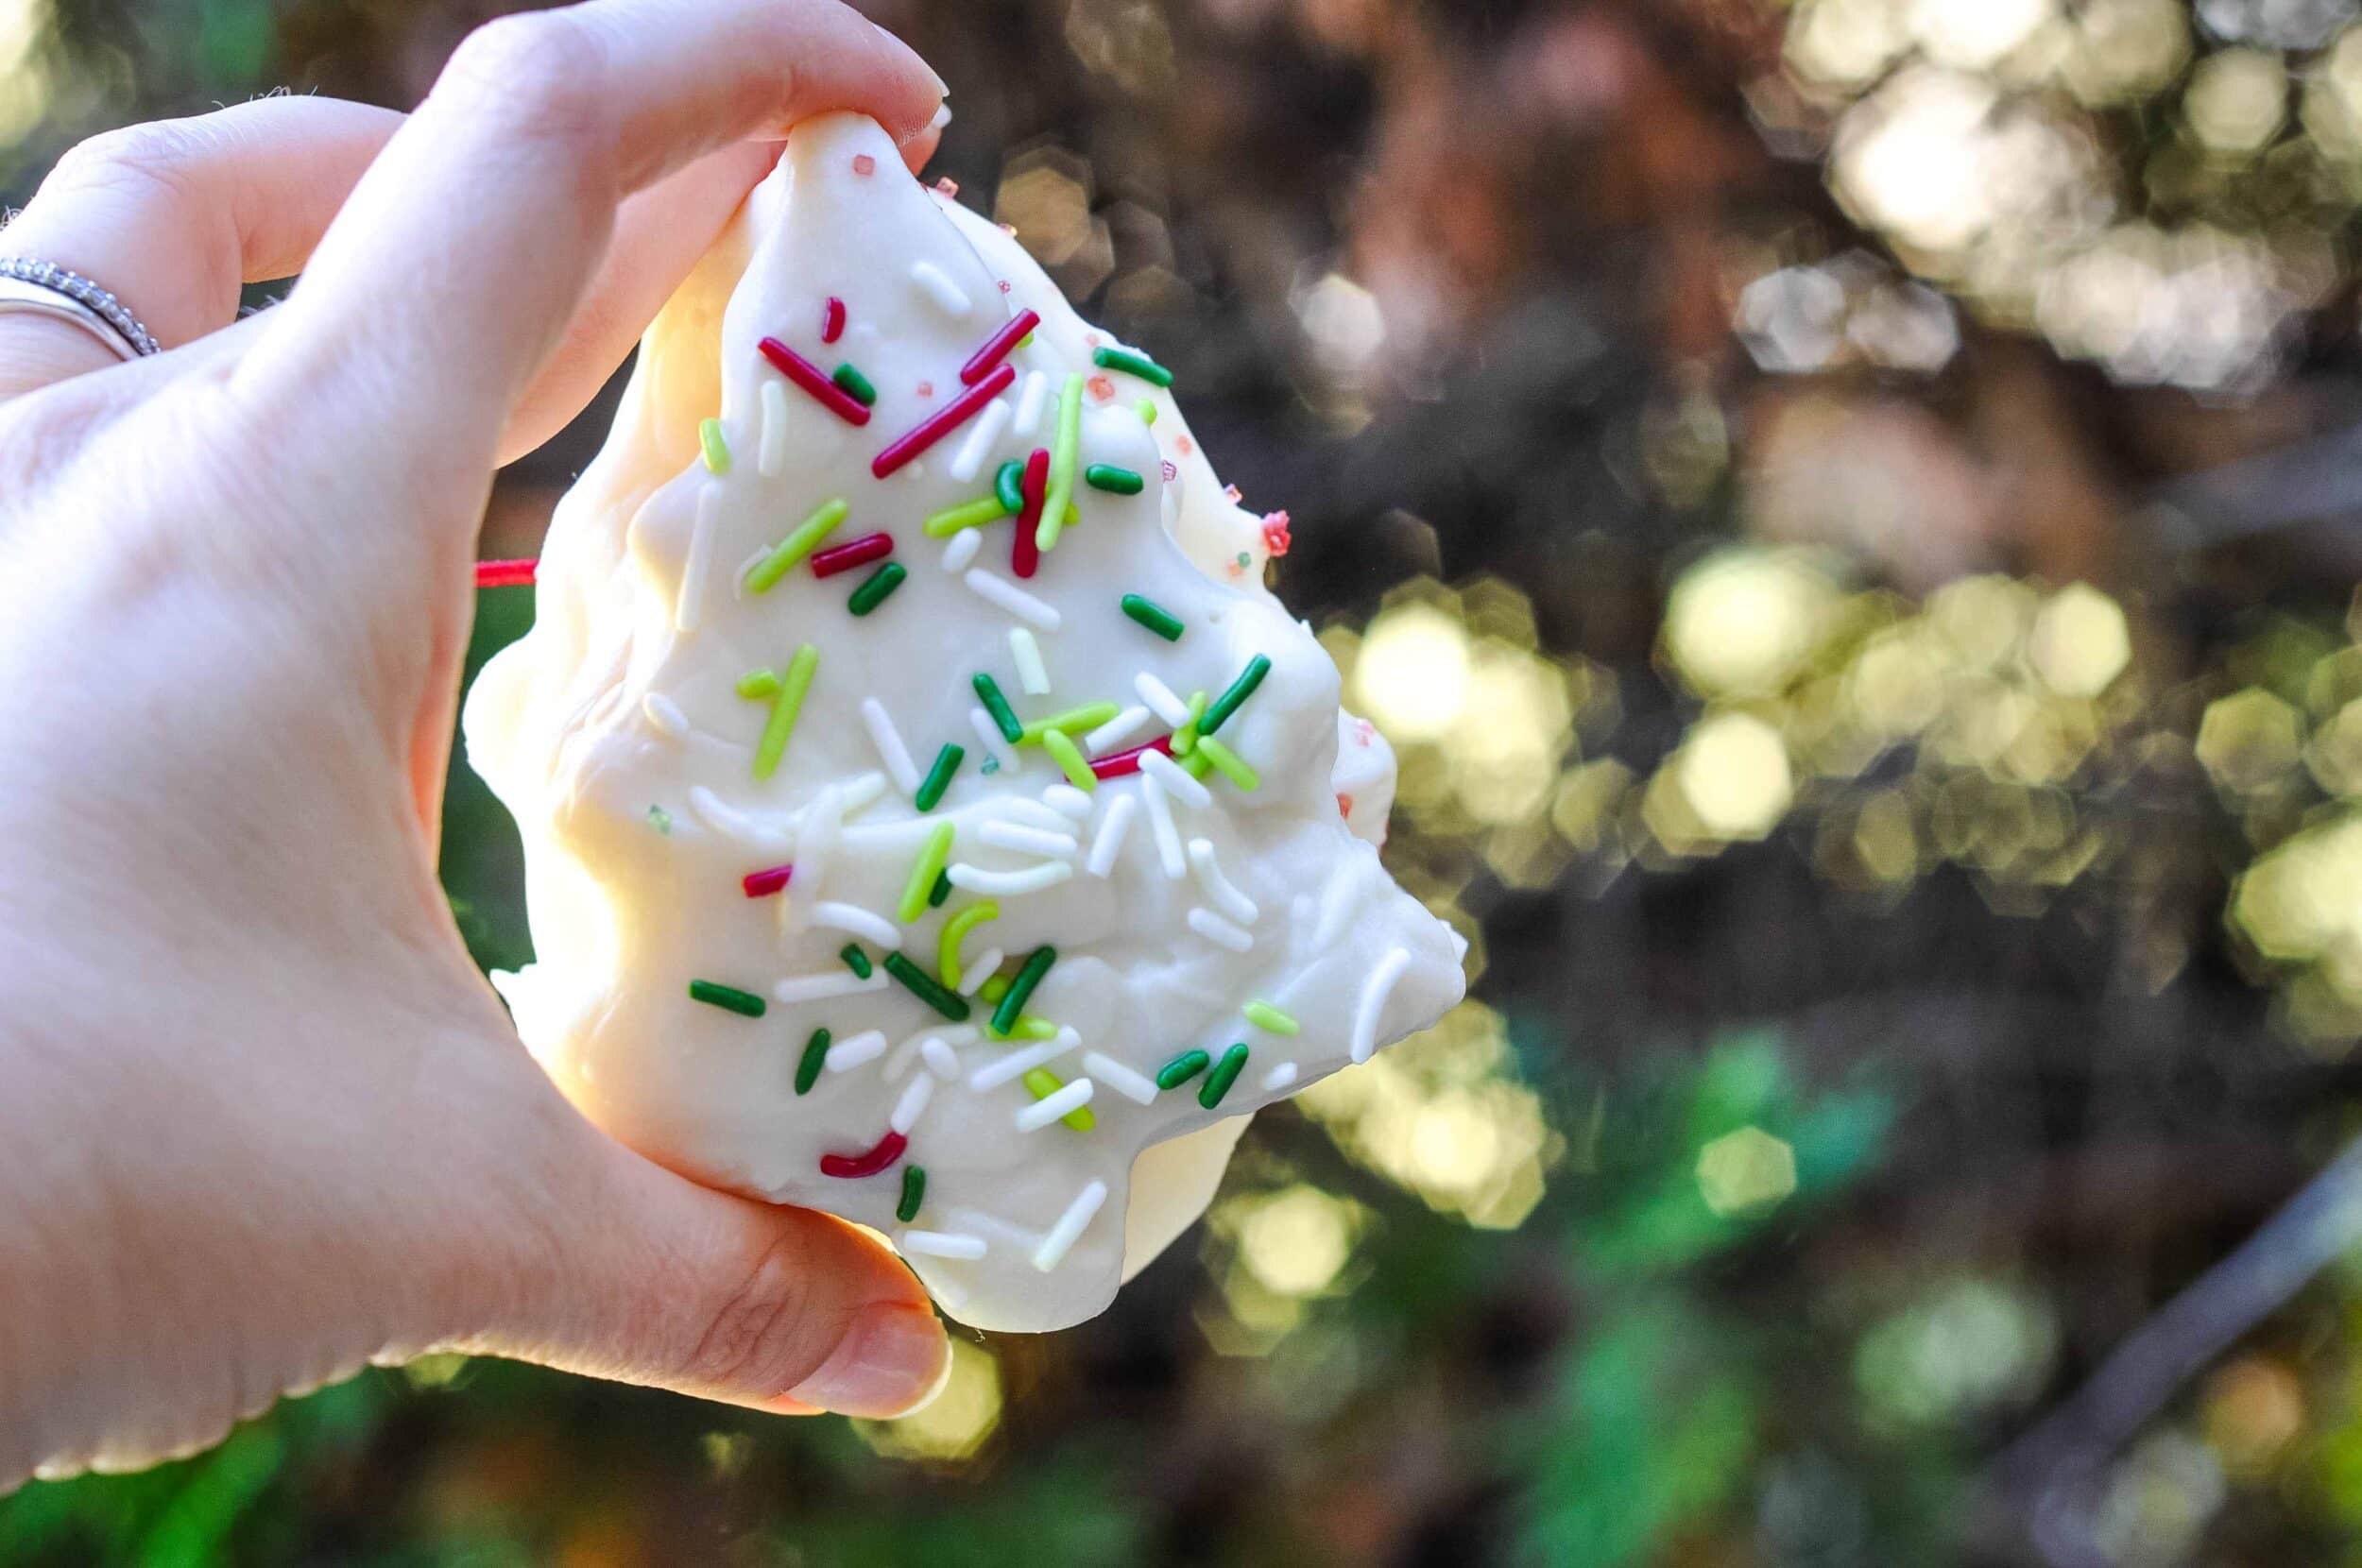
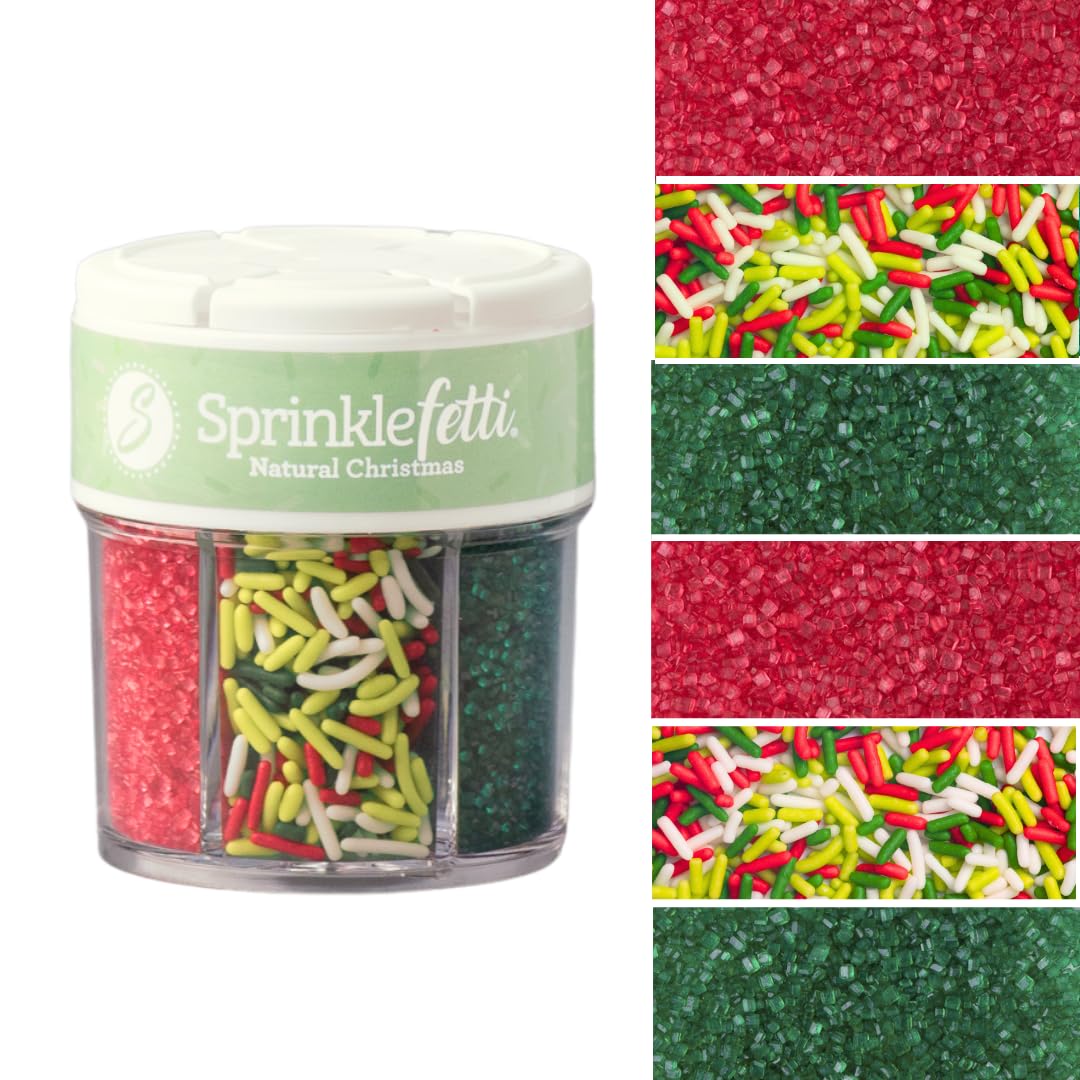
We are using naturally colored sprinkles (no FD&C colors) in fun red & green Christmas colors! I like doing some larger jimmies sprinkles and some of the sanding sugar style sprinkles, like in the original Little Debbies. These are the exact natural sprinkles I used which has a combination of both. It uses colorants from sweet potato, carrot, spirulina, turmeric, etc.
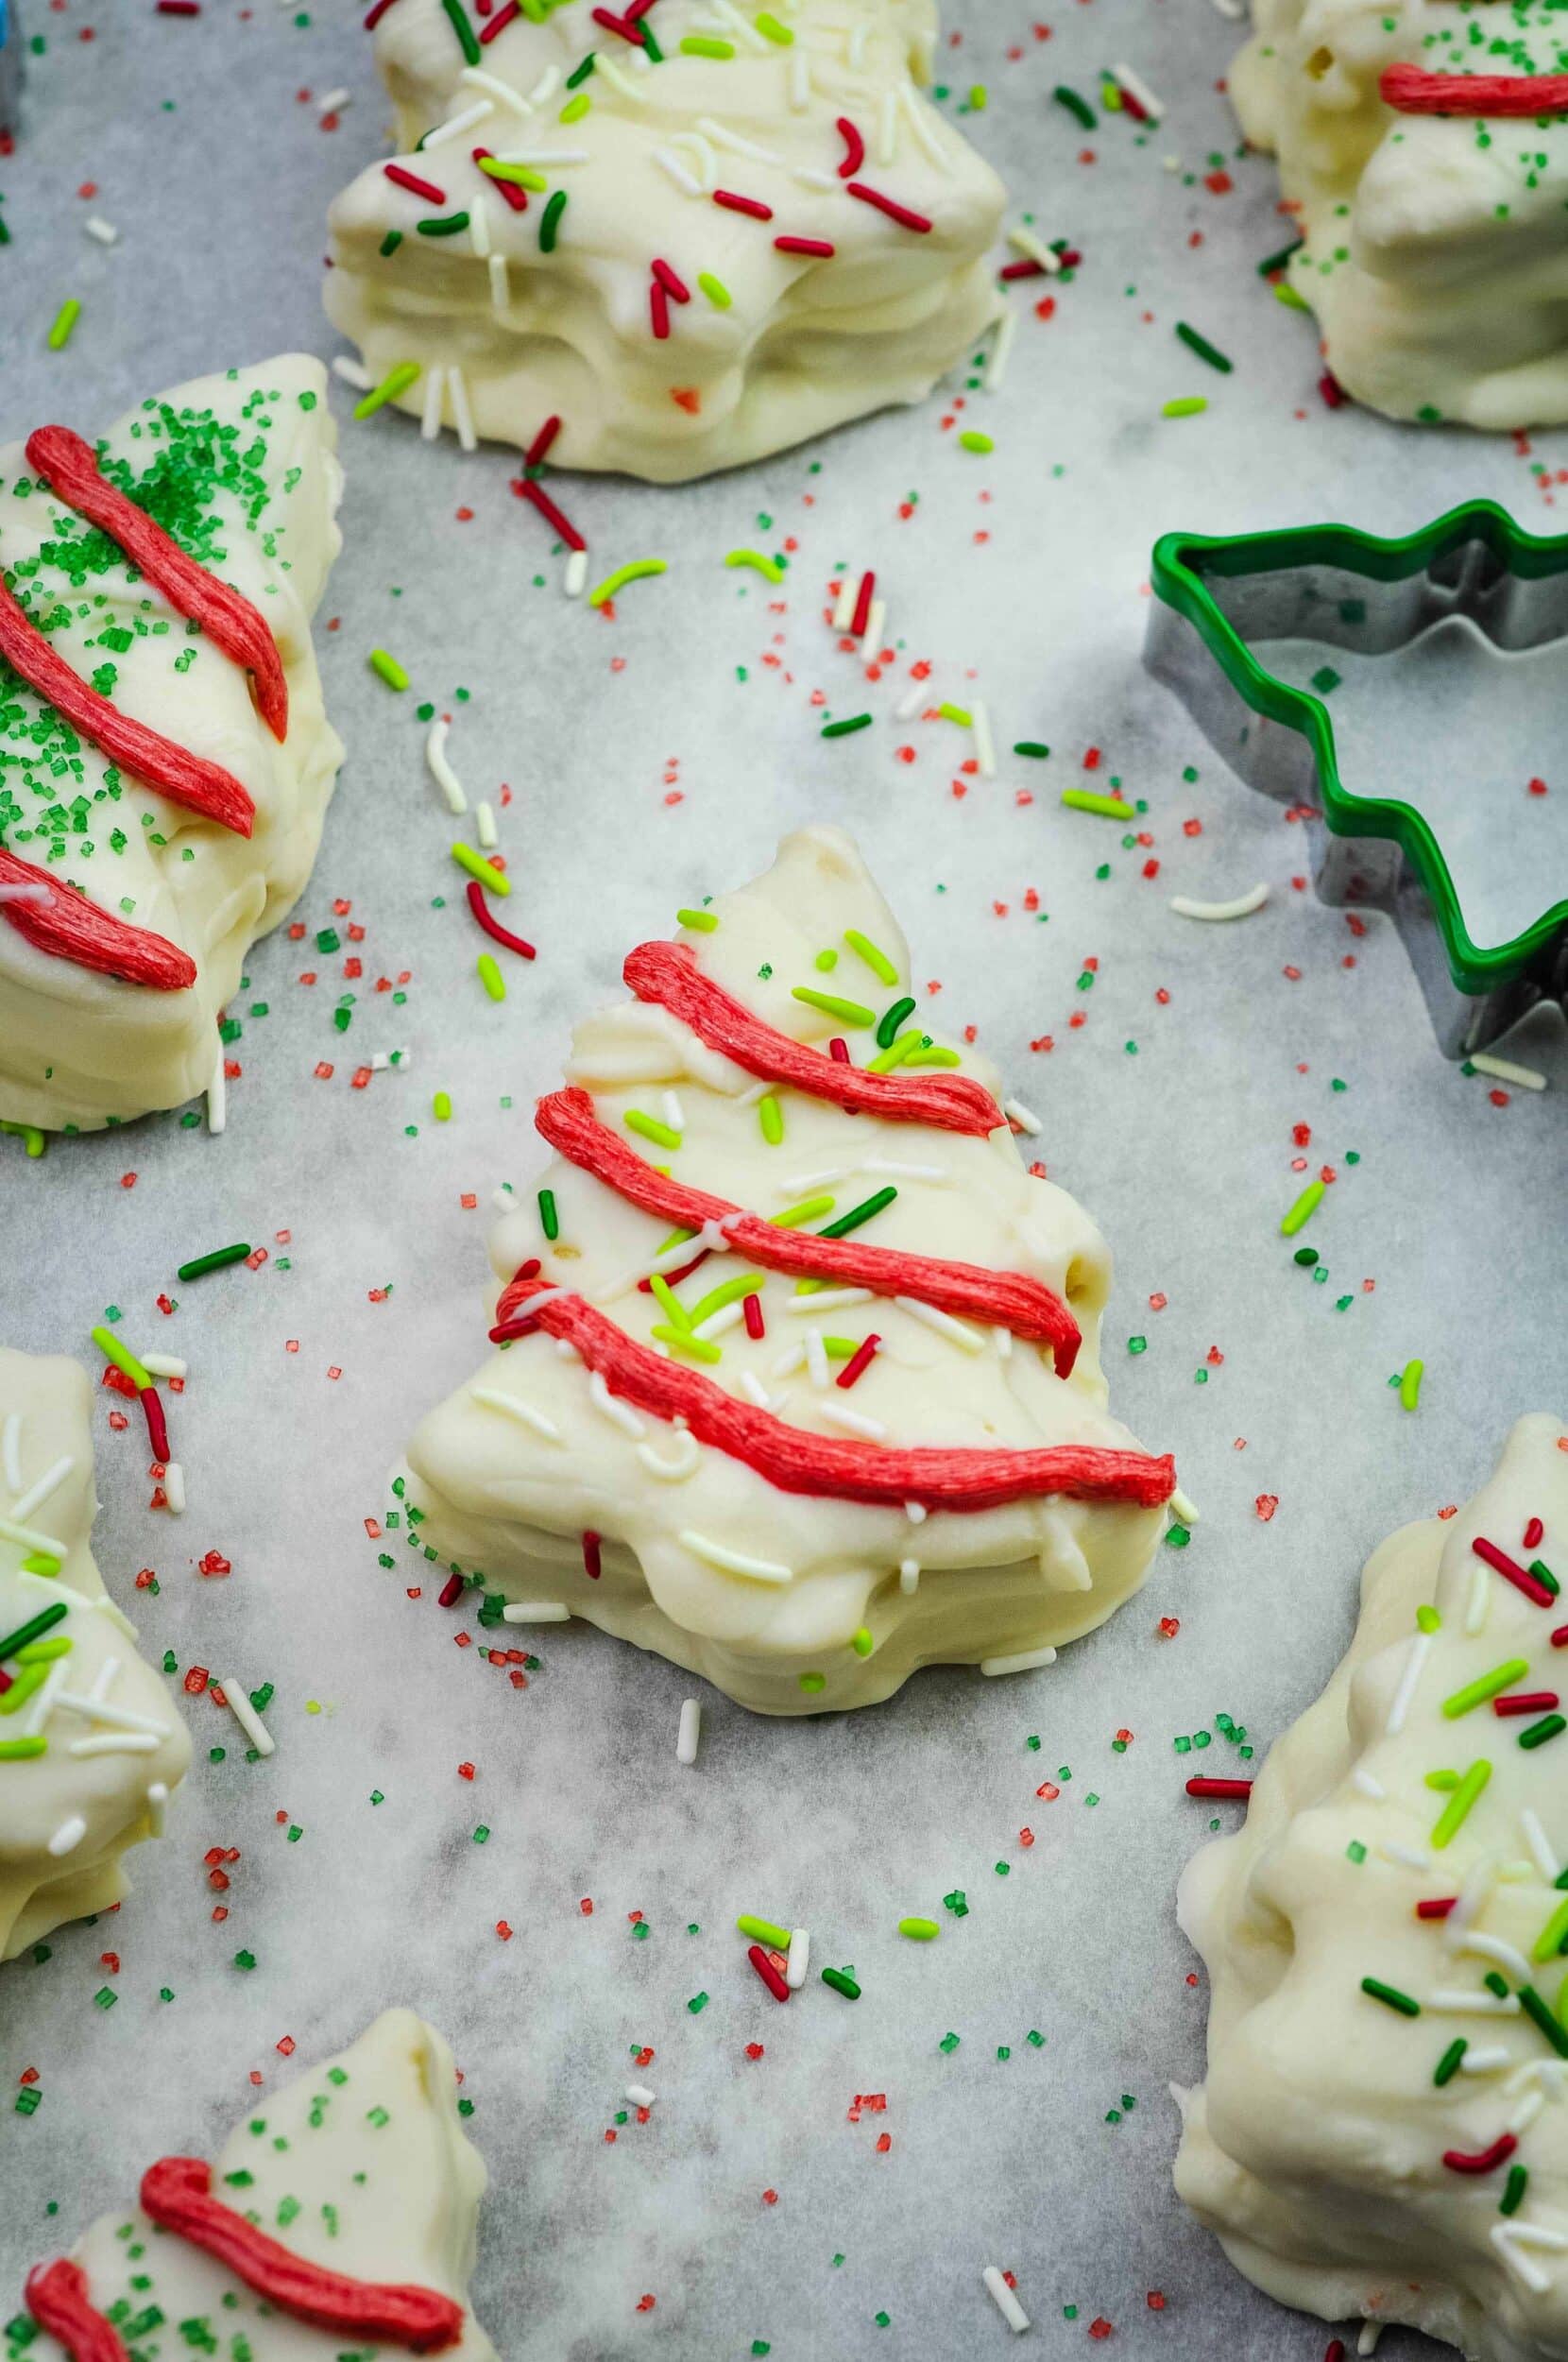
The red icing in this recipe is totally optional. Next time I’ll probably omit it to keep things simpler, but it does make these look like authentic Little Debbie Christmas Trees! I used the natural plant-based food color from Supernatural. I just made a simple buttercream icing and stirred the red color into it, and piped it on at the very end of the decorating process.
Little Debbie Christmas Tree Cake Method
These cakes sound complicated, but they are actually fairly simple to make. They do require a bit of extra time and some additional steps, but this is a super fun recipe to make with your kids as a holiday project!
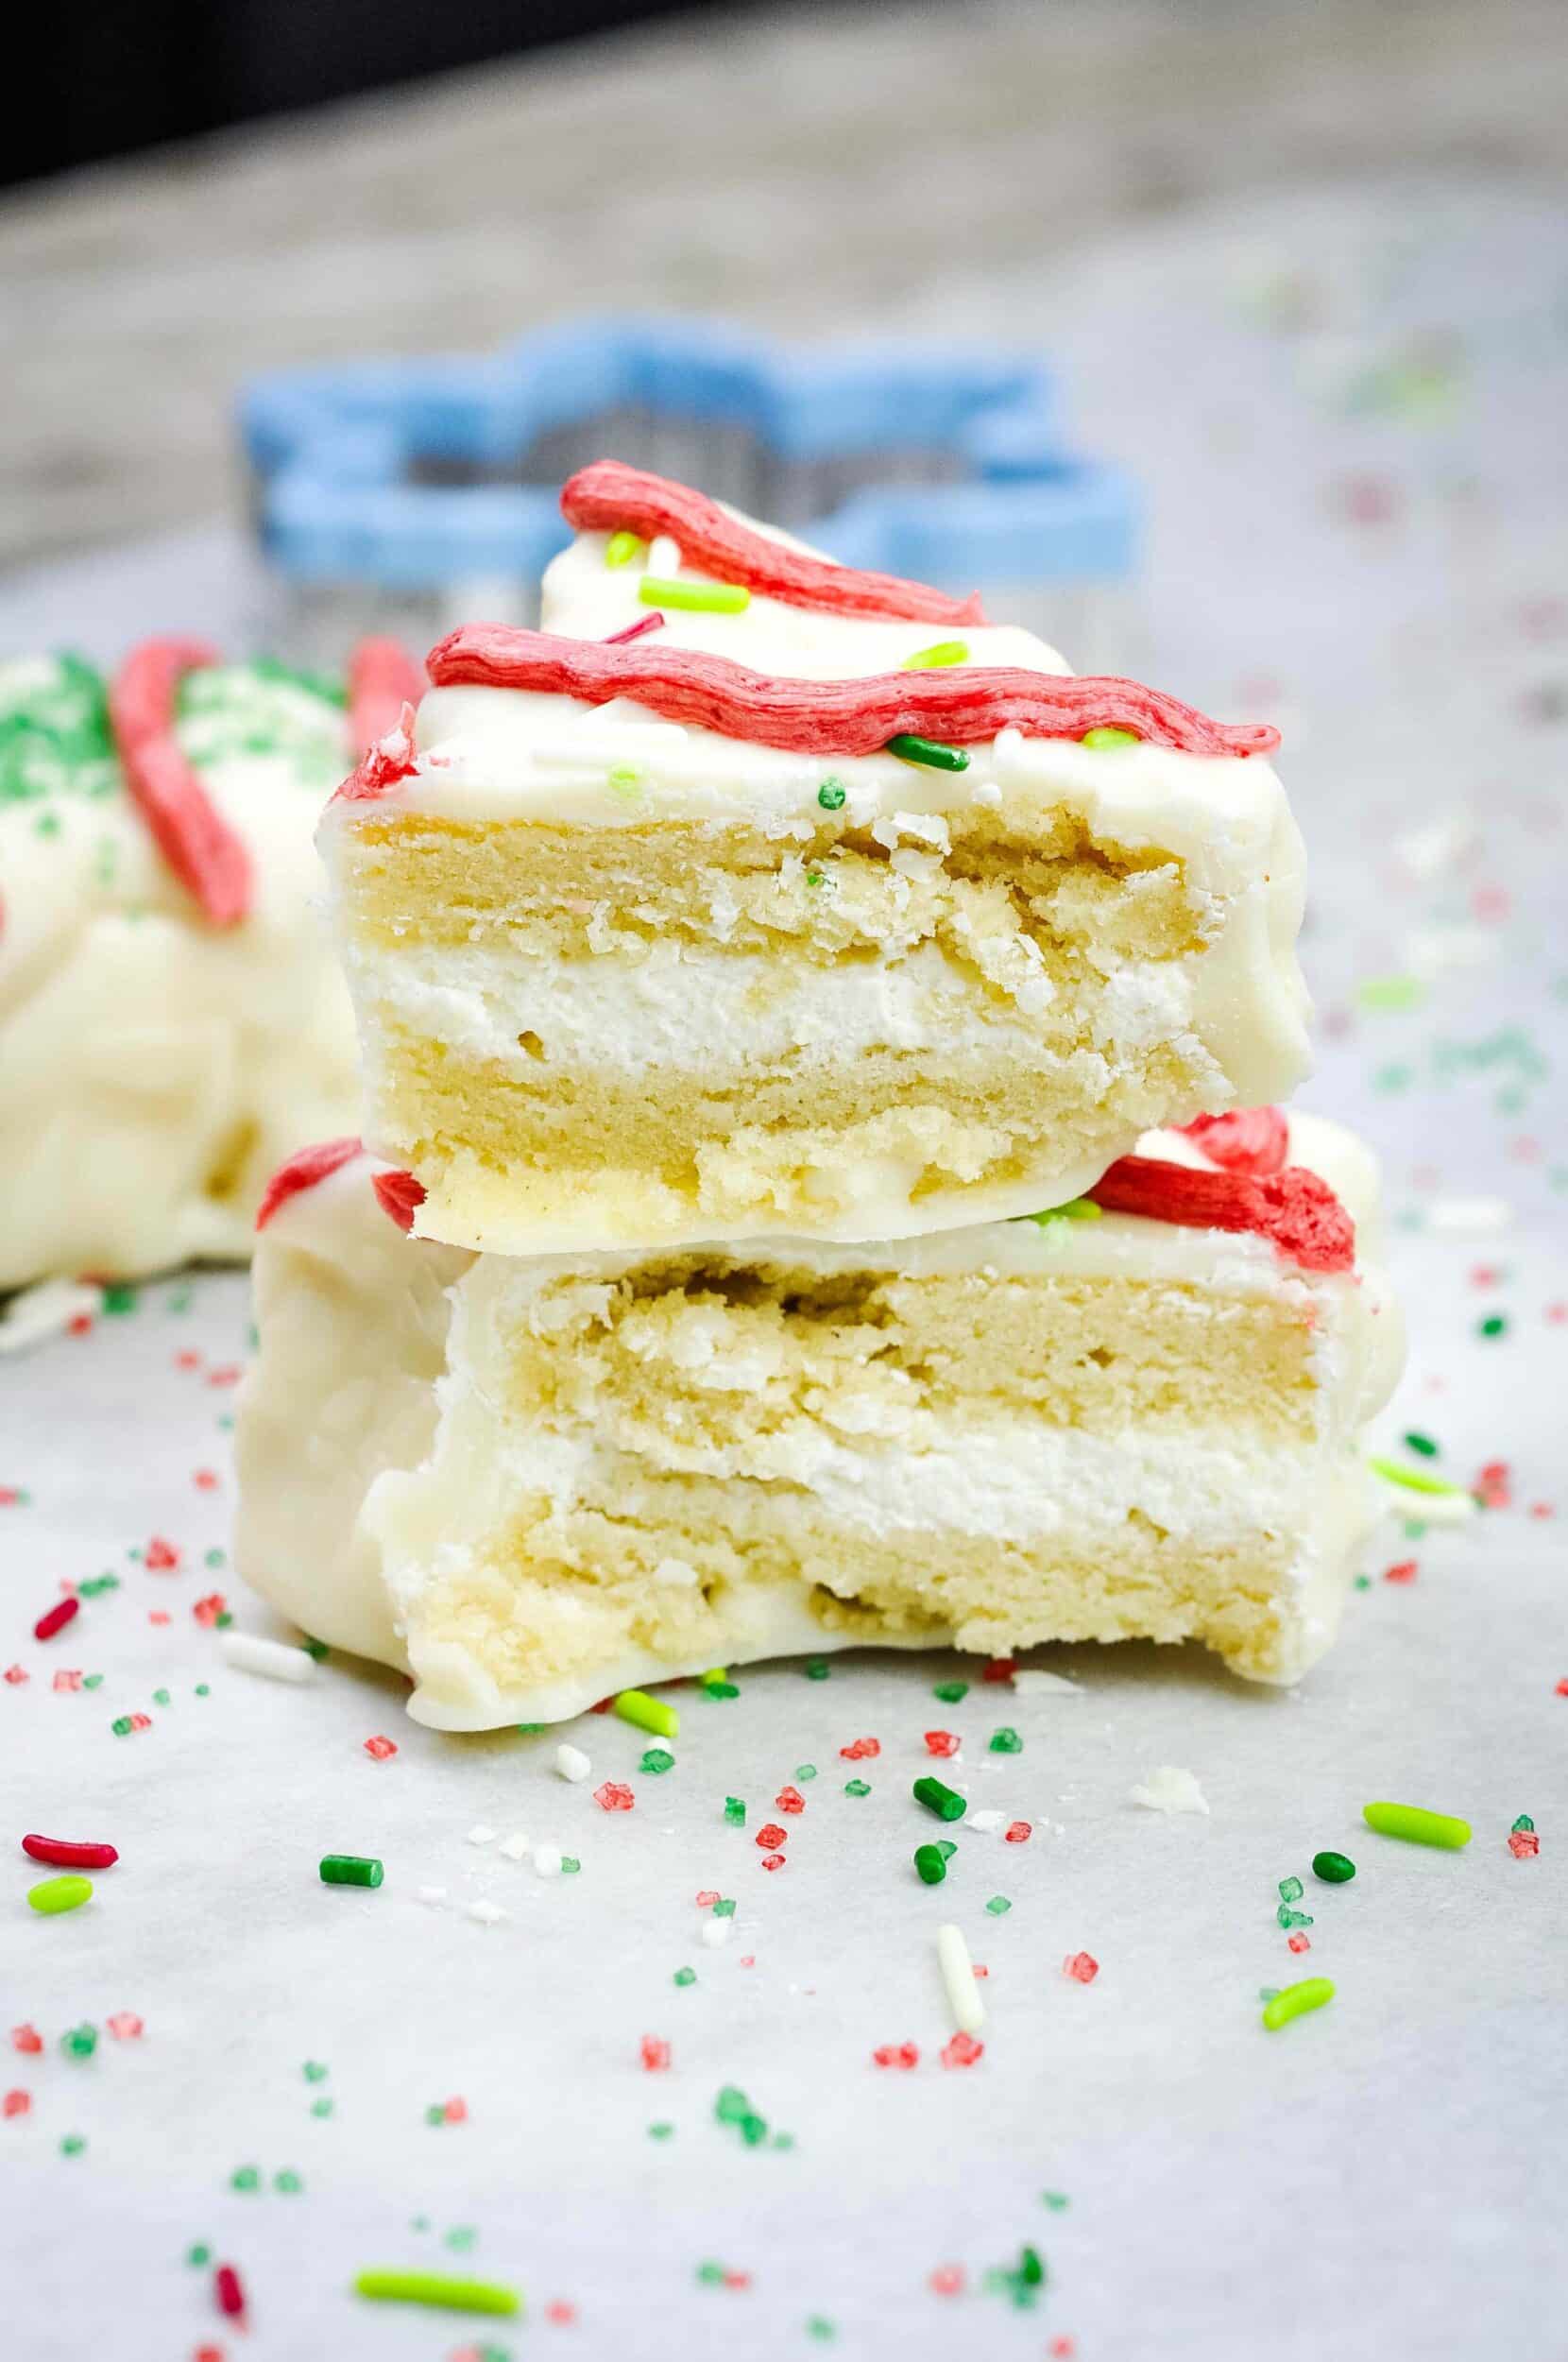
Make sure to watch the recipe video above and in the recipe card to see the full method. First, mix your cake batter and pour into the prepared pans and bake (these only need to bake for 11-14 minutes because the cakes are thin). Make the whipped cream filling and chill in the fridge. After the cakes are completely cool, cut out Christmas tree shapes with cookie cutters. You could even do other shapes if you like.
Using a piping bag with a larger tip, pipe whipped cream onto the trees to the outer edge and top with another tree layer, gently pressing them together. Place finished trees onto a large rack or tray lined with parchment paper and freeze for 4-8 hours, preferably overnight.
Melt white chocolate chips and coconut oil in a double boiler or microwave in intervals until smooth. Using two forks, dip the frozen tree cakes into the chocolate coating and allow excess chocolate to drip off before placing on a wax or parchment paper lined tray.
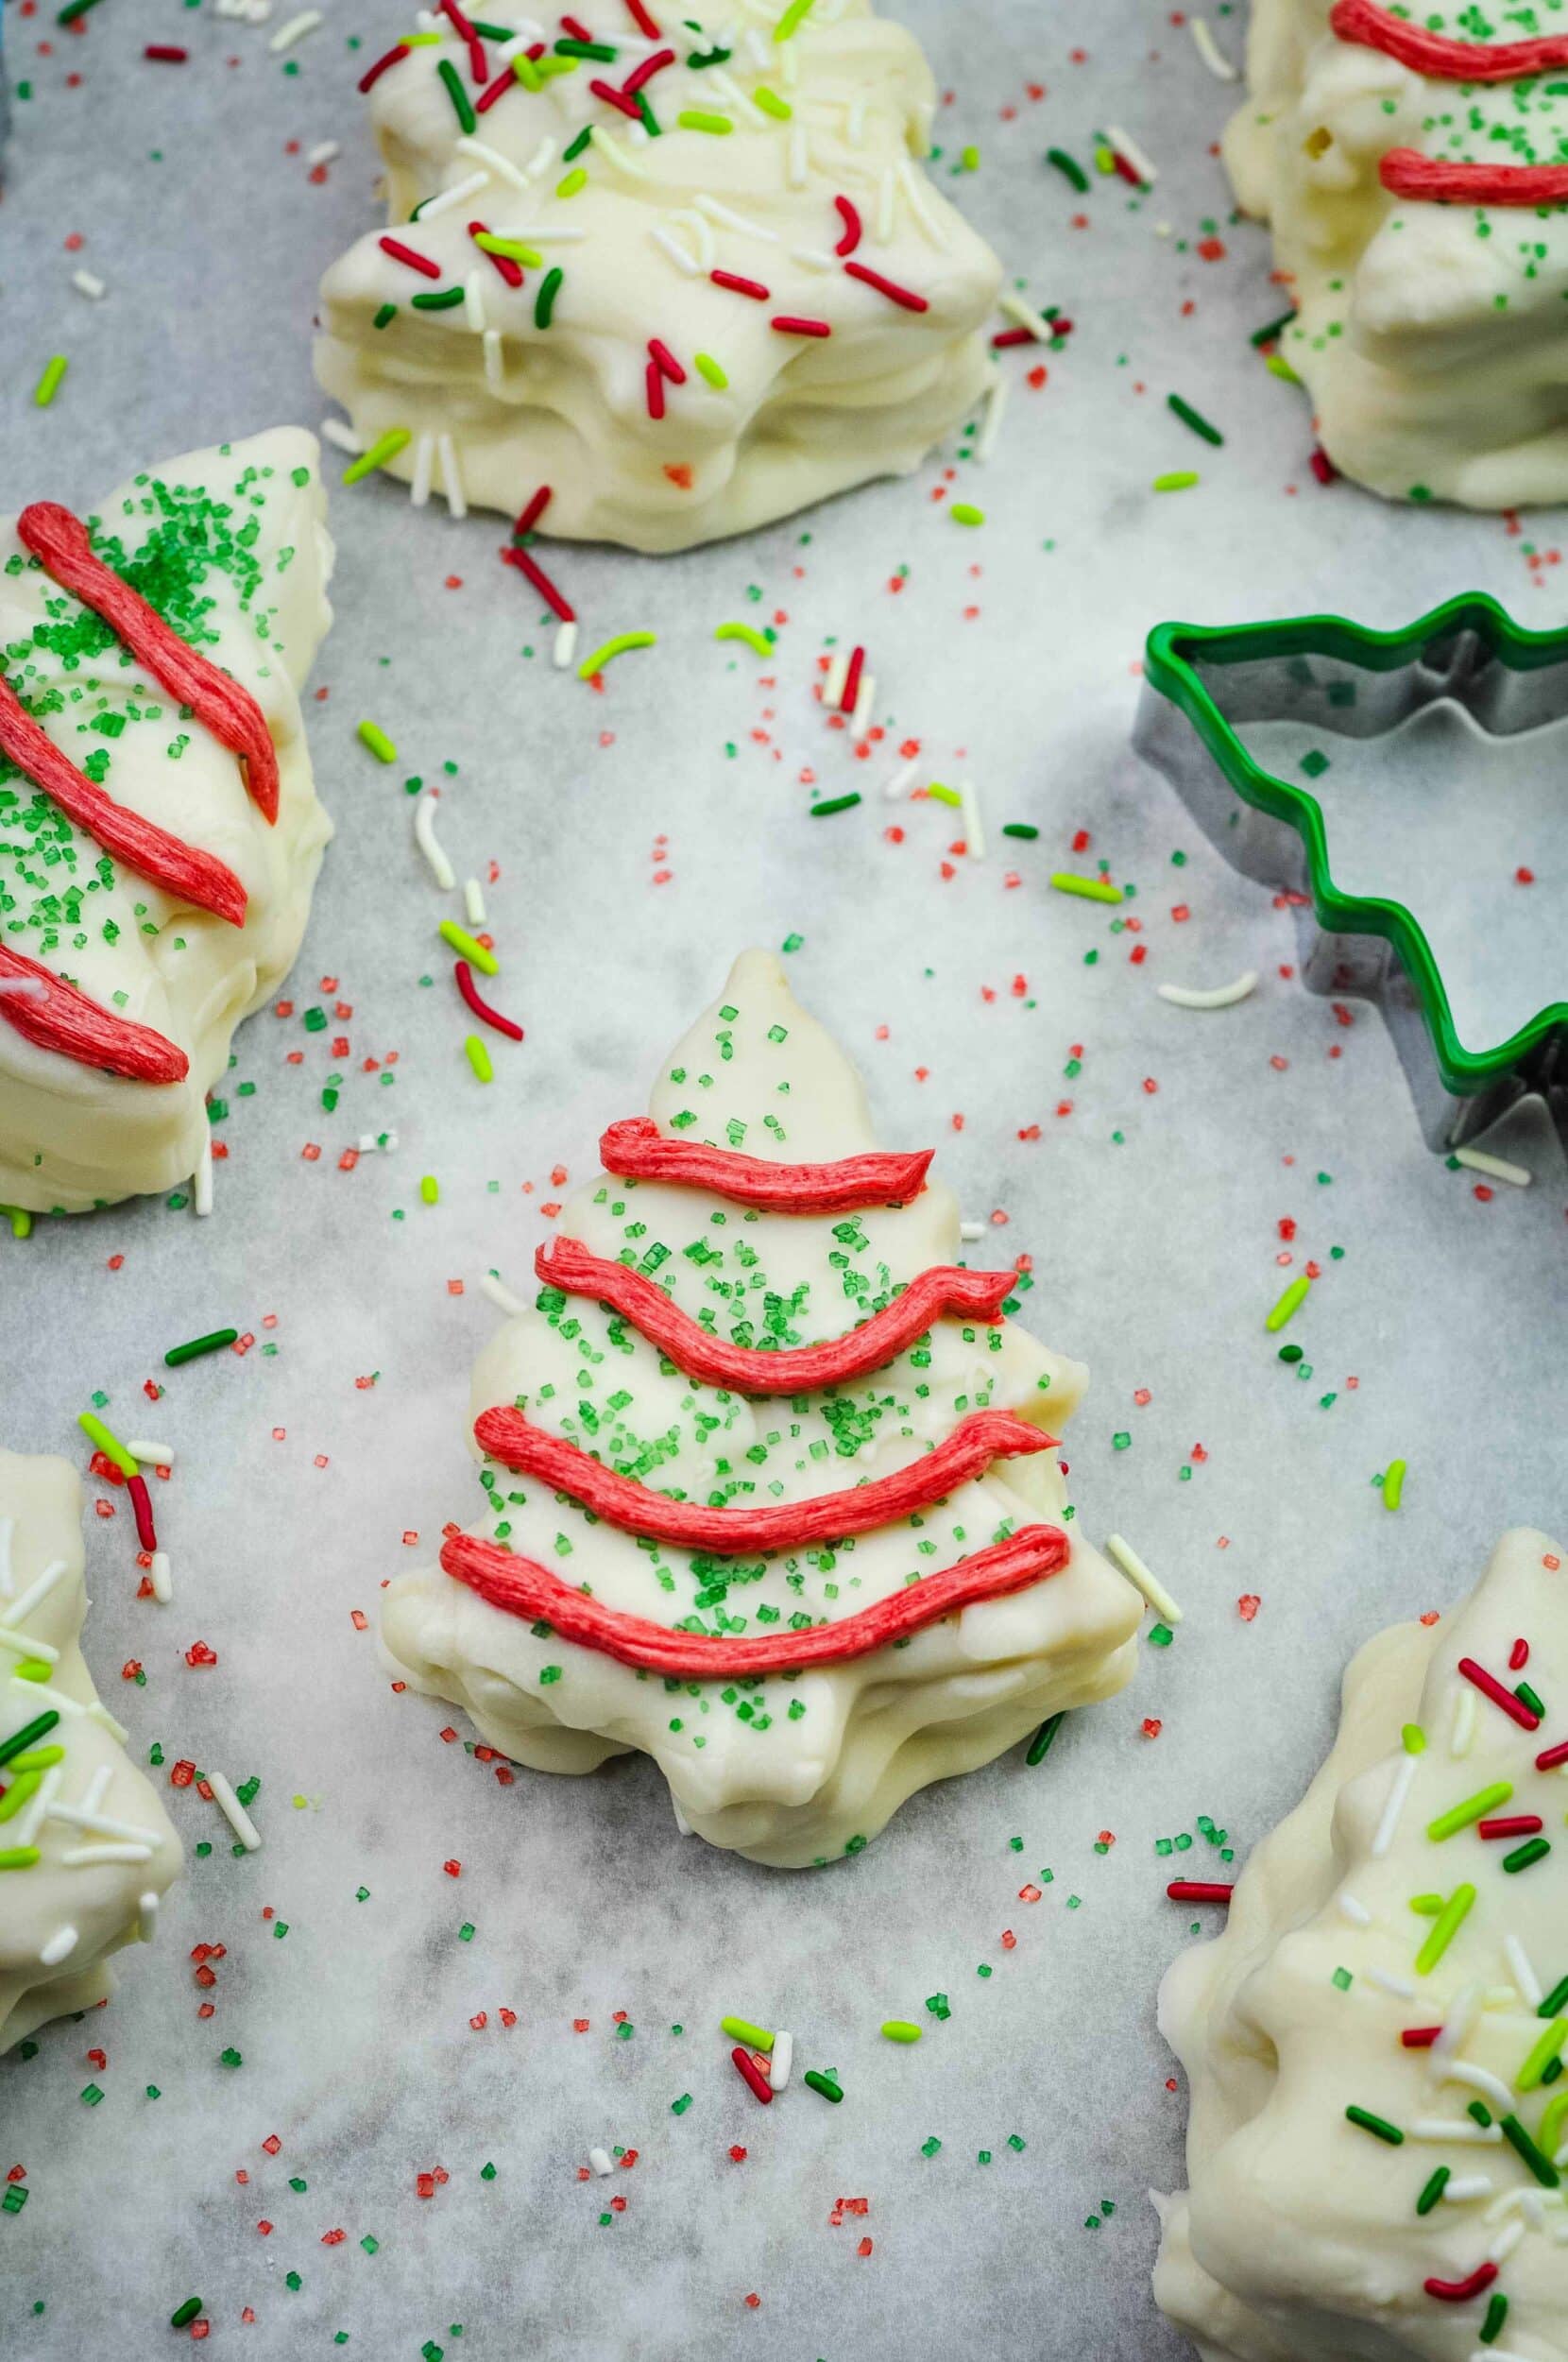
For decorating, it’s best to work in small batches. Dip a few trees and decorate them with sprinkles quickly, before the chocolate hardens. Don’t dip all the trees at once and then decorate, because by the time you finish the dipping process, the chocolate will be hardened and the sprinkles won’t stick.
Finish with piping a bit of red icing onto your Christmas tree cakes, if desired. Store in the fridge for up to a week. These also freeze well for up to 3 months — just thaw before serving again. We froze quite a few to enjoy later this season while we watch Christmas movies and sip homemade hot cocoa!
Too Sweet? Let’s Make Them a Little Healthier
If you don’t like your desserts too sweet (like me), there are some simple adaptions you can make to this recipe!
- Add less sugar to the whipped cream filling, or none at all! The outer coating and cake add enough sweetness, so you can omit it. Or, just add a touch or maple syrup or honey, as in my homemade whipped cream recipe.
- Just do a drizzle of white chocolate on top, or only dip one side of the trees, instead of coating the entire tree in chocolate.
- Use Lily’s white chocolate chips (which are sweetened with Stevia) instead of the regular ones.
Christmas Tree Cake Recipe Tips & Tricks
There are a few tips & tricks to ensure your Christmas tree cakes are beautiful and delicious!
- Ensure the cakes are fully frozen before the dipping process, and that your chocolate coating is completely smooth. Reheat the chocolate if it starts to get too thick while dipping.
- Work in small batches while you decorate to ensure the sprinkles stick before the chocolate hardens.
- Use the cake “scraps” to make cake balls or cake pops dipped in chocolate, or just eat them as a snack dipped in whipped cream.
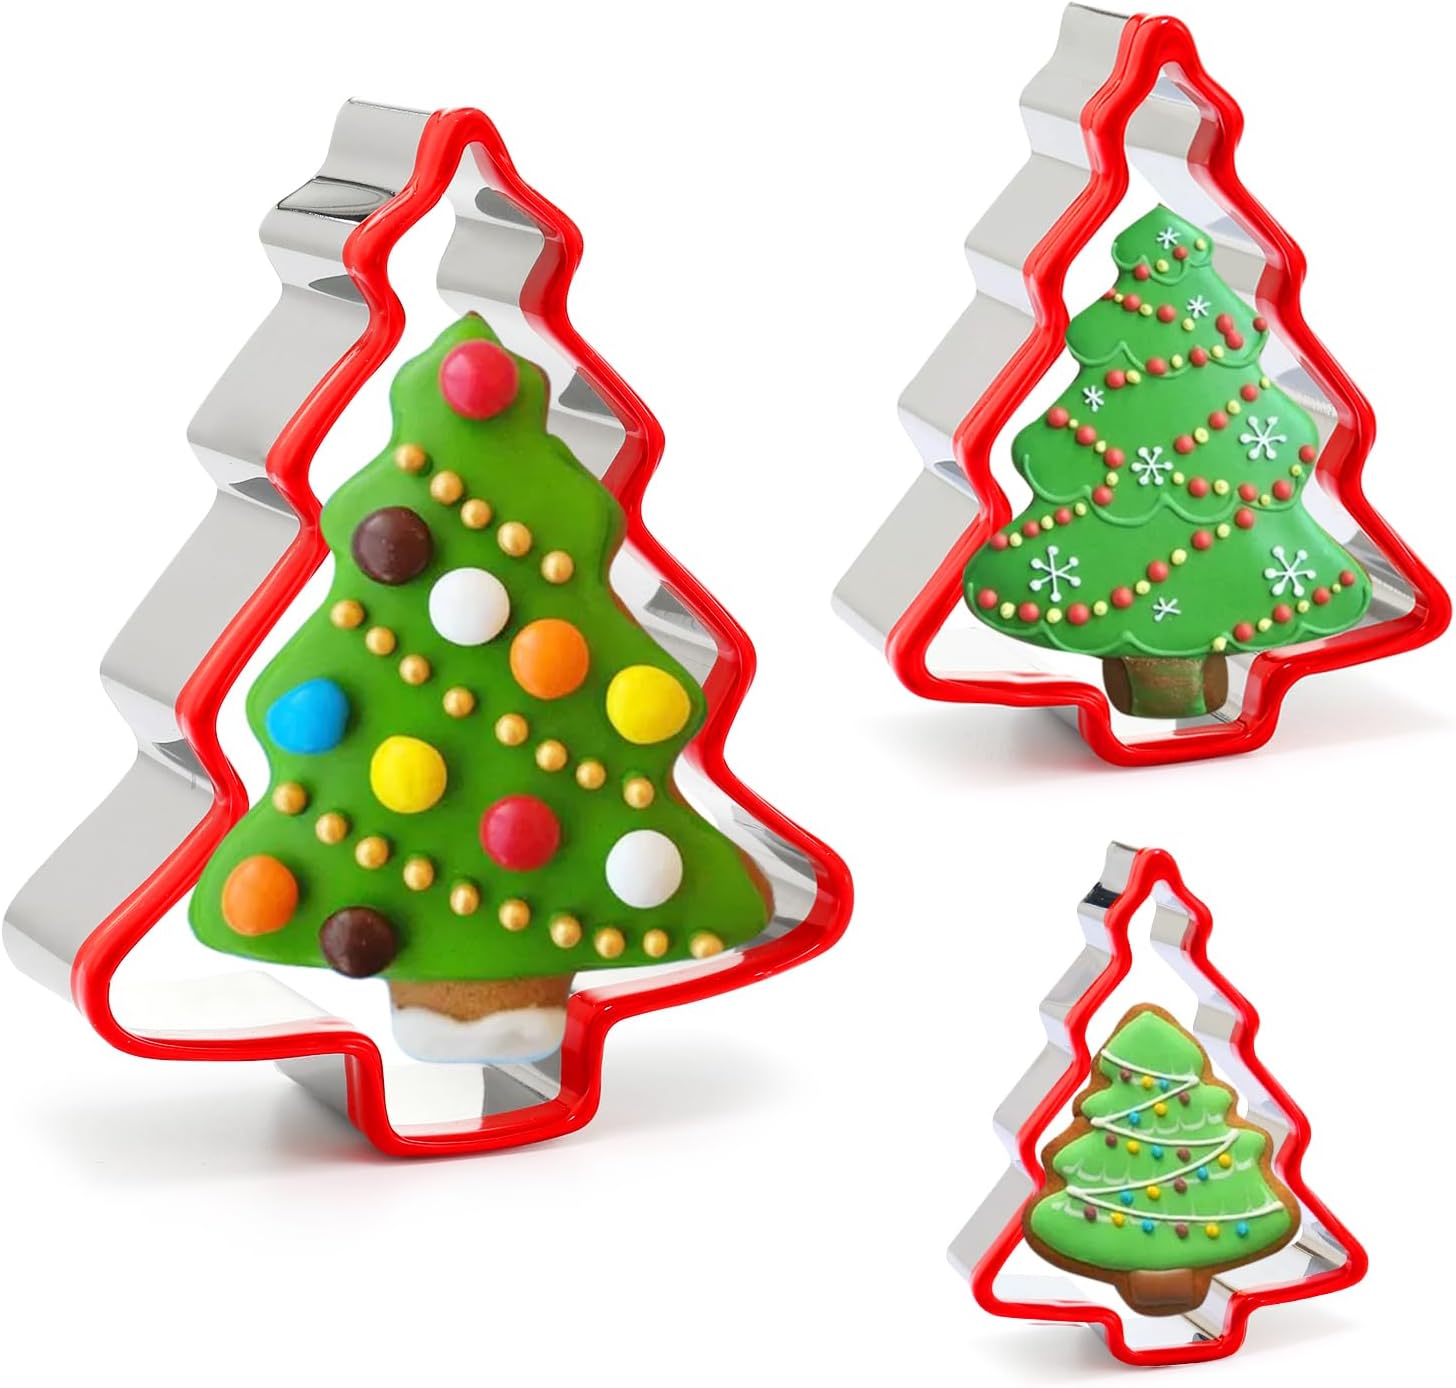
- Make different sizes of tree cakes – I like these cookie cutters because it has bigger and smaller sizes, and people can choose the size they want. We liked smaller ones because these are pretty sweet.
- If you want your chocolate coating a little thicker, add less coconut oil. If you want it thinner, add more coconut oil.
- Be sure to store these cakes in the fridge (the whipped cream and coconut oil may melt otherwise). They can also be frozen and thawed to enjoy later.
More Holiday Treats to Love:
If you loved these Little Debbie copycat Christmas tree cakes, please leave a 5-star rating and a comment telling me how yours turned out! I always love hearing from you!

Little Debbie Copycat Christmas Tree Cakes (nothing artificial)
Remember the nostalgia of unwrapping Little Debbie Christmas Tree Cakes as a kid? This homemade version brings back the soft vanilla cake, fluffy cream filling, and sweet white chocolate coating -- only now, it's made from scratch with real ingredients and no artificial dyes or flavors.
Ingredients
For the Cake:
- 2 1/2 cups flour (I used gluten-free, you could use all-purpose or spelt)
- 1 1/2 cups sugar
- 2 1/4 teaspoons baking powder
- 3/4 teaspoon salt
- 1 cup butter, softened
- 4 eggs, room temperature
- 1 2/3 cup milk
- 2 teaspoons vanilla extract
For the Filling:
- 2 cups heavy cream
- 1/3 cup powdered sugar, sifted
- 1 Tablespoon gelatin
- 1 teaspoon vanilla extract
For the White Chocolate Coating:
- 3 (12 oz.) bags white chocolate chips
- 6 Tablesoons coconut oil
For Decorating:
- Natural red & green sprinkles
Mini Batch Buttercream for Piping (optional):
- 2 Tablespoons unsalted butter, softened
- 6 tablespoons powdered sugar
- 1/2 teaspoon milk or cream
- 1/8 teaspoon vanilla extract
- 1/4-1/2 teaspoon natural food coloring (like Supernatural brand)
Instructions
1. Make the cake: Preheat oven to 350° F. Prepare 2 half sheet pans by lining with parchment paper and lightly coating with oil. Whisk together dry ingredients for the cake in a medium bowl. In a stand mixer, beat butter, eggs, milk, and vanilla until smooth. Add dry ingredients to wet ingredients in the mixer, and mix until smooth. Don't overmix.
2. Pour batter into prepared pans. Spread evenly to create two large thin sheet cakes. Bake for 11-14 minutes until golden and a toothpick inserted into the center comes out clean. Allow to cool completely on a wire rack.
3. Make the filling: Beat heavy cream, powdered sugar, gelatin, and vanilla on HIGH in a stand or electric mixer until stiff peaks form. Chill in the fridge.
4. After the cakes are completely cool, cut out Christmas tree shapes with cookie cutters. Using a piping bag with a large tip, pipe whipped cream onto the trees to the outer edge and top with another tree layer, gently pressing them together. Place finished trees onto a large rack or tray lined with parchment paper and freeze for 4-8 hours, preferably overnight.
5. Prepare the red buttercream (if using), and add to a piping bag with a small tip and set aside.
6. Dip & decorate the cakes: Melt white chocolate chips and coconut oil in a double boiler or microwave in 30-second intervals, stirring until smooth. Using two forks, dip the frozen tree cakes into the chocolate coating and allow excess chocolate to drip off before placing on a wax or parchment paper lined tray.
7. For decorating, work in small batches. Dip a few trees and decorate them with sprinkles quickly, before the chocolate hardens. Don't dip all the trees at once and then decorate, because by the time you finish the dipping process, the chocolate will be hardened and the sprinkles won't stick.
8. Pipe a bit of red icing (if using) onto your Christmas tree cakes. Store in the fridge for up to a week. These also freeze well for up to 3 months -- just thaw before serving. Enjoy!
Notes
I used gluten-free flour for this recipe. You can also use all-purpose flour or spelt flour.
It you want these less sweet, you can omit or reduce the sugar in the whipped cream filling, and only dip one side of the Christmas trees in chocolate.
This recipe makes around 1 dozen large Christmas trees, or 2 dozen small trees, depending on the size of the cookie cutters used.
Recommended Products
As an Amazon Associate and member of other affiliate programs, I earn from qualifying purchases.


Nutrition Information:
Yield:
24Serving Size:
1Amount Per Serving: Calories: 370Total Fat: 19gSaturated Fat: 11gUnsaturated Fat: 7gCholesterol: 81mgSodium: 229mgCarbohydrates: 45gFiber: 1gSugar: 24gProtein: 6g