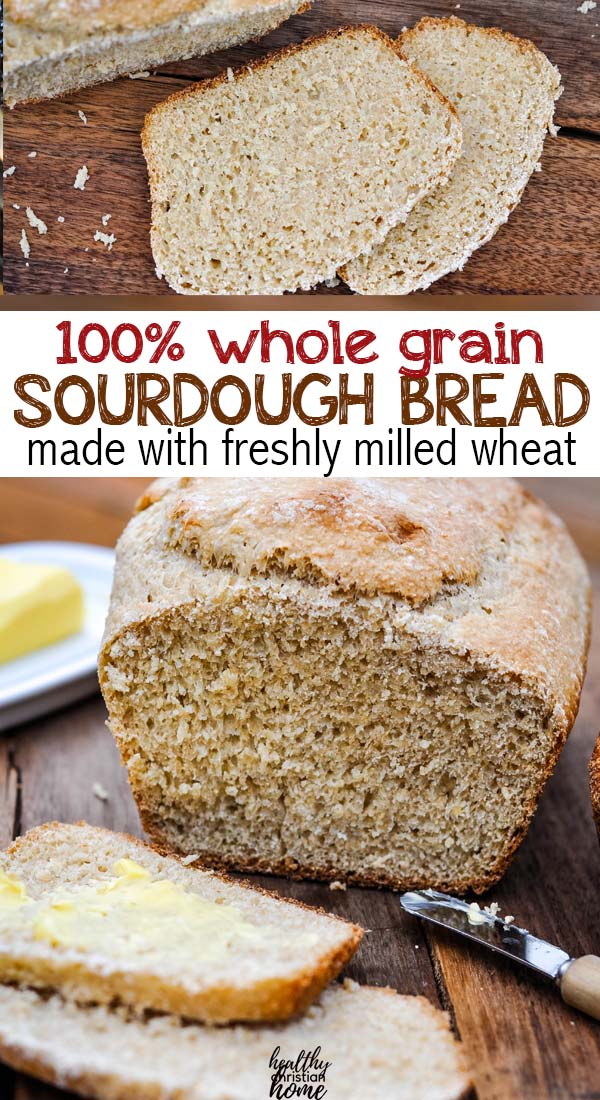
Looking for the perfect sourdough bread recipe using freshly milled, 100 percent whole grain flour? This is a tried-and-tested failproof bread recipe that you will find yourself returning to over and over again.
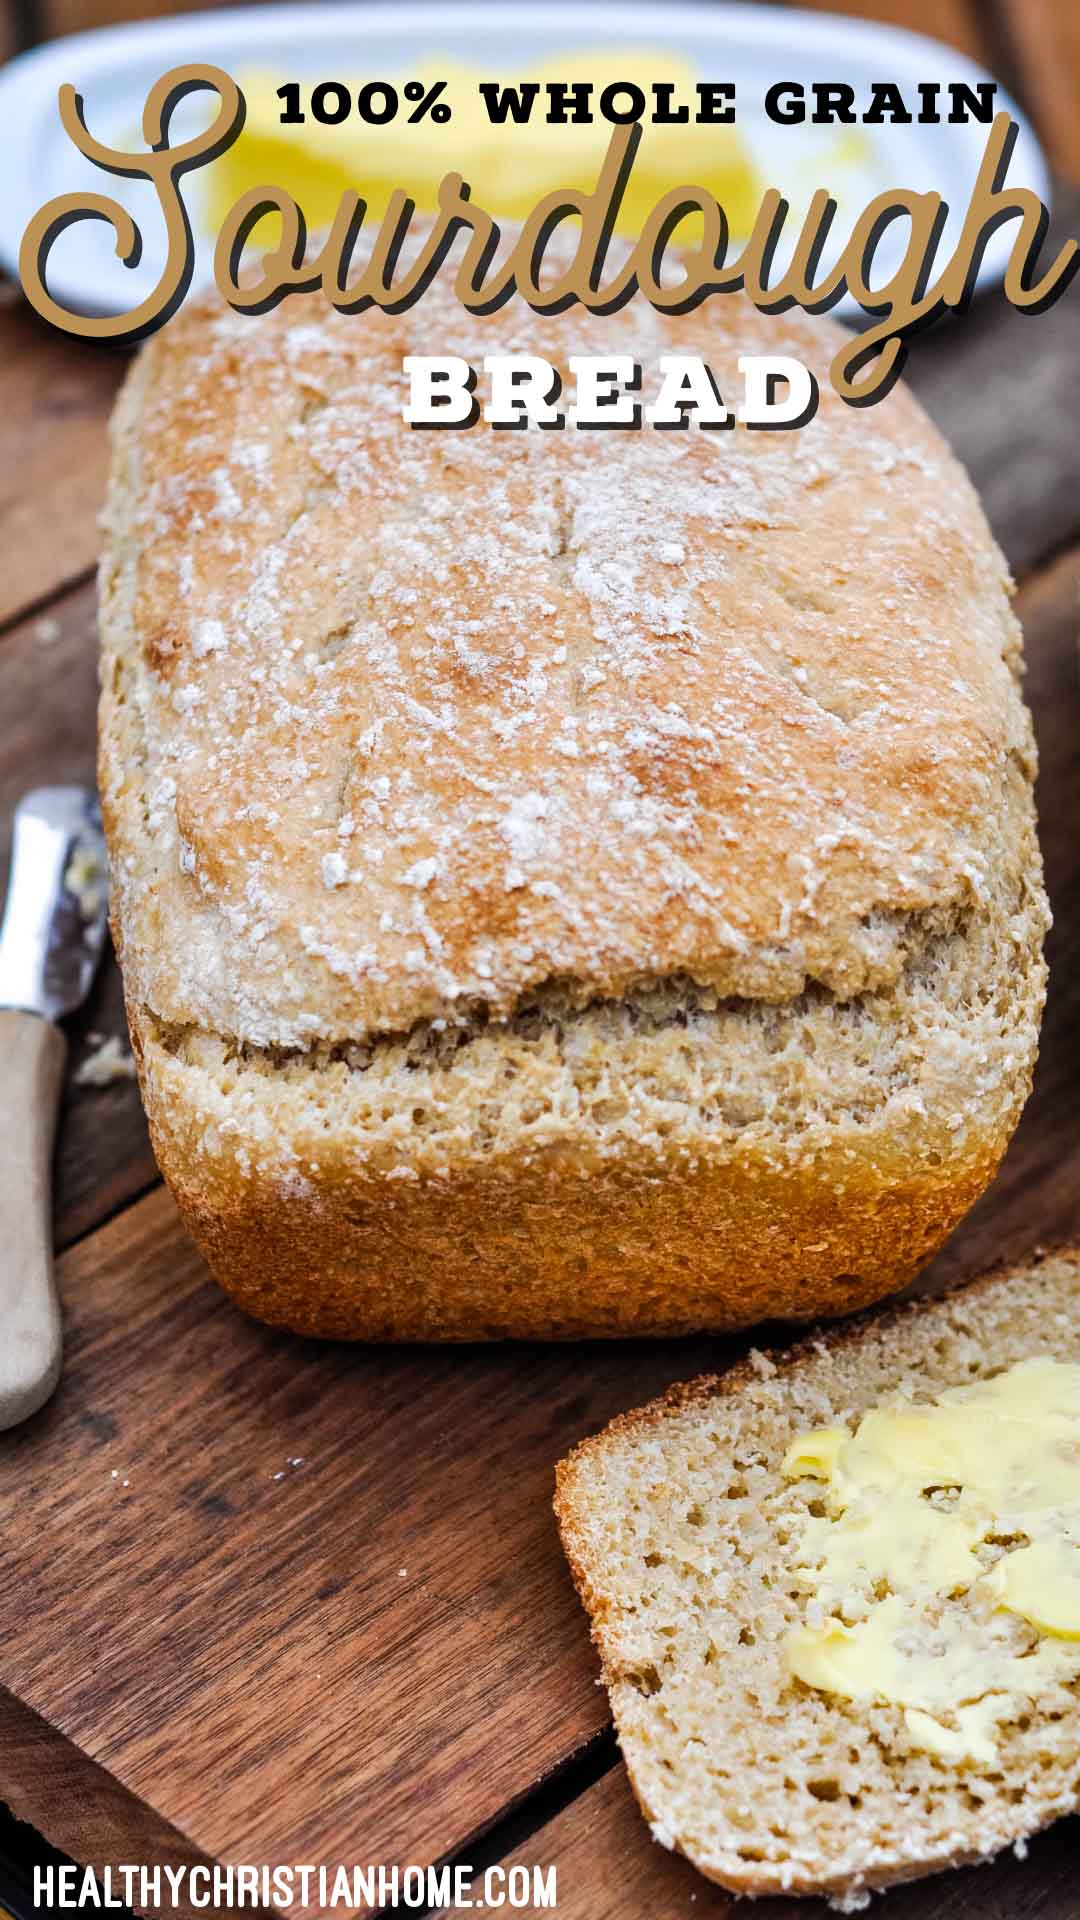
Searching for the perfect whole grain sourdough bread recipe
When I started my sourdough journey last year, I scoured the internet to find a bread recipe using 100 percent whole grain, freshly milled wheat. This was super important to me after researching the benefits of home ground flour and all the additional vitamins/minerals it contains.
There is no comparison nutritionally with flour from the store (which is possibly why so many people are sensitive to gluten). Freshly milled flour has insane amounts of B vitamins and vitamin E, and more.
Most of these denature after a few days of sitting on a shelf. Also, manufacturers sift the flour to make it lighter, which removes all the nutrition.
The problem though, when I tried to find a recipe using freshly ground flour, was that the recipe I was searching for didn’t exist! There were recipes using some whole grain flour, but all of them used mostly white.
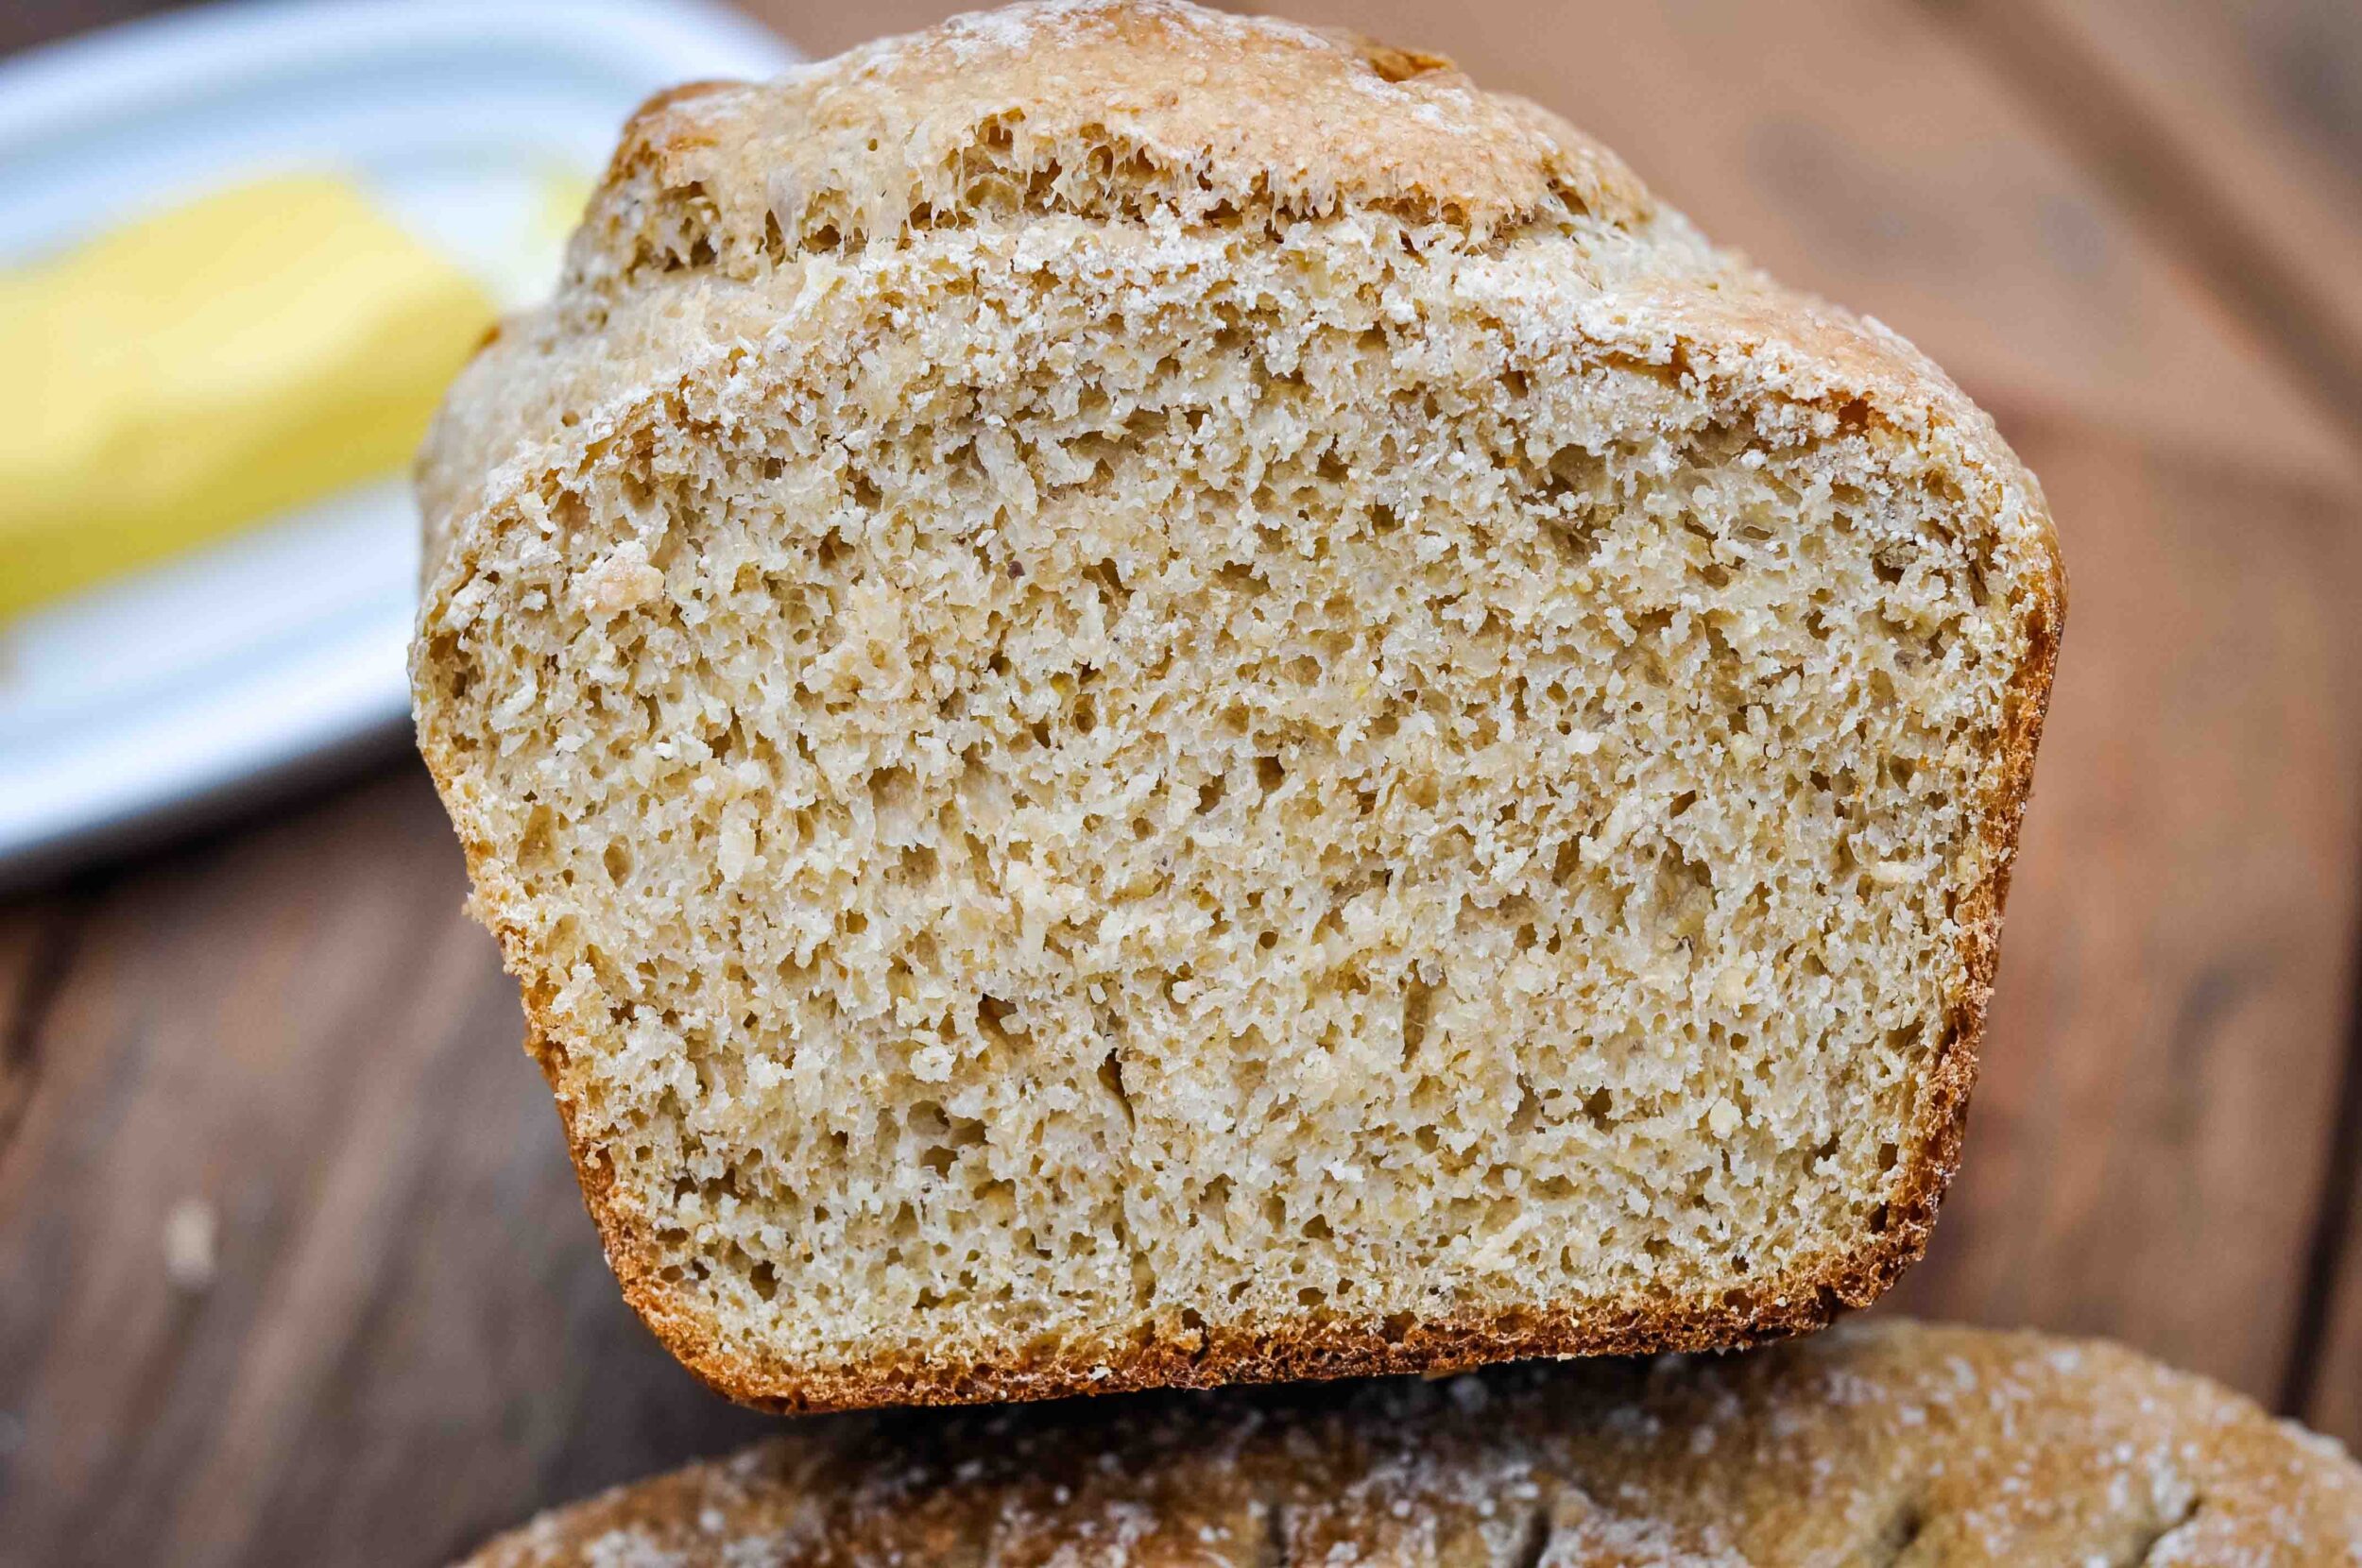
Most people don’t bake with 100% whole grain flour since they don’t own a grain mill, and since it is denser and nuttier. But the flavor is INCREDIBLE.
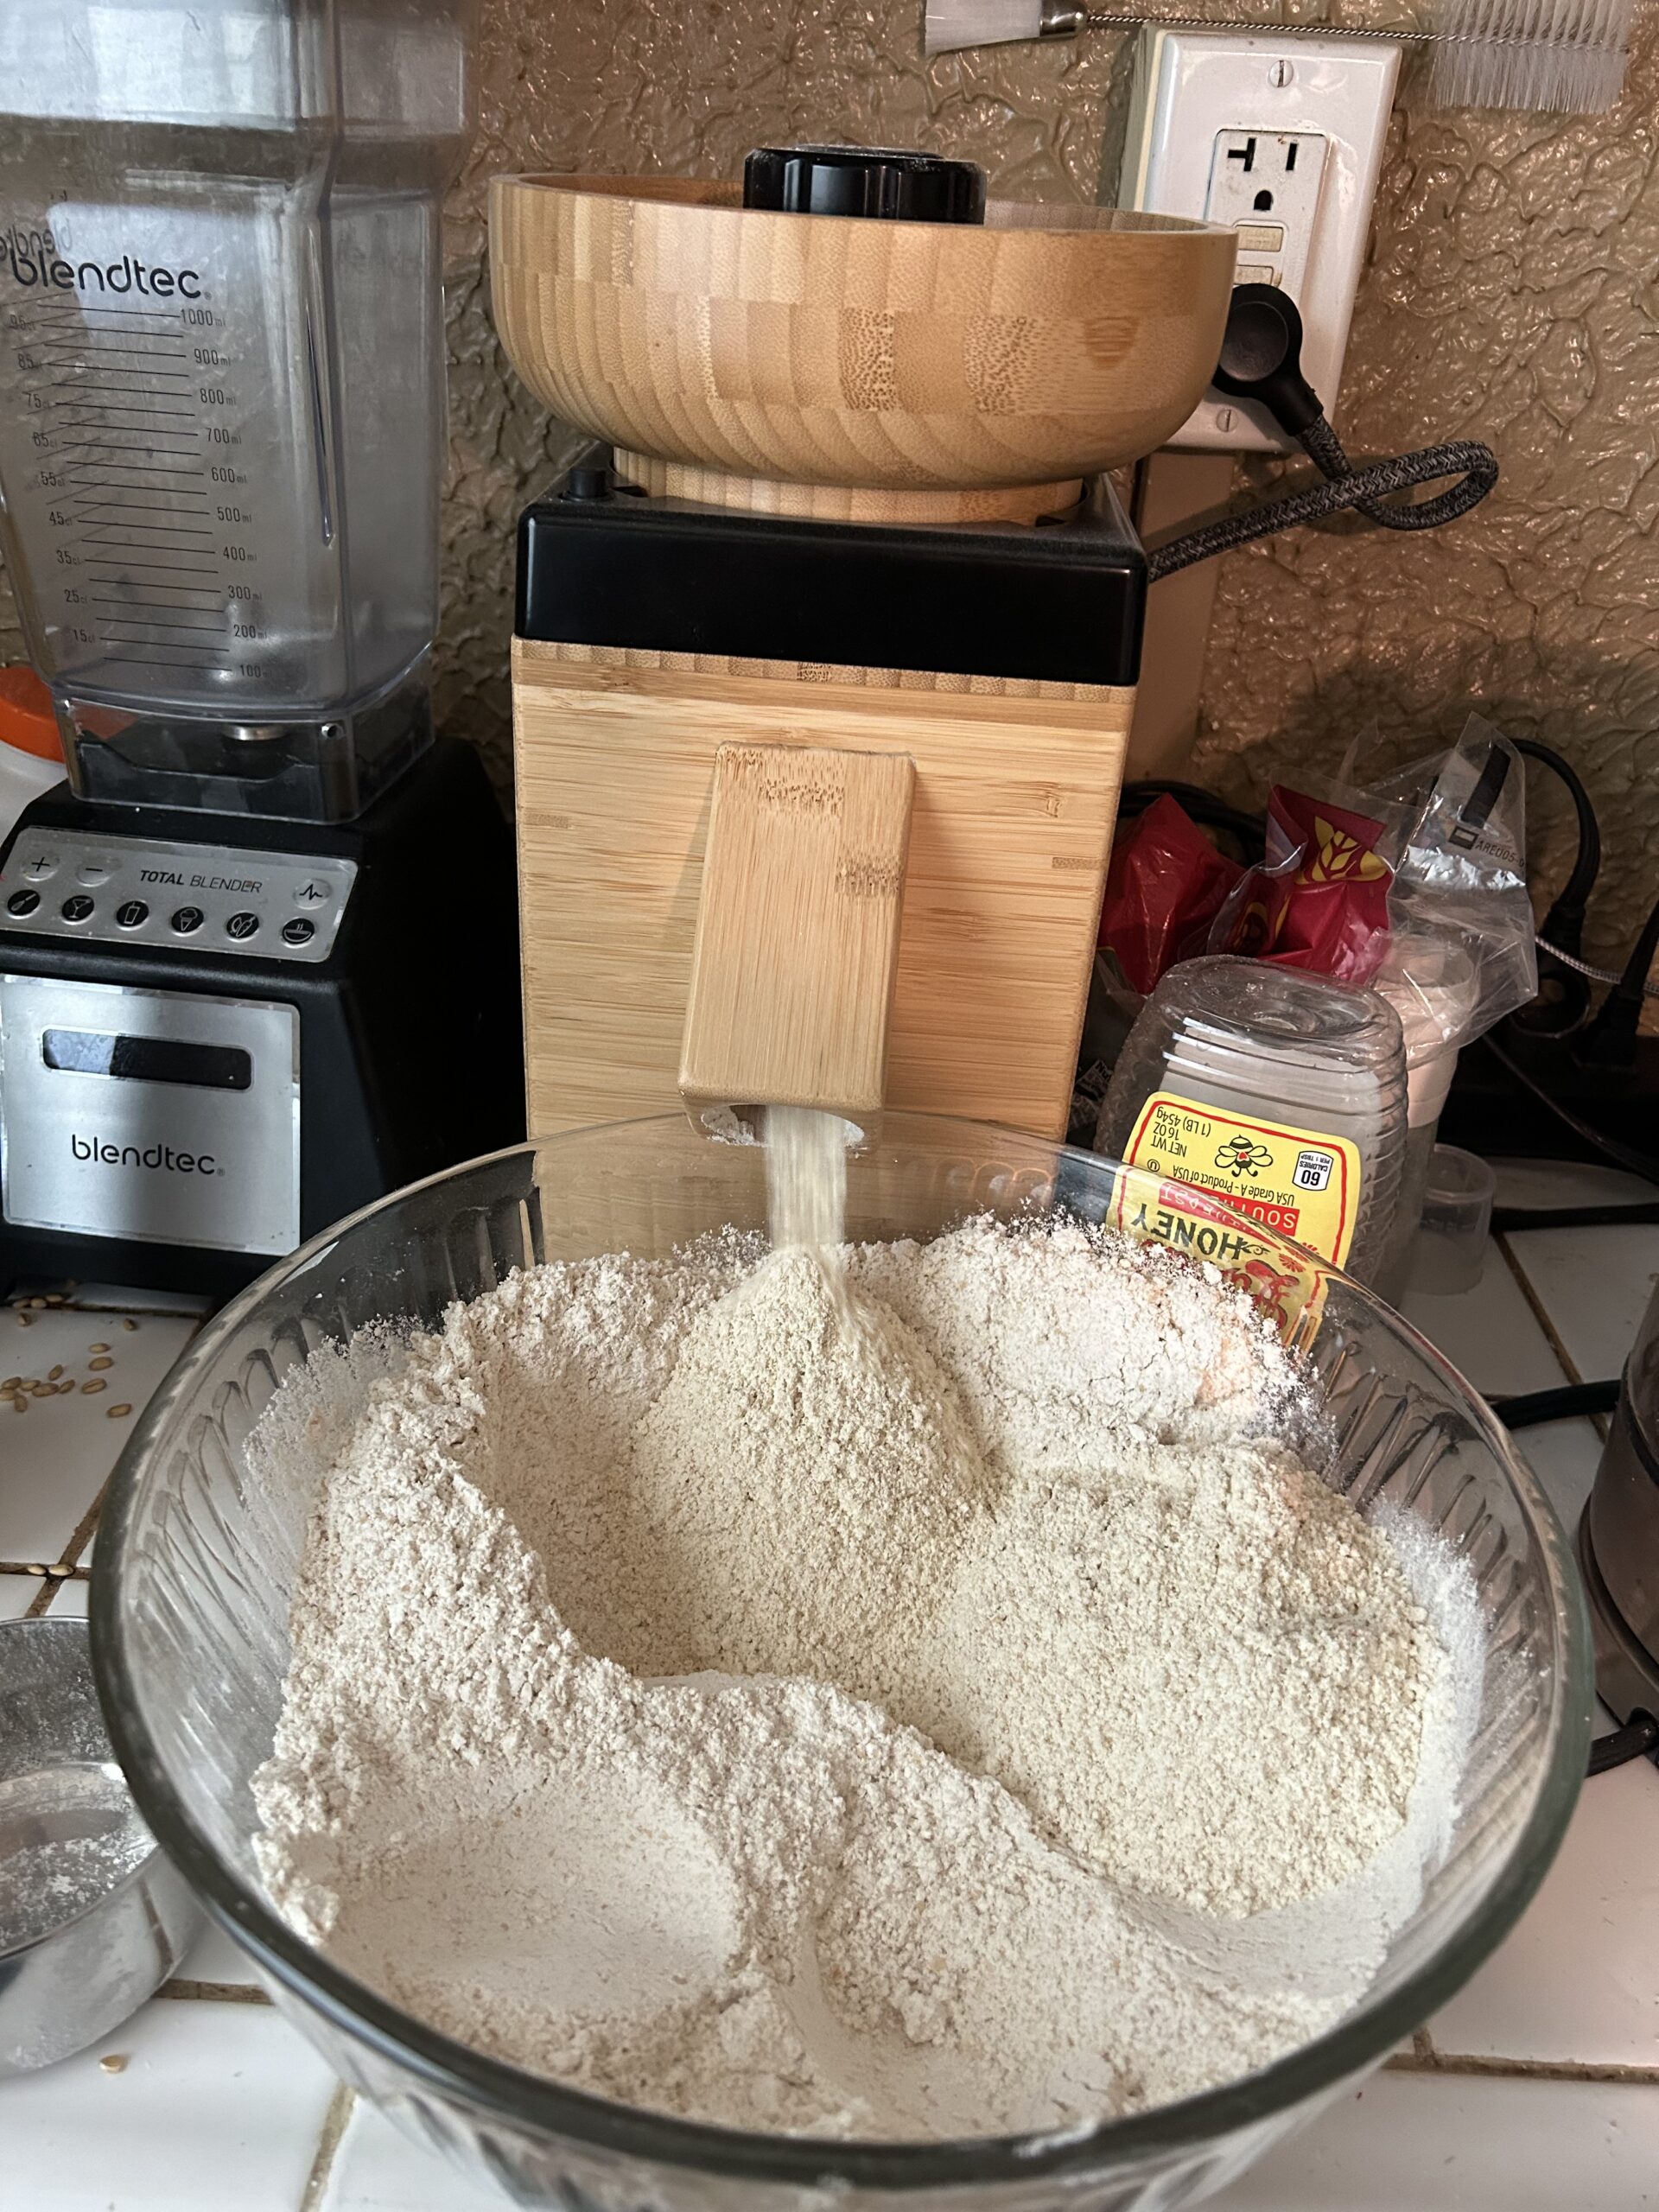
(BTW, if you are looking into purchasing your own grain mill, I highly recommend the Mockmill! It’s the best quality.)
So the recipe search continued… a few mediocre loaves were baked… and I got some amazing inspiration from School of Lunch and Ballerina Farm on Instagram. I started using a lot of their ratios, tips, and tricks in my baking.
So, after experimenting all year and testing a bunch of different ratios, the recipe is complete and I’m so excited to share it with you all!
And, if you’re new to sourdough baking, don’t give up! There is a bit of learning curve, but if you persevere you will get there and sourdough will become second nature.
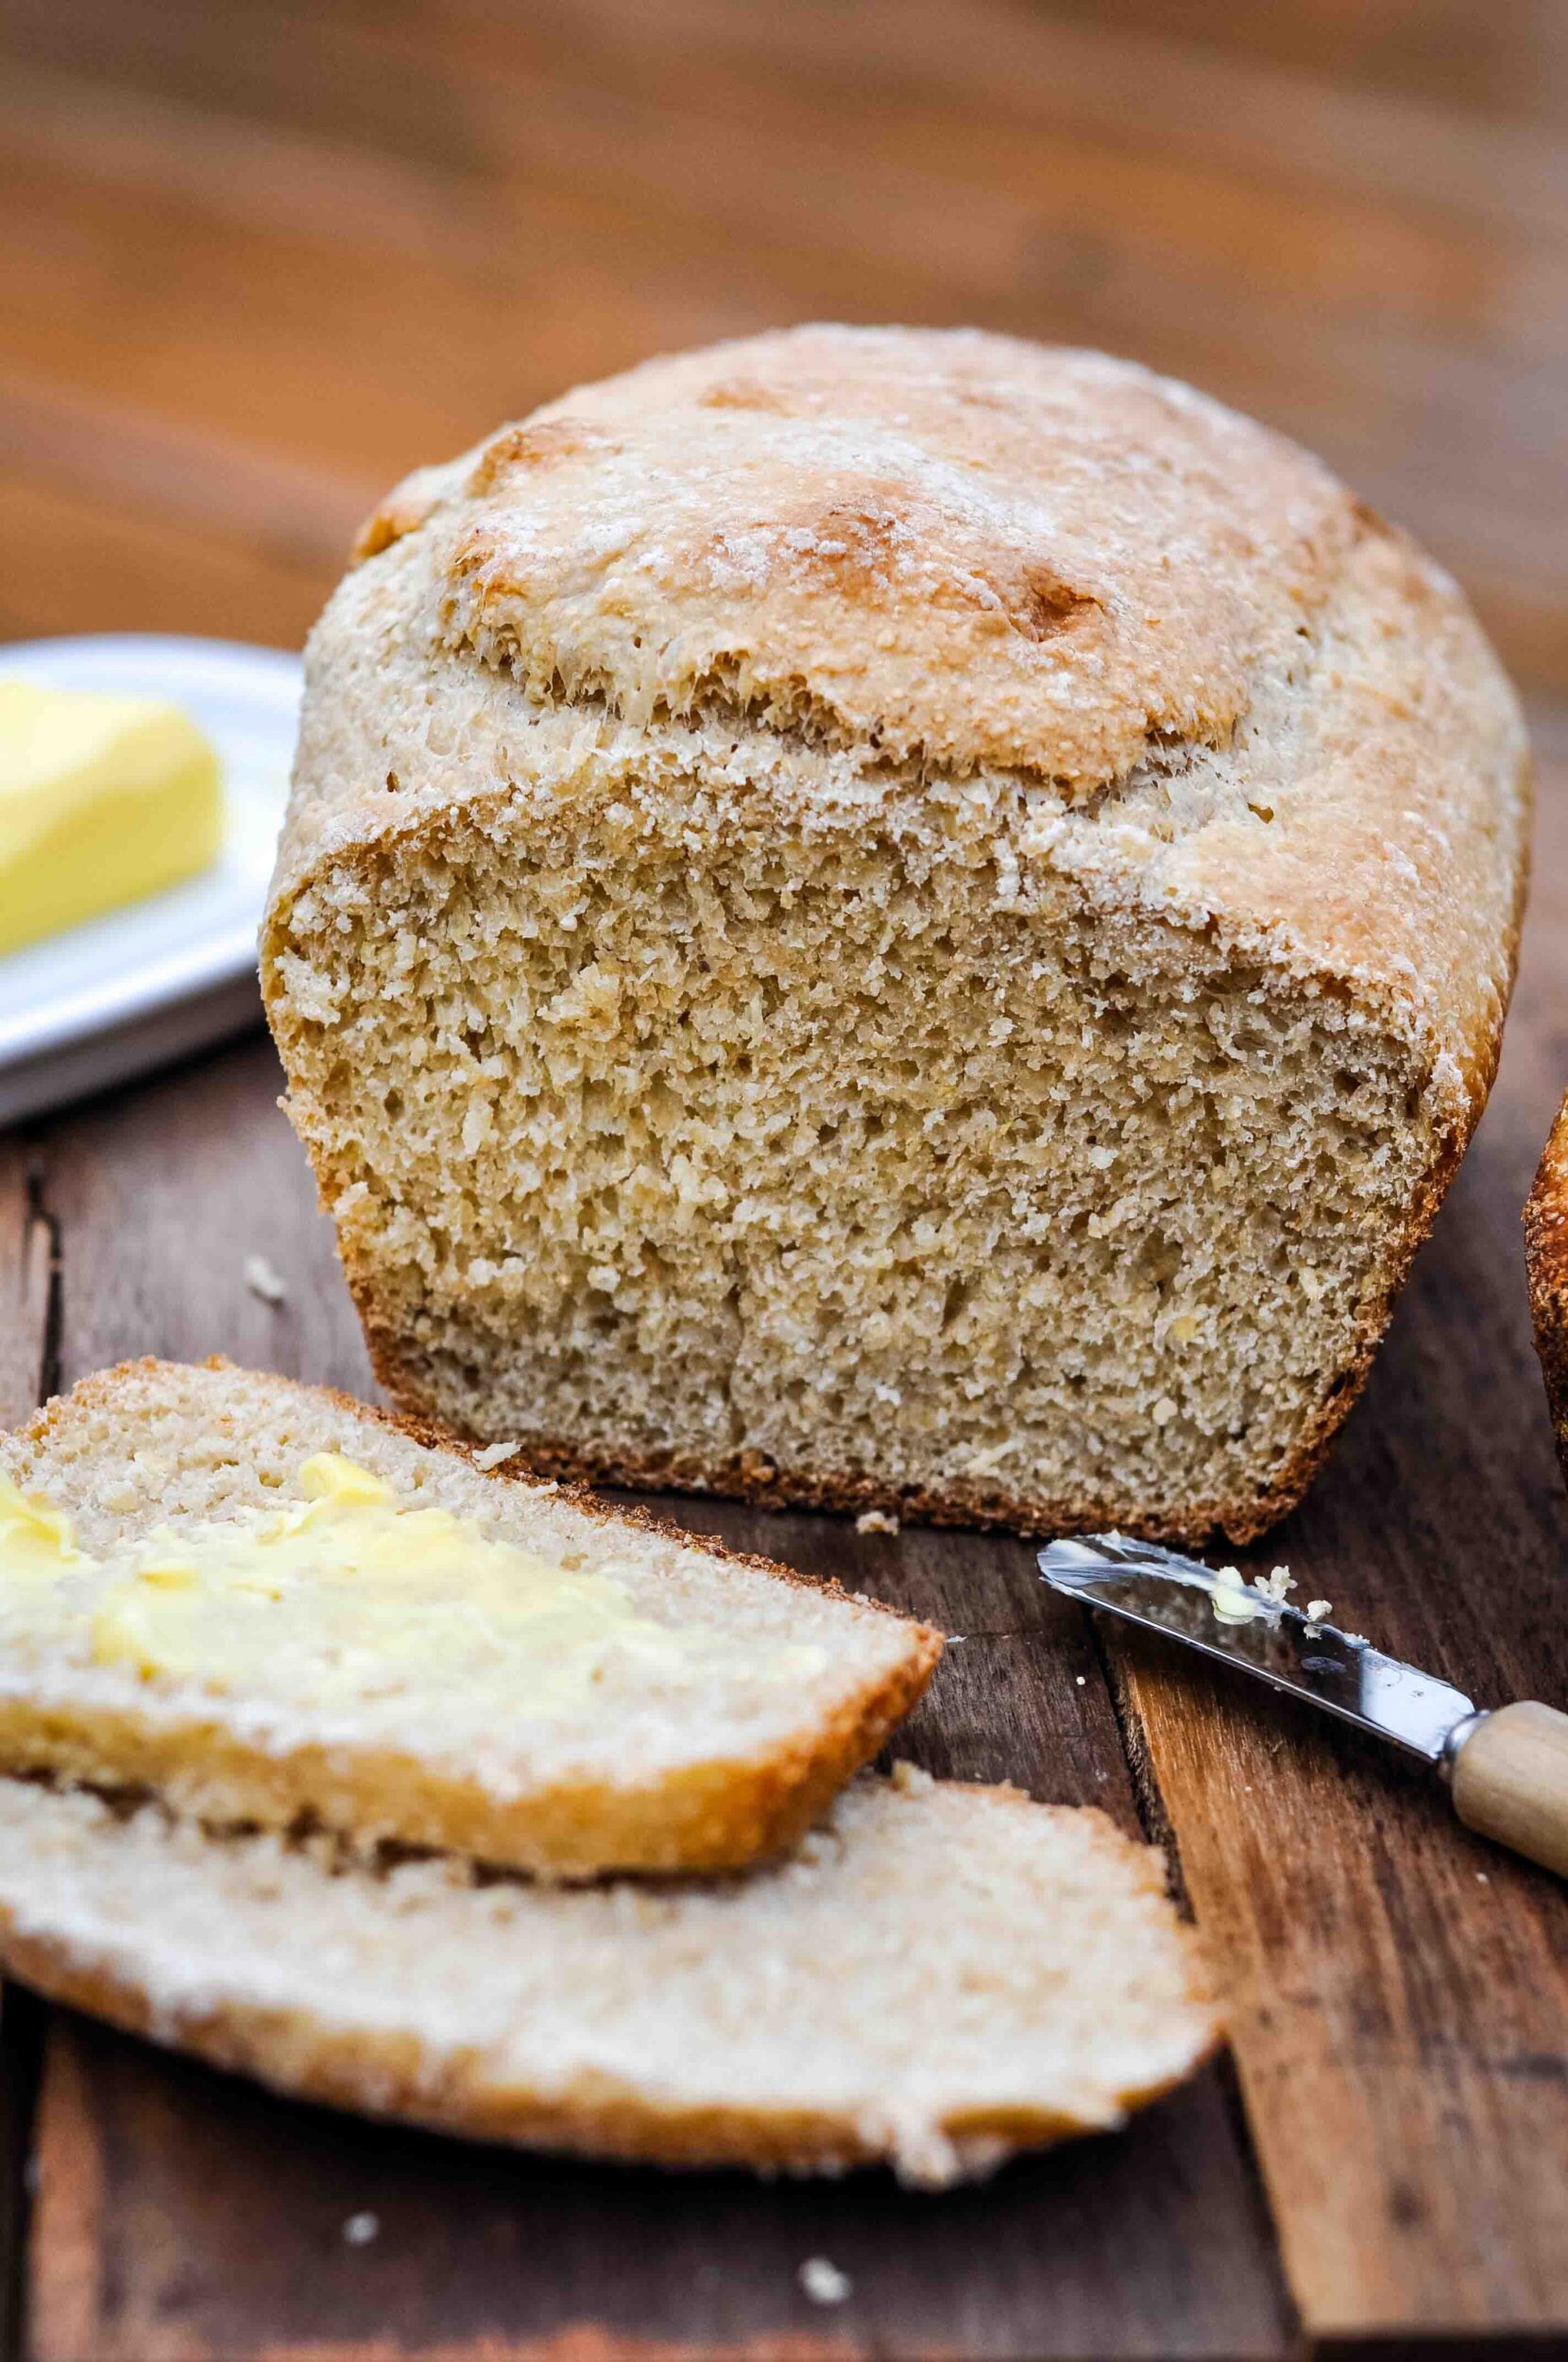
Is whole wheat sourdough bread good for you?
Yes, it’s amazing! Especially if you use freshly milled wheat which contains all of its naturally occurring nutrients like vitamin E, B vitamins, and a host of minerals too.
Plus, the nature of sourdough is that you have to give the flour a long time to ferment and rise. Fermentation partially breaks down the gluten and anti nutrients in the grains, making the bread easier to digest and more nutritious.
Is sourdough bread considered whole grain?
Only if it uses whole grain flour, which does not have the nutritious bran and germ removed.
A bread recipe has to contain at least some whole grain flour to be categorized as whole grain. Although, this ratio is can be pretty small. In this recipe, we are using a large ratio of fiber rich, whole grain flour.
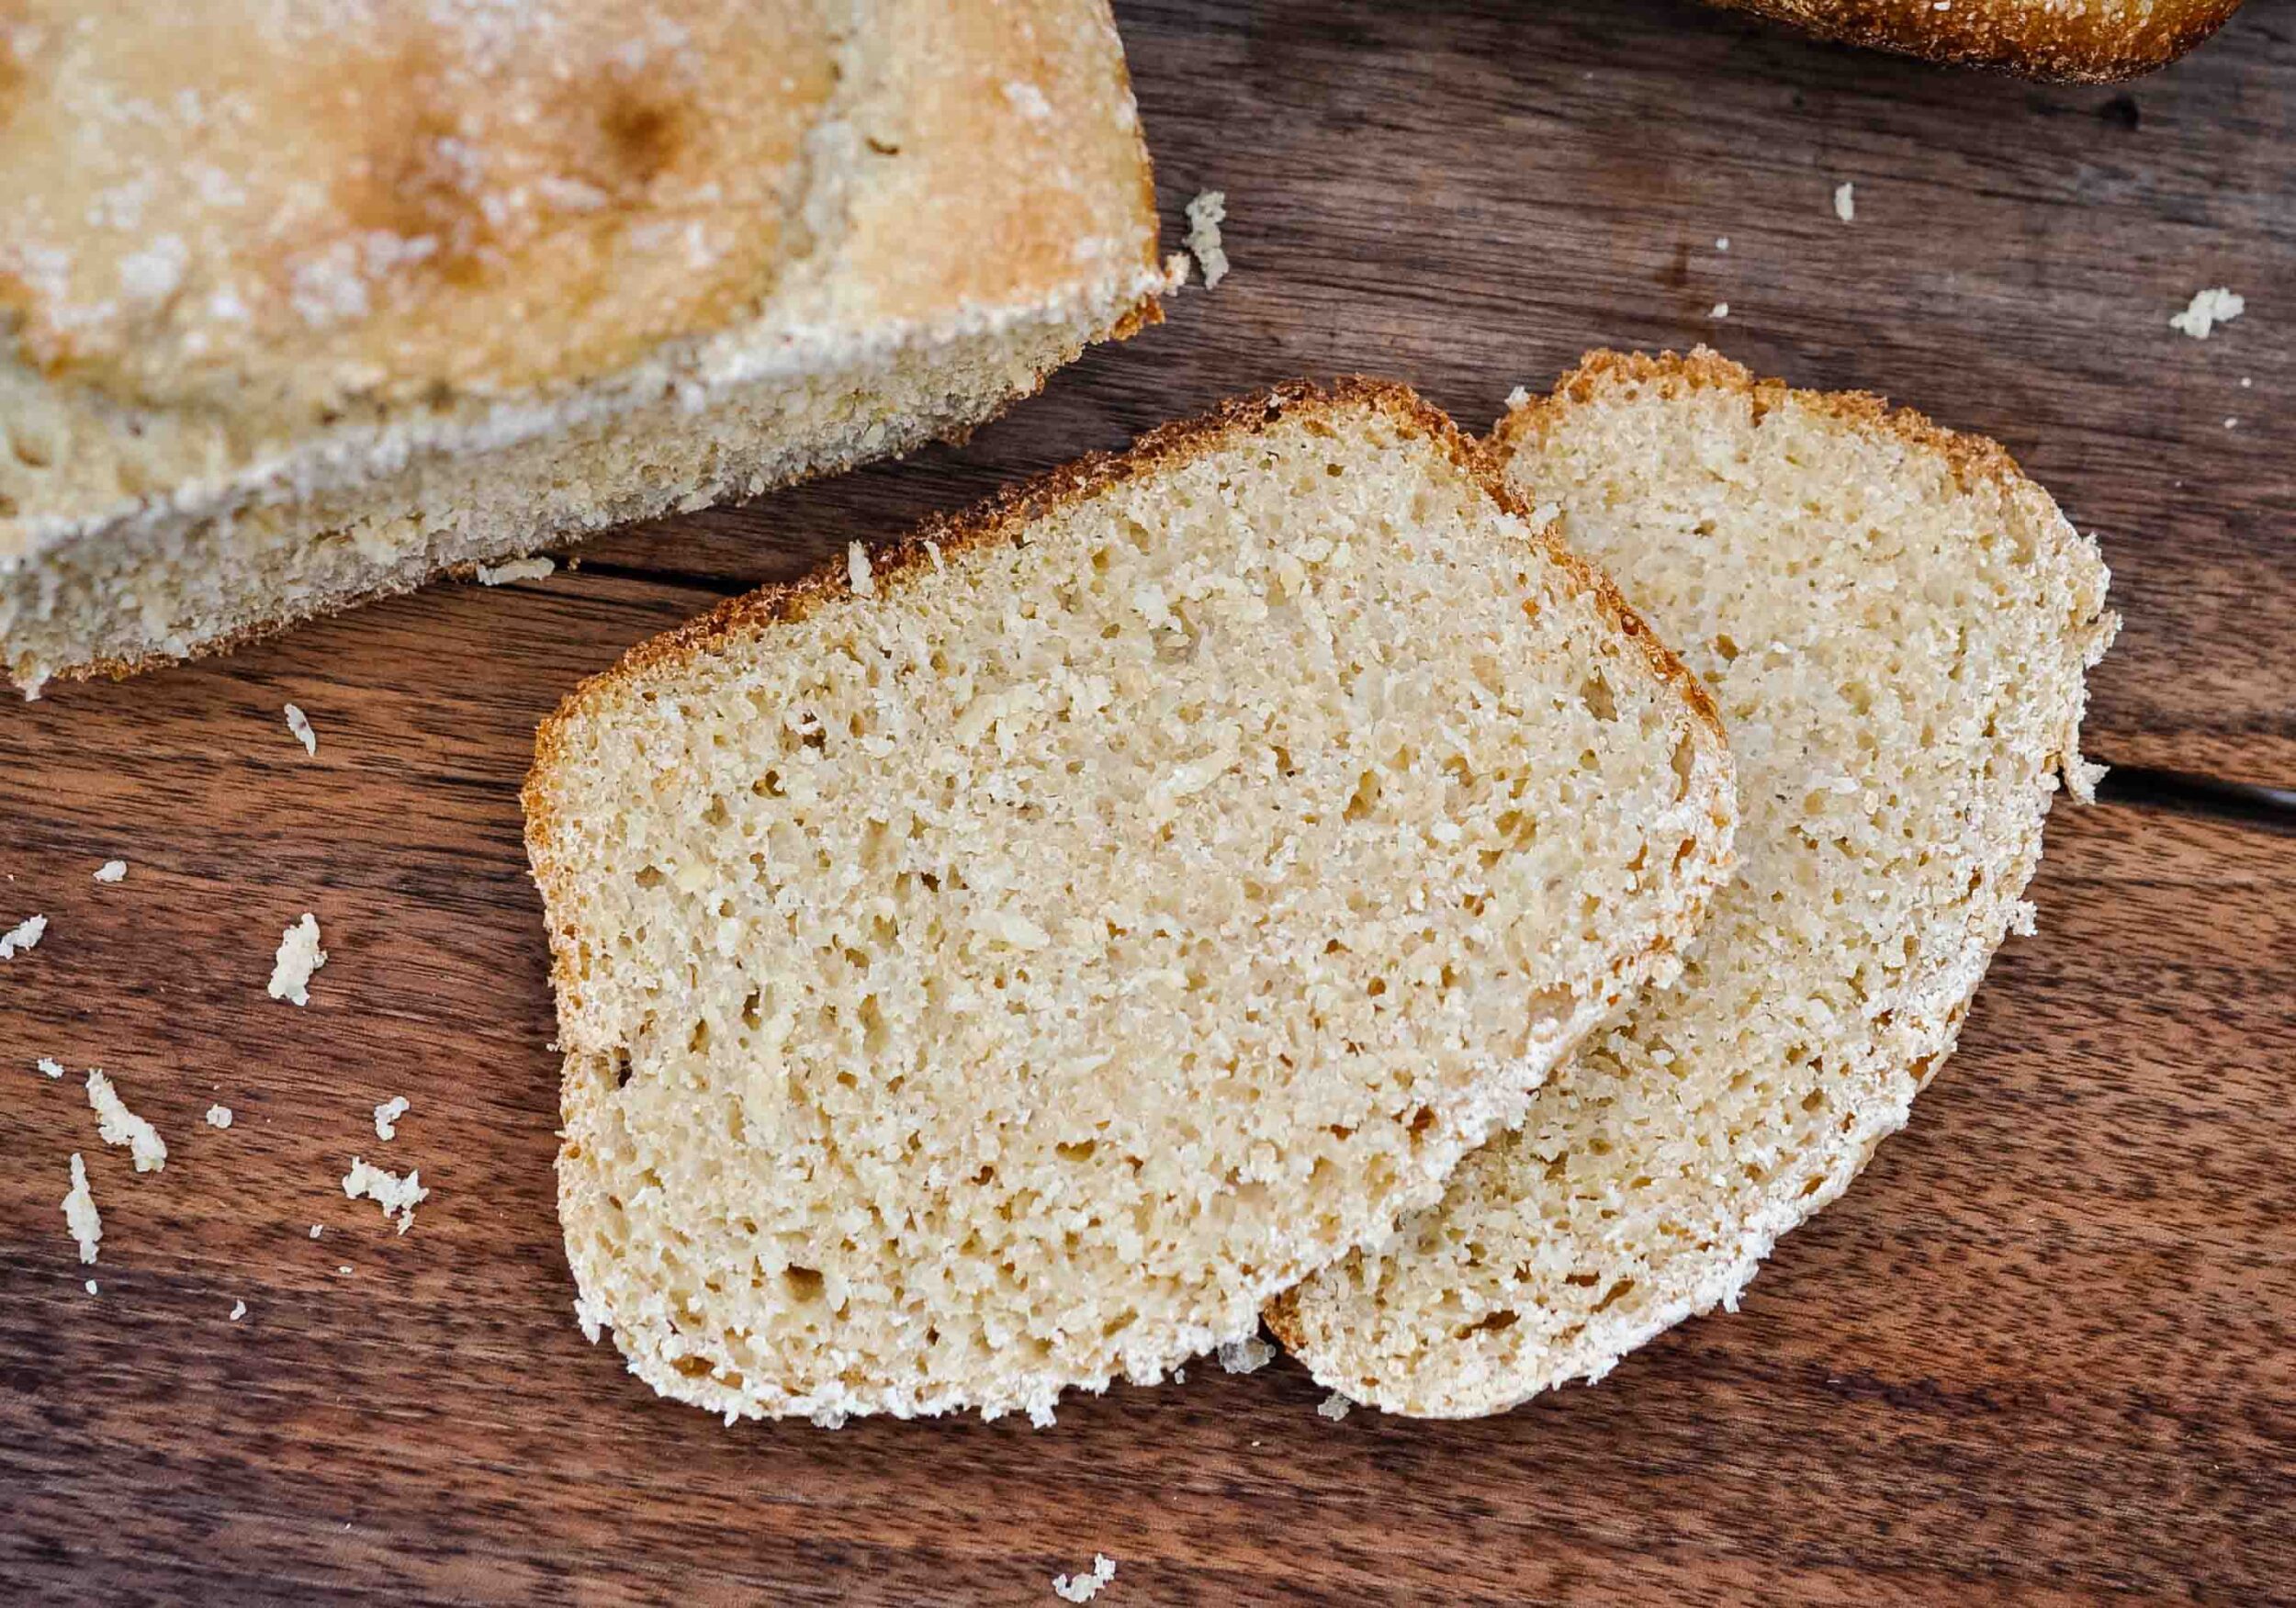
What is the healthiest sourdough bread?
It’s best to use as much whole grain flour as possible in your bread recipe for the most health benefits. The healthiest sourdough bread, ideally, uses 100 percent whole grain, freshly milled flour.
Long ago, people used to make bread this way. It provided much of the b vitamins, magnesium, zinc, vitamin E that they required in their daily diet. Read more about the history of flour and why manufacturing changed everything.
(Nowadays, I think this just might be the healthiest bread recipe around.)
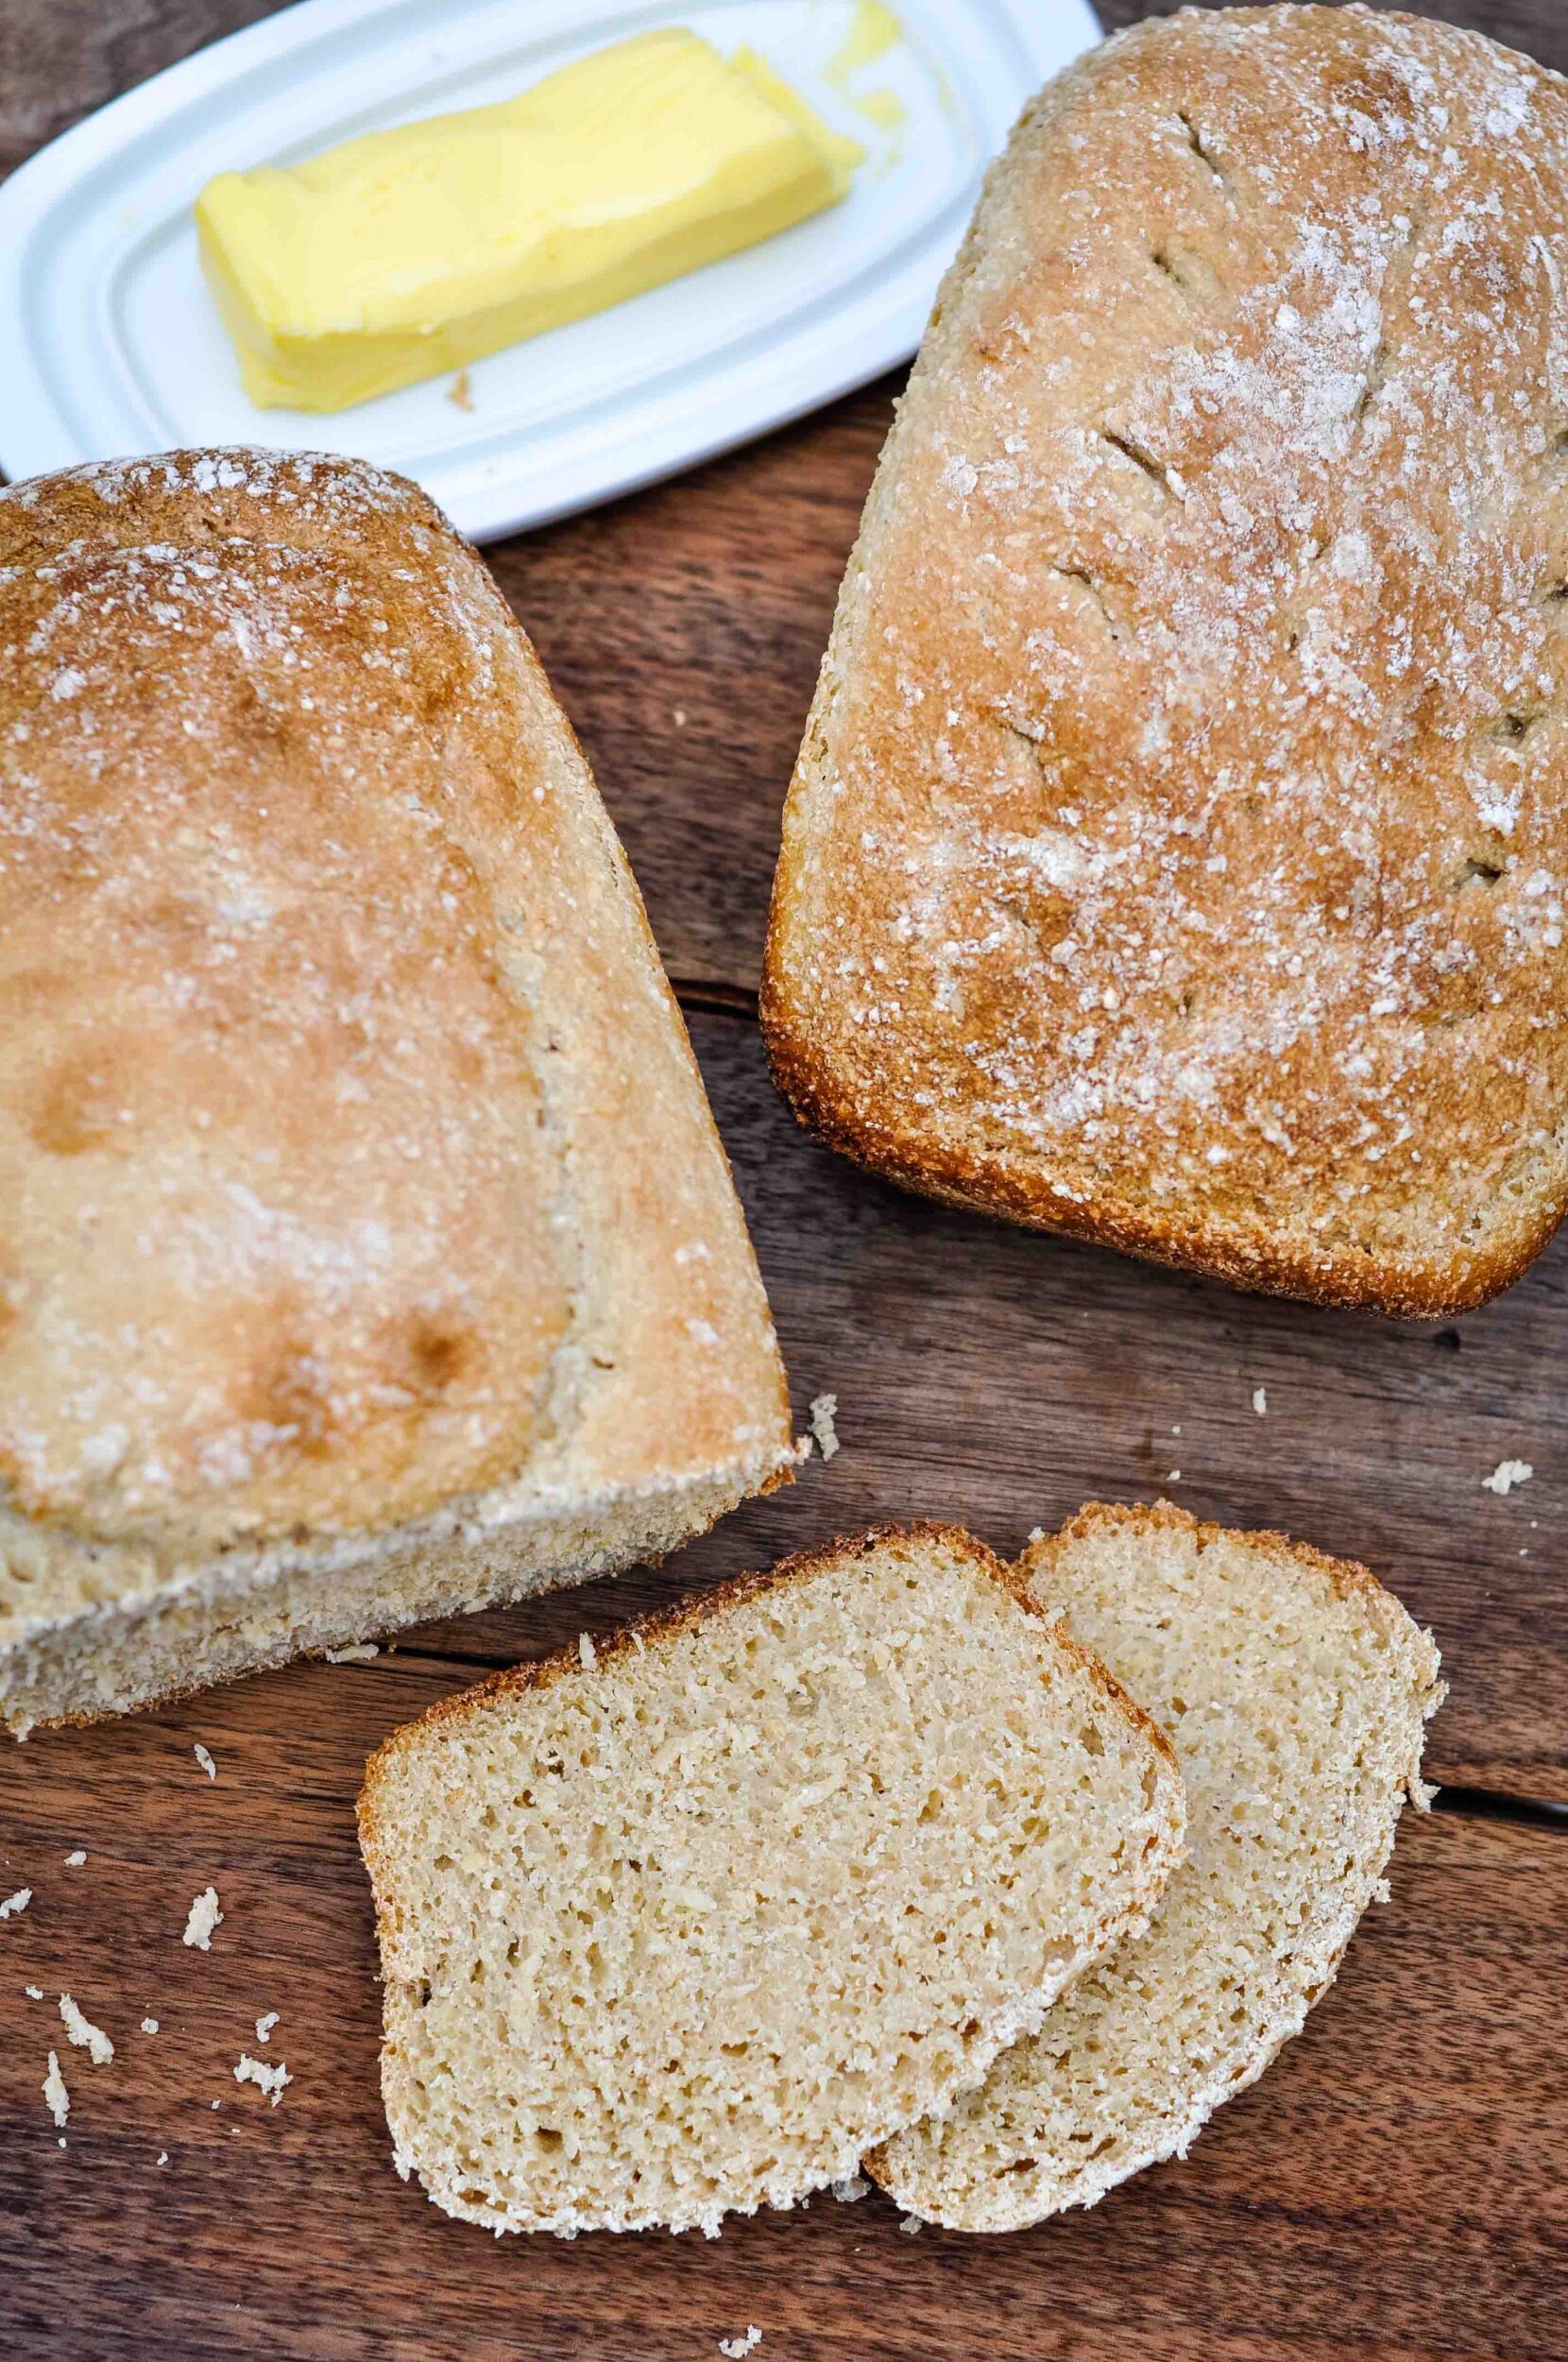
100% whole grain vs. mixing with white flour
When I first started making sourdough bread, I used only freshly ground whole wheat flour and didn’t add any white bread flour (all-purpose flour). This is because I wanted our family to have the full nutritional benefits of the fresh flour.
I still do this sometimes, but lately I’ve been experimenting with incorporating some white bread flour into the recipe. It helps keep the bread light and fluffy (less dense).
Using the 100% whole grain still works great with this recipe, though! You can choose whatever ratio works best for you based on your greater goals — fluffier bread, or more nutritious bread? There’s no right or wrong answer.
One rule of thumb, however: refined white flour requires slightly less water for hydration than freshly milled whole grain. The whole grain seems to absorb more water.
So you will have to get used to the texture of what “feels right” in a bread dough and adjust the amount of water to whatever flour you are using. Here’s a great guide on the basics of hydration in sourdough bread making.
What kind of wheat berries should I grind for flour?
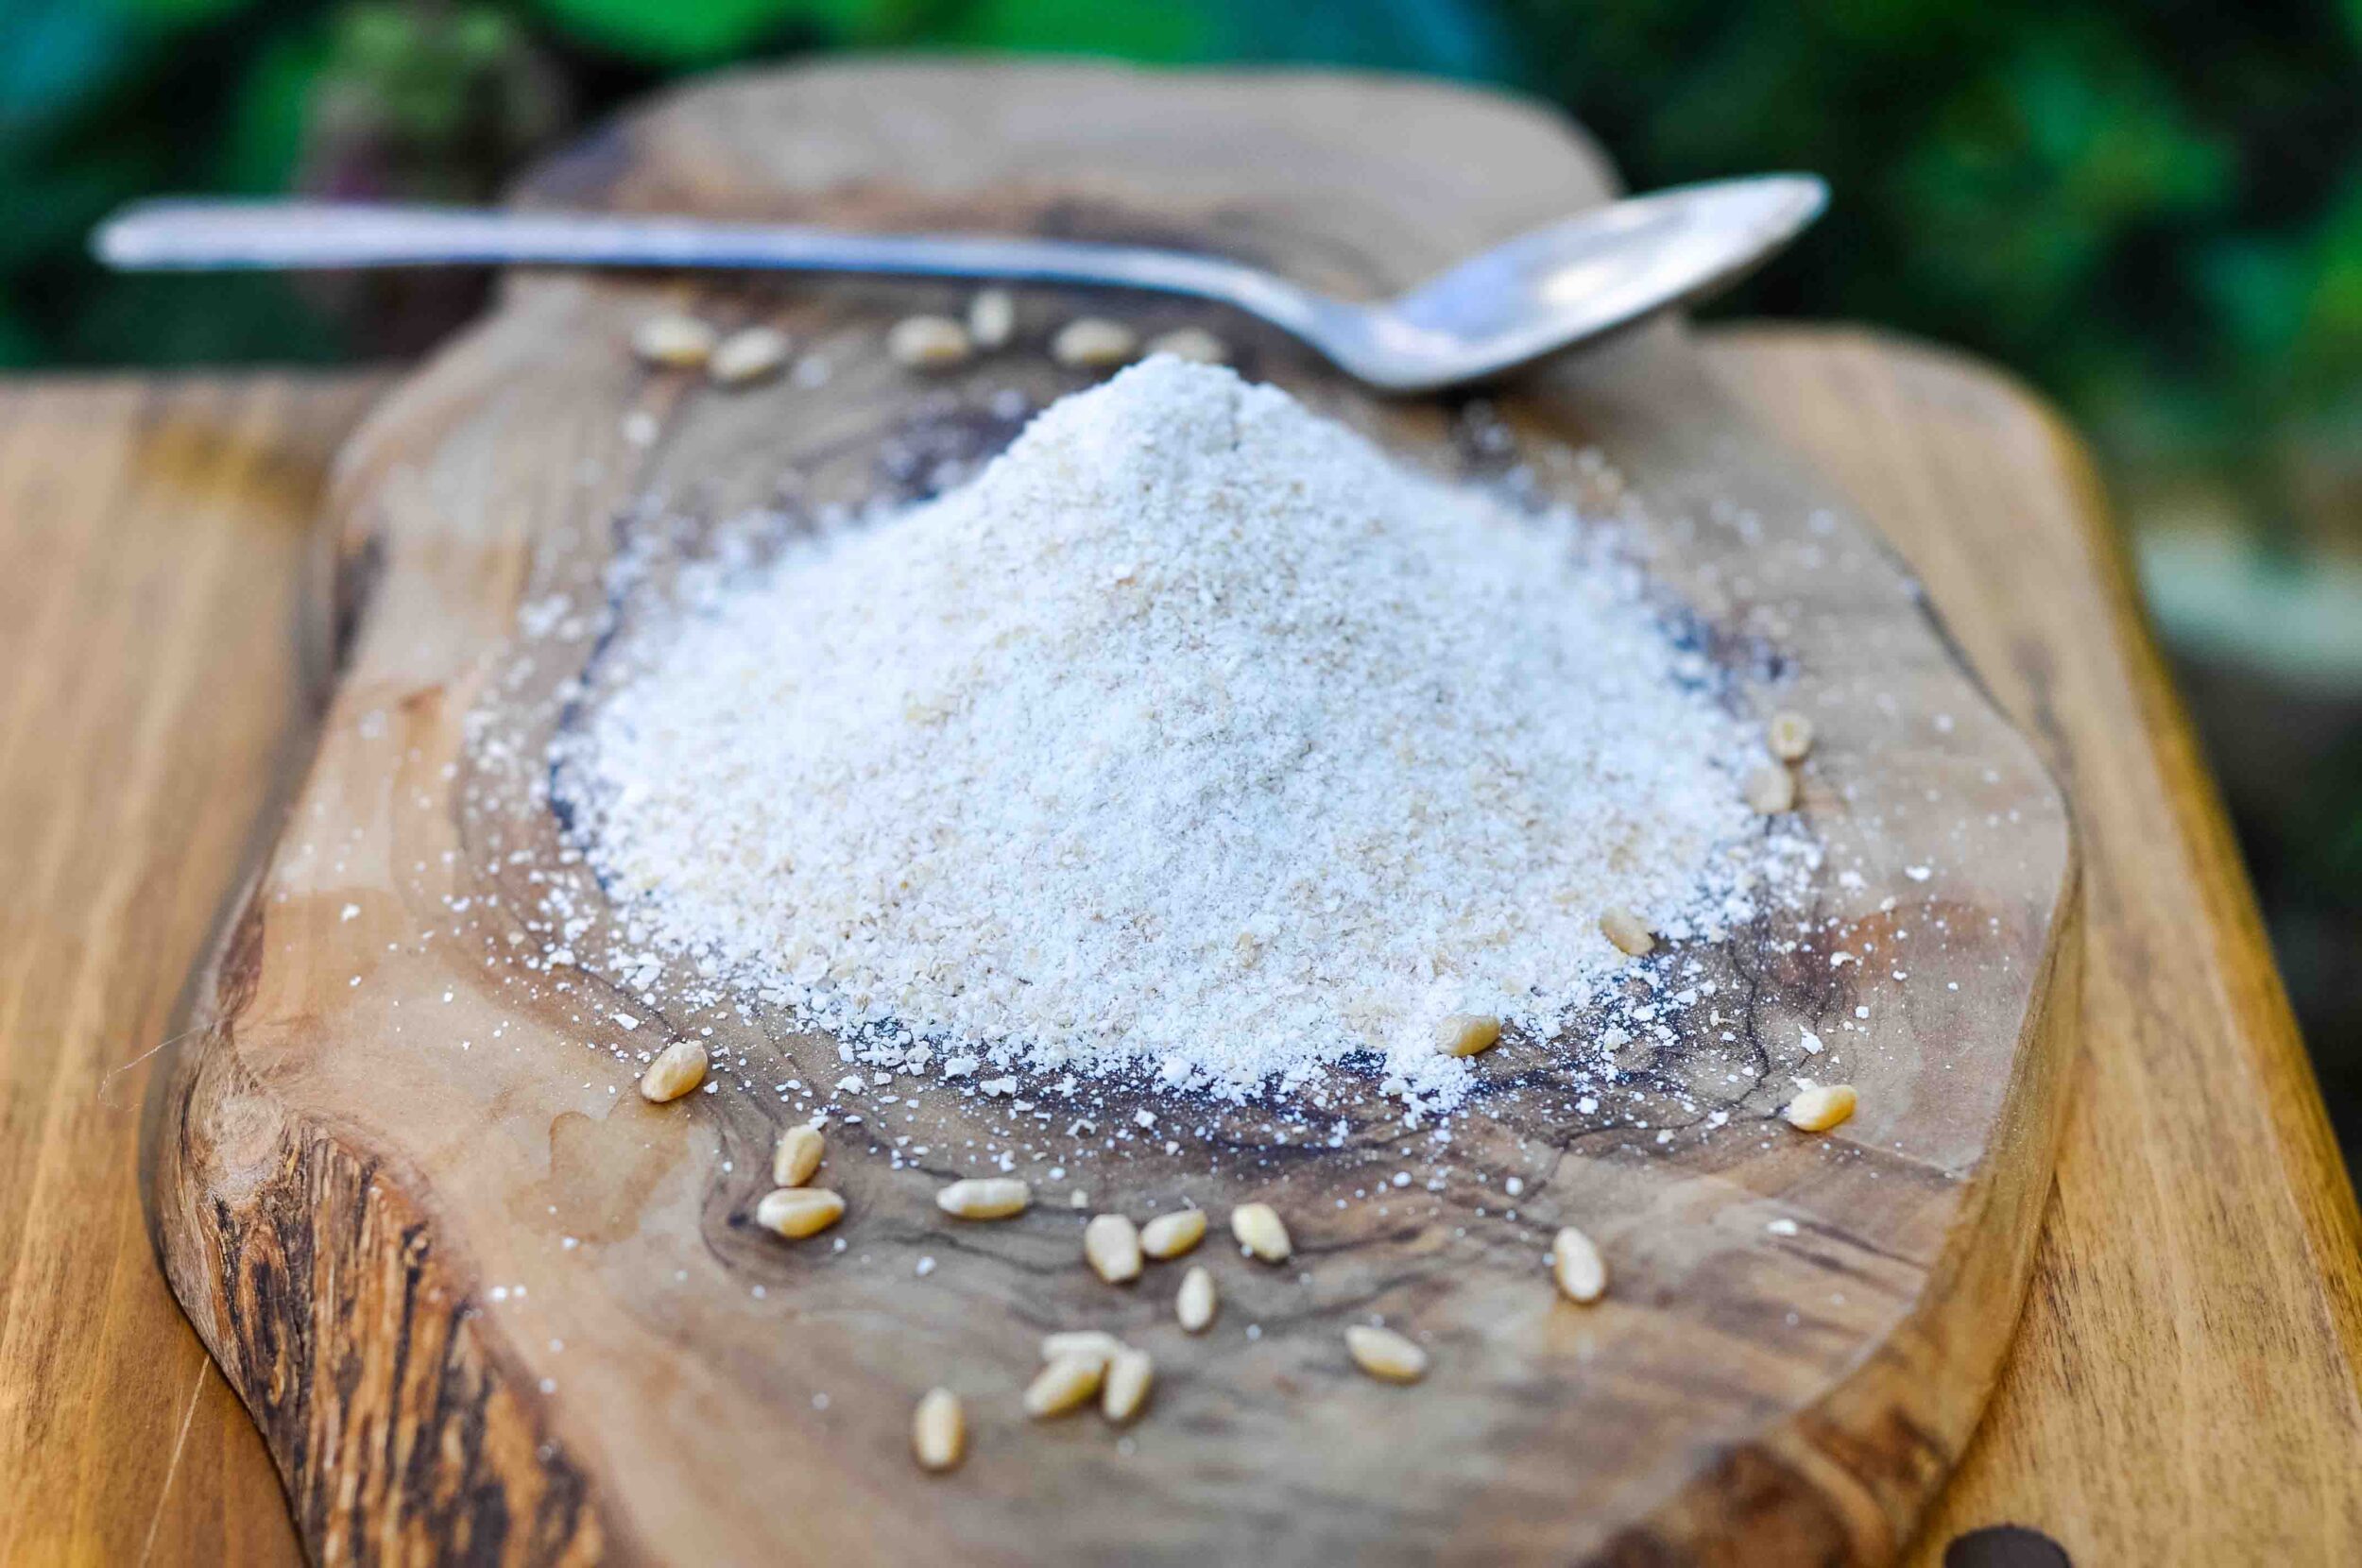
Hard white wheat is my favorite for bread baking. There are lots of variations of wheat, but hard white wheat has a wonderful gluten content for breadbaking and is easier to work with and less dense than red wheat.
Here’s a basic rundown on types of wheat berries:
Soft white: Less gluten content which means the dough is more tender and falls apart more easily. Ideal for cookies, cakes, muffins.
Hard white: Higher gluten content, holds together well for breads, light and mild taste.
Hard red: Higher gluten content, great for bread making, a bit more dense and nutty tasting.
Einkhorn: Ancient grain wheat berries with a reduced gluten content, also good for bread baking.
Any whole wheat berries will work for this recipe. You can find wheat berries in the links above, but for best pricing and organic wheat berries I recommend Azure Standard.
Kneading vs. stretch and fold
When I first started bread making, I spent a lot of time kneading. Guys, kneading is hard work.
Eventually, I understood why the “stretch and fold” method is so popular.
Stretch and fold is exactly what it sounds like – you stretch the dough over itself and fold, repeating several times as you rotate the dough. Here’s a great tutorial on how to stretch and fold dough.
Or, watch my recipe video in this post to see how easy it is.
Complete 4 rounds of stretch and folds, every 30 minutes or so, before letting the bread bulk ferment/rise. Trust me, this is a lot less work and it helps the gluten in the bread develop even more beautifully than kneading.
Equipment needed for sourdough bread
There are a couple of must-have tools for making sourdough bread at home.
First, you really can’t get by without an accurate kitchen scale. Getting a good result with bread is dependent on measuring flour and water by weight to get the same outcome every time. Because flour settles over time, you can’t rely on measuring with cups and spoons.
I highly recommend this kitchen scale, it is more durable and can take heavier weights which means it will last.
Other equipment that is nice to have:
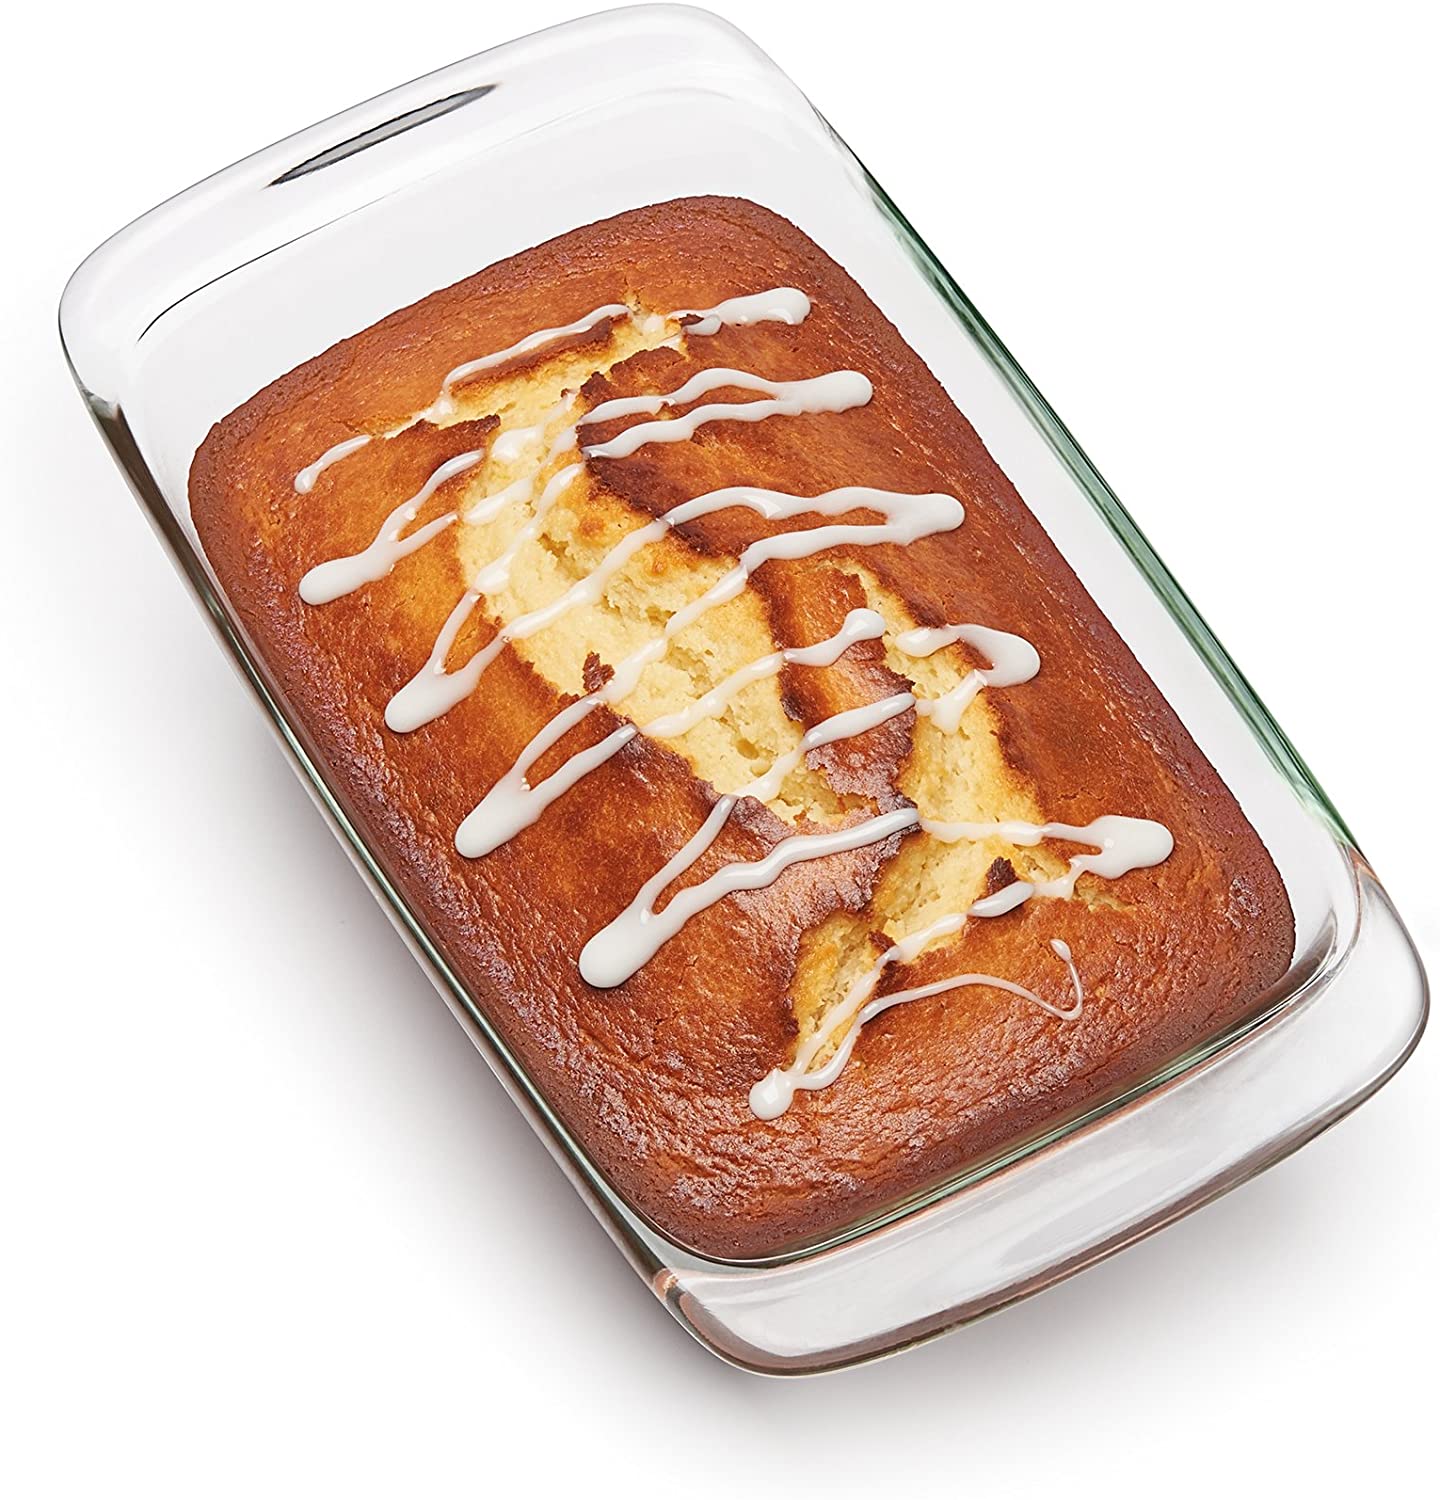
- Glass loaf pans
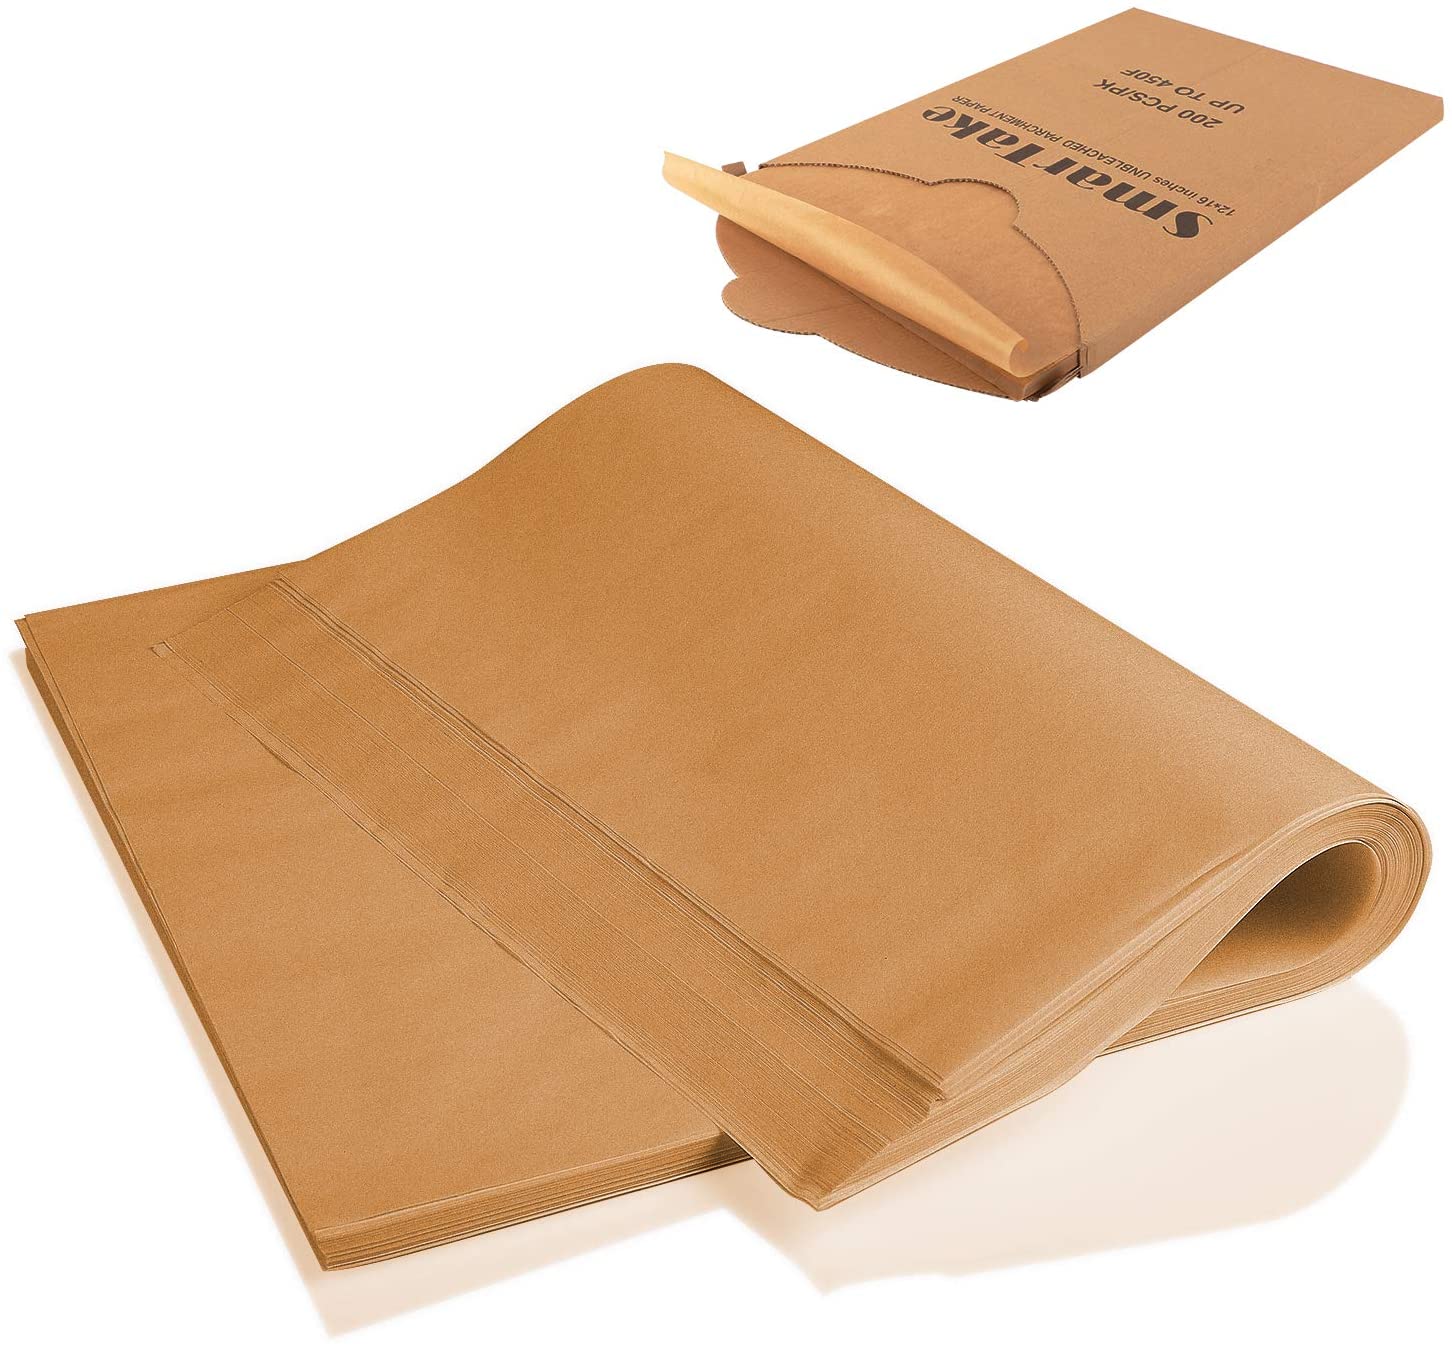
- Parchment paper (for easily removing bread from pans)
- Coconut oil spray (to grease pans)
- Dutch oven
- Bench scraper (for cutting and shaping dough)
- Bread lame (to score your bread)
- Mockmill grain mill (for the healthiest bread ever!)
How to make whole grain sourdough bread
The method below makes 2 loaves, but I usually double it to make 4 so I can store extra loaves in the freezer and I don’t have to bake bread constantly.
1. Feed the starter
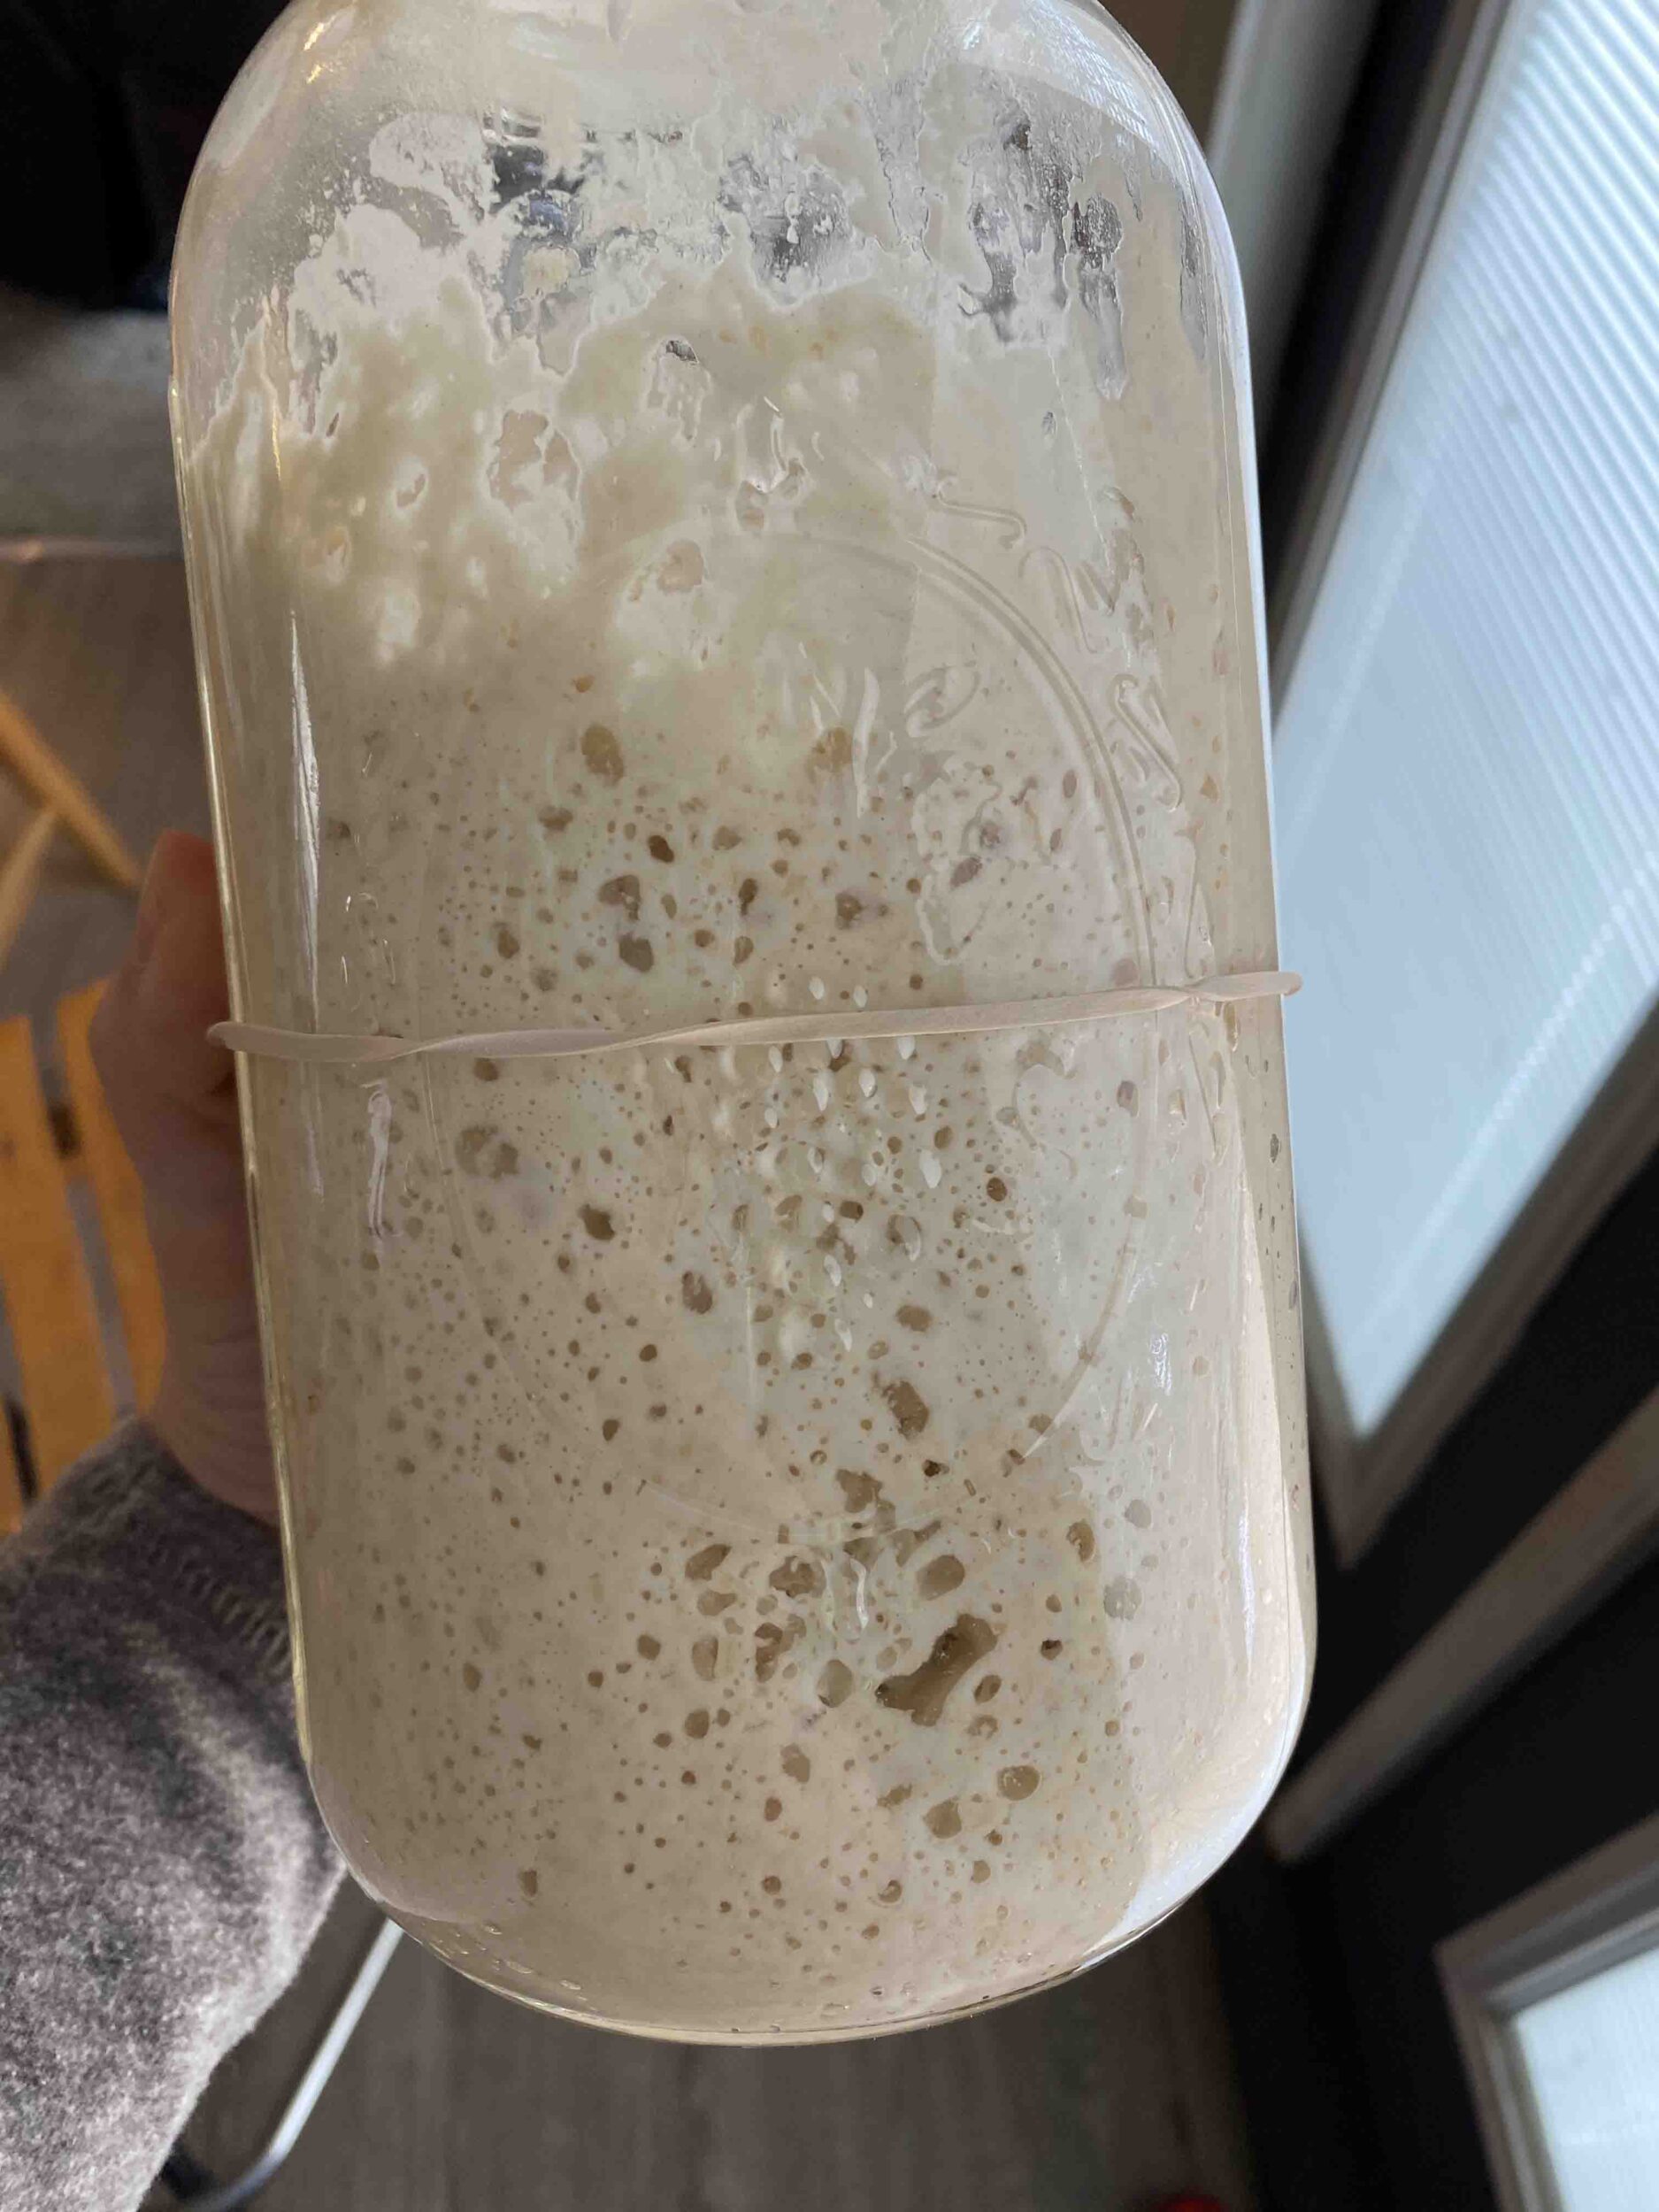
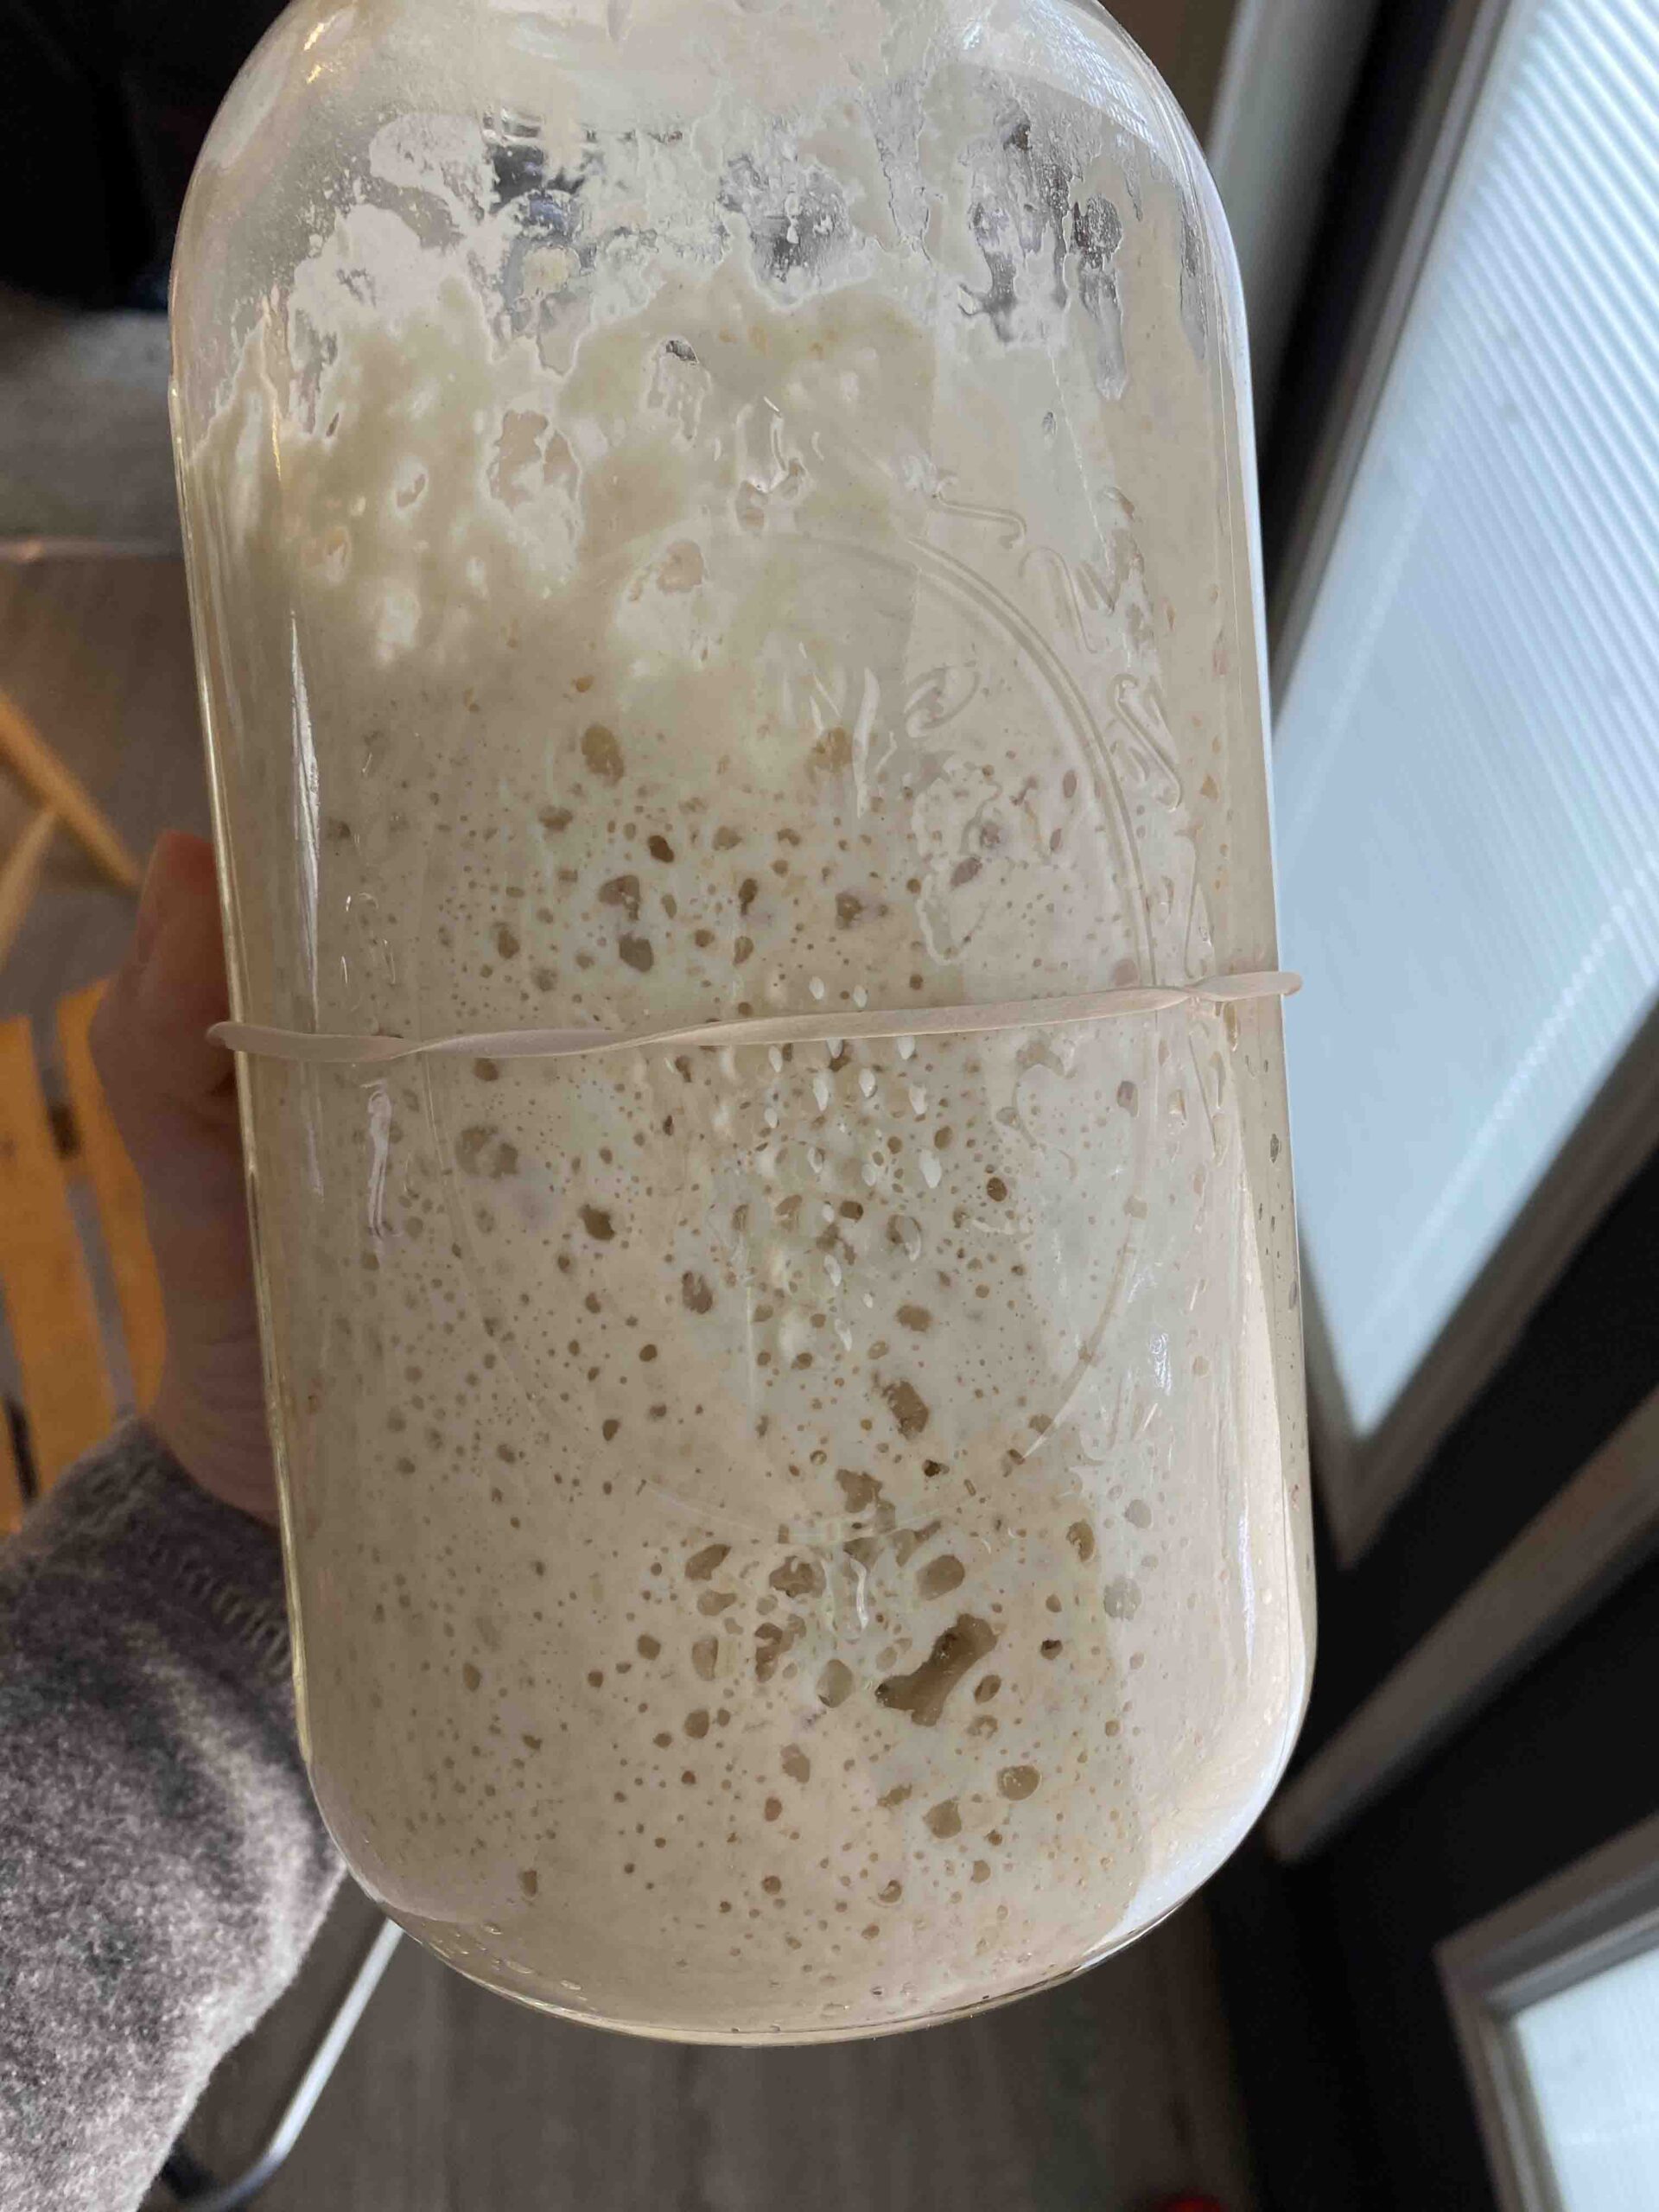
Begin with a mature, active sourdough starter that is nice and bubbly. I usually feed mine 2-3 times before making bread with it to make sure it’s at peak activity.
Note on feeding starter: Be sure to feed your starter equal amounts (by weight) flour, water, and starter. So that’s one part starter, one part flour, one part water at each feeding (a scale is very handy for this).
A common mistake is under-feeding sourdough starter, which means your bread will not rise enough. My starter was so much healthier when I began measuring!
You can use the discard from these feedings to make yummy treats like sourdough crackers, pancakes, or even fun recipes like sourdough sausage balls! Here’s a great tutorial on how to care for your sourdough starter.
Remember to feed your starter enough so that you have plenty for the bread recipe, plus some left over to store for later use.
Not sure if your starter is ready to bake with? Ask yourself these questions:
- Is my starter doubling in size after feeding? (this can take anywhere from 2-12 hours, depending on the temperature of your kitchen and maturity of your starter)
- Is the starter nice and bubbly?
- Does it pass the “float test”?
2. Mix starter with water
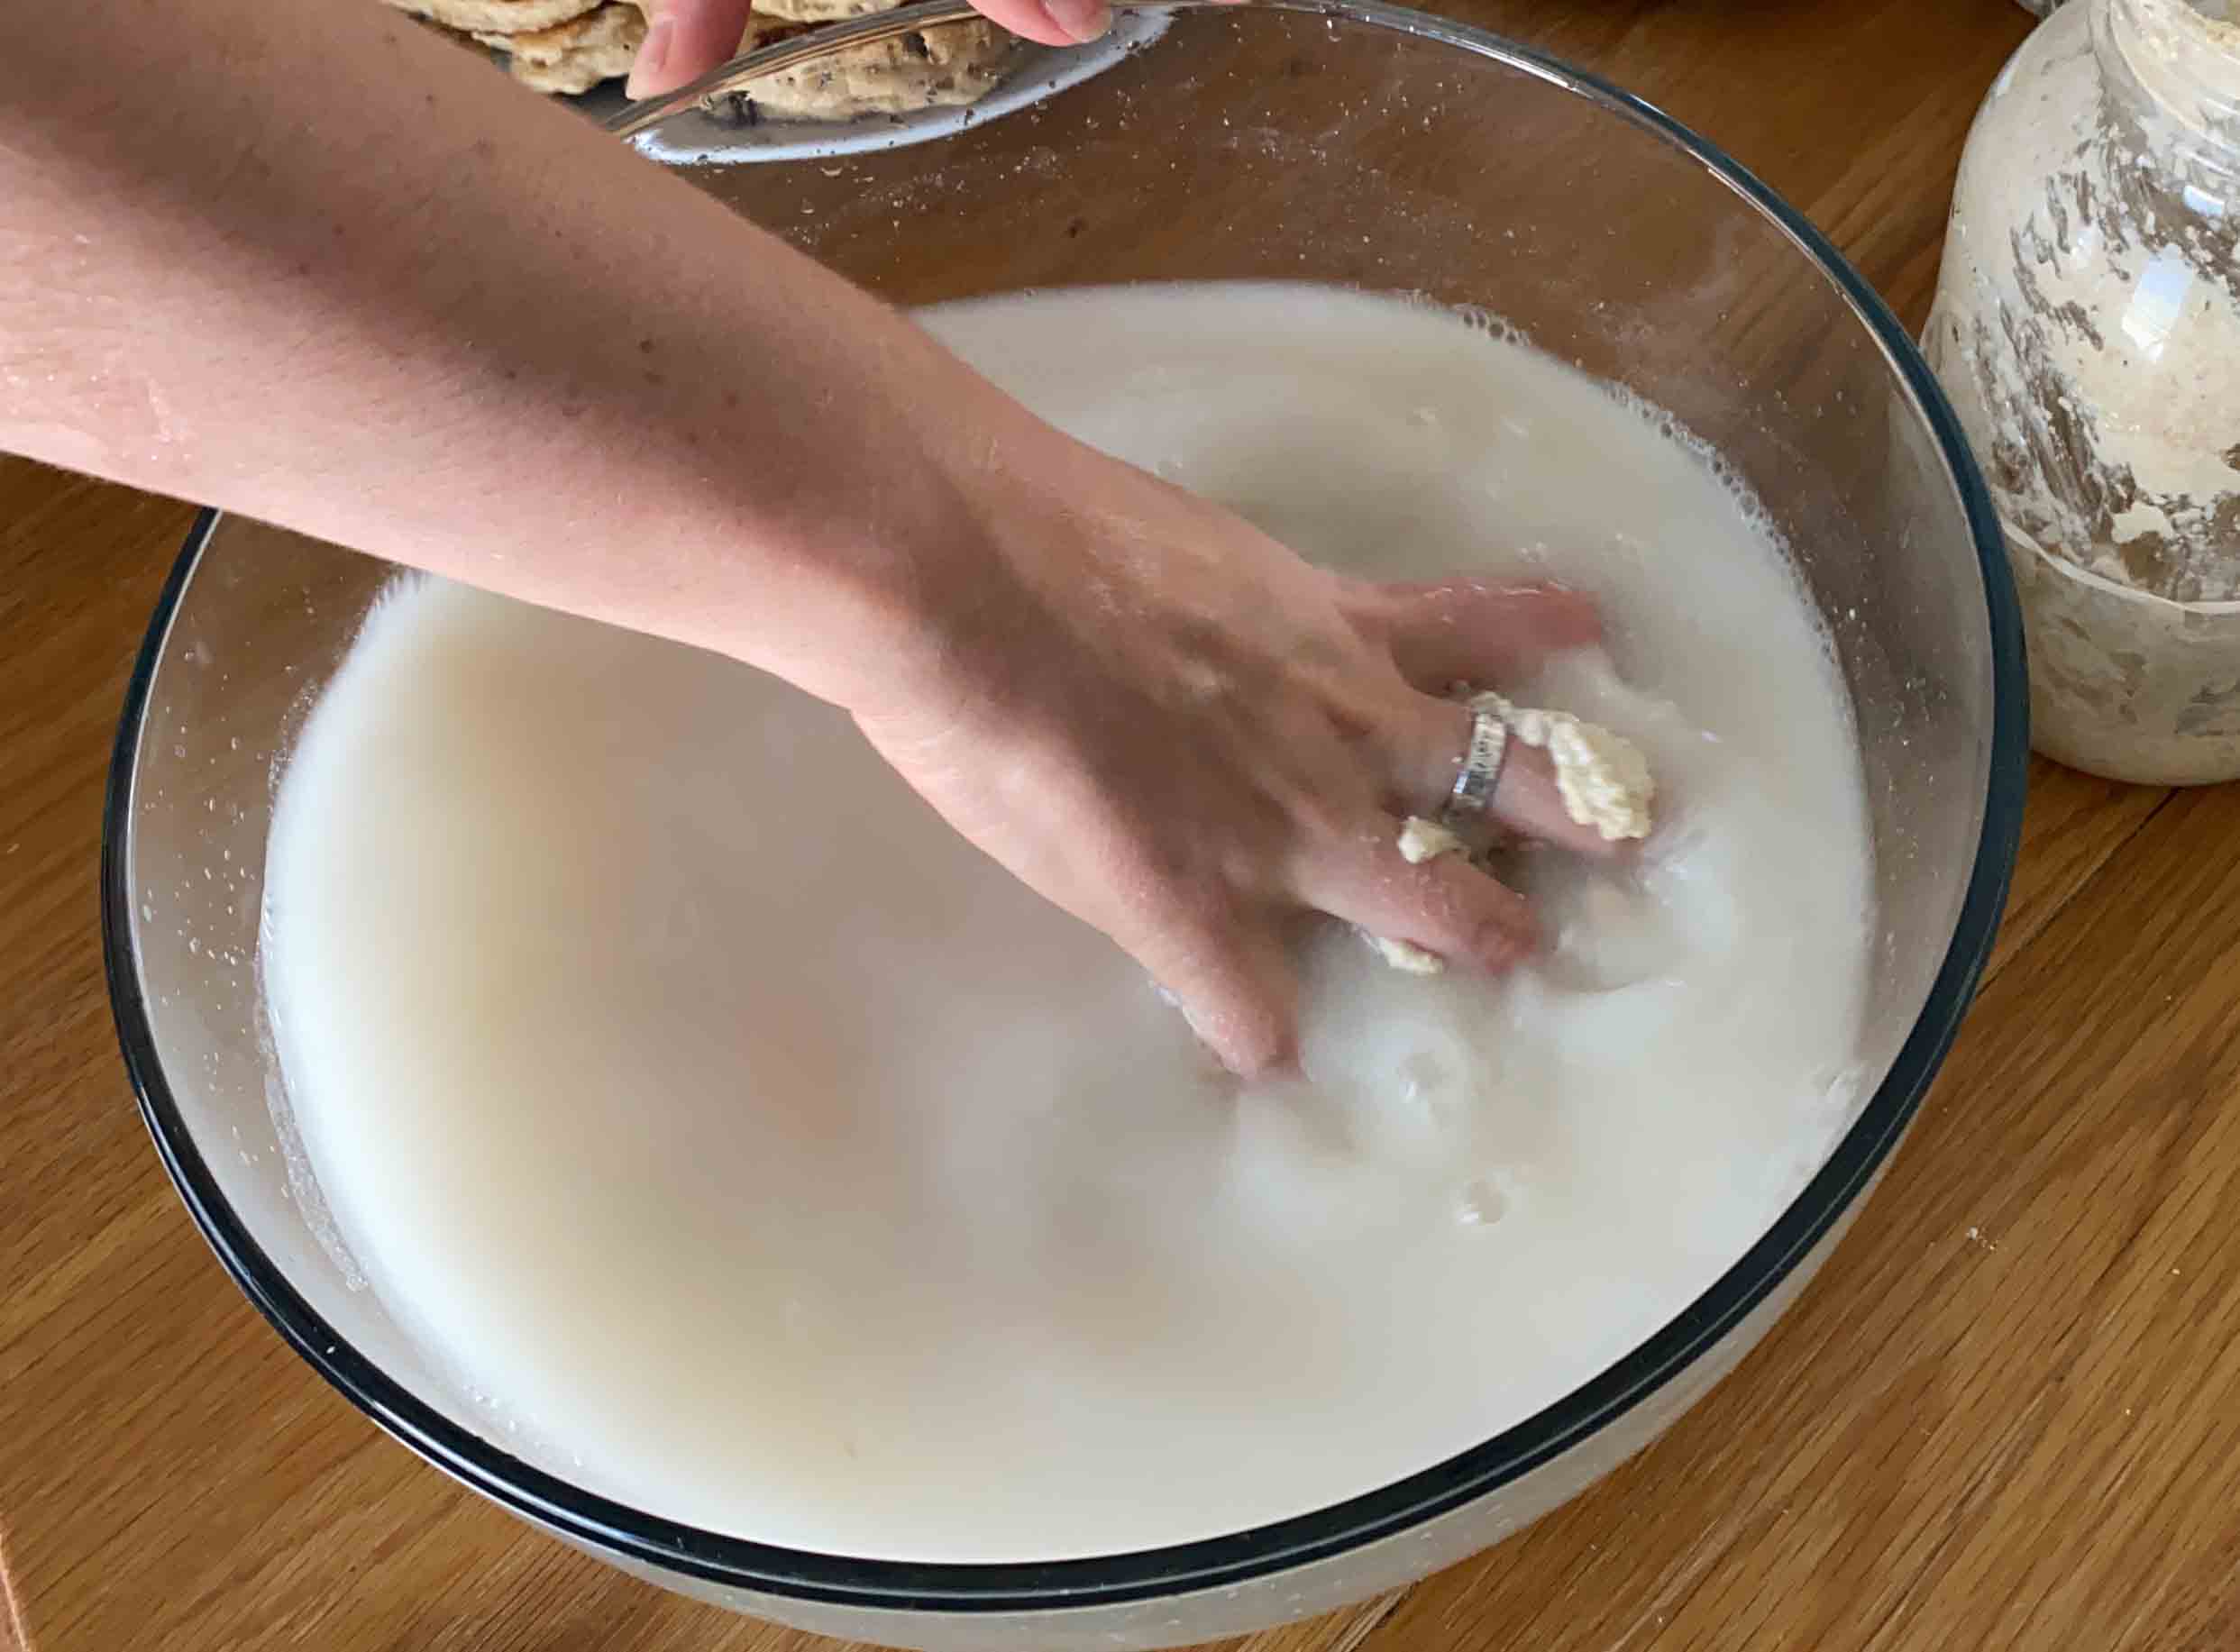
Measure 225 grams of active sourdough starter into a large bowl (make sure it’s large enough for your dough to double in size later).
Then, measure 700 grams of water into the bowl. You want the water to be room temperature or slightly warm, not hot (this can damage the starter) and not cold (this can delay the bread rise process).
Combine everything together, squishing it and mixing it with your hands until starter is mostly dissolved.
3. Ready the flour
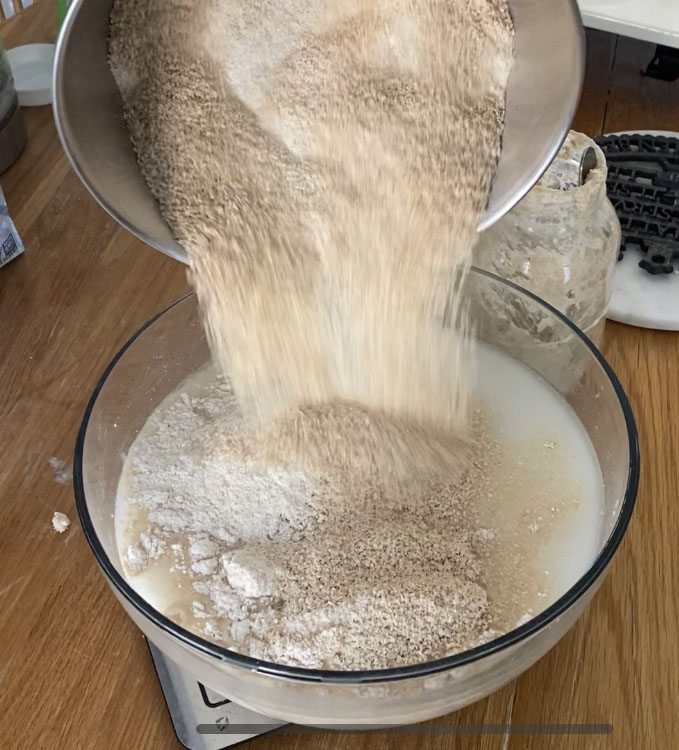
Decide which route you want to go: 100% whole grain flour or a mix. Measure out 1000 grams of flour on your kitchen scale (if grinding your own flour, measure your wheat berries and grind.)
You can choose to do all whole grain flour, a mix of half whole grain & half white bread flour, or another ratio of your choosing. Just make sure you have 1000 grams of flour ready to go.
Add the flour to your water/starter mixture, using your hands to mix everything together and form a shaggy dough.
At this point, depending on what ratio of whole grain flour you are using, you might need to add additional water. Remember, whole grain flour absorbs more water, refined flour absorbs less.
This is the part where “knowing your dough” becomes very valuable. As you bake bread, you will start to understand the feel of the dough and what makes the best texture for each loaf.
I usually add 735 grams of water total if I’m using mixed flours, and a bit more if I’m using 100% whole grain. The amount varies based on how sticky my dough is.
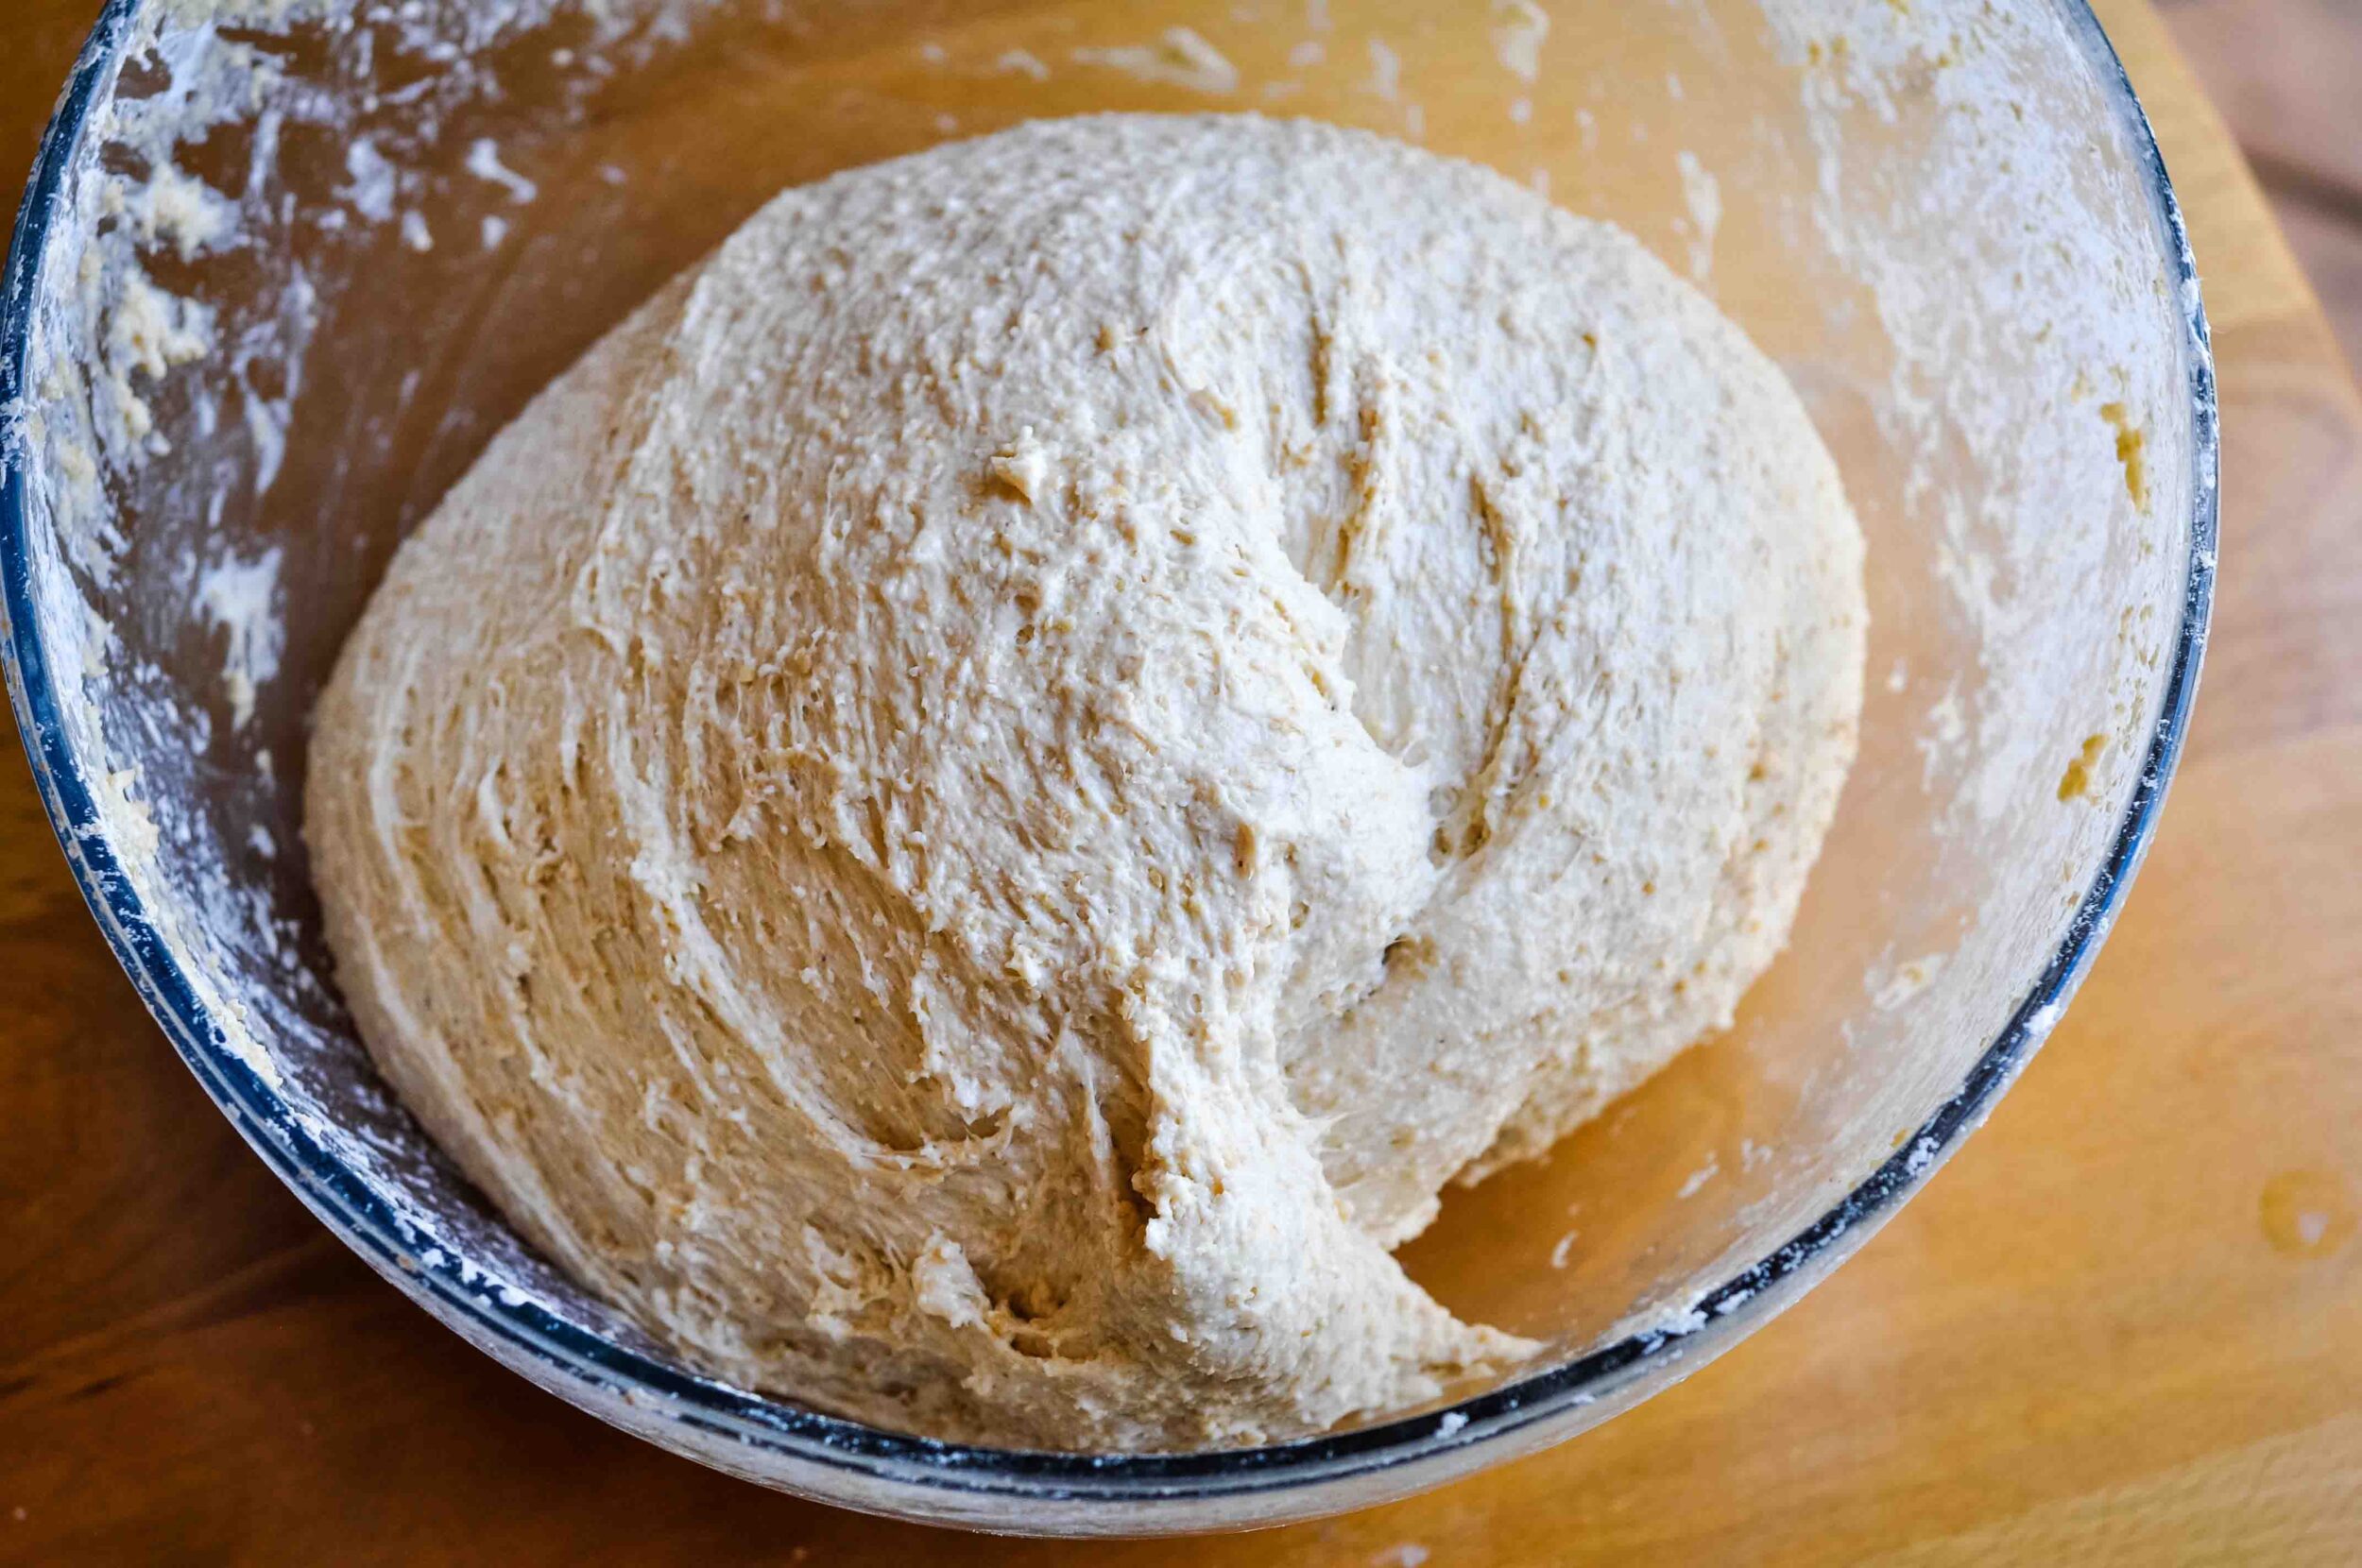
Rule of thumb: You want your dough to hold together loosely, but not be too liquidy. It will be a bit sticky at first, but over time the dough will absorb more water and hold together better as it rests.
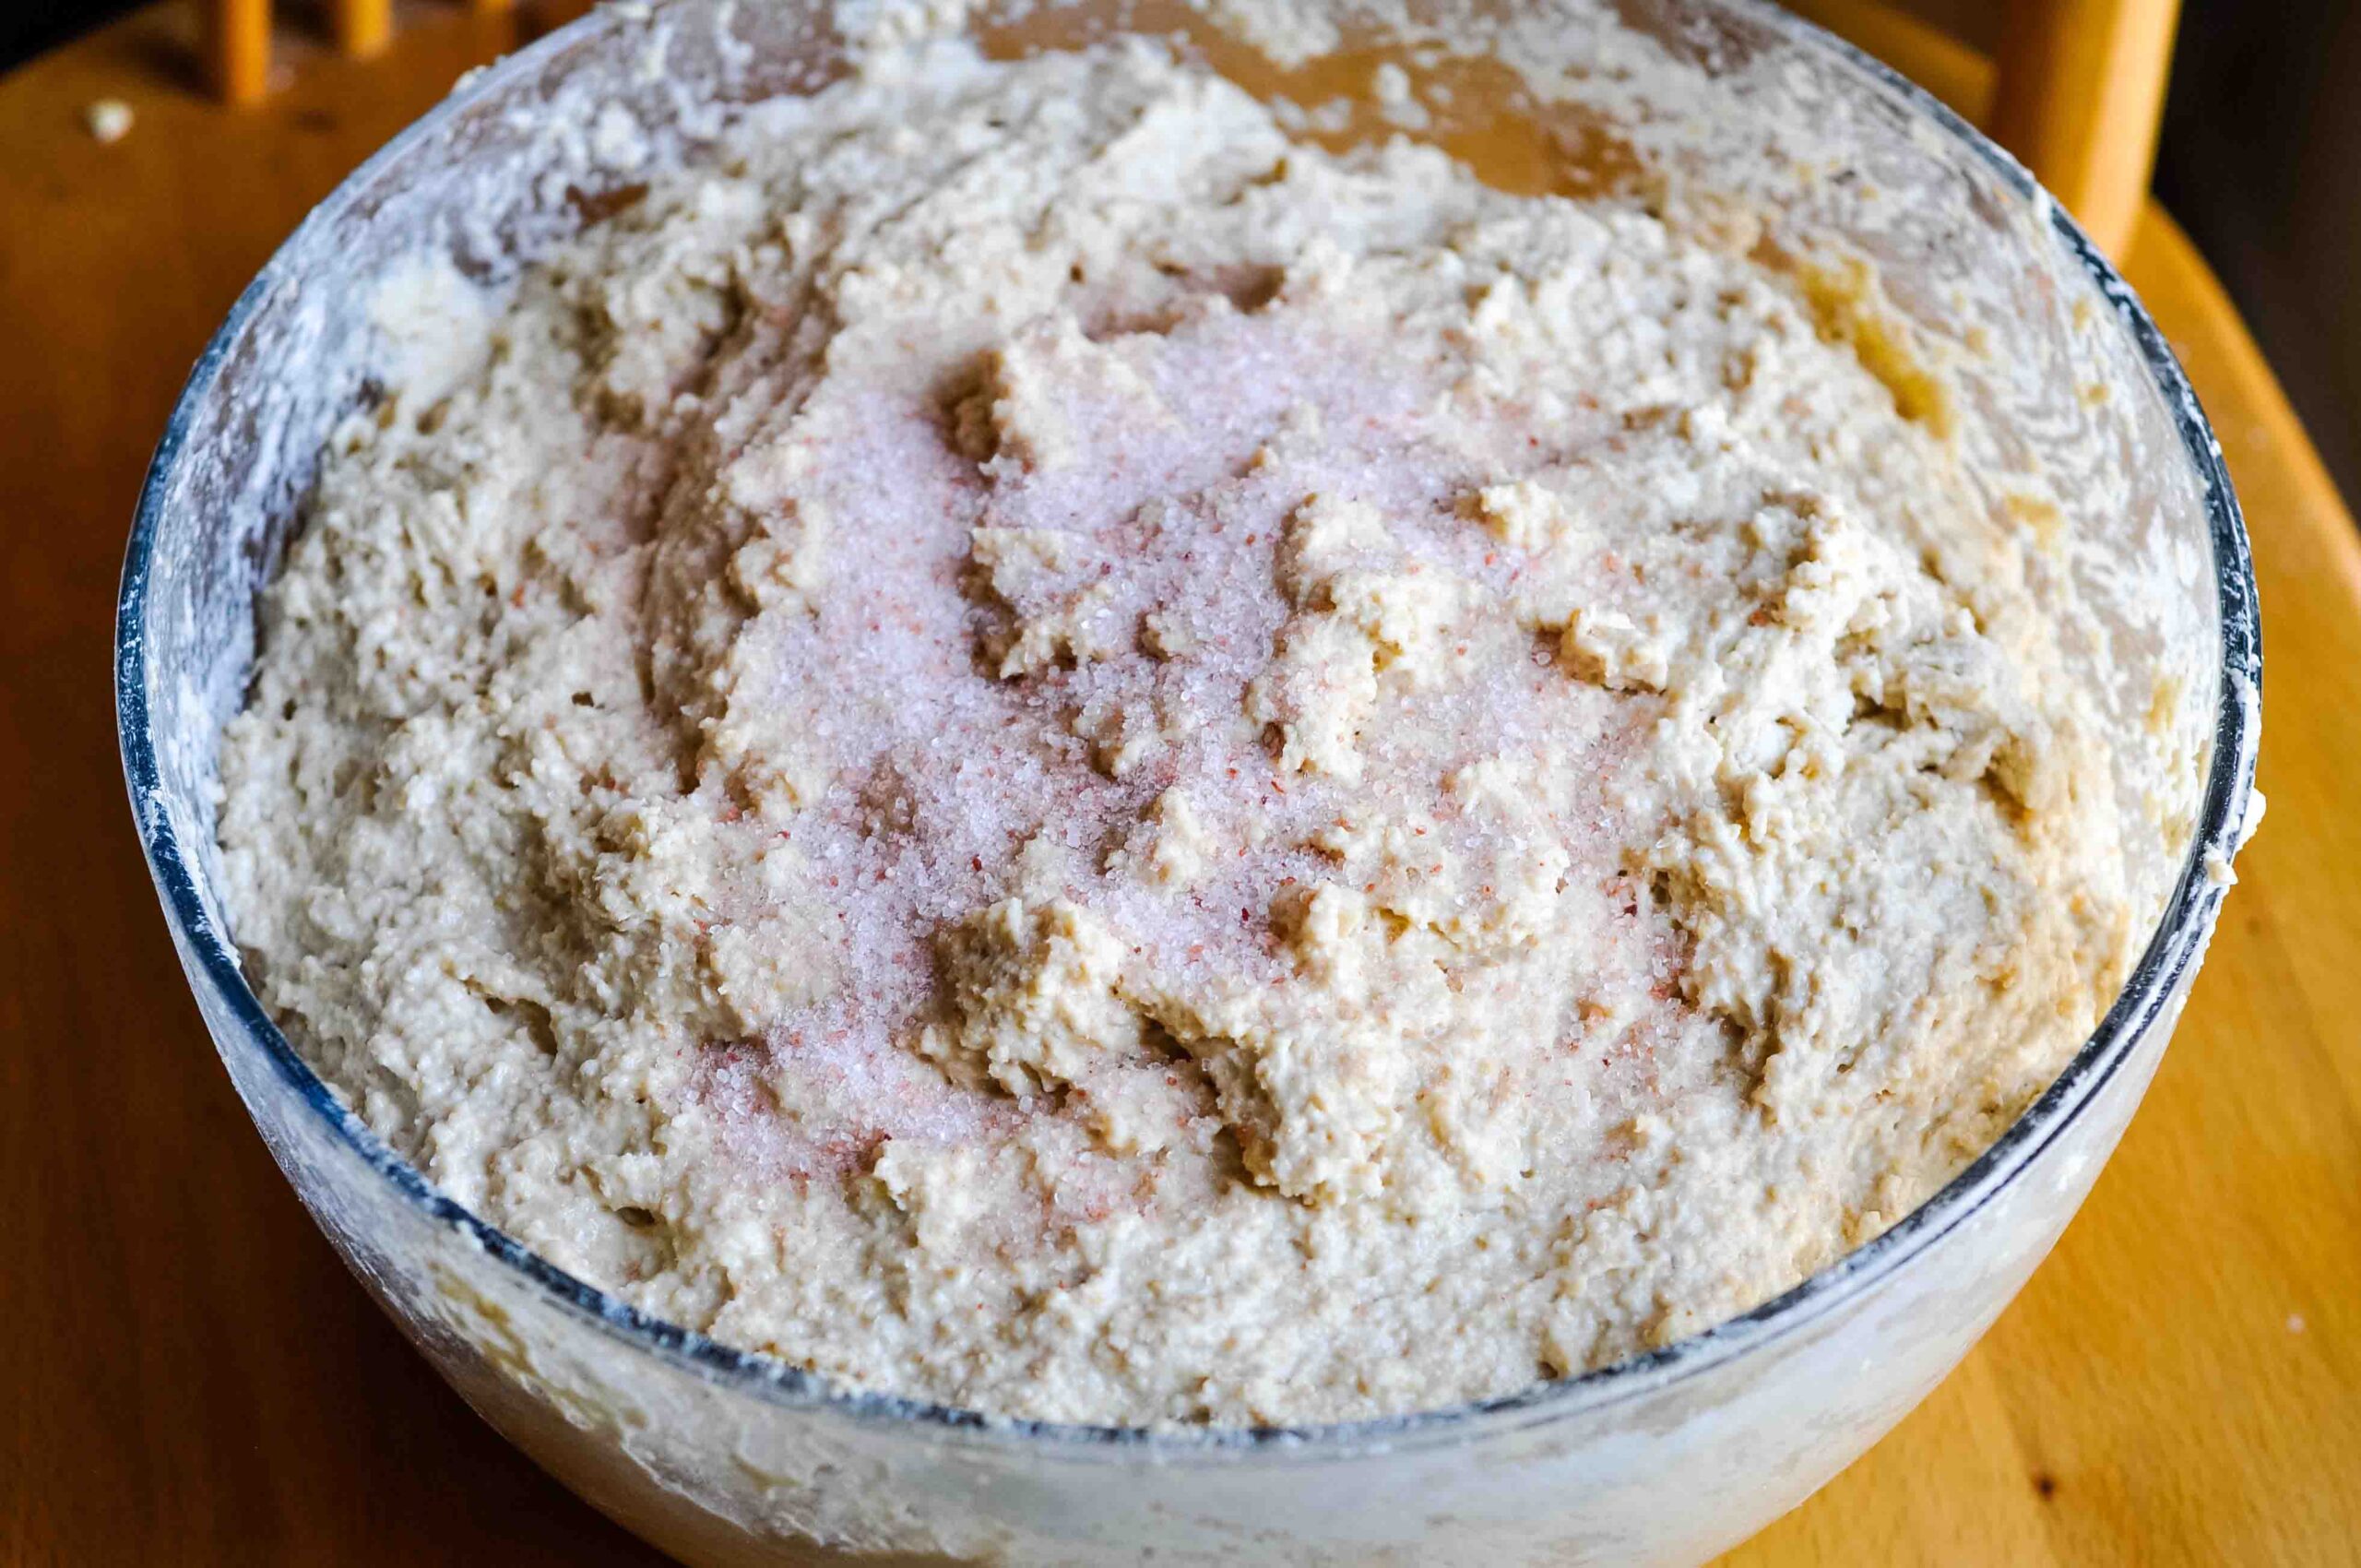
Finally, measure 25 grams of salt and sprinkle it on top of the dough. Let the dough rest for 30 minutes.
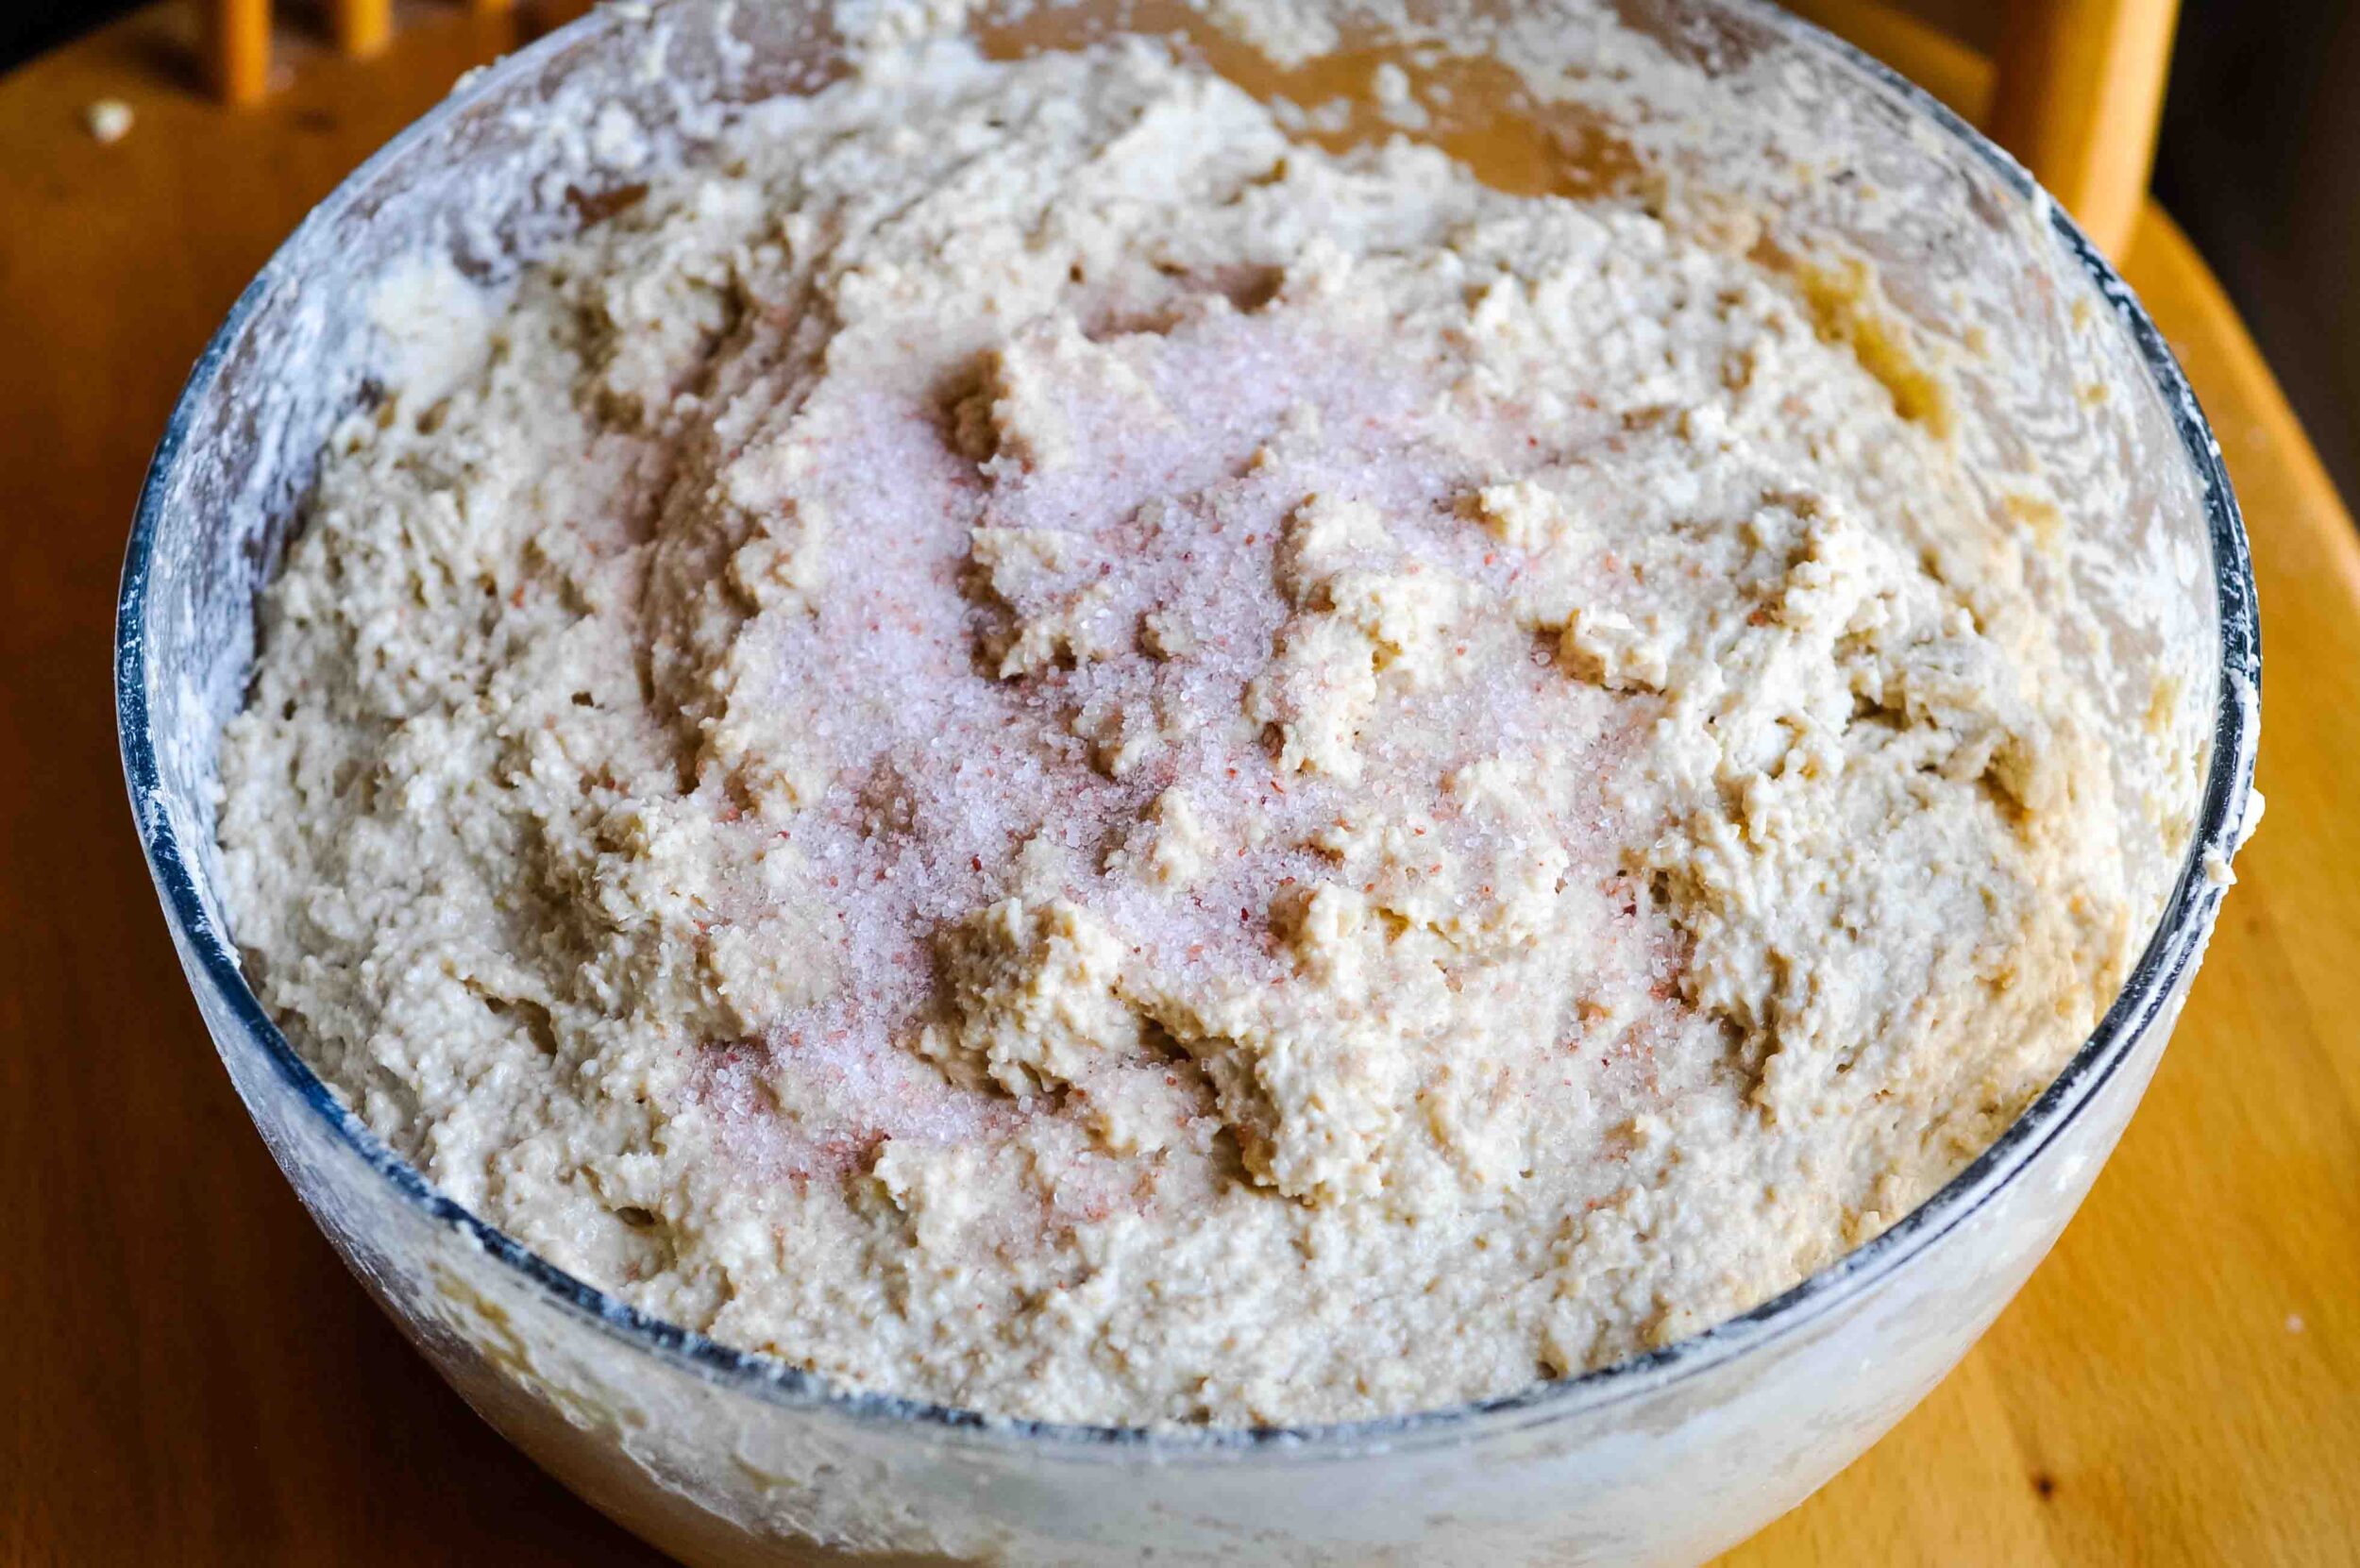
4. Pinch in the salt, stretch & fold
After 30 minutes, use your hands to “pinch in” the salt. You are basically driving the salt into the dough with a pinching motion, kneading to make sure it’s distributed evenly.
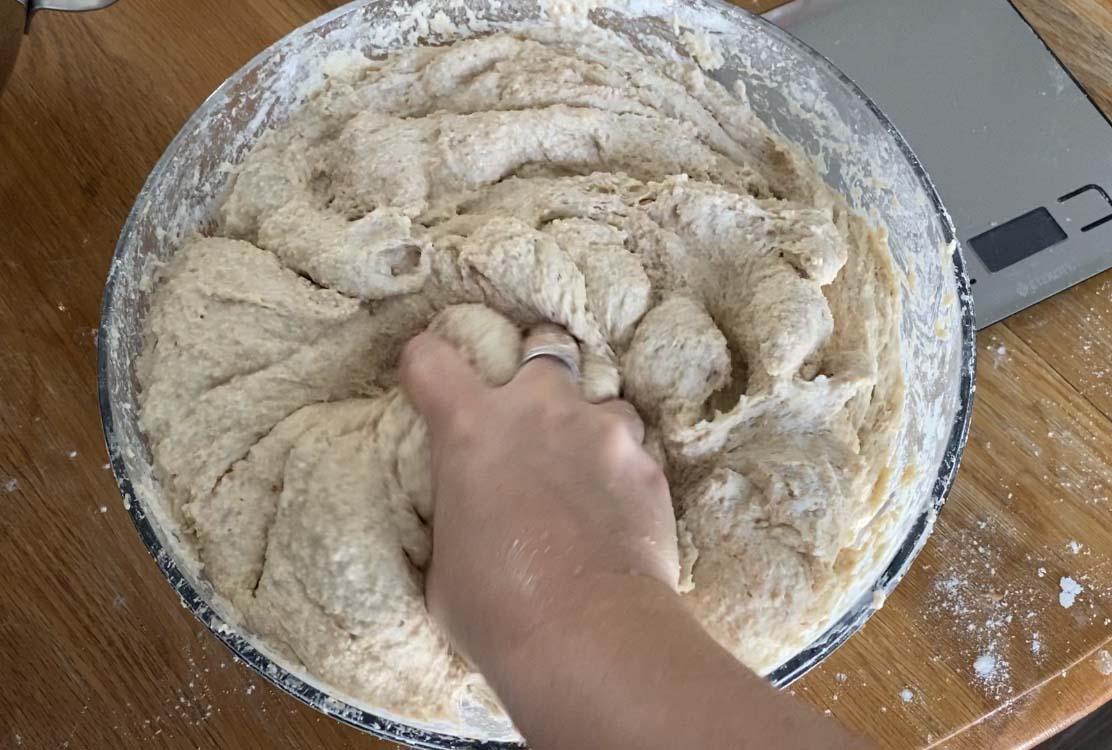
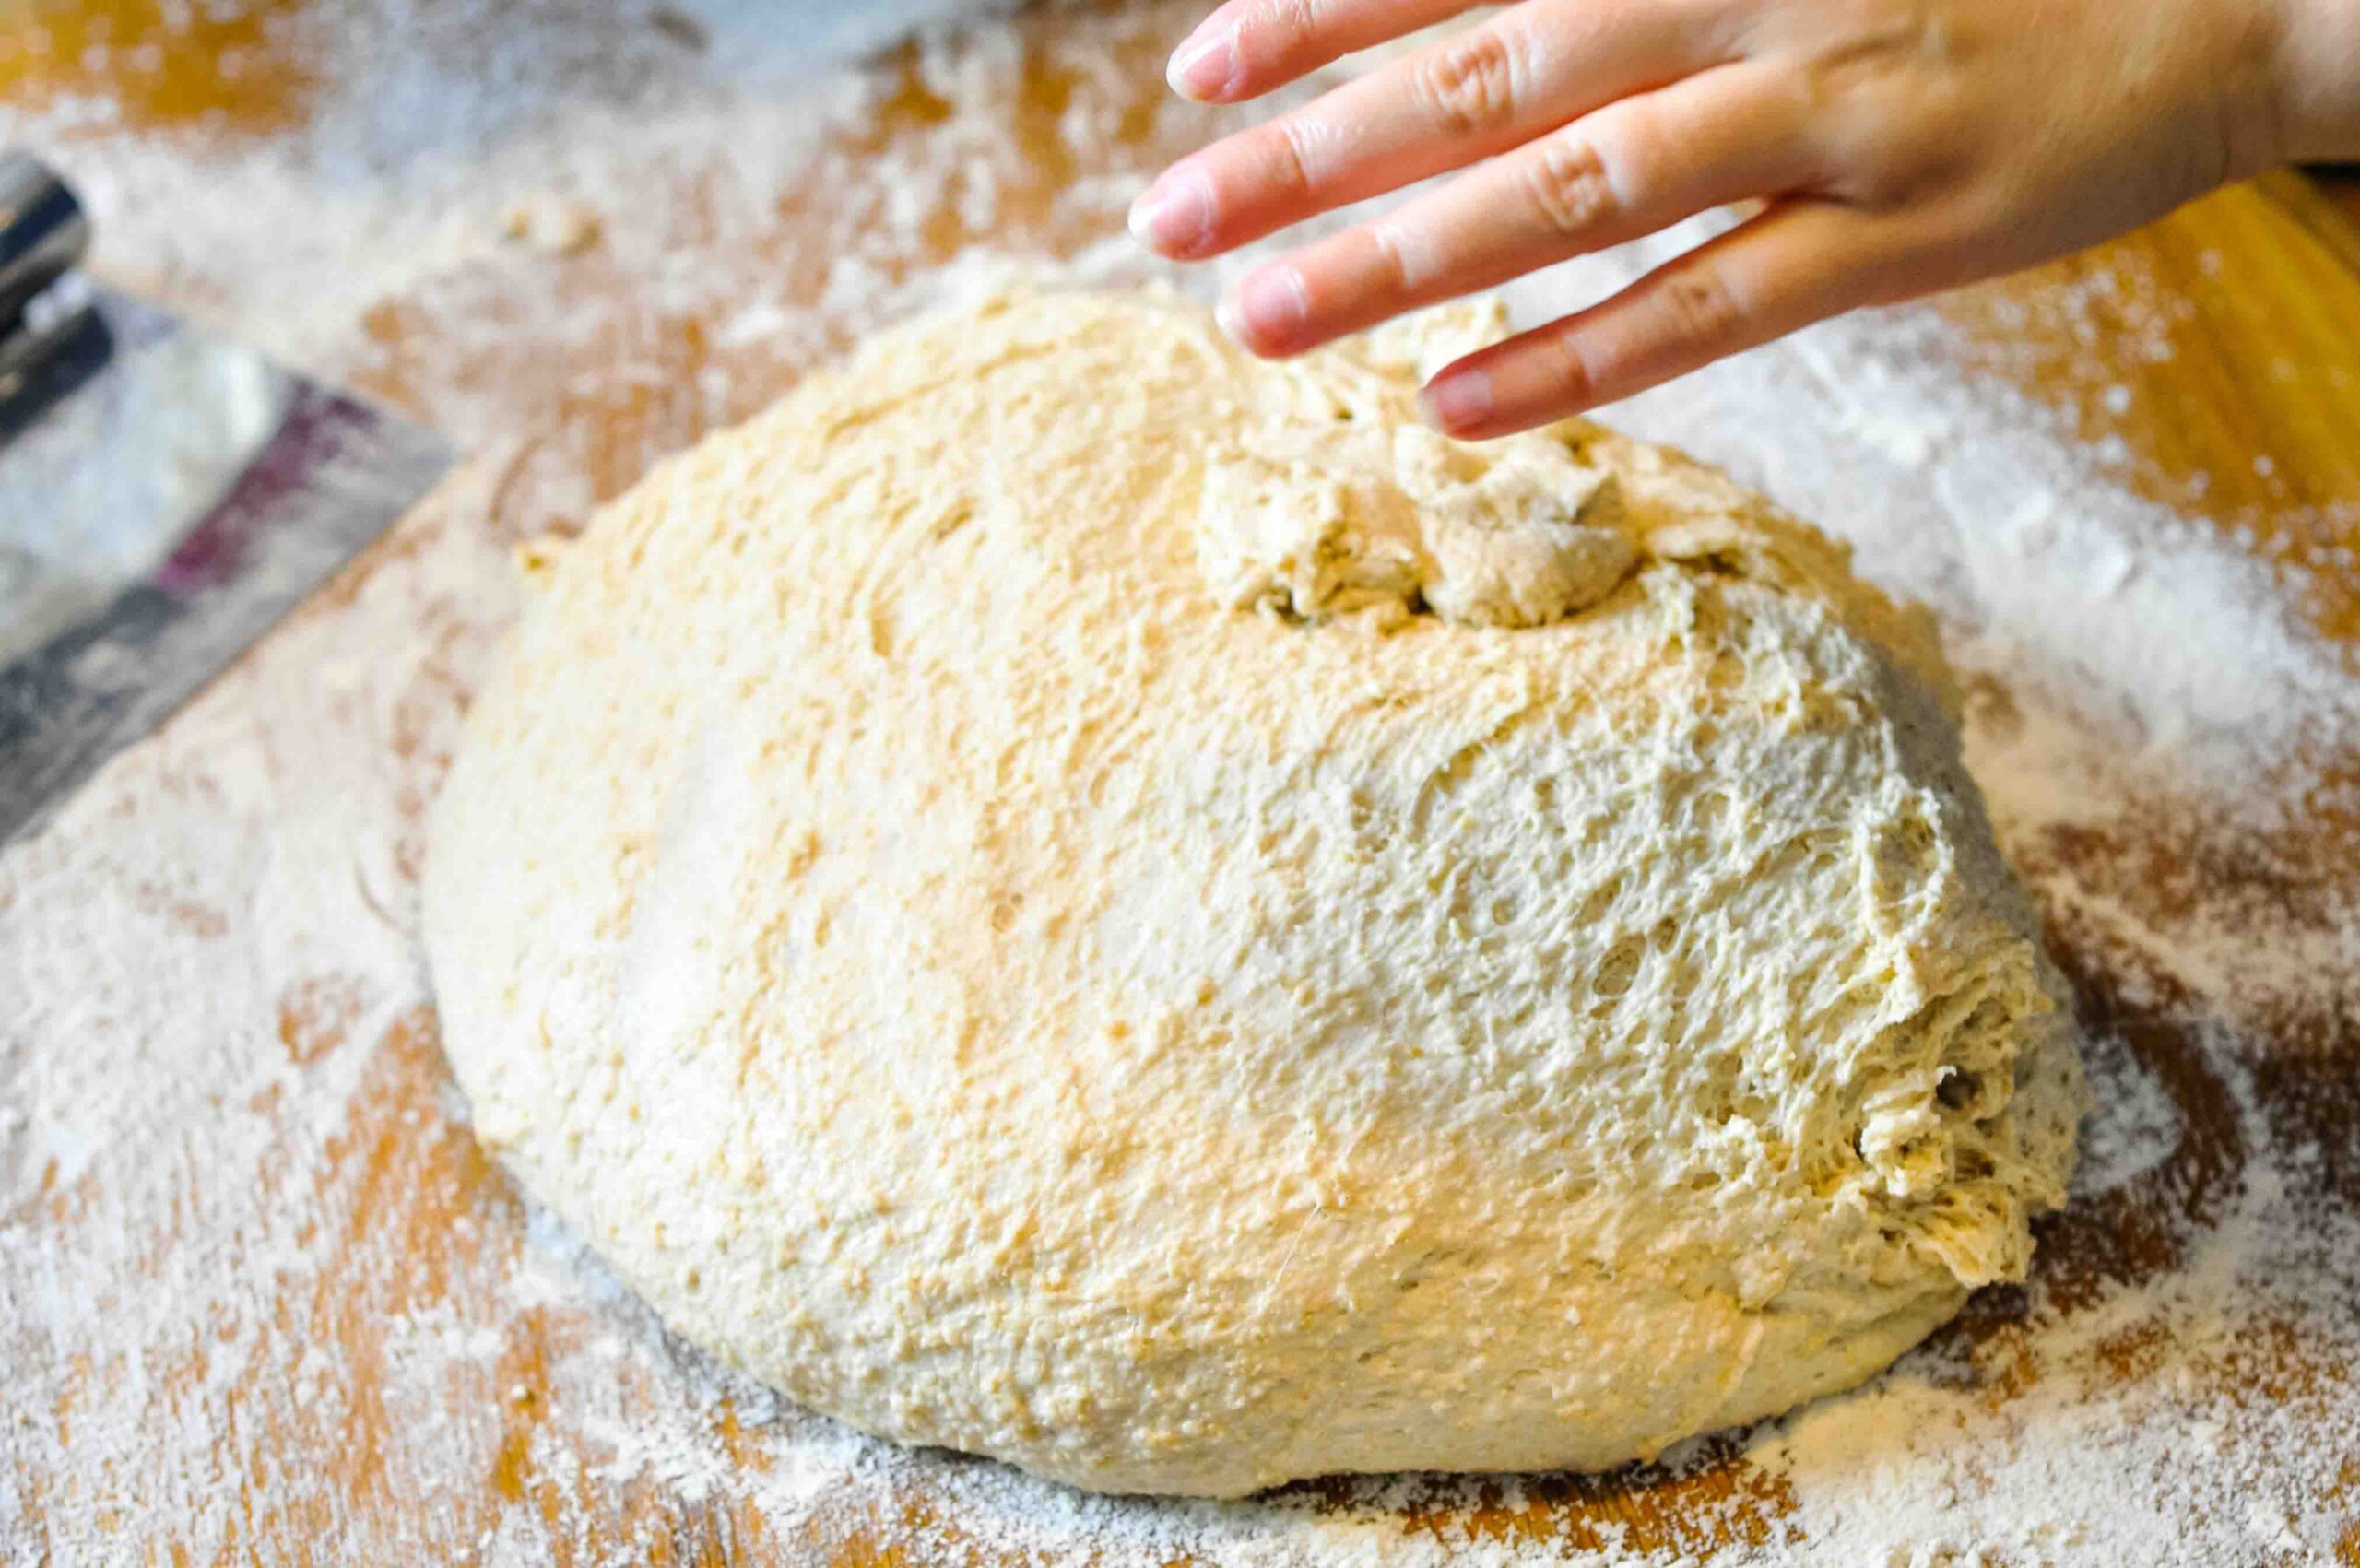
After kneading in the salt, it’s time for our first “stretch and fold.” This is so much more fun and simple as opposed to kneading, and it helps the gluten development.
Take the underside on one edge of dough and stretch it up, folding it over the dough. Rotate the bowl one quarter turn and repeat the process, doing 4 stretch and folds around the entire bowl. Here’s a great post describing the step-by-step process of how to do the stretch and fold method.
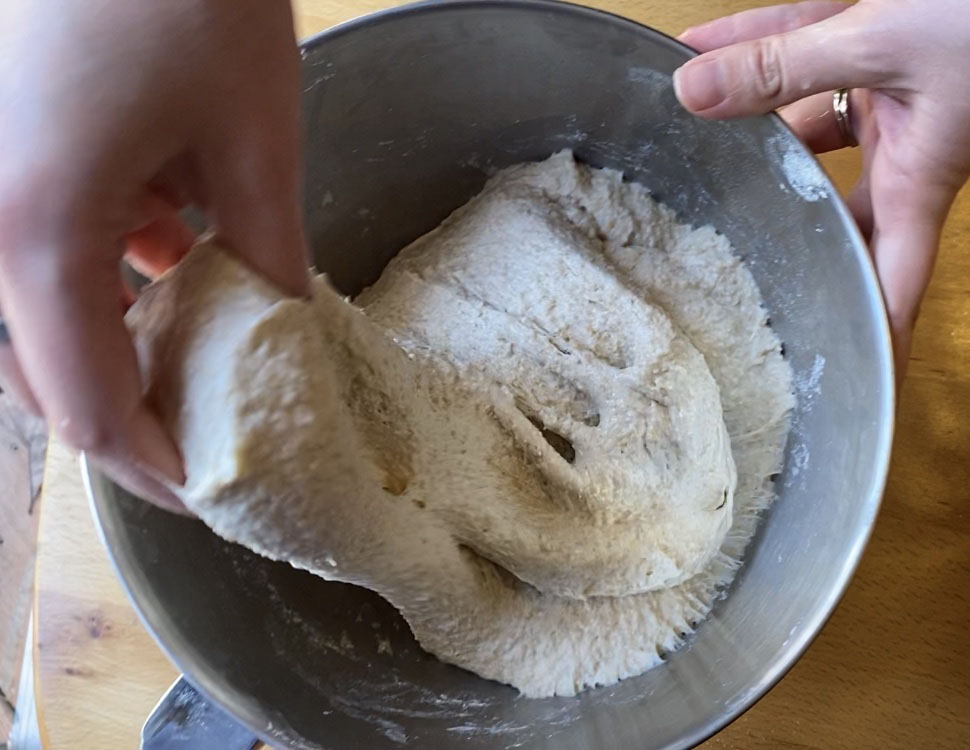
Allow the dough to rest for 30 minutes.
5. Complete 4 rounds of stretch-and-folds
You are going to repeat the stretch-and-fold process at least 4 times. Approximately every 30 minutes, return to your bowl of dough and complete a round of stretch & folds.
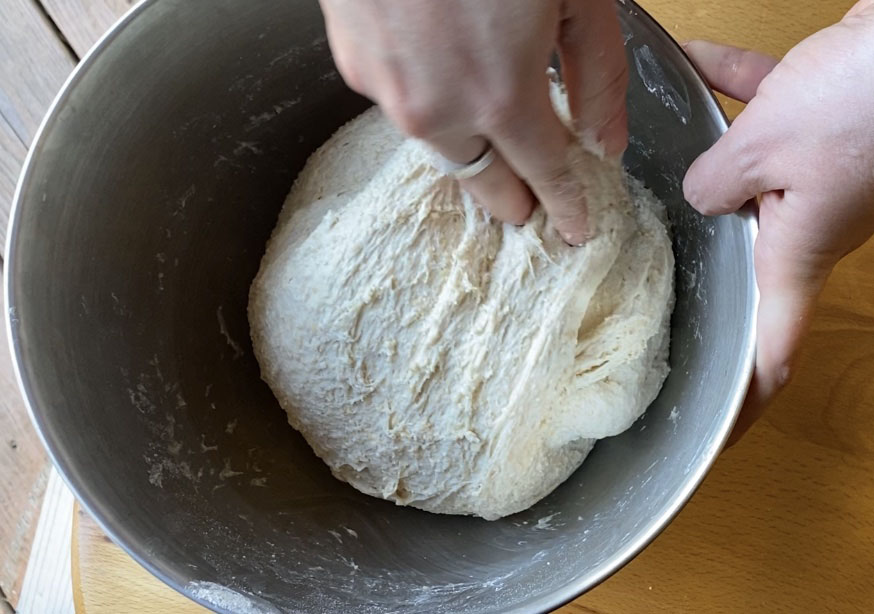
You will notice that every time you do this, your dough becomes more elastic and easier to stretch, less breakable. This is due to the gluten development.
6. Bulk ferment
After your fourth round of stretch & folds, it’s time to bulk ferment and let the dough rise. Cover your dough with a cloth or plate and let it rise for 4-8 hours, or until doubled in size.
How to tell when the dough is risen enough? It will be approximately doubled in size, and you may even see slight bubbles forming on the surface or underside of the dough (glass bowls are great for watching the bubbles form).
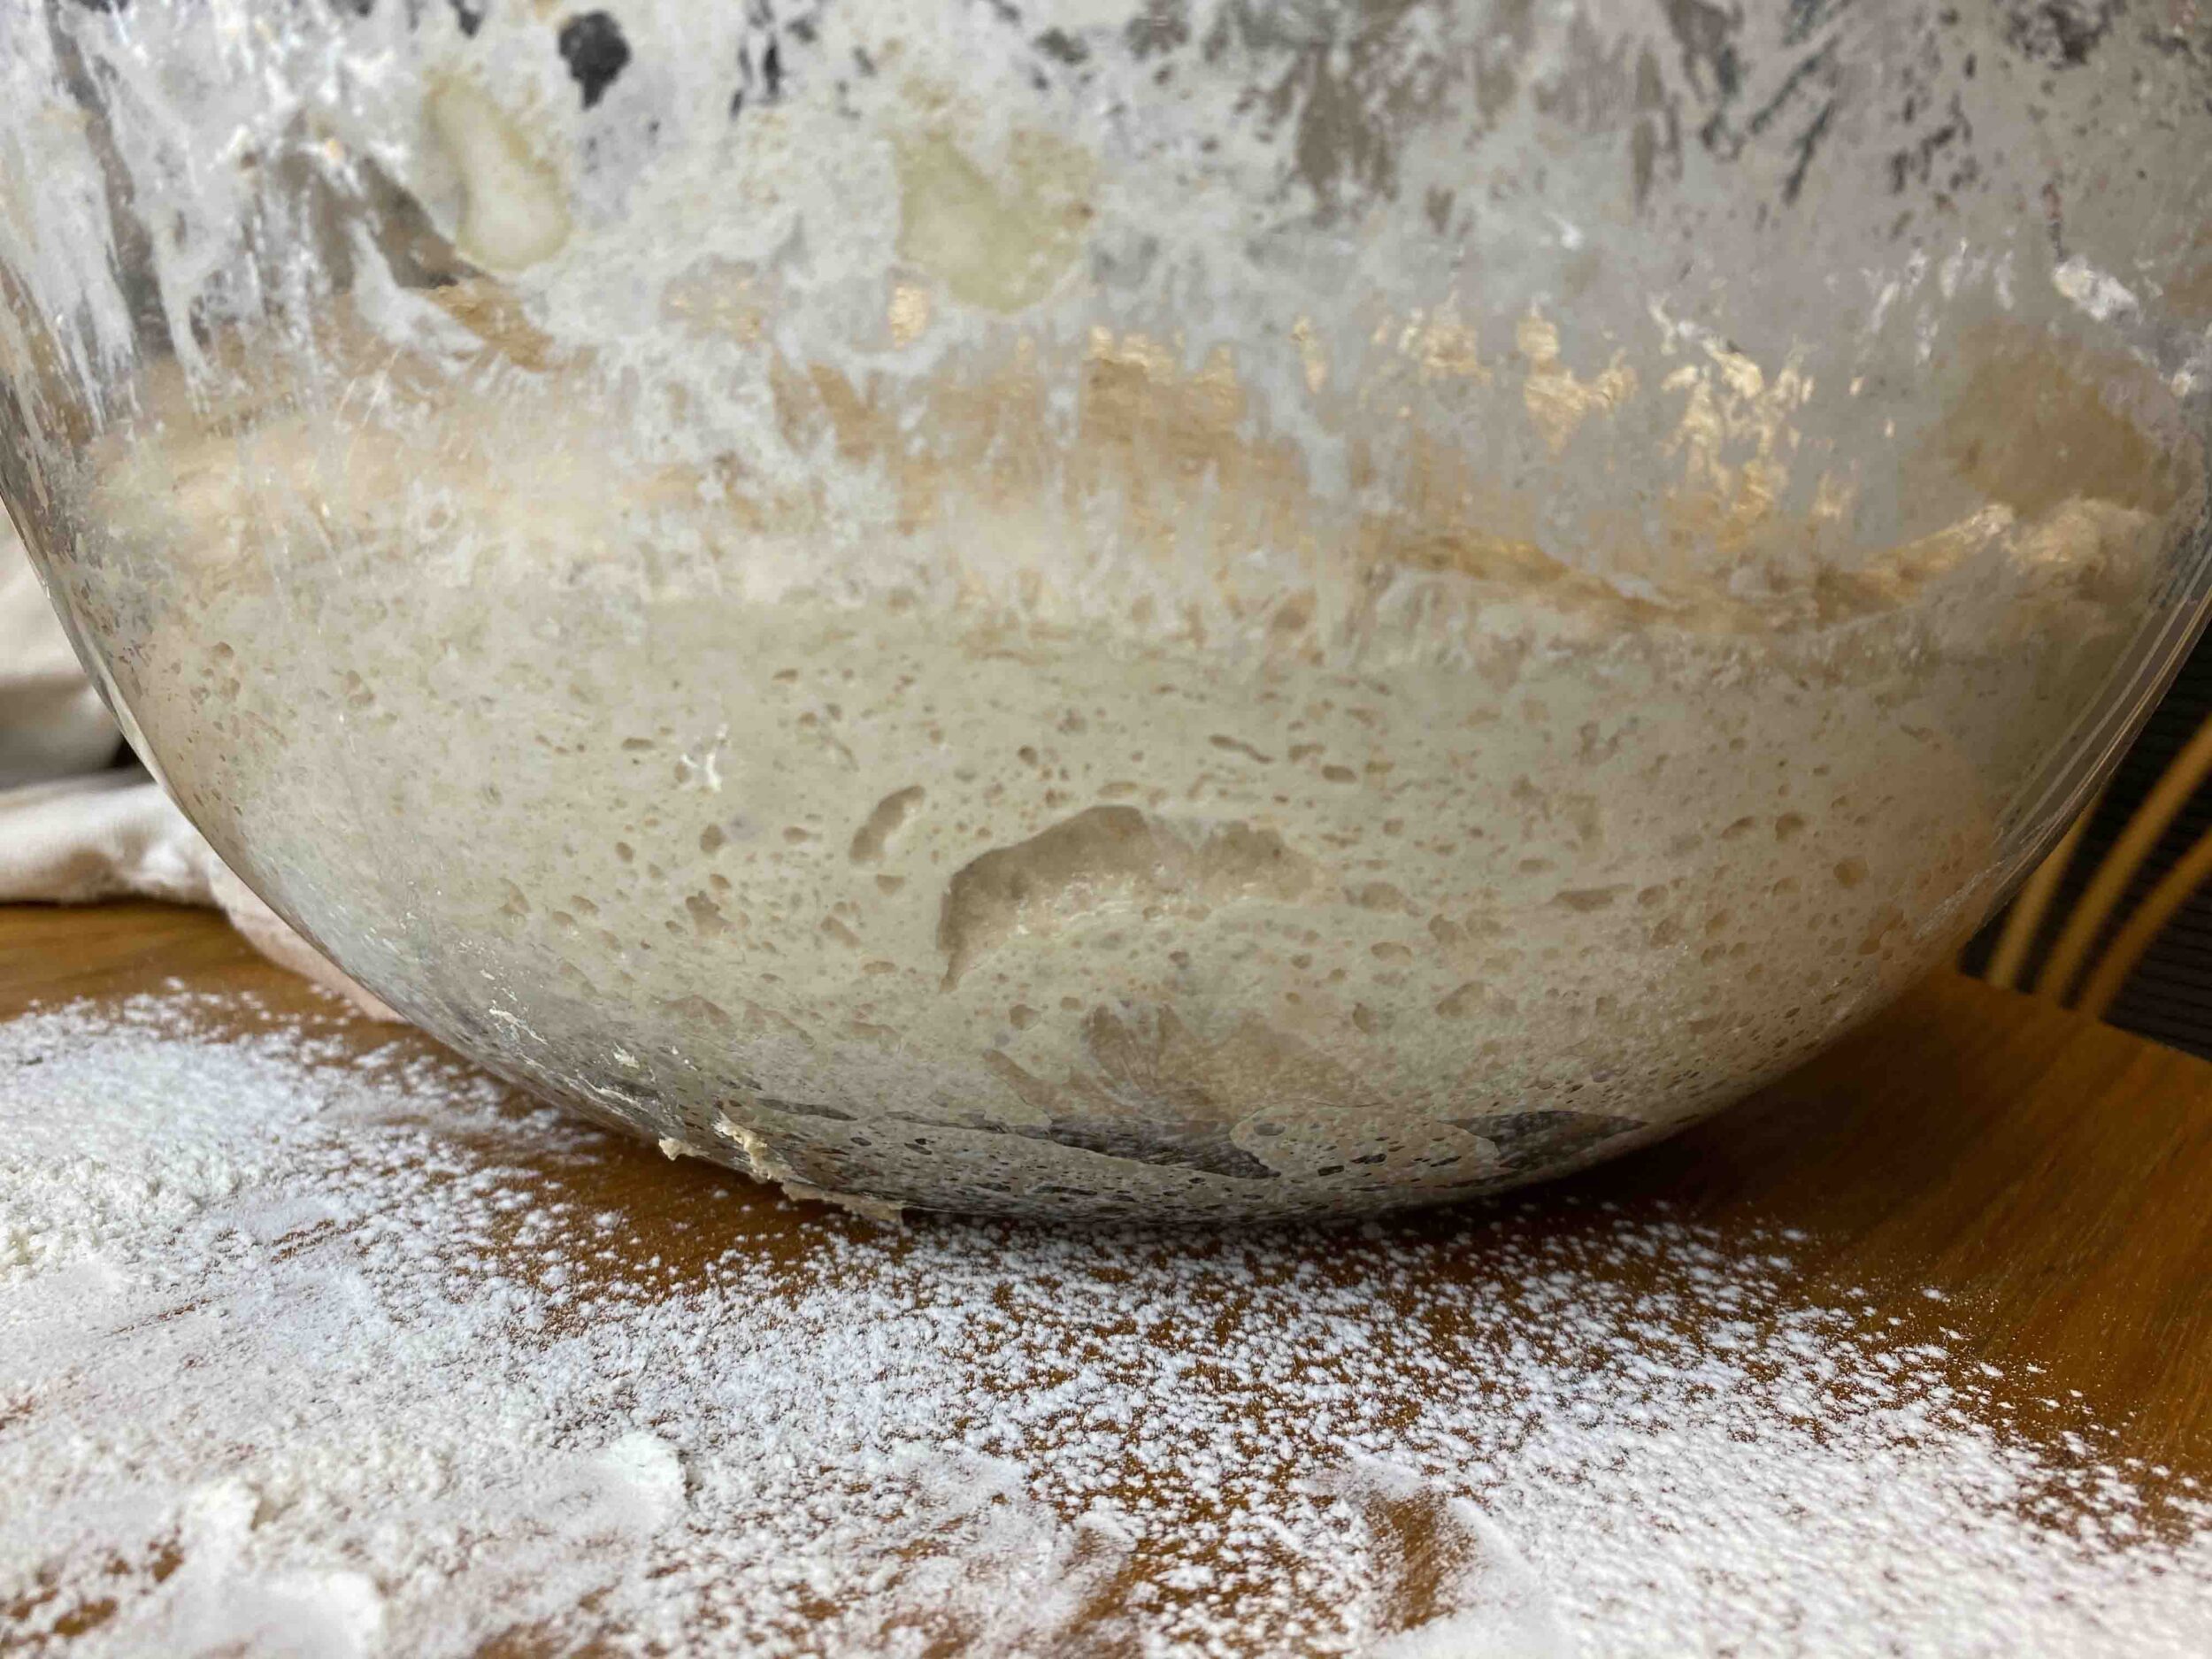
How long the fermentation/rising phase takes depends on the ambient temperature of your home. Dough will ferment faster in warmer seasons and will take longer in cold months.
7. Shape loaves
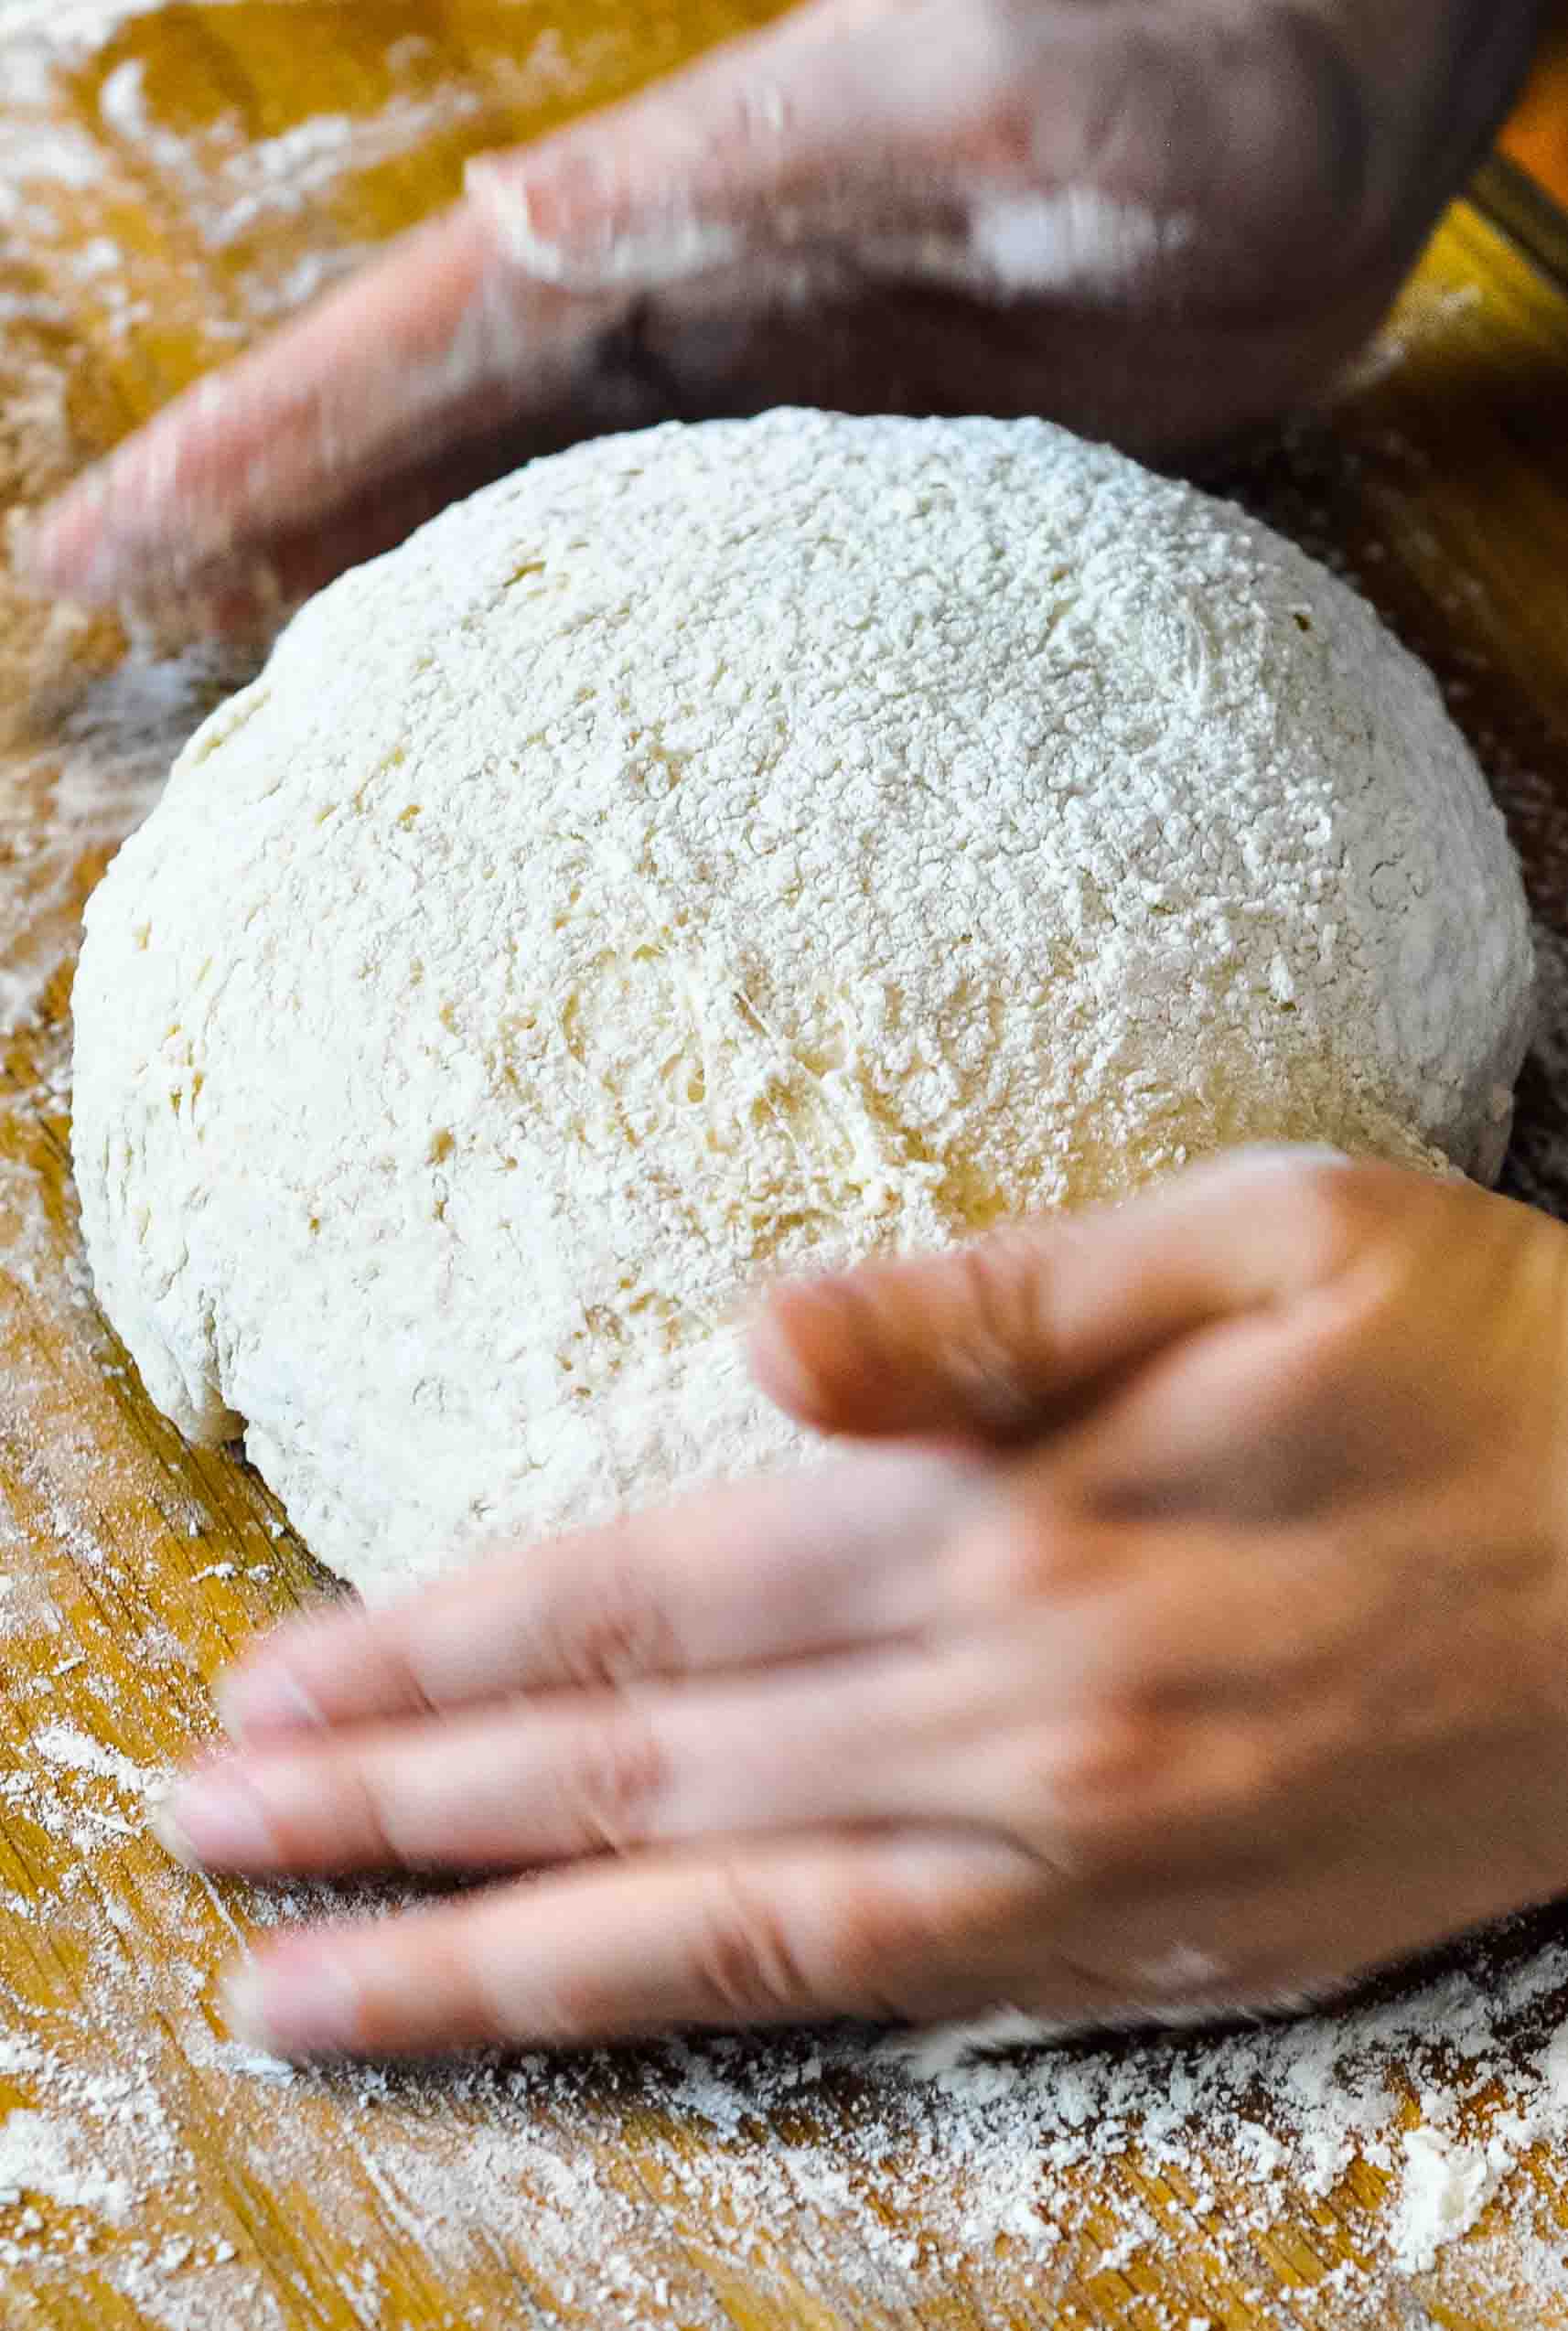
Flour a clean surface and turn out your dough onto it. Dust your dough with a bit of flour to make it easier to work with, and cut it in half (I like using a bench scraper for this).
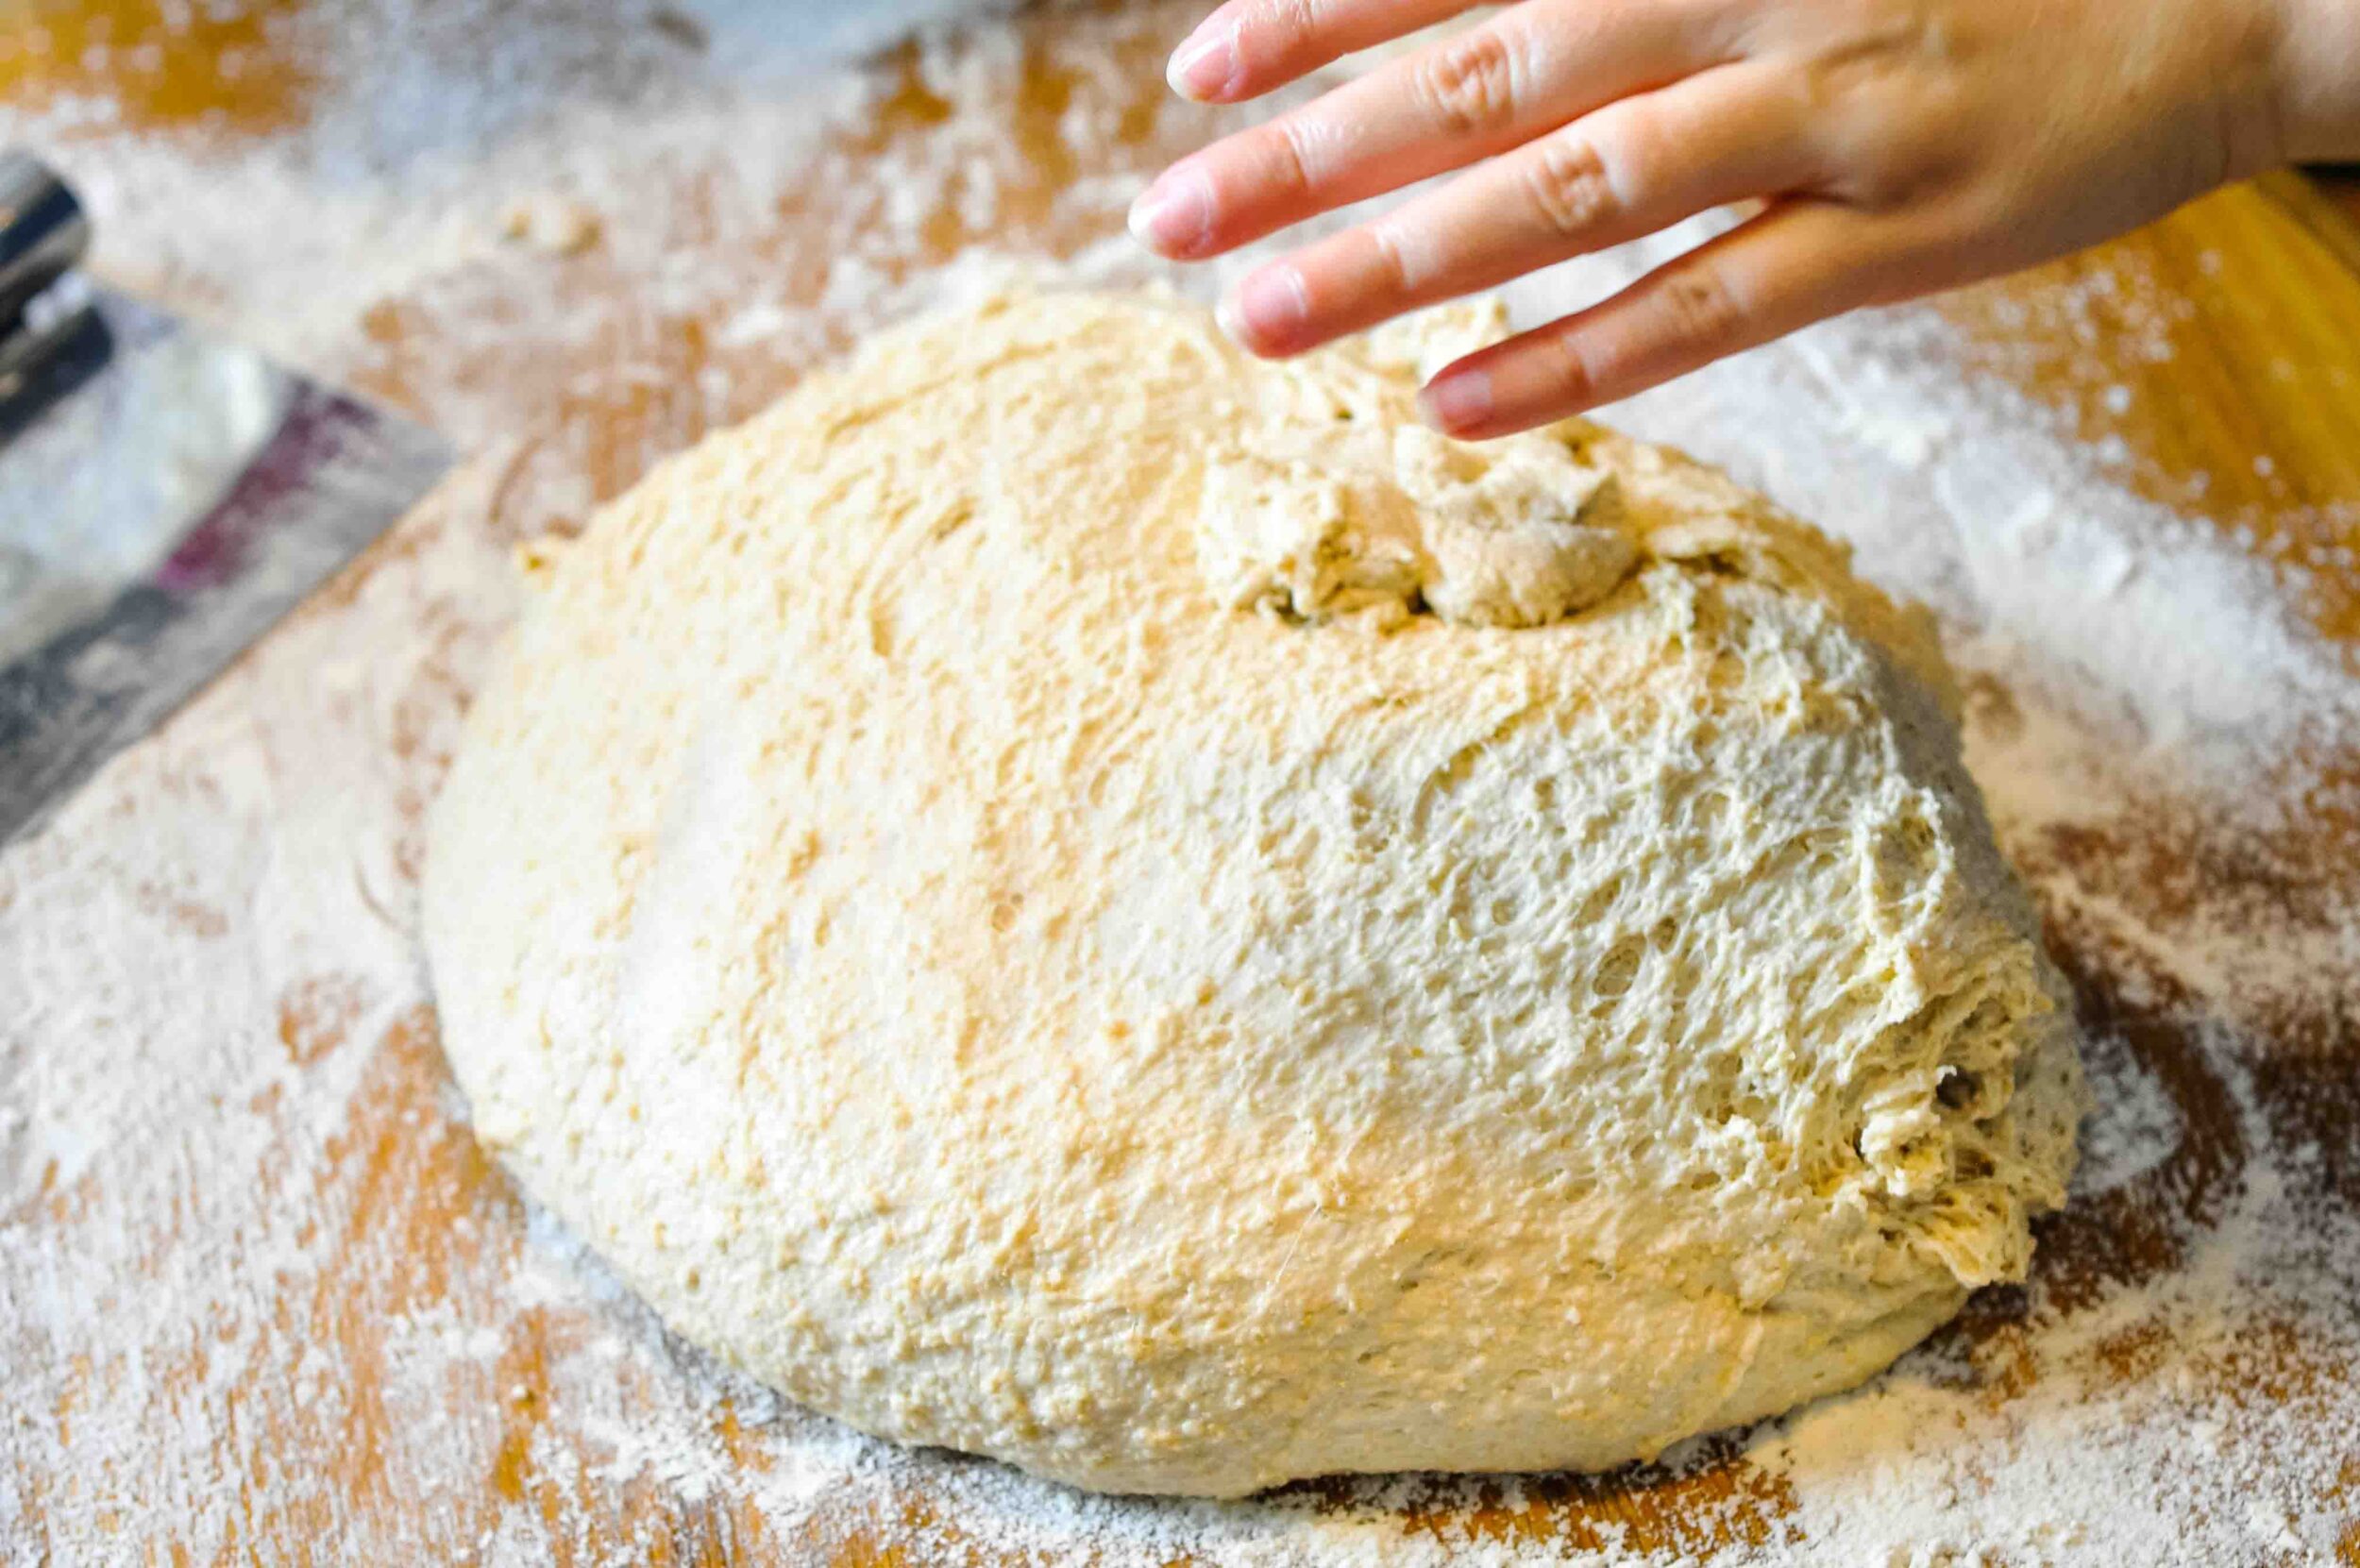
Shaping the dough differs depending on what vessel you are using to bake the bread in. I like doing a round boule in my dutch oven, plus a couple loaves in loaf pans for sandwiches.
For artisan-style boule:
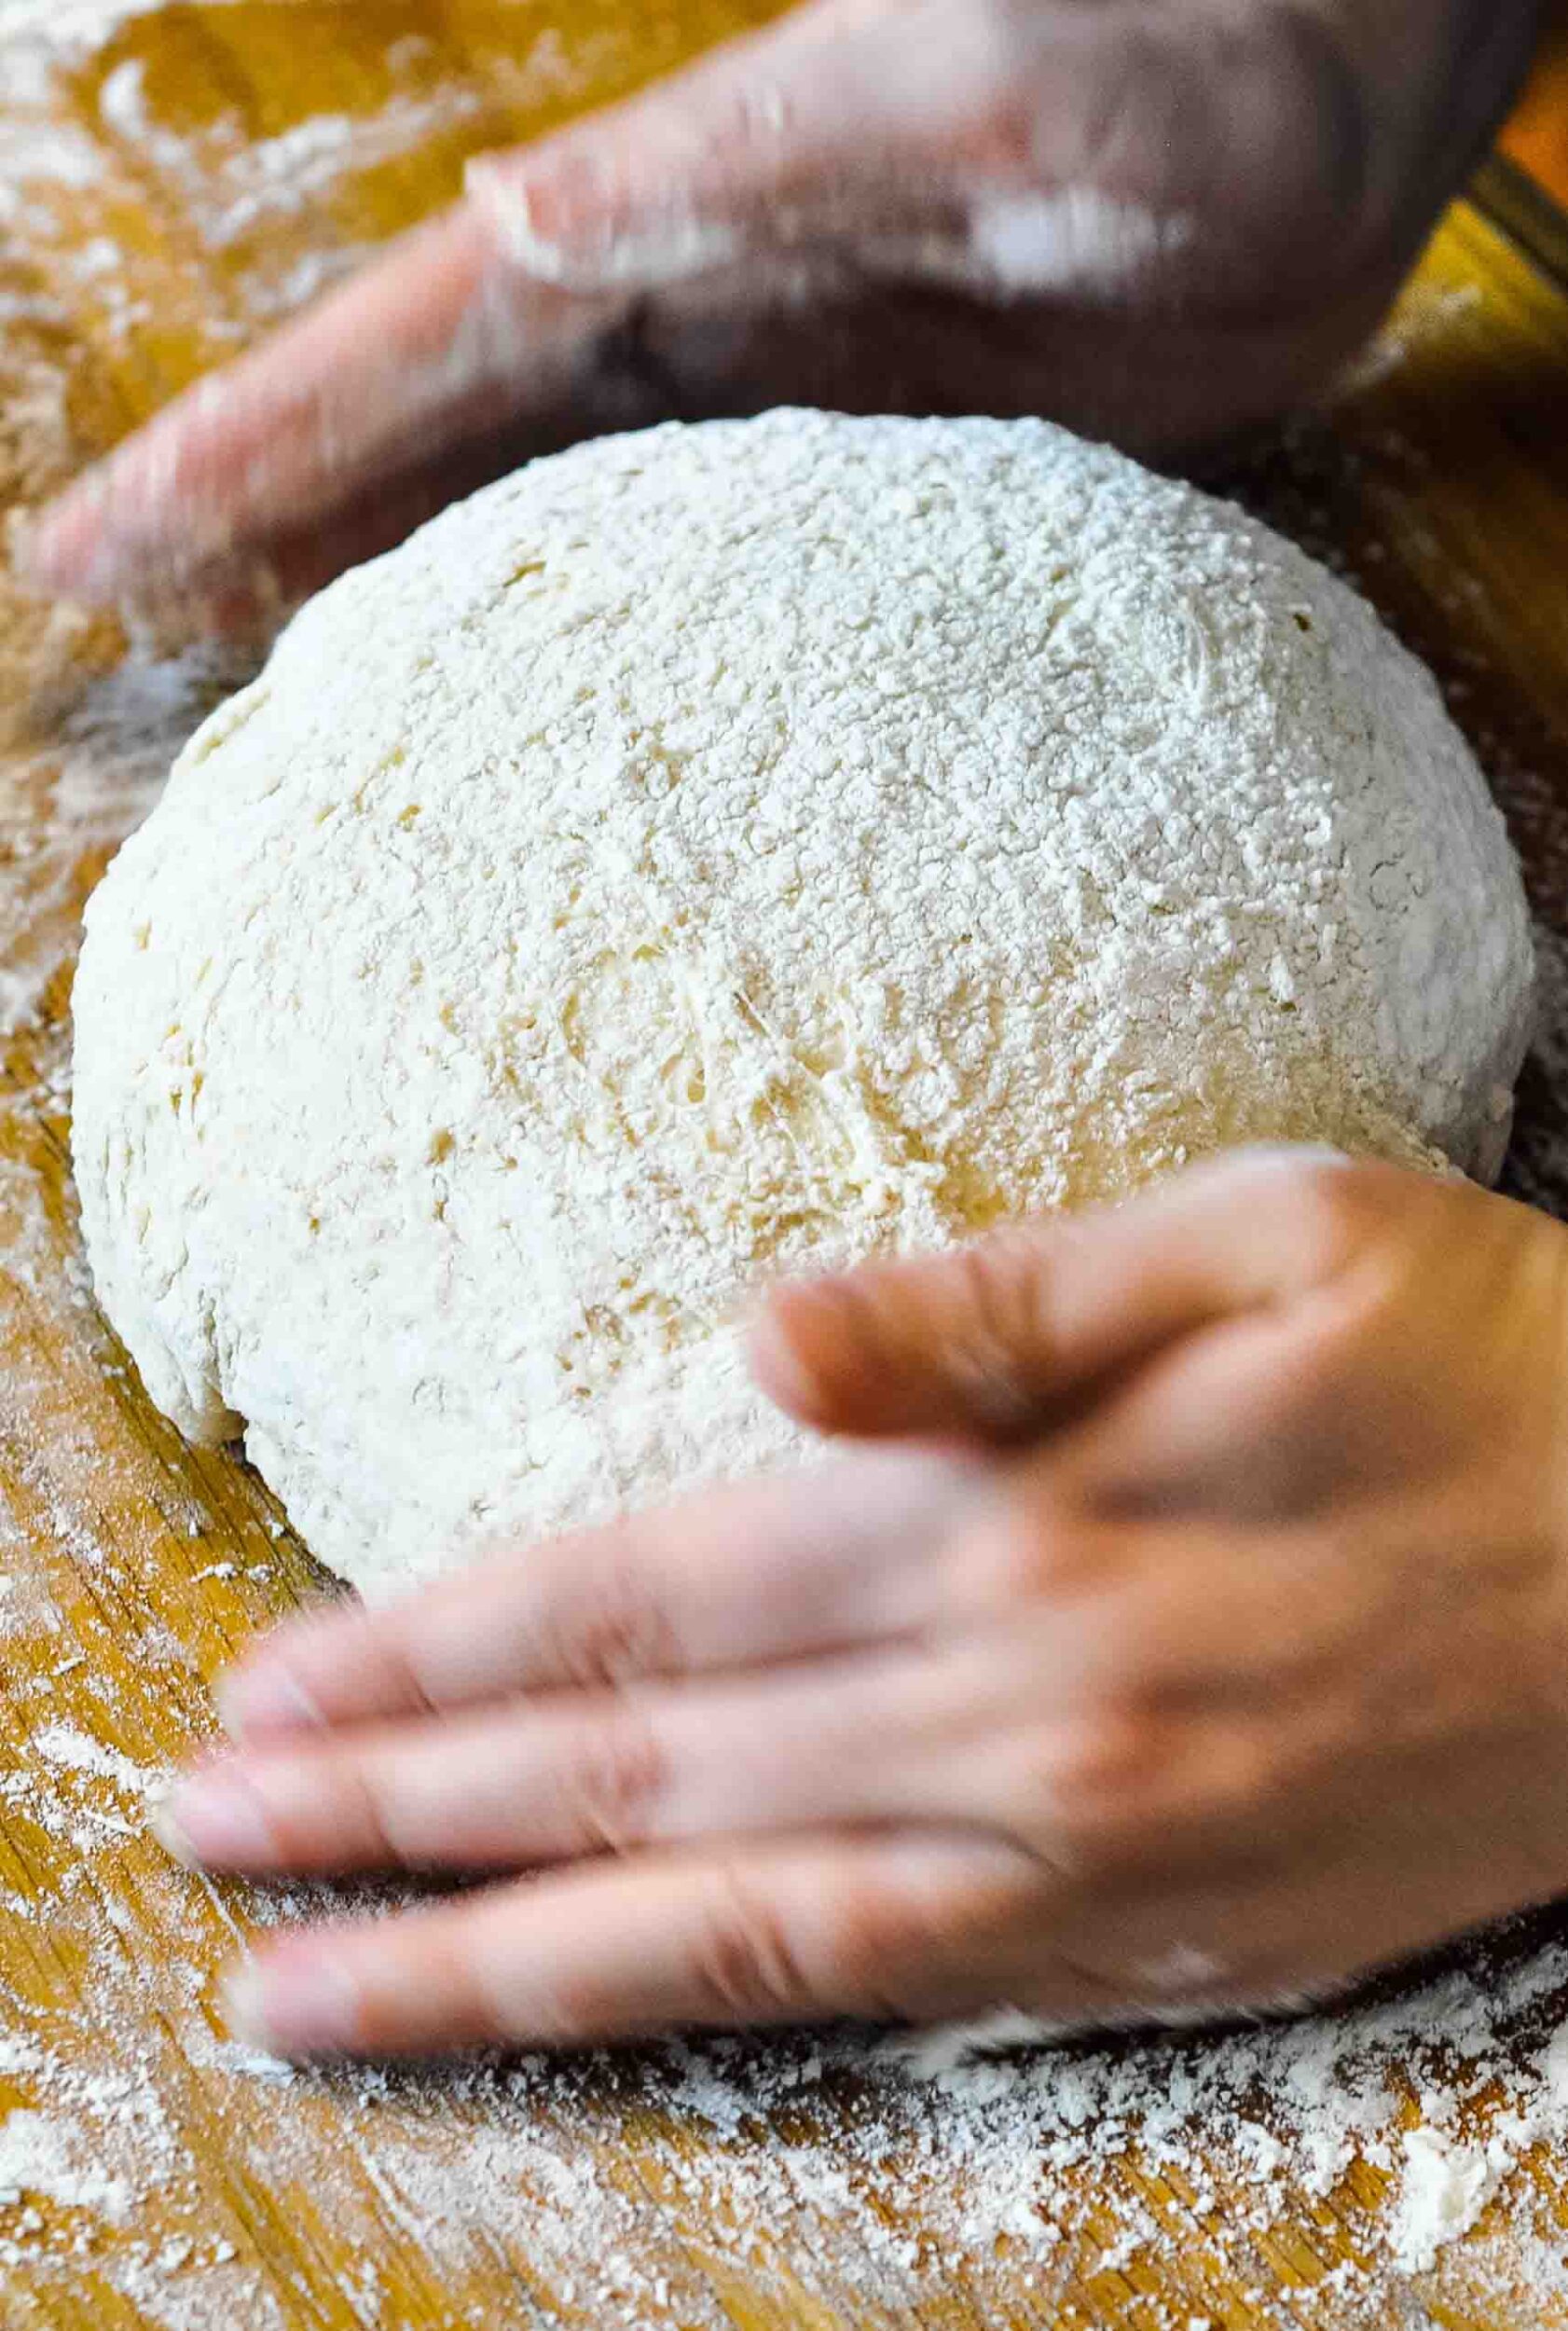
Shape the dough into a round shape, cupping the underside of the dough (tuck and drag) with your hands as you rotate and shape it into a circle. Place on a sheet of parchment paper for final rise. Here’s a good tutorial on shaping a boule.
For sandwich loaf:
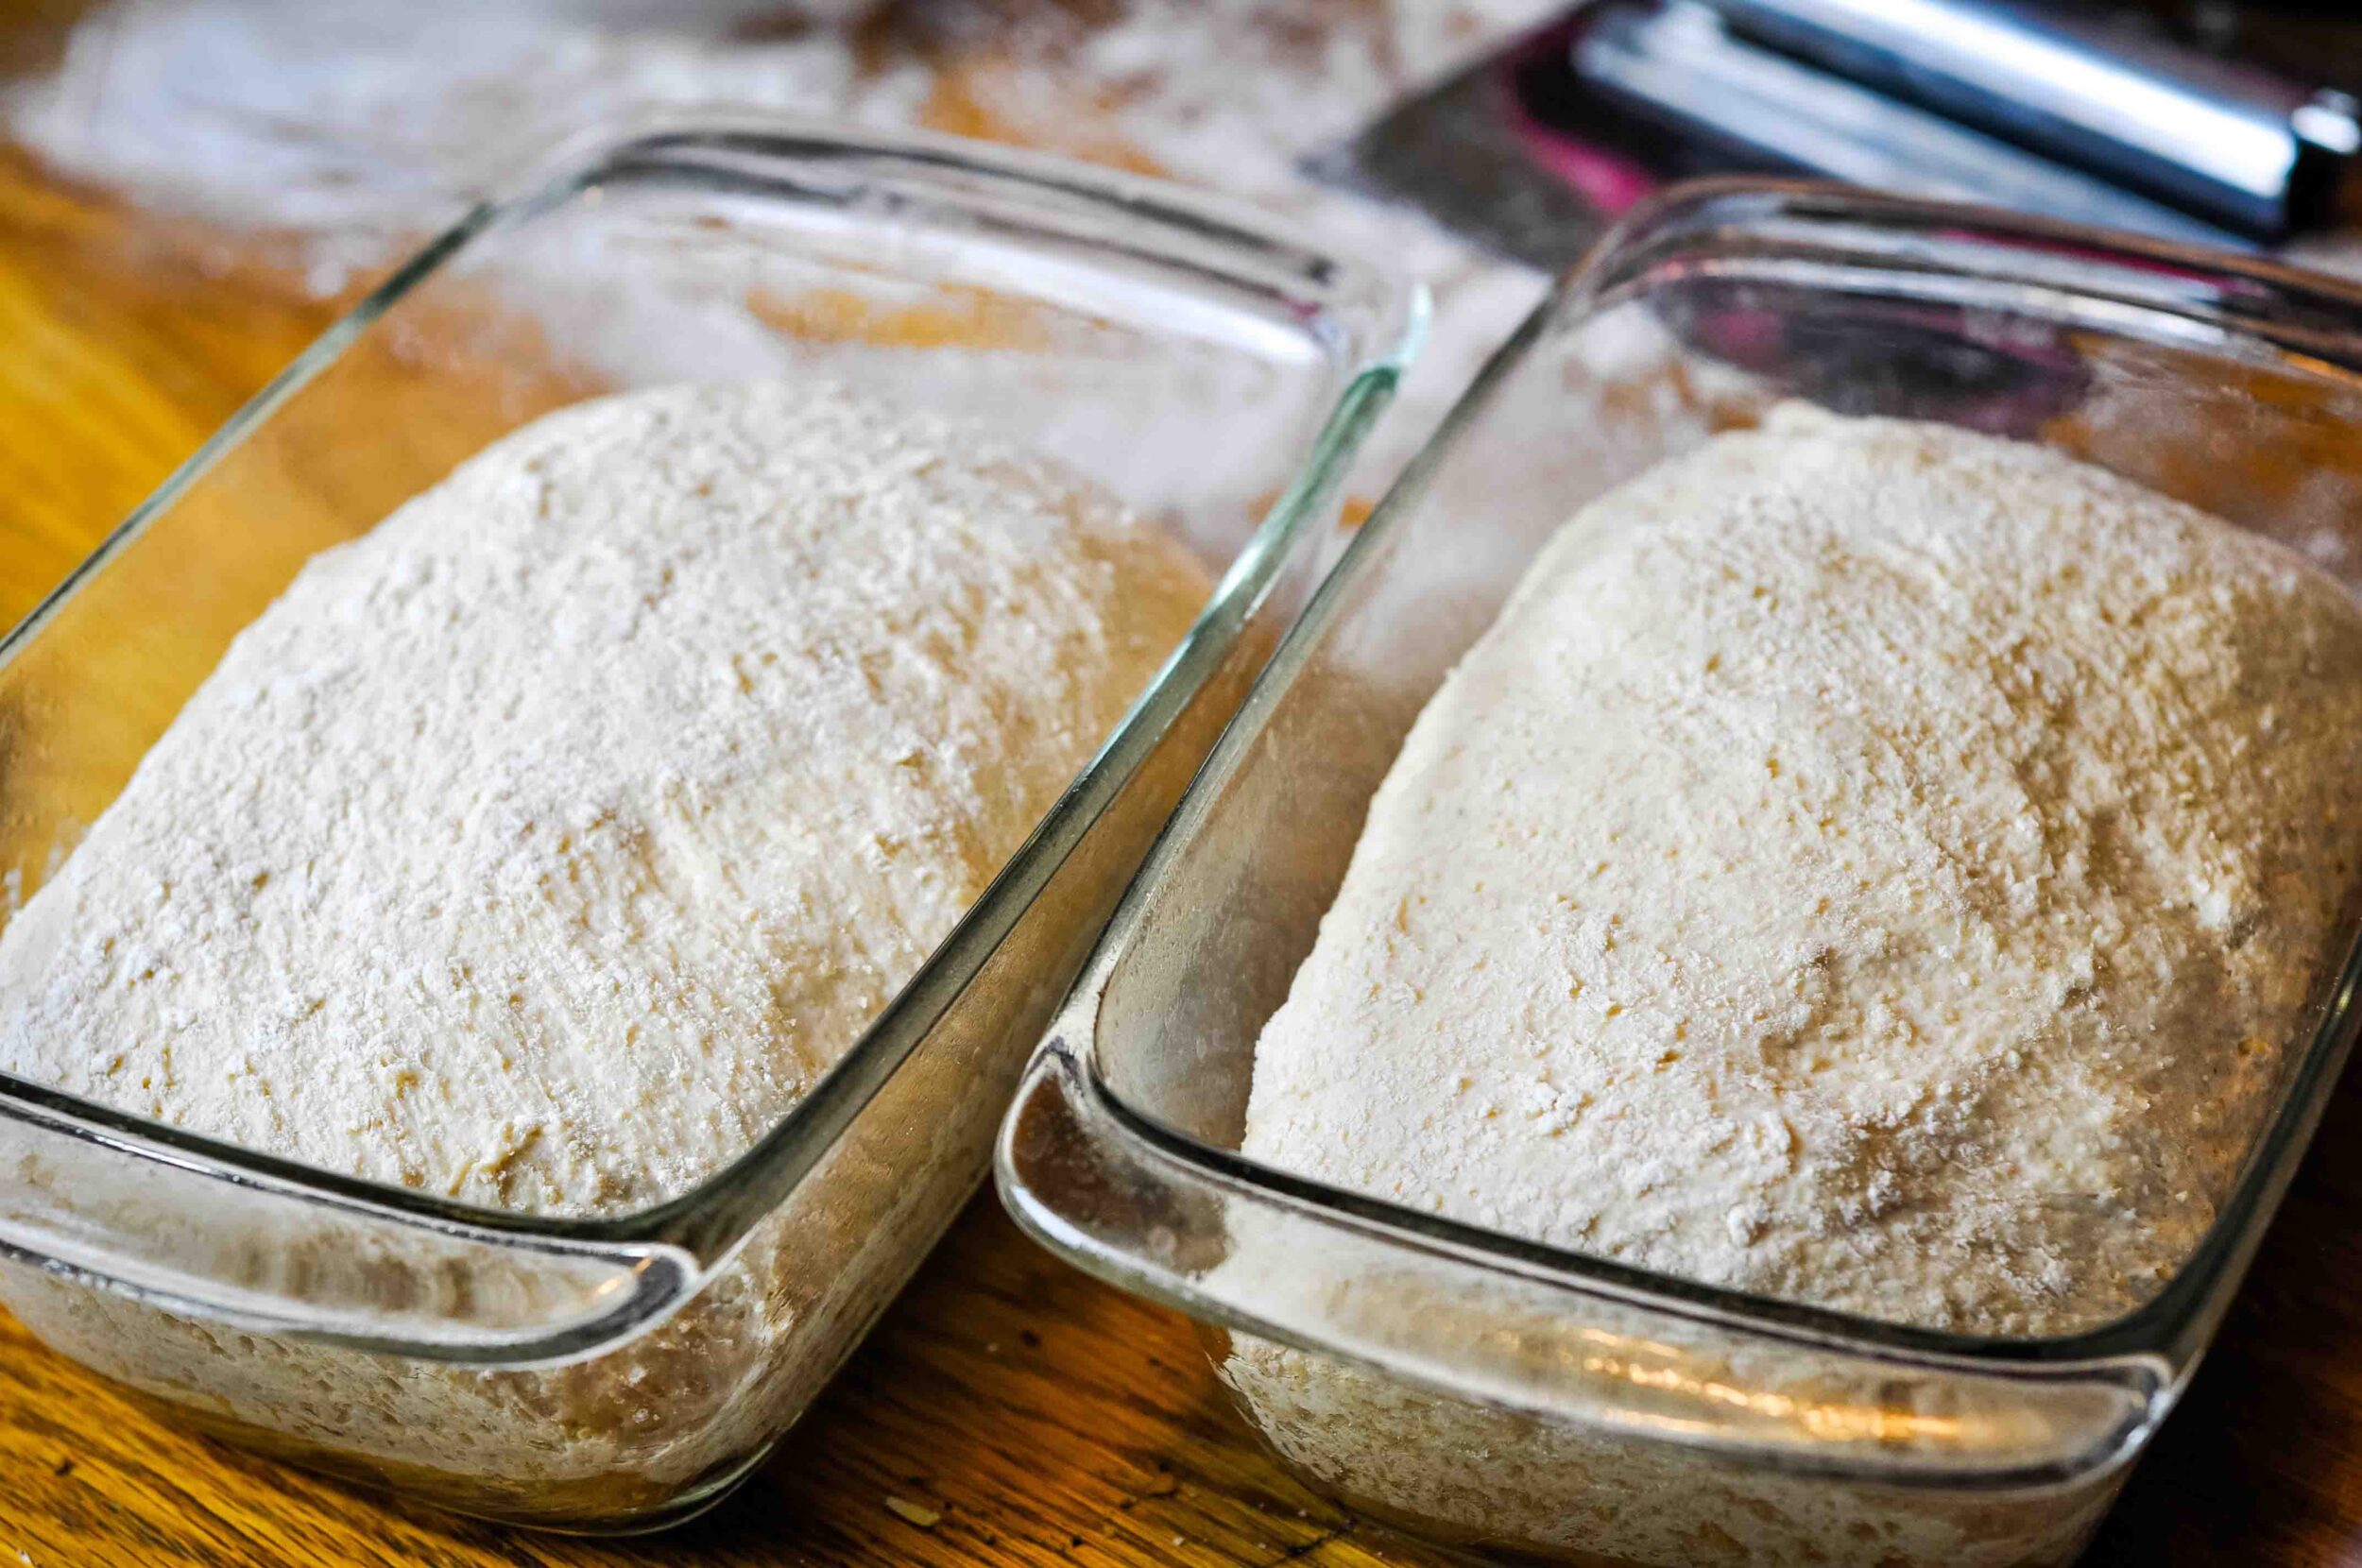
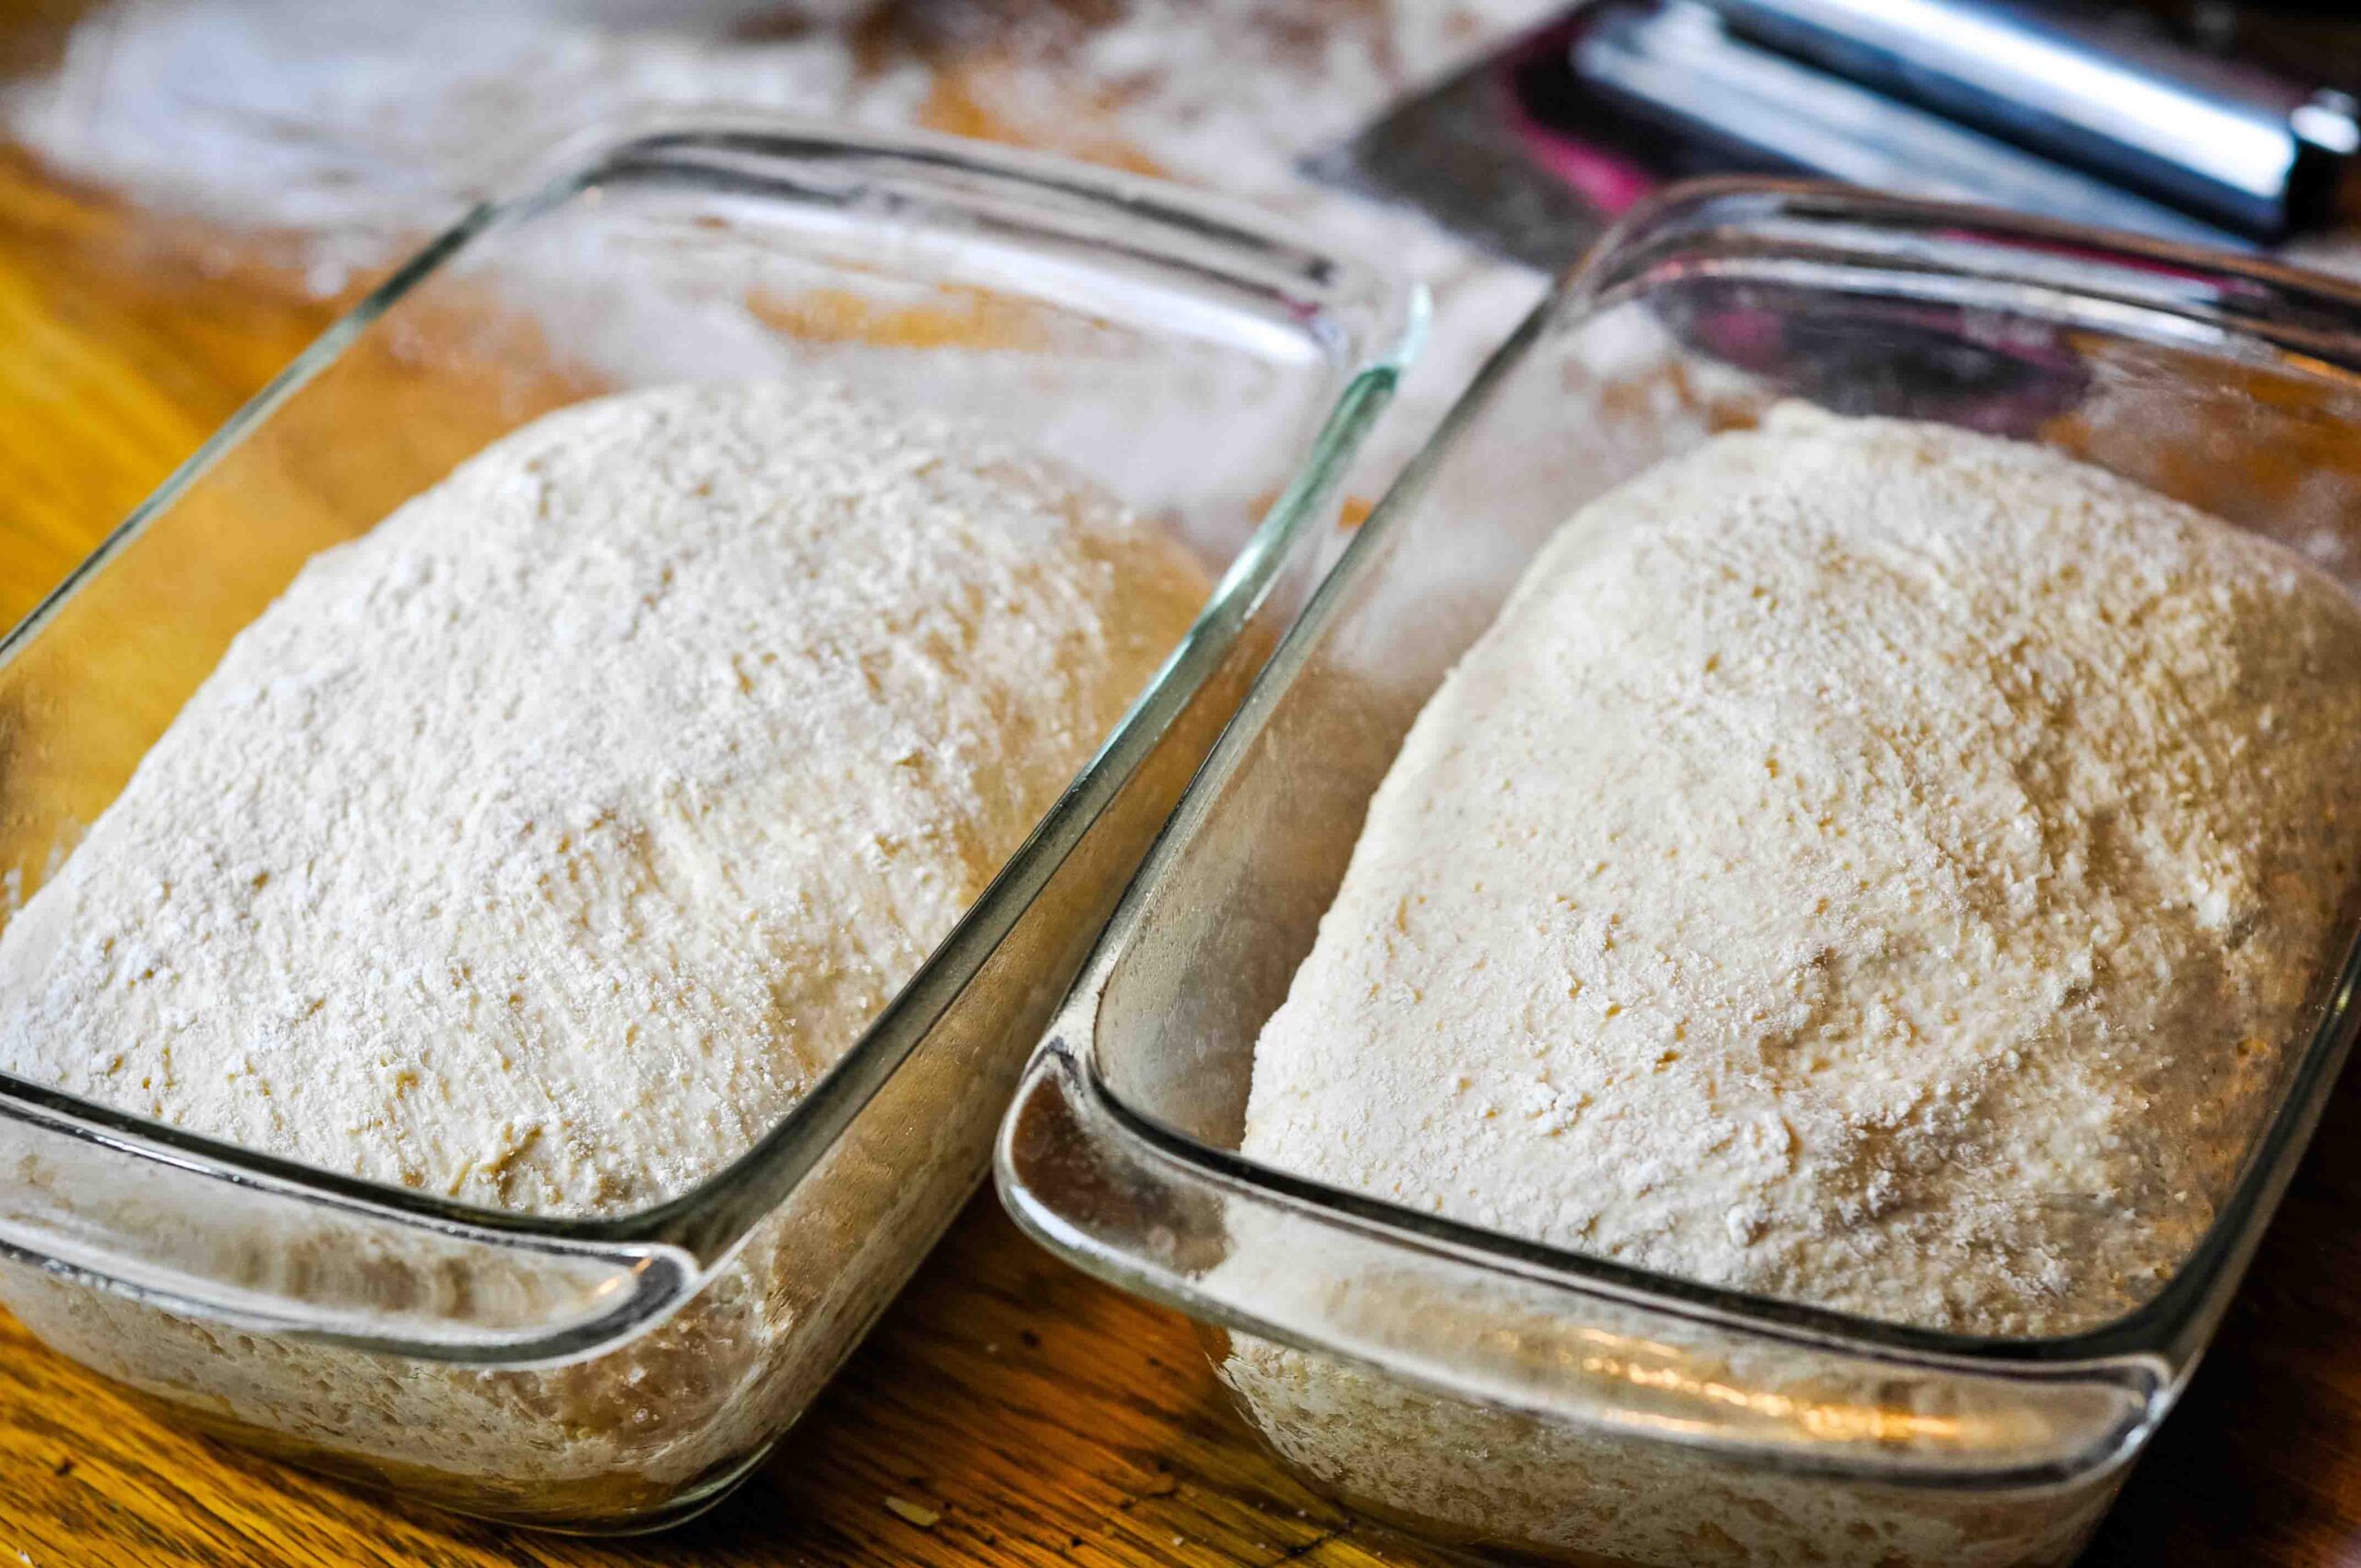
Shape the dough into a round shape, cupping the underside of the dough and rotating it. Form the dough into an oval or tube shape. Pick up the dough to carefully transfer into the loaf pan, tucking the edges underneath if needed. Here’s a great guide on shaping a pan loaf.
*Note on preparing loaf pans:
I noticed that my loaves kept getting stuck in the loaf pans, so this is the best method to prevent that. Thoroughly grease the inside of the loaf pan (I love coconut oil spray for this). The, cut a small rectangle of parchment paper to fit just the bottom of the loaf pan. Spray this with oil also. This will make the loaf super easy to remove later.
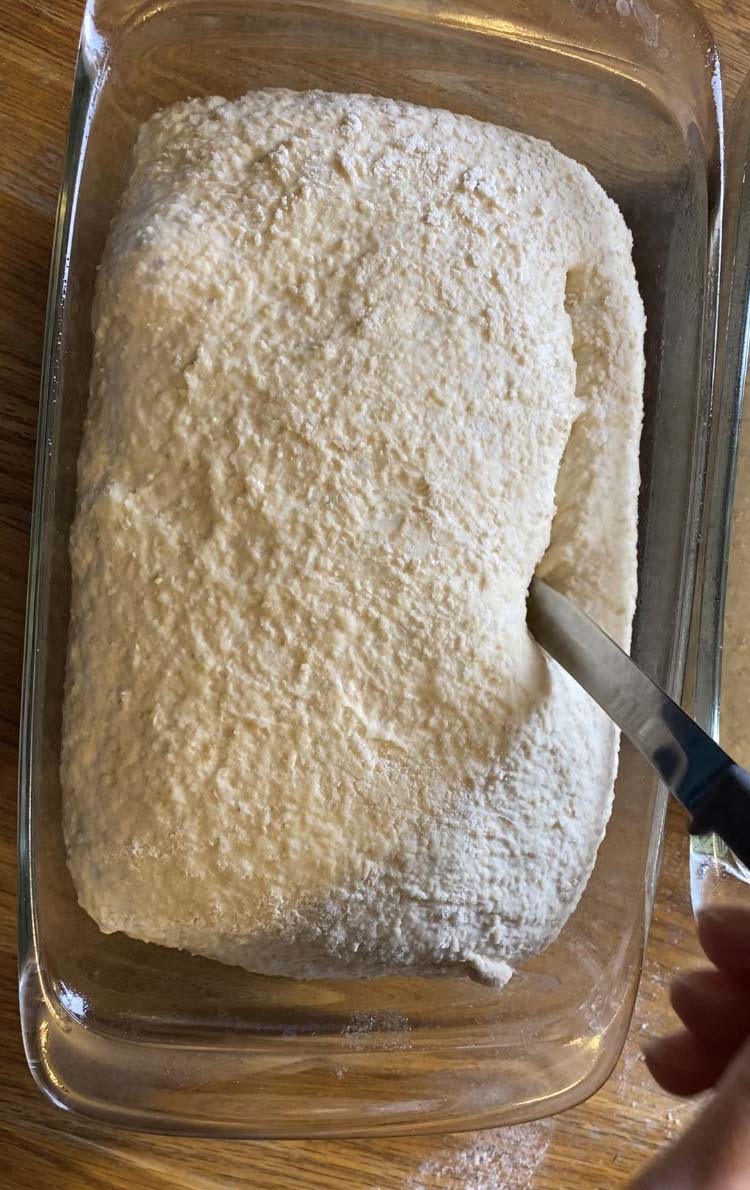
Once your loaves are shaped, allow them to rise for an additional 30-60 minutes before baking. They need to puff up somewhat since we deflated the dough while shaping. During this final rise, preheat your oven to 450 F.
If you are using a dutch oven to bake bread, place the empty dutch oven into the oven to preheat.
8. Bake loaves
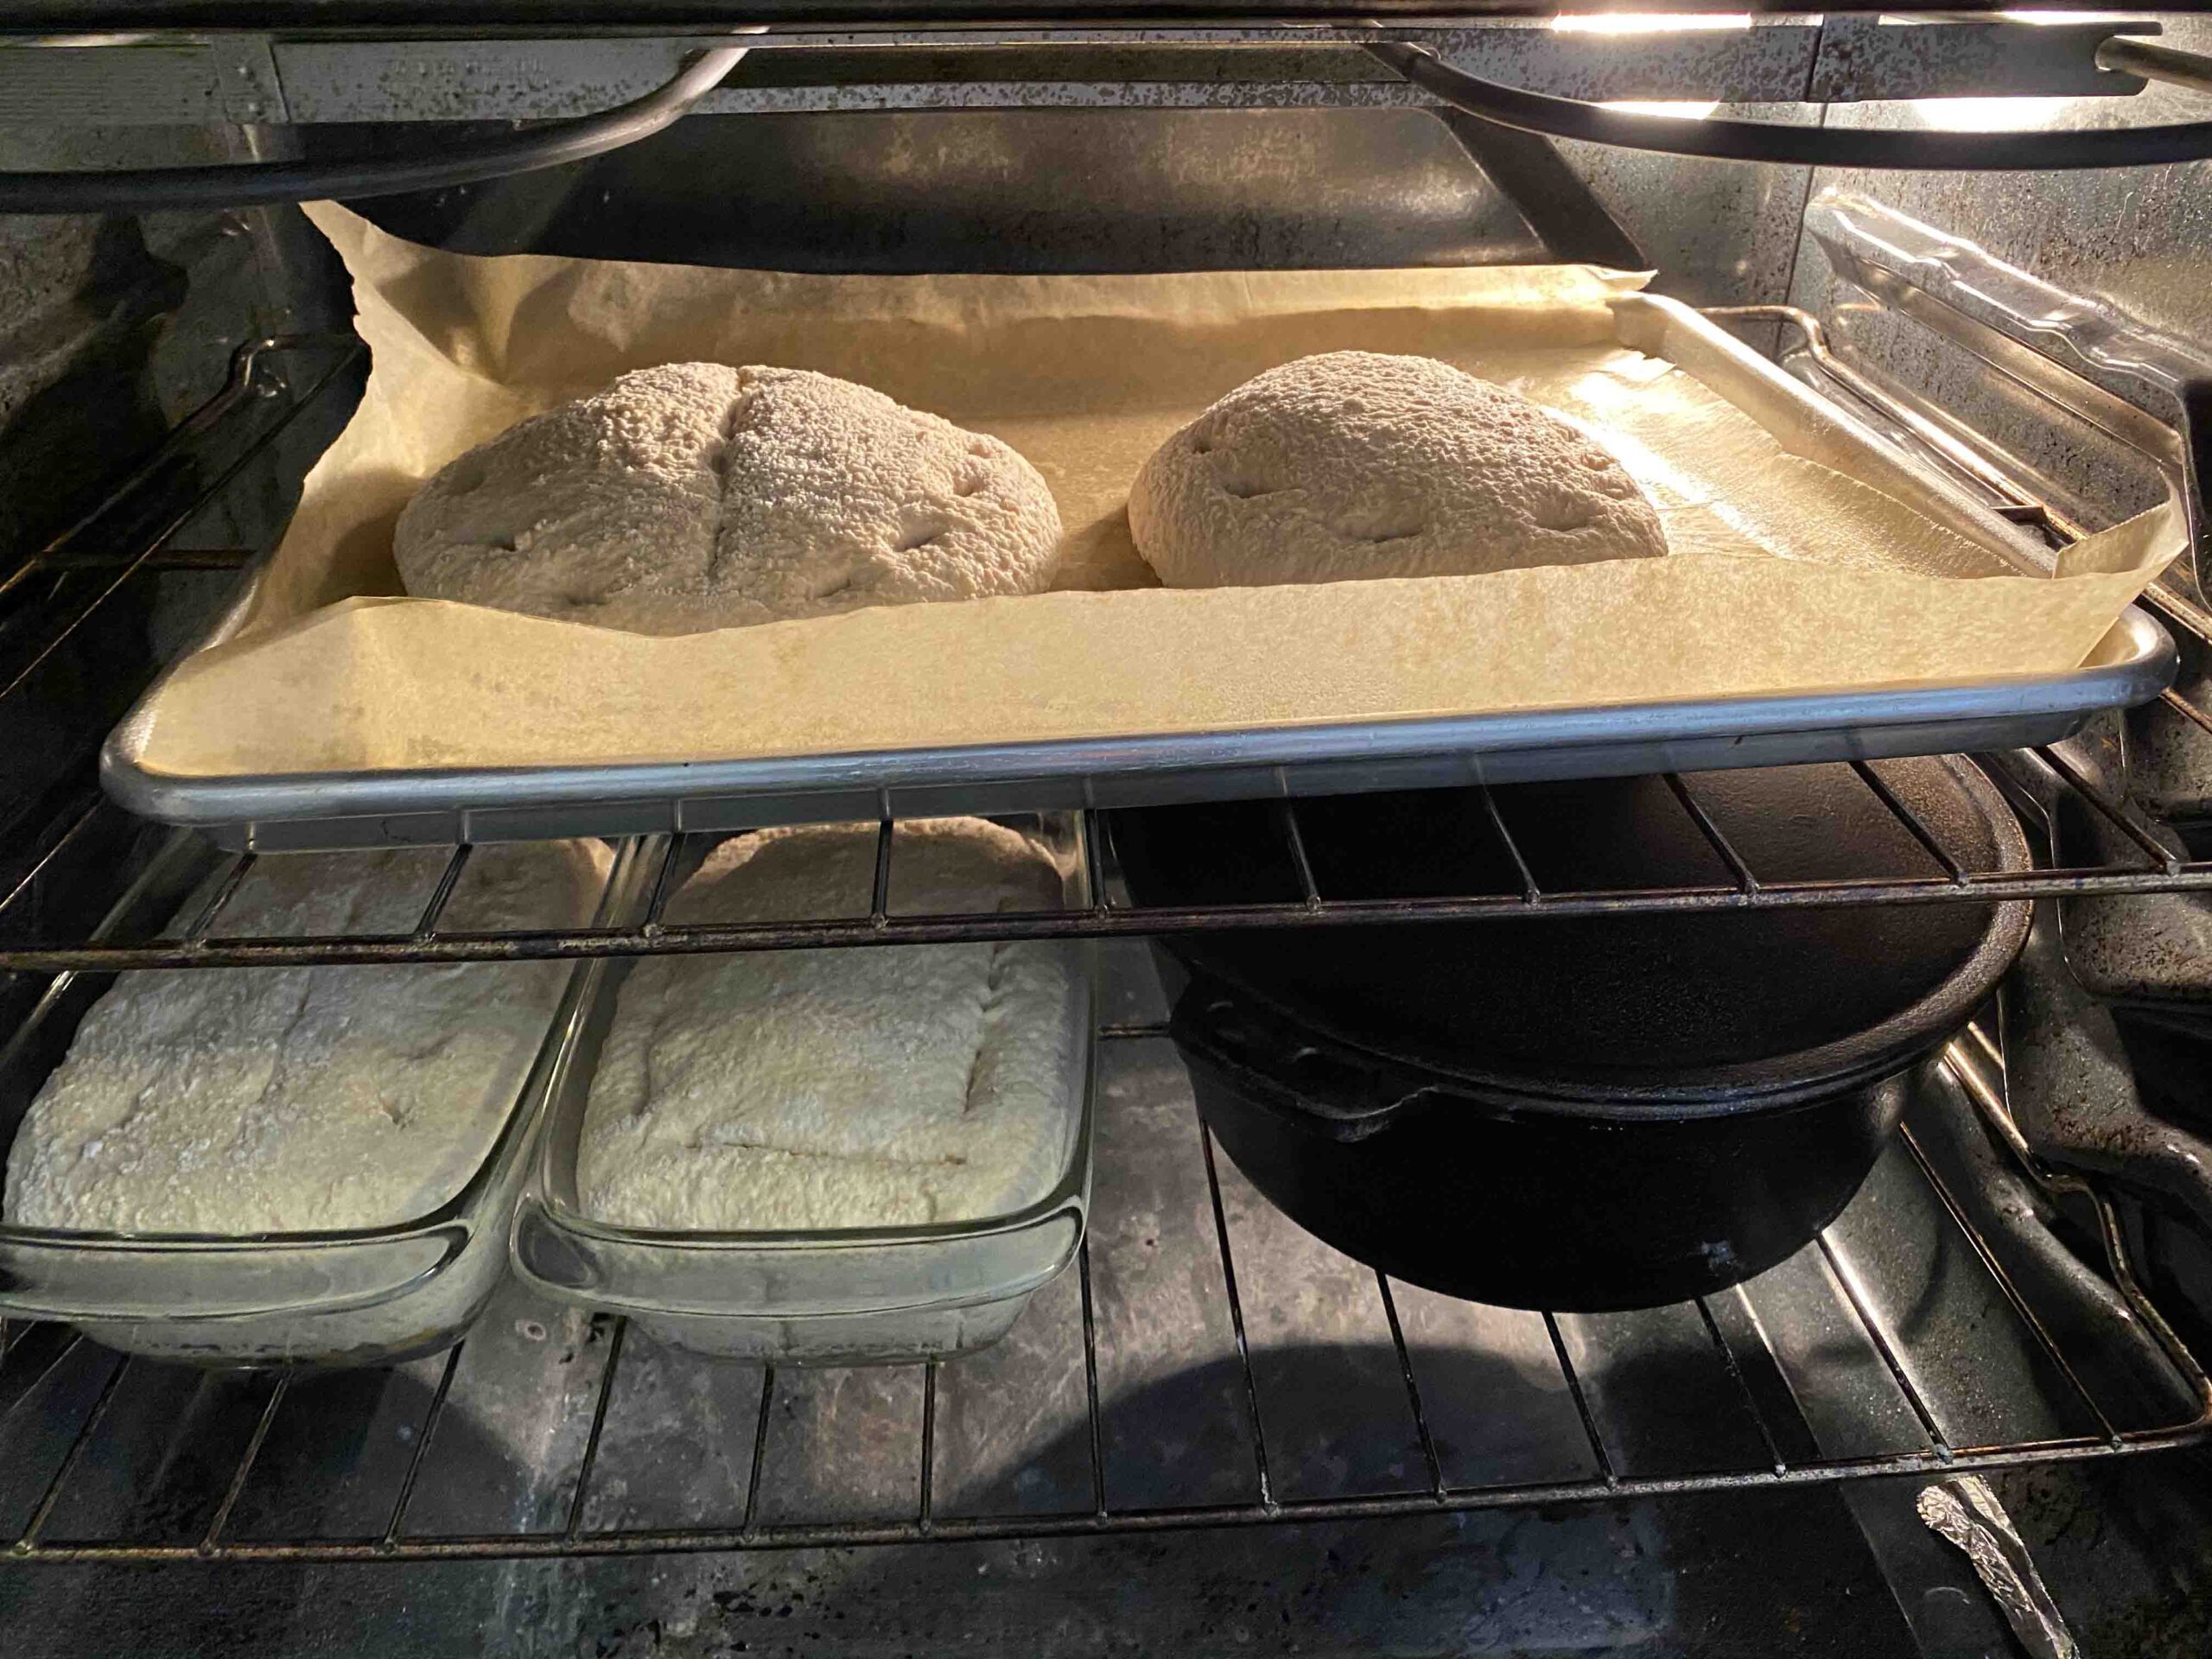
Once the loaves have completed their final rise and oven is preheated, score the loaves with a sharp knife or bread lame around 1/2 to 1″ deep. This will prevent cracks in the bread while it bakes. Transfer loaves to the hot oven.
If you are baking bread in a dutch oven, remove the lid (careful, it’s hot!). Carefully grab the edges of the parchment paper that the boule loaf is sitting on and transfer the whole thing to the hot dutch oven. Place the lid on top.
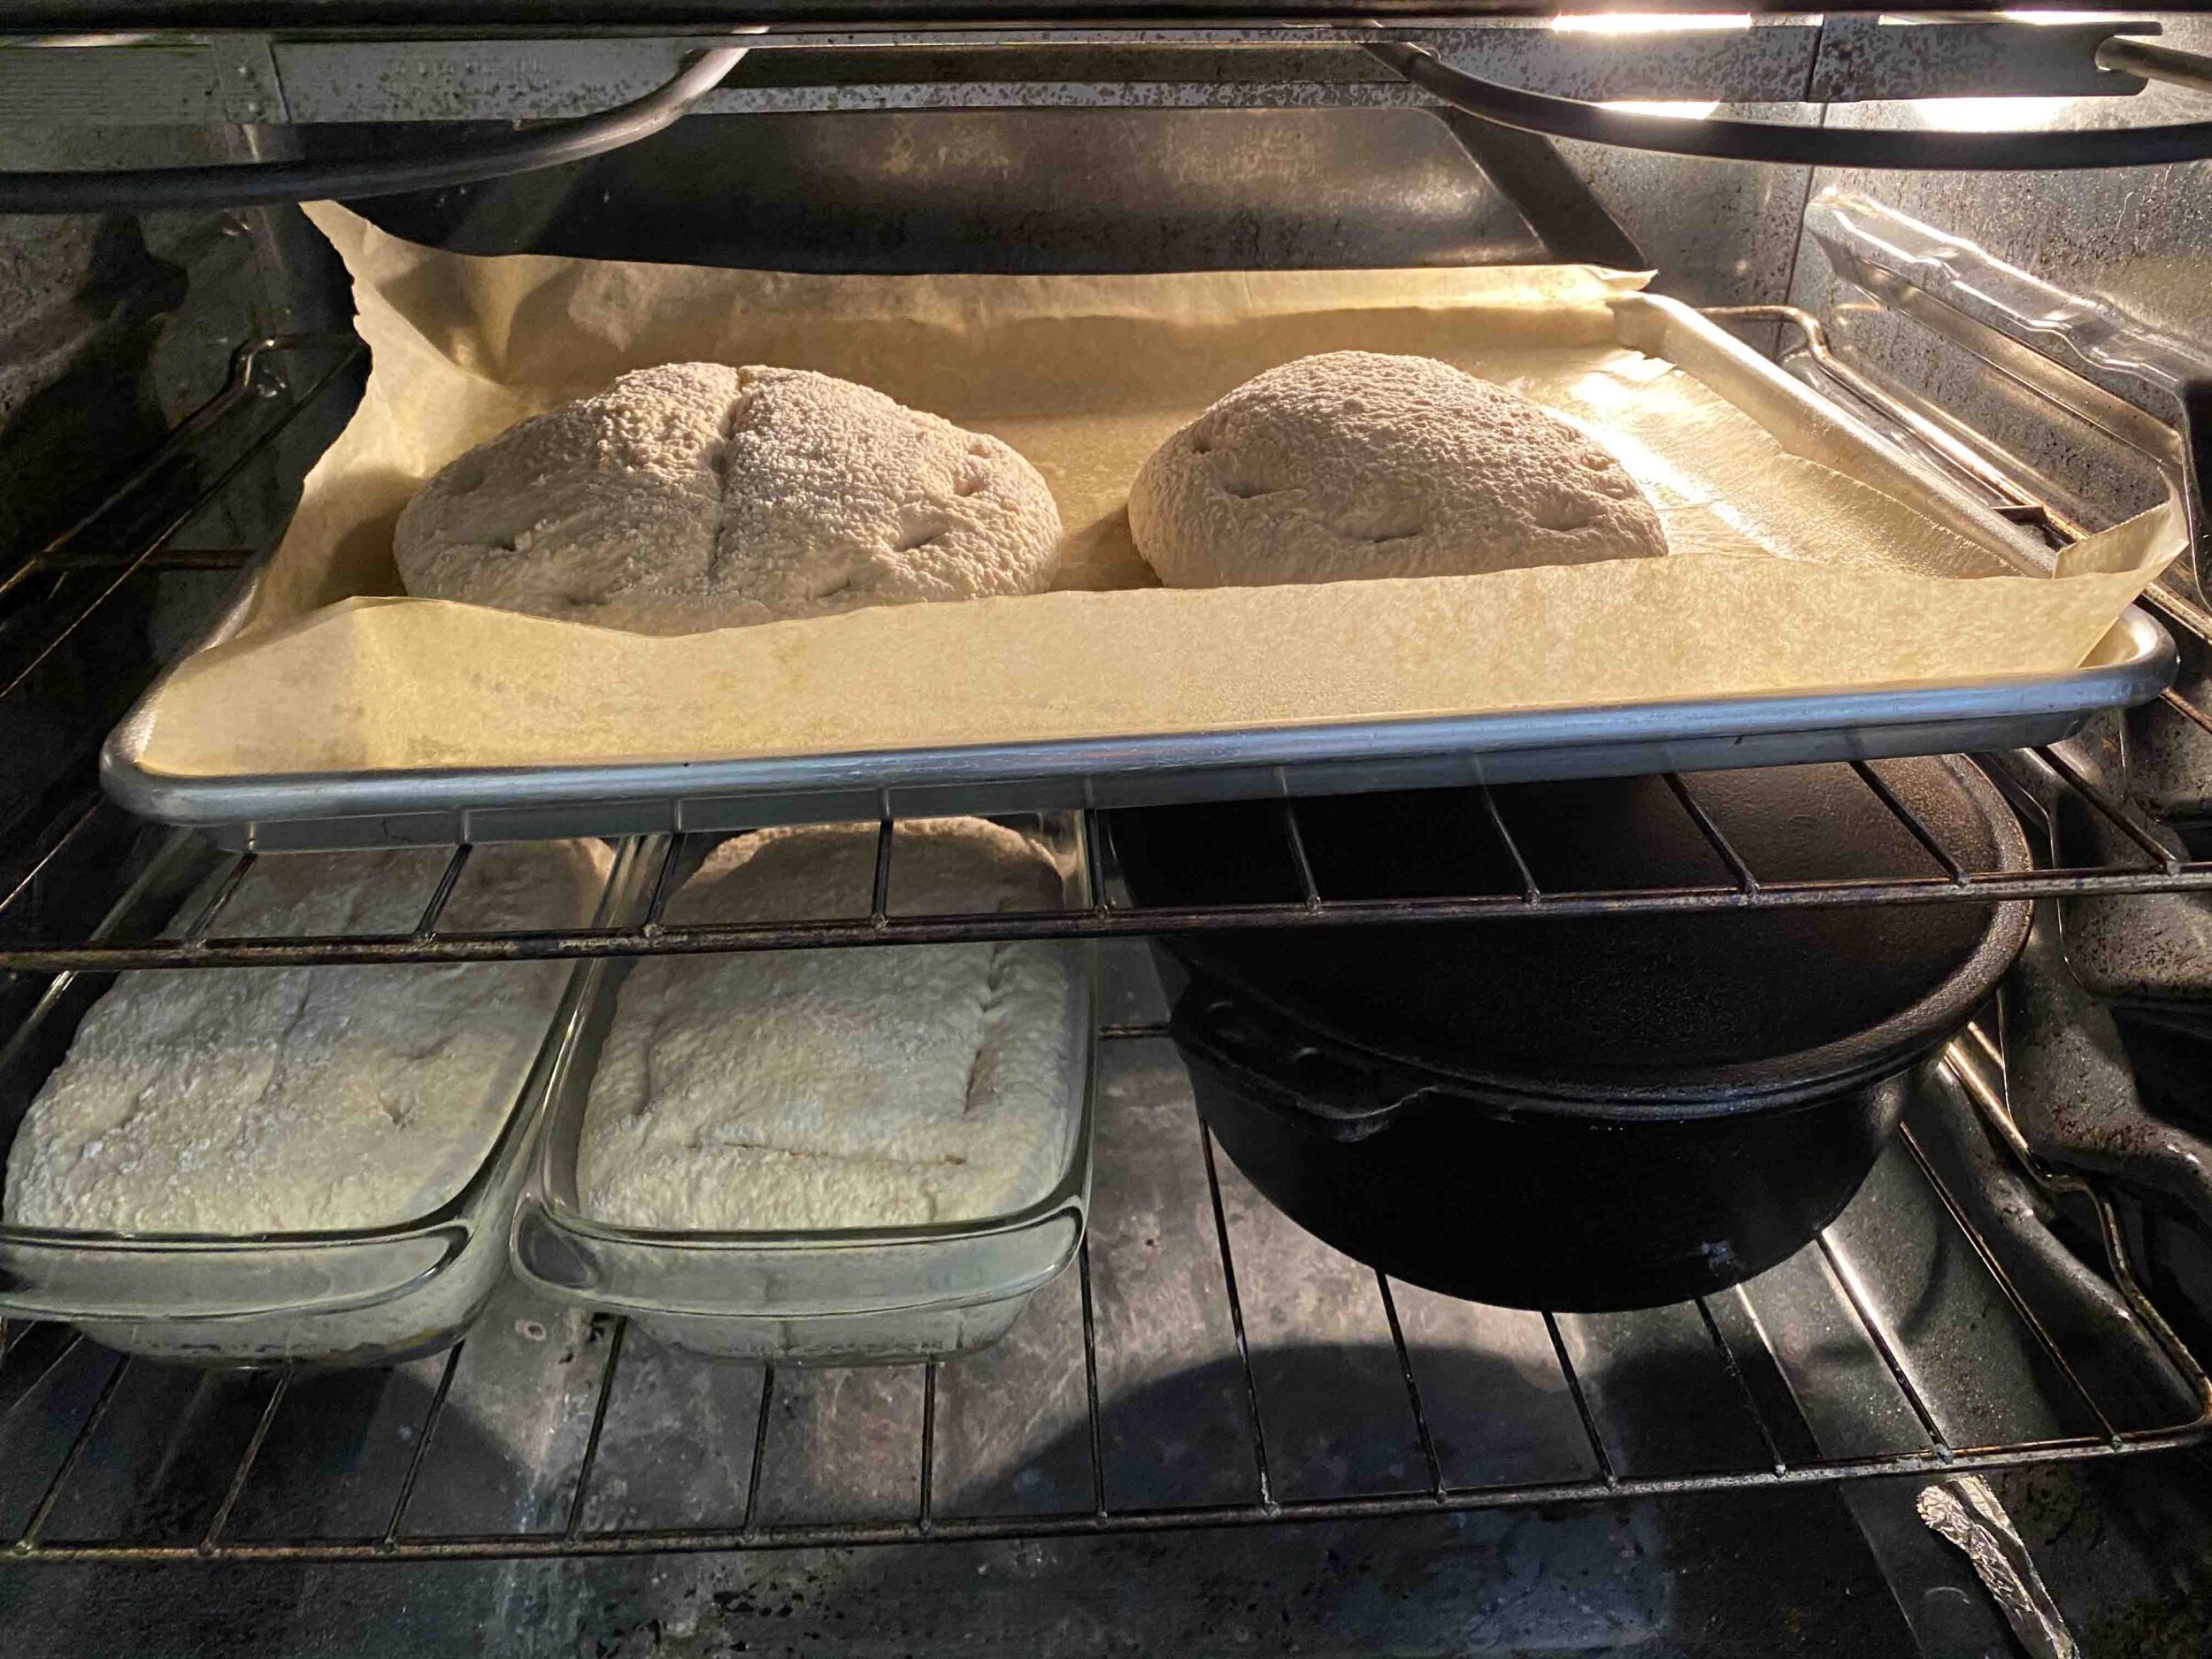
Bake loaves for 40-50 minutes until golden brown.
If using a dutch oven, remove the lid after the first 25 minutes of baking, then bake for 20 additional minutes with the lid off.
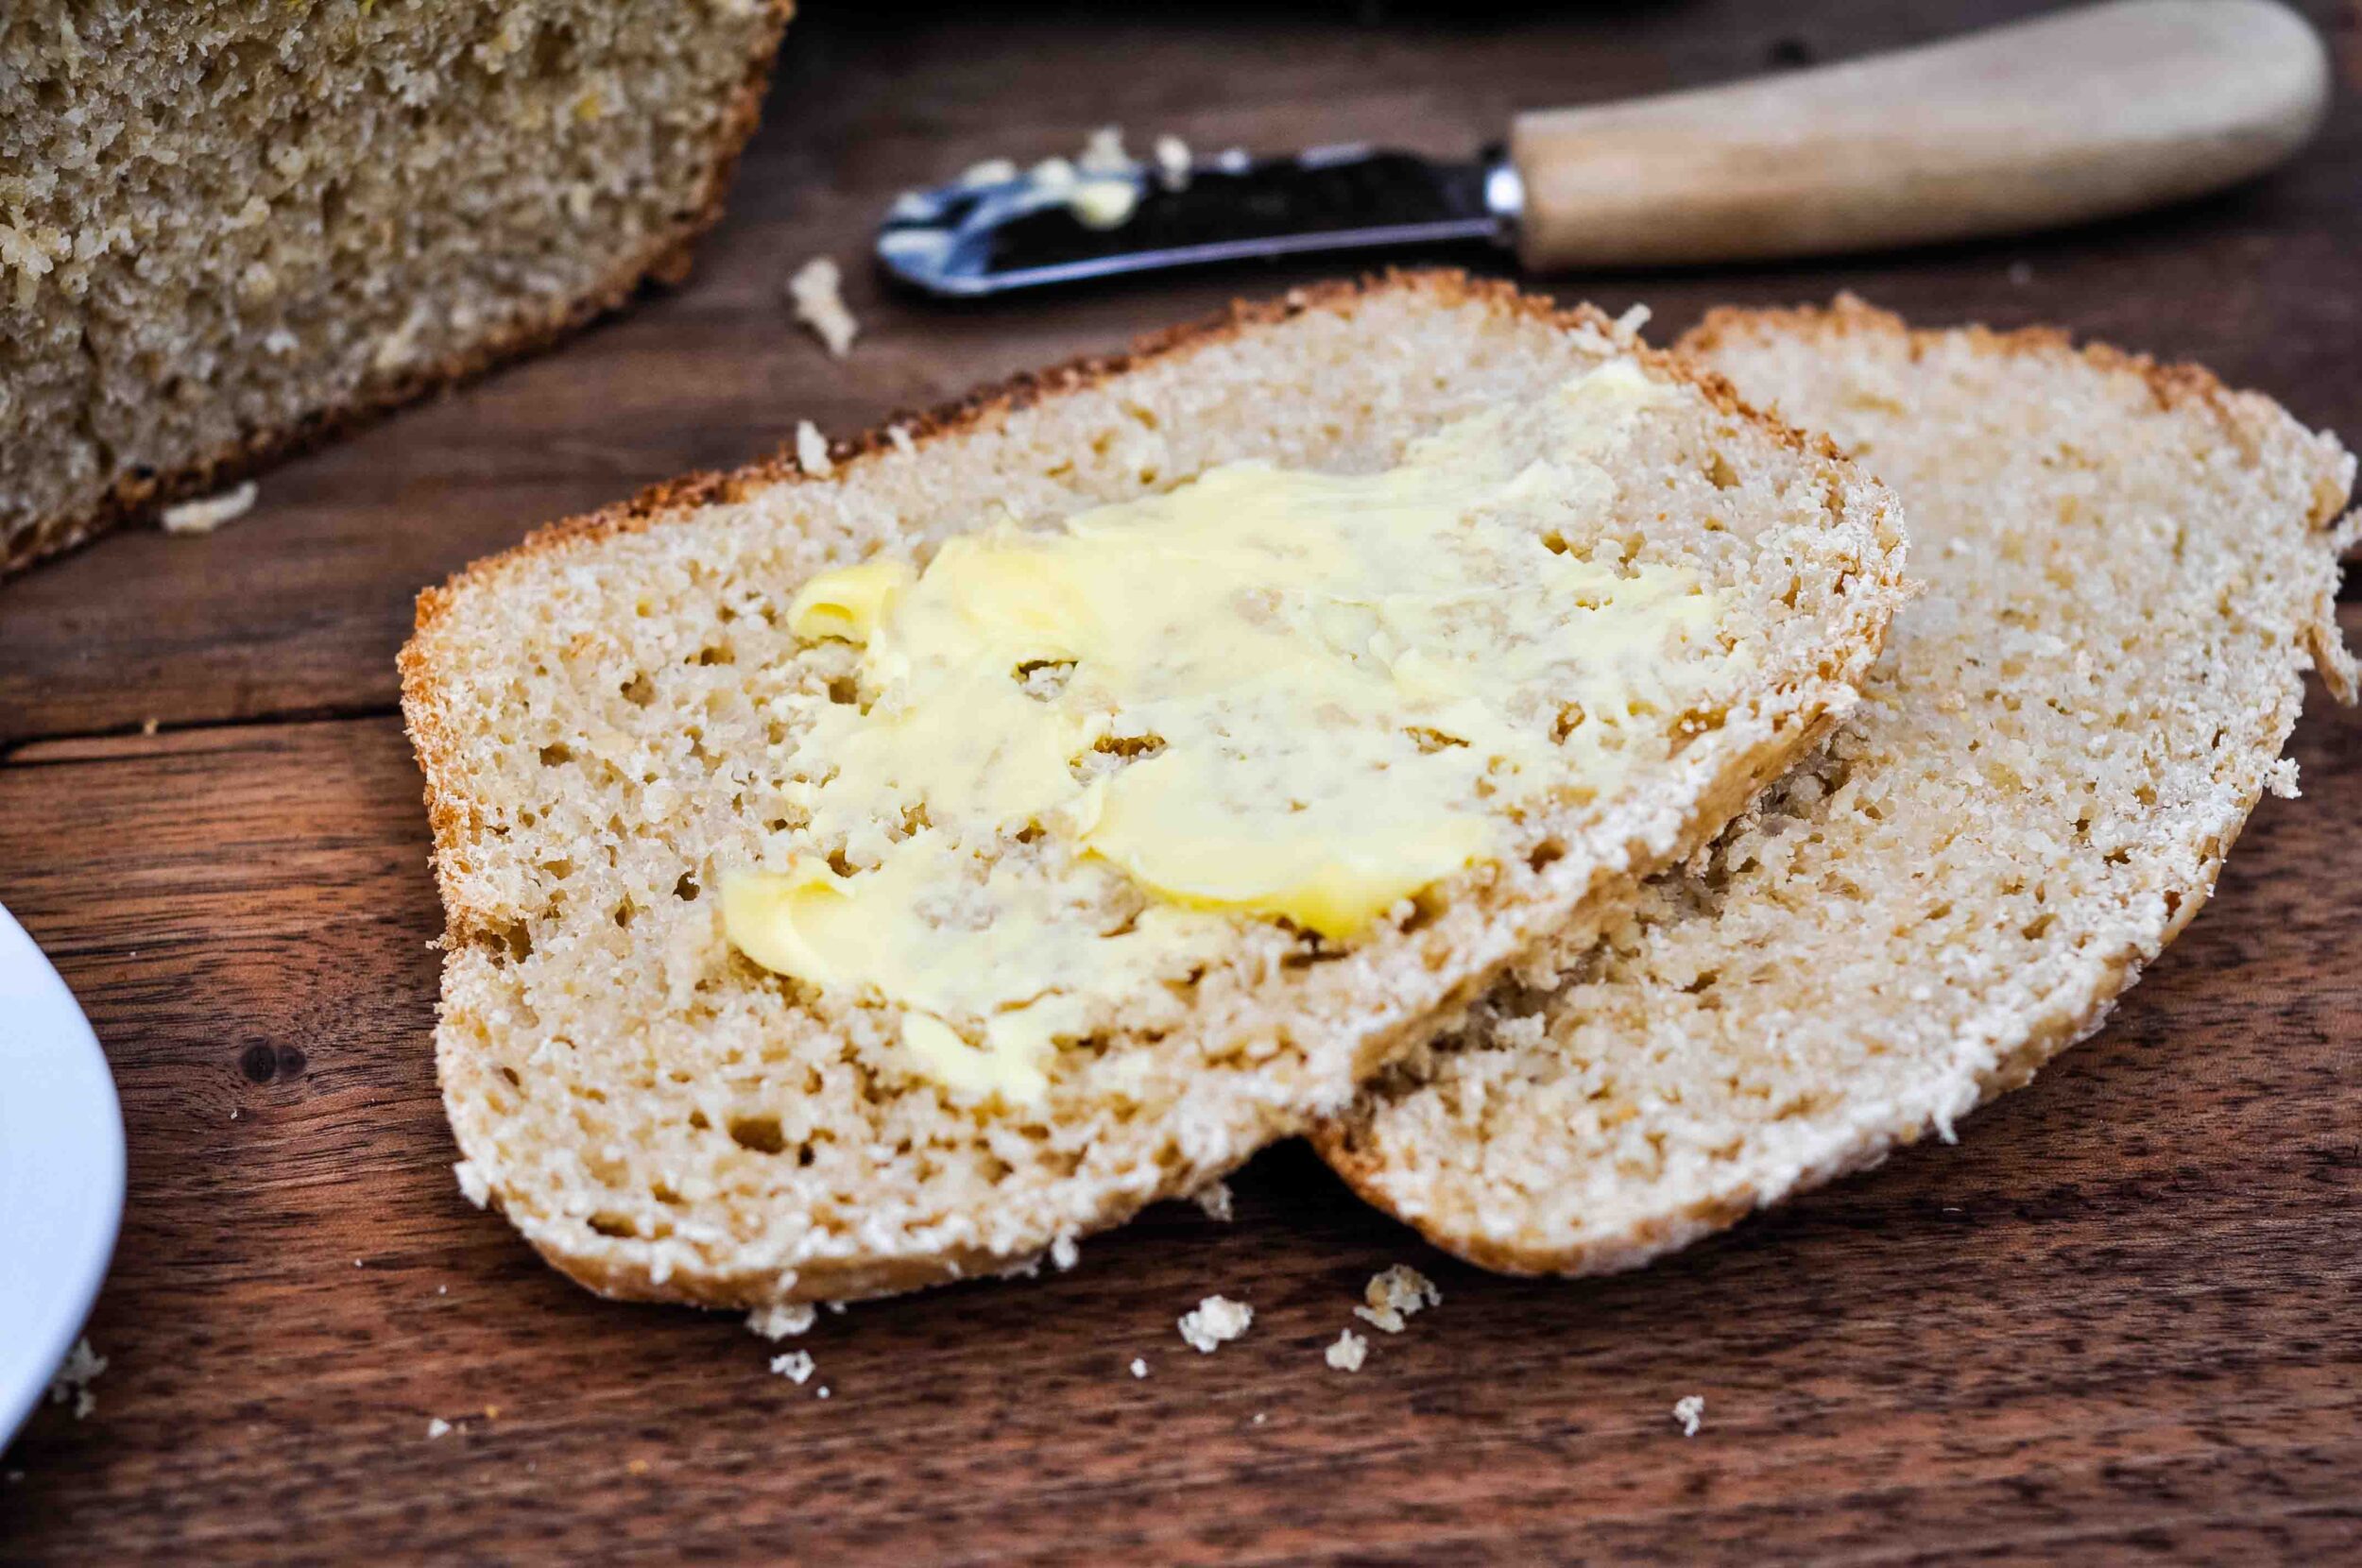
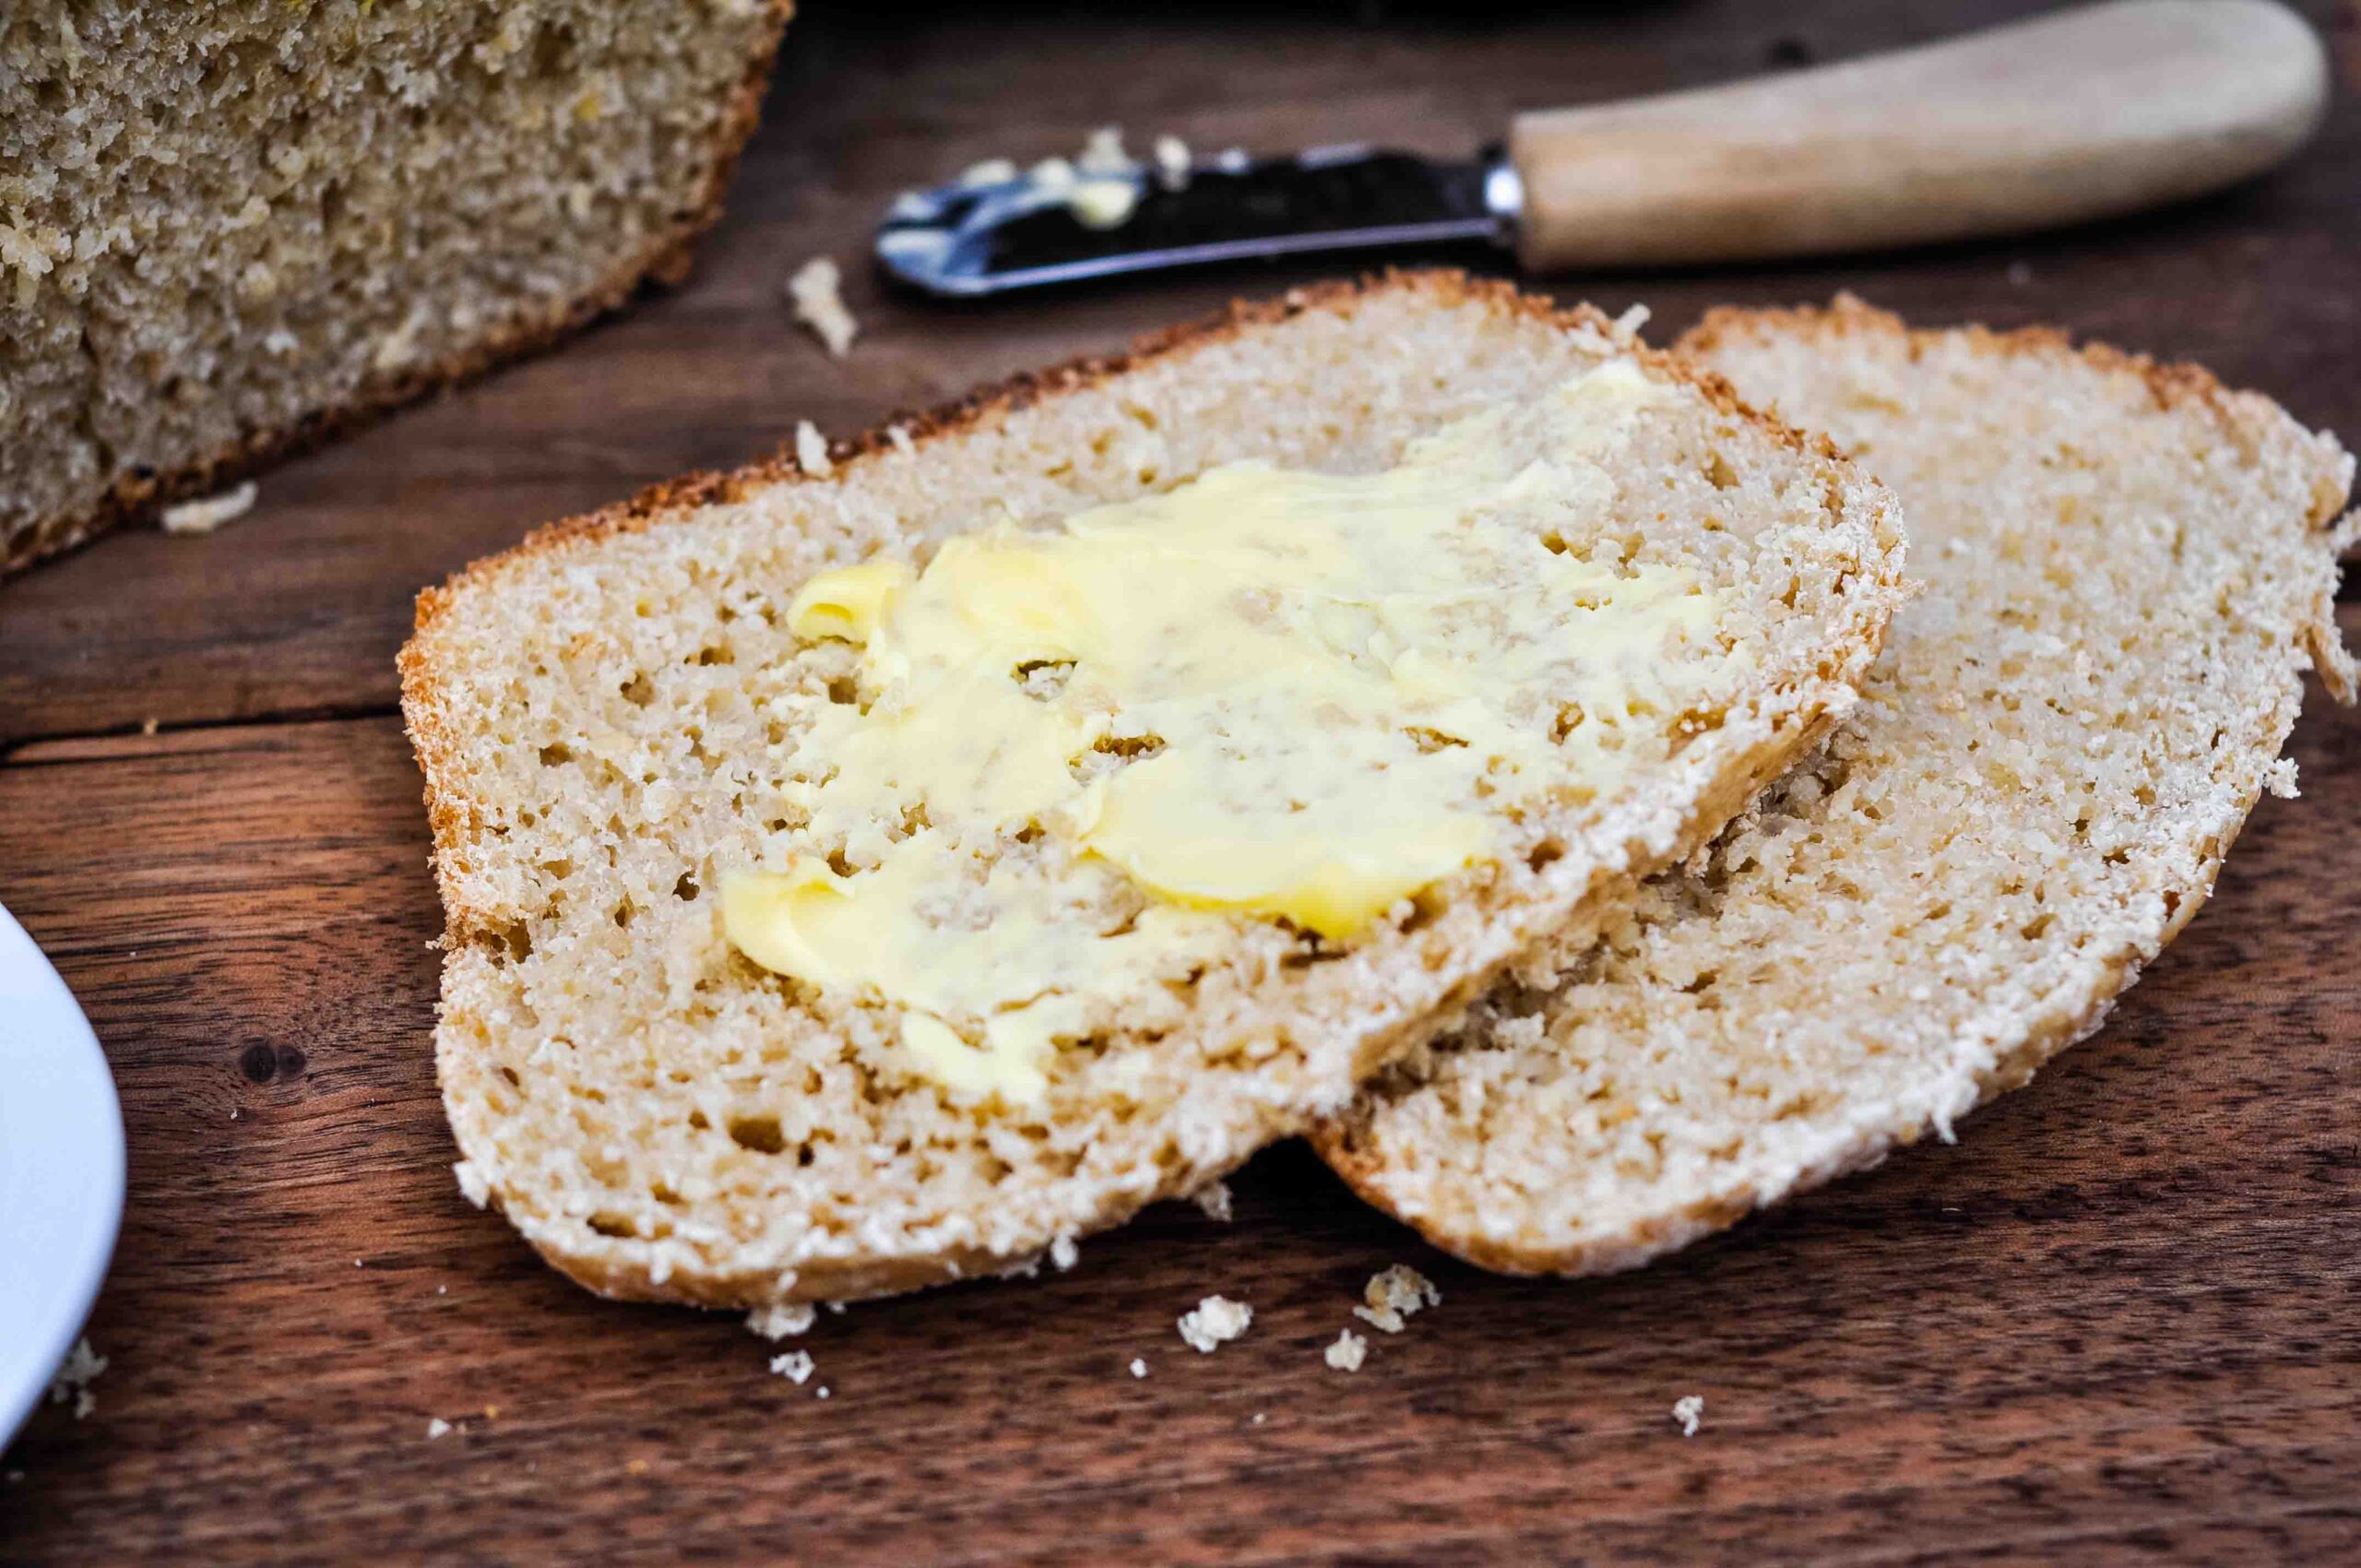
Allow loaves to cool for a few minutes, then transfer to wire racks to cool before slicing.
Sourdough bread recipe notes
Here are some tips and tricks for baking and using your sourdough bread:
- As a general rule, sourdough starter needs to be fed at least every couple of weeks to stay strong enough for bread baking. If you notice your starter is not working well, a few extra feedings should put things right.
- There is a rhythm for bread-making since it is a time intensive process that involves quite a bit of waiting. I prefer to mix my dough early in the morning and let it rise all day, then bake at night. You could also mix the dough in the evening and let it rise overnight, then bake in the morning. Do whatever works best for you and don’t be afraid to experiment.
- Modify this basic recipe for other baked goods you love, such as rolls and pizza crusts, etc. I use this exact recipe for homemade pizza crust and just roll the dough out thin.
- Seeds like flax, chia, sunflower, pumpkin can be added to make this a “seeded” multigrain dough.
- Once cool, store in a paper or cloth bread bag or ziploc storage bag. Fresh bread is best consumed in 3-4 days. Since there are no preservatives, it goes stale quickly. Loaves can be frozen for up to 3 months.
- French toast is the perfect way to use up dry sourdough bread. You can also use it to make sourdough bread mini pizzas!
- The recipe below makes 2 loaves. I often double it so I can make sourdough pizza with the extra dough. Just roll the dough into discs, puncture with a fork and pre-bake at 450 F for 10 minutes before adding toppings and baking for an additional 10-20 minutes.
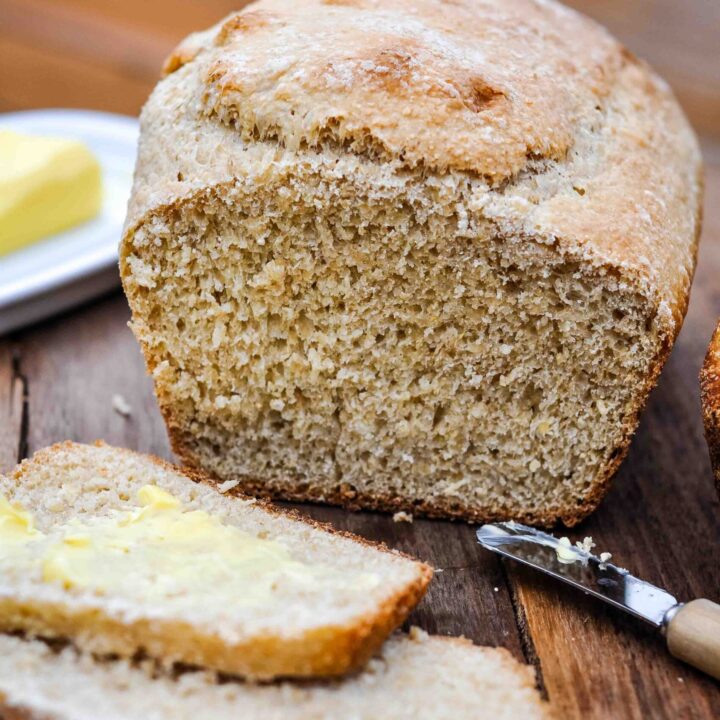
Whole Grain Sourdough Bread (using 100% freshly milled flour)
Looking for the perfect sourdough bread recipe using freshly milled, 100 percent whole grain flour? This is a tried-and-tested failproof bread recipe that you will find yourself returning to over and over again.
Ingredients
- 225 grams active sourdough starter
- 700-800 grams warm filtered water *
- 500 grams whole grain flour (freshly milled if possible)
- 500 grams white bread flour *
- 25 grams unrefined salt
Instructions
- Make sure your starter is active by feeding it 4-12 hours before baking, making sure it is bubbly and doubled in size.
- Pour water into a large mixing bowl and add starter. Mix it together with your hands until starter is mostly dissolved into the water.
- Add flour (you can use a mix of bread flour and whole grain, or use 100% whole grain). Mix everything together until a shaggy dough forms.
- Sprinkle salt on top of the dough and let it rest for 30 minutes.
- Pinch/knead the salt into the dough. Perform one round of stretch & folds. Allow dough to rest for 30 minutes.
- Perform 3 additional rounds of stretch & folds, allowing dough to rest for 30 minutes between intervals.
- Cover with a cloth and allow dough to bulk ferment & rise for 4-8 hours. The rise time will depend on the activity of your starter and the temperature of your kitchen.
- When dough has doubled in size, turn it out onto a clean and floured surface. Cut dough in half.
- Preheat oven to 450 F and grease bread pans, adding a small piece of parchment paper to the base of the bread pans for easy removal. If making a boule, preheat dutch oven while shaping the loaves.
- Shape the loaves into desired shape (boule or loaf pan). Place the loaf dough into pans, and place boule on a large sheet of parchment paper.
- Allow shaped dough to rest, completing a second rise for 30-60 minutes until nice and puffy.
- Once risen, score the dough to avoid any cracks during baking. Transfer loaf pans to the hot oven to bake. For a boule, open the dutch oven lid and carefully lift the parchment paper with proofed dough and place it into dutch oven. Place lid on top.
- Bake loaves for 40-50 minutes until crust is golden brown. For boule, remove the dutch oven lid 20 minutes into baking to allow the crust to get nice and brown.
- Remove from oven and transfer loaves to a wire rack. Allow to cool before slicing (if you have enough self control).
- Store bread in a paper, cloth, or plastic bag and consume in 3-4 days to avoid dryness. Bread freezes well for several months.
Notes
* This recipe works with either 100% freshly milled wheat flour, or a mix of half whole grain, half white bread flour.
For example:
1000 grams freshly milled whole grain flour, OR
500 grams freshly milled whole grain flour + 500 grams bread flour
Depending on the type/ratio of flour you use, you may need to add more or less water. The more whole grain flour you use, the more water you need because it is more absorbent. Start with 700 grams of water, and you can add more as needed.
Recommended Products
As an Amazon Associate and member of other affiliate programs, I earn from qualifying purchases.
Nutrition Information:
Yield:
20Serving Size:
1Amount Per Serving: Calories: 201Total Fat: 1gSaturated Fat: 0gTrans Fat: 0gUnsaturated Fat: 0gCholesterol: 0mgSodium: 1606mgCarbohydrates: 41gFiber: 2gSugar: 0gProtein: 6g
Will you try making sourdough bread with freshly milled wheat?
PIN IT!



So happy to find your blog in my inbox today. Thank you for the whole grain sourdough bread recipe!! I have einkorn wheat berries that I grind. What type of wheat do you fresh grind for your bread making?
Thanks for being here Carol! There’s a section above about types of wheat berries to use. I like using hard white wheat berries! Would love to try Einkhorn.
Hi Mary,
Do you have a recipe for the starter that you use? I am new to sourdough and have to make a starter from scratch. I wasn’t sure if the starter is different when using home milled flour.
You can use any starter you like or make your own. I ordered a San Francisco sourdough starter from Etsy and it works great.
Thank you very much for this, Mary. I am just getting started making whole grain sour dough bread and this recipe is an incredibly helpful starting point. Question: how many standard bread loaves does this recipe make? Thank you!
This recipe makes 2 loaves. I’ll add that info to the post, thanks for letting me know!
Thank you for this recipe, Mary. Can I use the Bosch universal mixer for any part of this recipe?
I haven’t used one personally, but I’m sure you can!
My crust turned out really hard, do you brush it with butter or anything before baking?
I don’t, but you could if you wanted to.
I’ve been struggling to bake bread with freshly milled flour and this recipe turned out perfect. Thanks for sharing!
Hello! I am using 100% fresh ground red hard wheat for my bread. I am adding a bit more water since it soaks up a lot of it. There is zero “stretch” to my dough using 100% whole wheat. I have made many loaves of sourdough precious with whole purpose flour so I know what consistency I am looking for… but I can get no where near a stretch and fold. It is just grainy and falls apart when I pull. Do you have this issue when using 100% fresh ground whole wheat?
It does make the stretch and fold more challenging. I would definitely make sure you’re using a quality grain mill and the grinding it to the finest powder you can. I have also gotten to the point where I use half freshly ground flour and half all purpose. It seems to do better with making bread light and airy. Also, red wheat seems a bit more dense and heavy than white wheat, in my experience.
I want to make a 100% whole wheat sour dough bread. Can you share your recipe. Can you share your recipe that does not include white flour?
Yes, instructions are included above for 100% whole wheat.
Hi Mary! I was just wondering when you should add the seeds if your putting some in?
I would add them at the same time aa the other flours, since it’s good to soak seeds before consuming.
This recipe is sooooo good! I’ve was just recently given a sourdough starter and had a couple successful loafs with unbleached organic flour. I want to use flour ground freshly from organic wheat berries. My first two attempts were so bad. As I read your blog here, I felt I was reading my own thoughts and had to try your recipe. It took all day and I ended up refrigerating the dough overnight. I baked two loafs next morning and they turned out great. My only issue was that I was guessing at the baking time for two small loaves, because no one seems to differentiate. Thanks for sharing what you learned, definitely feel you’ve saved me many failed attempts.
I am SO happy to hear this Michelle! Enjoy your fresh bread!
This looks like a great recipe. After shaping the dough into a boule or putting it in loaf pans is it possible to put it in the refrigerator overnight and then bake it in the morning?
Yes, you can definitely do that! Just let it rise to your preference and bake.
I have been baking sourdough bread for a couple of years with commercial flour. I was recently gifted a Wondermill for my birthday so want to switch to using fresh ground flour. I always put the shaped loaves in the refrigerator overnight and bake directly from the refrigerator the next morning. Is there a reason to let it rise before baking?
I am not well-versed in letting bread rise in the fridge, so I can’t really advise on that. I typically just shake my loaves and let them rise at room temperature before baking. But you could definitely do the fridge
I put my loaves in the fridge overnight then straight into the oven the next morning. Works very well. I’ve also left them in the fridge a couple of days with no problem.
This is good to know, thanks for sharing!
I would like a starter recipe for whole hard white wheat grain..
I do not want to buy someone else’s starter. Any suggestions are appreciated. I have been all over the web but felt since you work w whole grains, you may have a suggestion. Thanksm
There are lots of starter recipes online, you can sub any grain you prefer for basically any recipe. God bless!
thanx so much for the recipe!
Thanks for the recipe. Can’t wait to try it! Before I do, can you tell me if I can half the recipe?
Yes, you can half this recipe 😊
Mary, this bread turned out so delicious!! I used 100% fresh milled hard red wheat and the higher amount of water. I split the dough into two parts and baked one in a loaf pan, one in my dutch oven. The Dutch oven one was amazing (like the Trader Joe’s Pain Pauline but way better) but the loaf pan one ended up dryer with a harder crust. I’m making my second batch today and going to do both loaves in the Dutch oven. Oh, and this bread stayed fresh for 3 or 4 days on the counter while we ate it 😄 Thank you!
Kassia I’m so thrilled to hear this!! Thanks for sharing your experience!! 💗
Oh, and for those asking about rising in the fridge, what I did was make the dough, follow the steps for the stretch and folds, let rise for around 2 more hours at room temperature, then at bedtime I put it in the fridge. Around 12 hours later I pulled it out of the fridge, shaped the dough, and let rise until it was ready to bake. Worked just fine!
You can make your own white flour. I take the milled flour and sift it through a fine sieve. The bran stays in the sieve and the white flour drops through it. For bread, one pass is enough, and the leftover bran goes into breakfast or into a very dense pan bread loaf.
Yes that’s true, great tip!
I’m having a hard time with my dough rising the 2nd time. They rise a little but not a whole lot like in your pictures. I’m not quite sure what I’m doing wrong.
For a better rise, try increasing the amount of all purpose flour ratio. The more whole-grain you use, the less it will rise. Other factors can also be at play like the ambient temperature of the room, how strong your sourdough starter is, etc..
This is a stellar recipe! I was looking for a recipe that used freshly ground flour since I have recently gotten into grinding my own wheat berries. This is fool-proof and I consider myself an intermediate beginning sourdough bread baker. Amazing, yummy bread! Thank you very much. This recipe will be passed down to my children for years to come.
It’s just me and the Mister. Can I half the recipe to make just one loaf?
You sure can. It freezes great though!
Just made this bread. It’s my first 100% whole wheat sourdough that wasn’t a brick! (I think I was under feeding my starter.) thank you!
So happy to hear it worked well for you!